
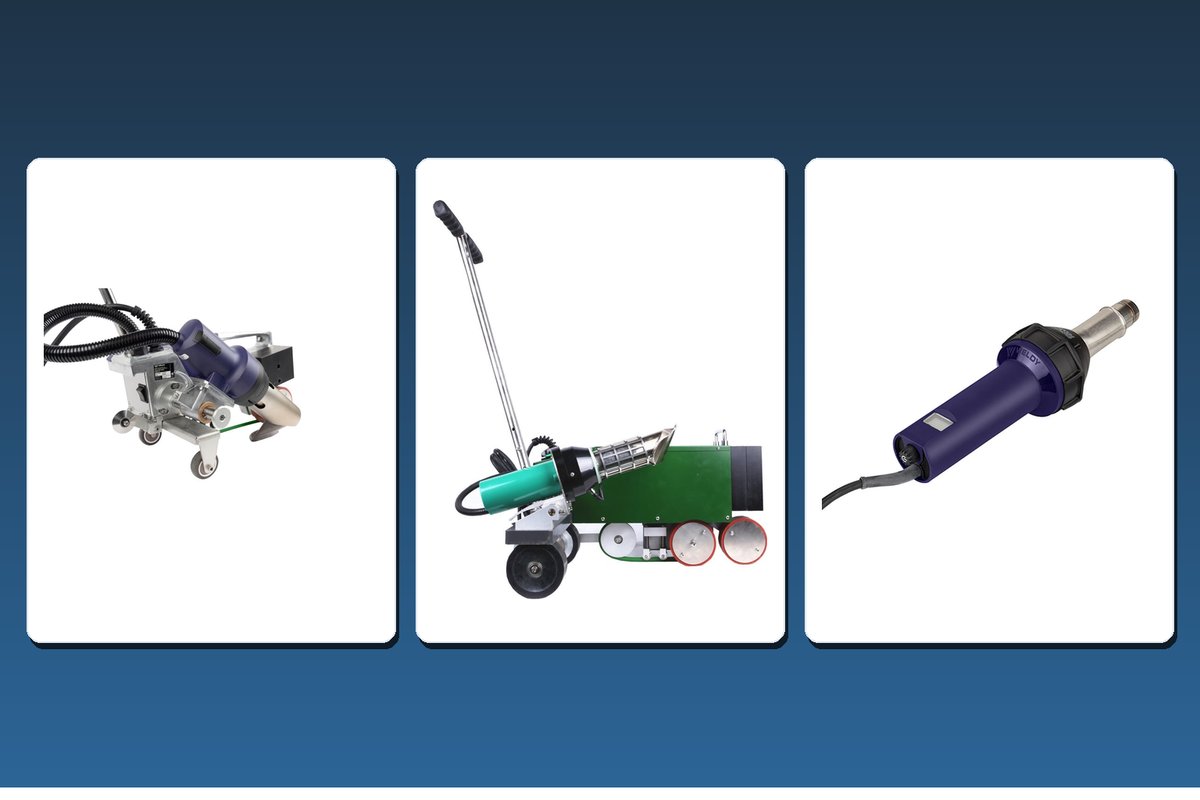

Roofing welder vs heat gun is not a contest between two rivals. On many thermoplastic roofing projects, automatic and hand welding divide the work by geometry. A self-propelled roofing welder handles long field seams across open roof areas, while a hand-held hot air gun handles details, repairs and areas the machine cannot practically reach — such as corners, boots, drains, curbs, parapets and terminations.
This comparison applies to hot-air-weldable thermoplastic roofing membranes such as PVC and TPO. Always confirm the membrane, the coating and any surface treatment are specified as weldable by the membrane manufacturer. The overlap, the seam layout and the acceptance criteria come from the membrane manufacturer’s instructions and the project specification.
Two Tools, Two Kinds of Work
The welding principle behind both tools is the same: heat the compatible weld surfaces until they remain properly plasticized, then consolidate them while they are still weldable. What changes is who controls the movement and the pressure.
- Automatic welding. The machine travels along the overlap at a set speed, heats the two surfaces and closes the seam as it goes. The operator positions the machine, guides it along the seam line and monitors the run.
- Hand welding. The operator steers the nozzle with one hand and follows behind with the roller in the other. Travel speed, nozzle position and roller pressure are all controlled by hand, along a seam that is usually short and changes direction often.
A hand-held welder can make straight seams, but on long field runs it is generally slower and more operator-dependent than an automatic welder. Equally, a self-propelled machine is not designed to follow a pipe boot or a corner — the two tools divide the work by geometry, not by skill.
What an Automatic Roofing Welder Is Built For
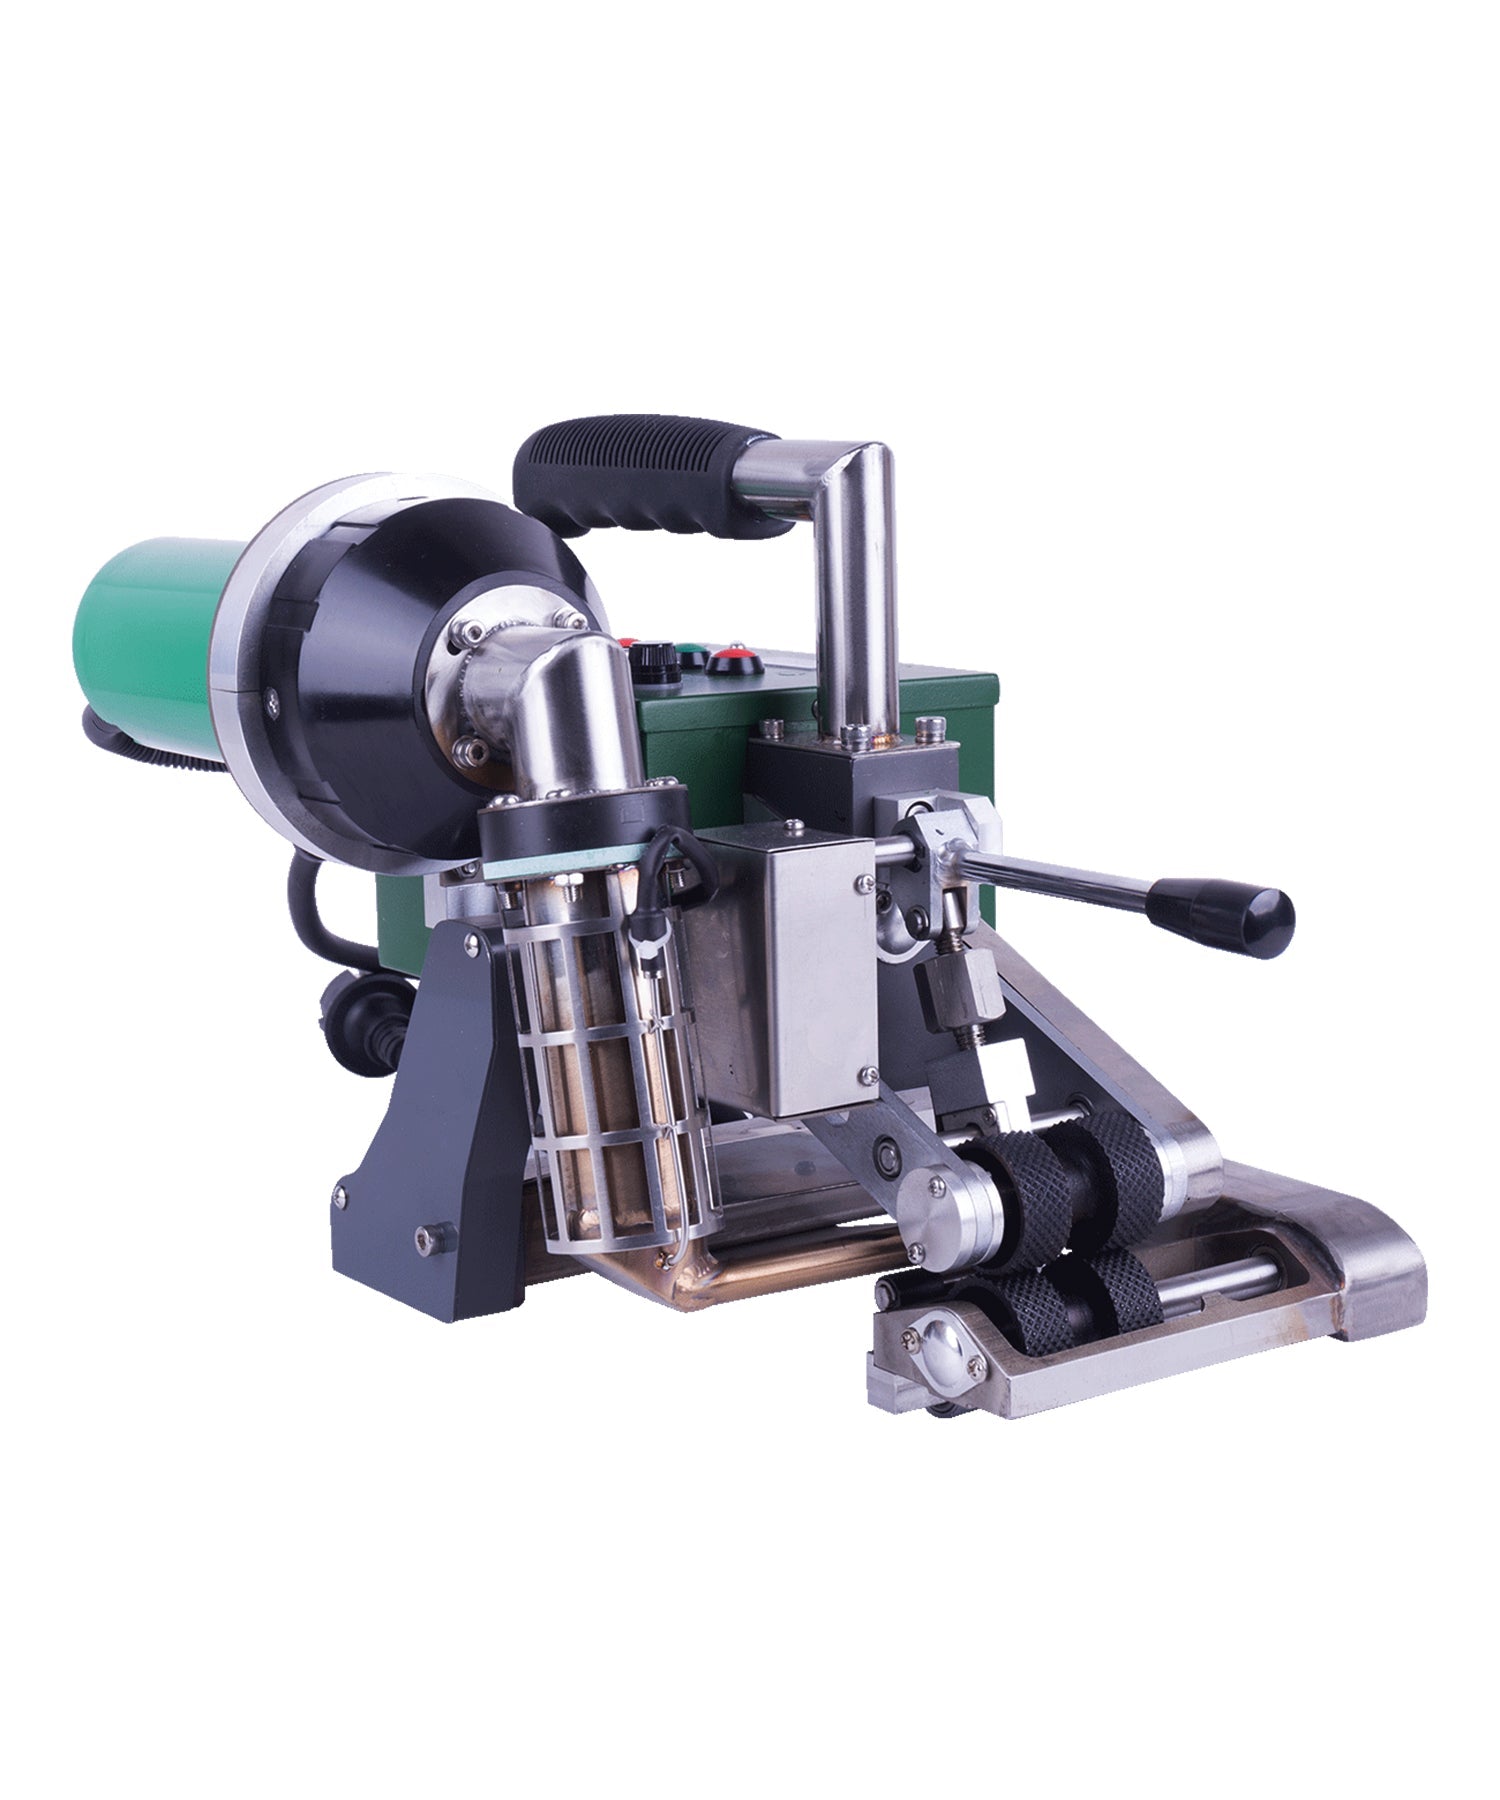
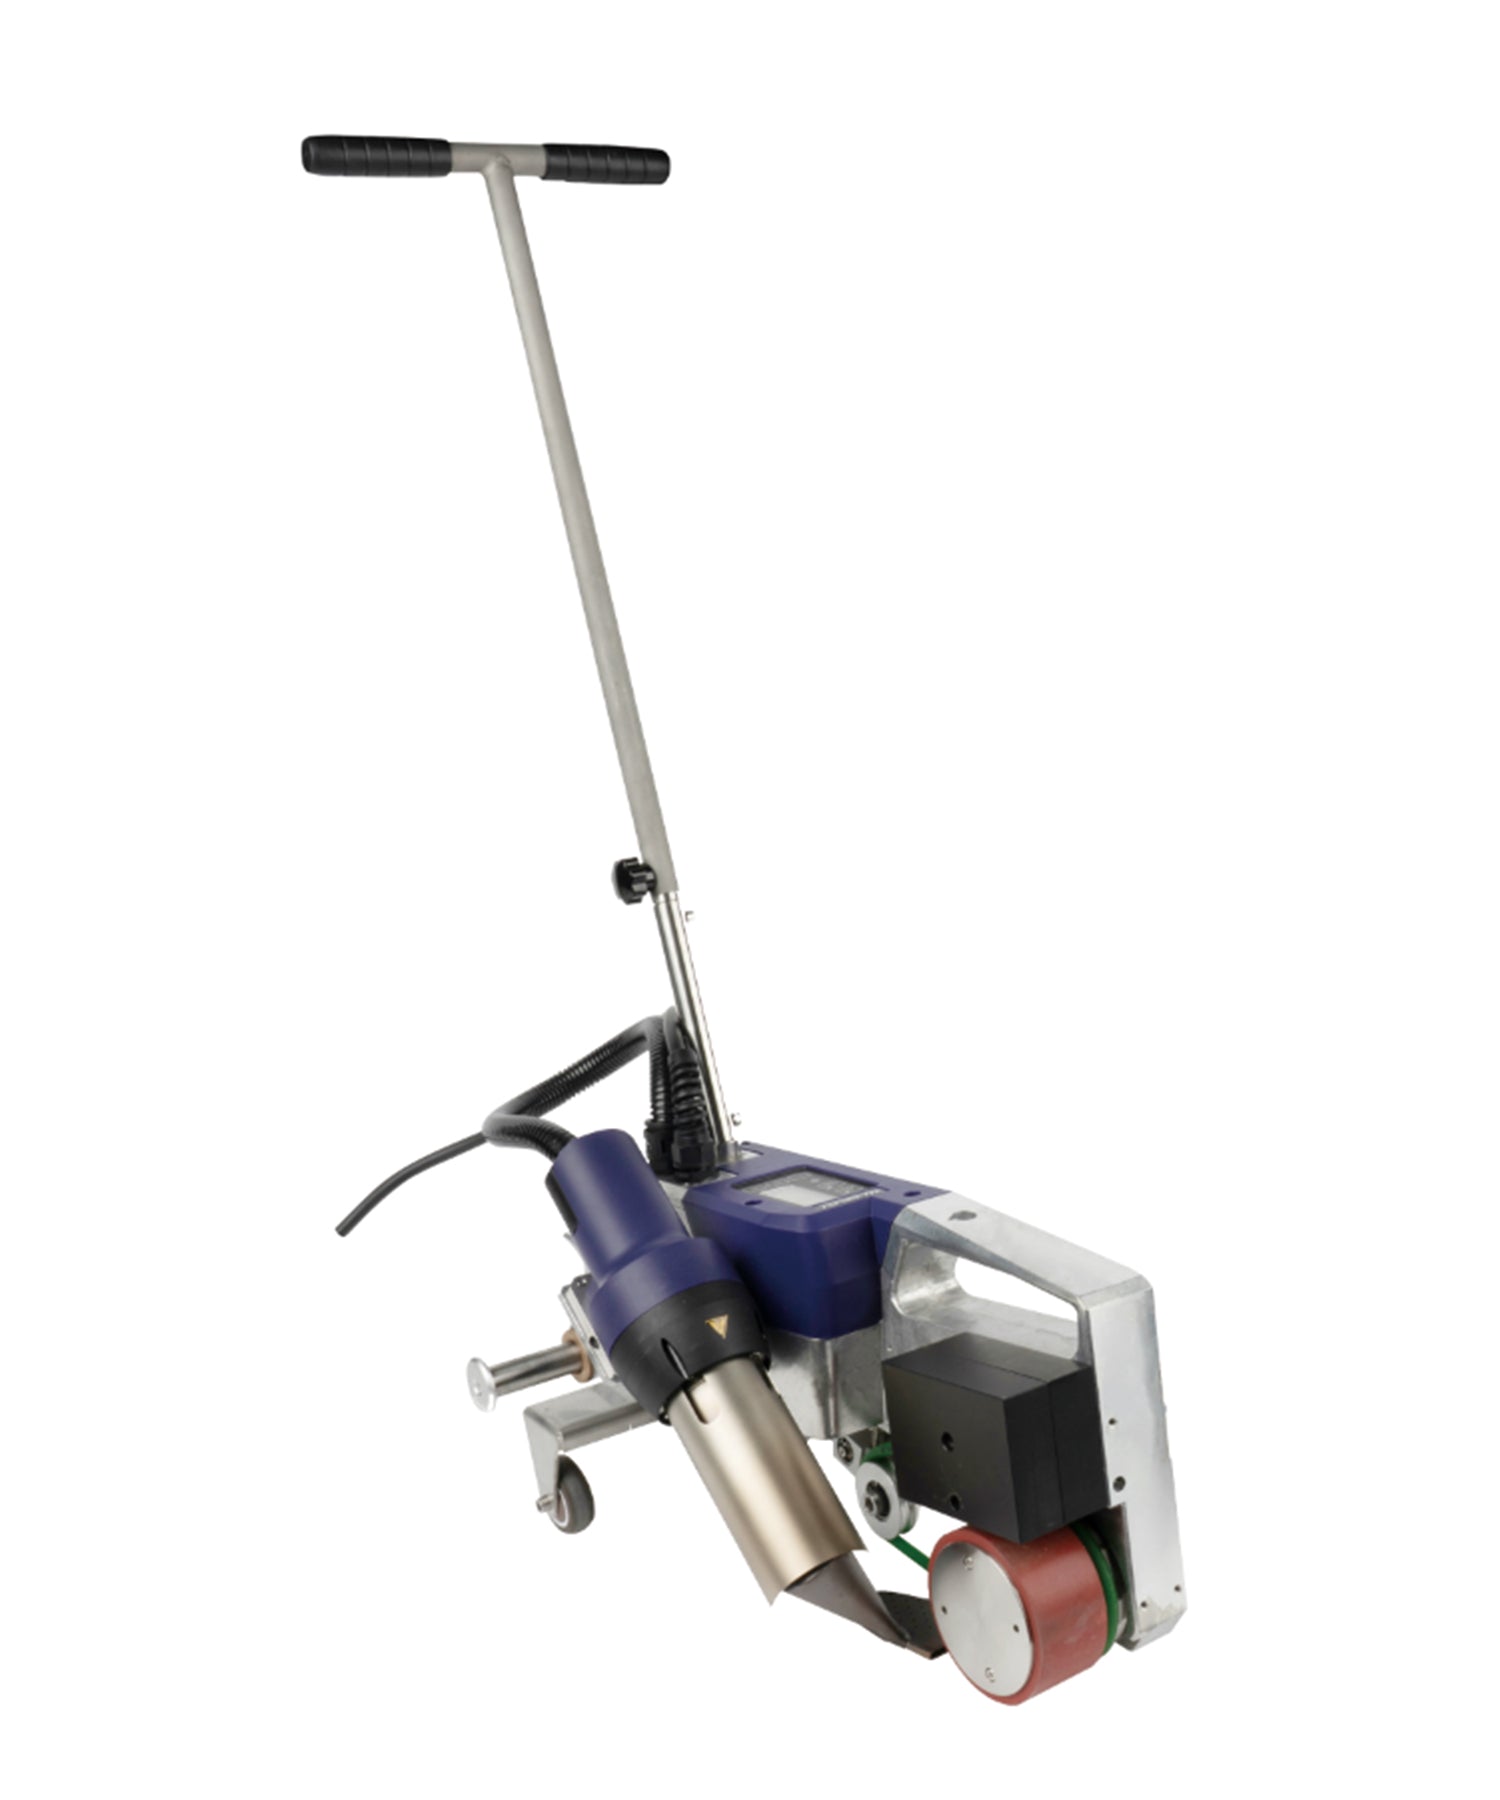
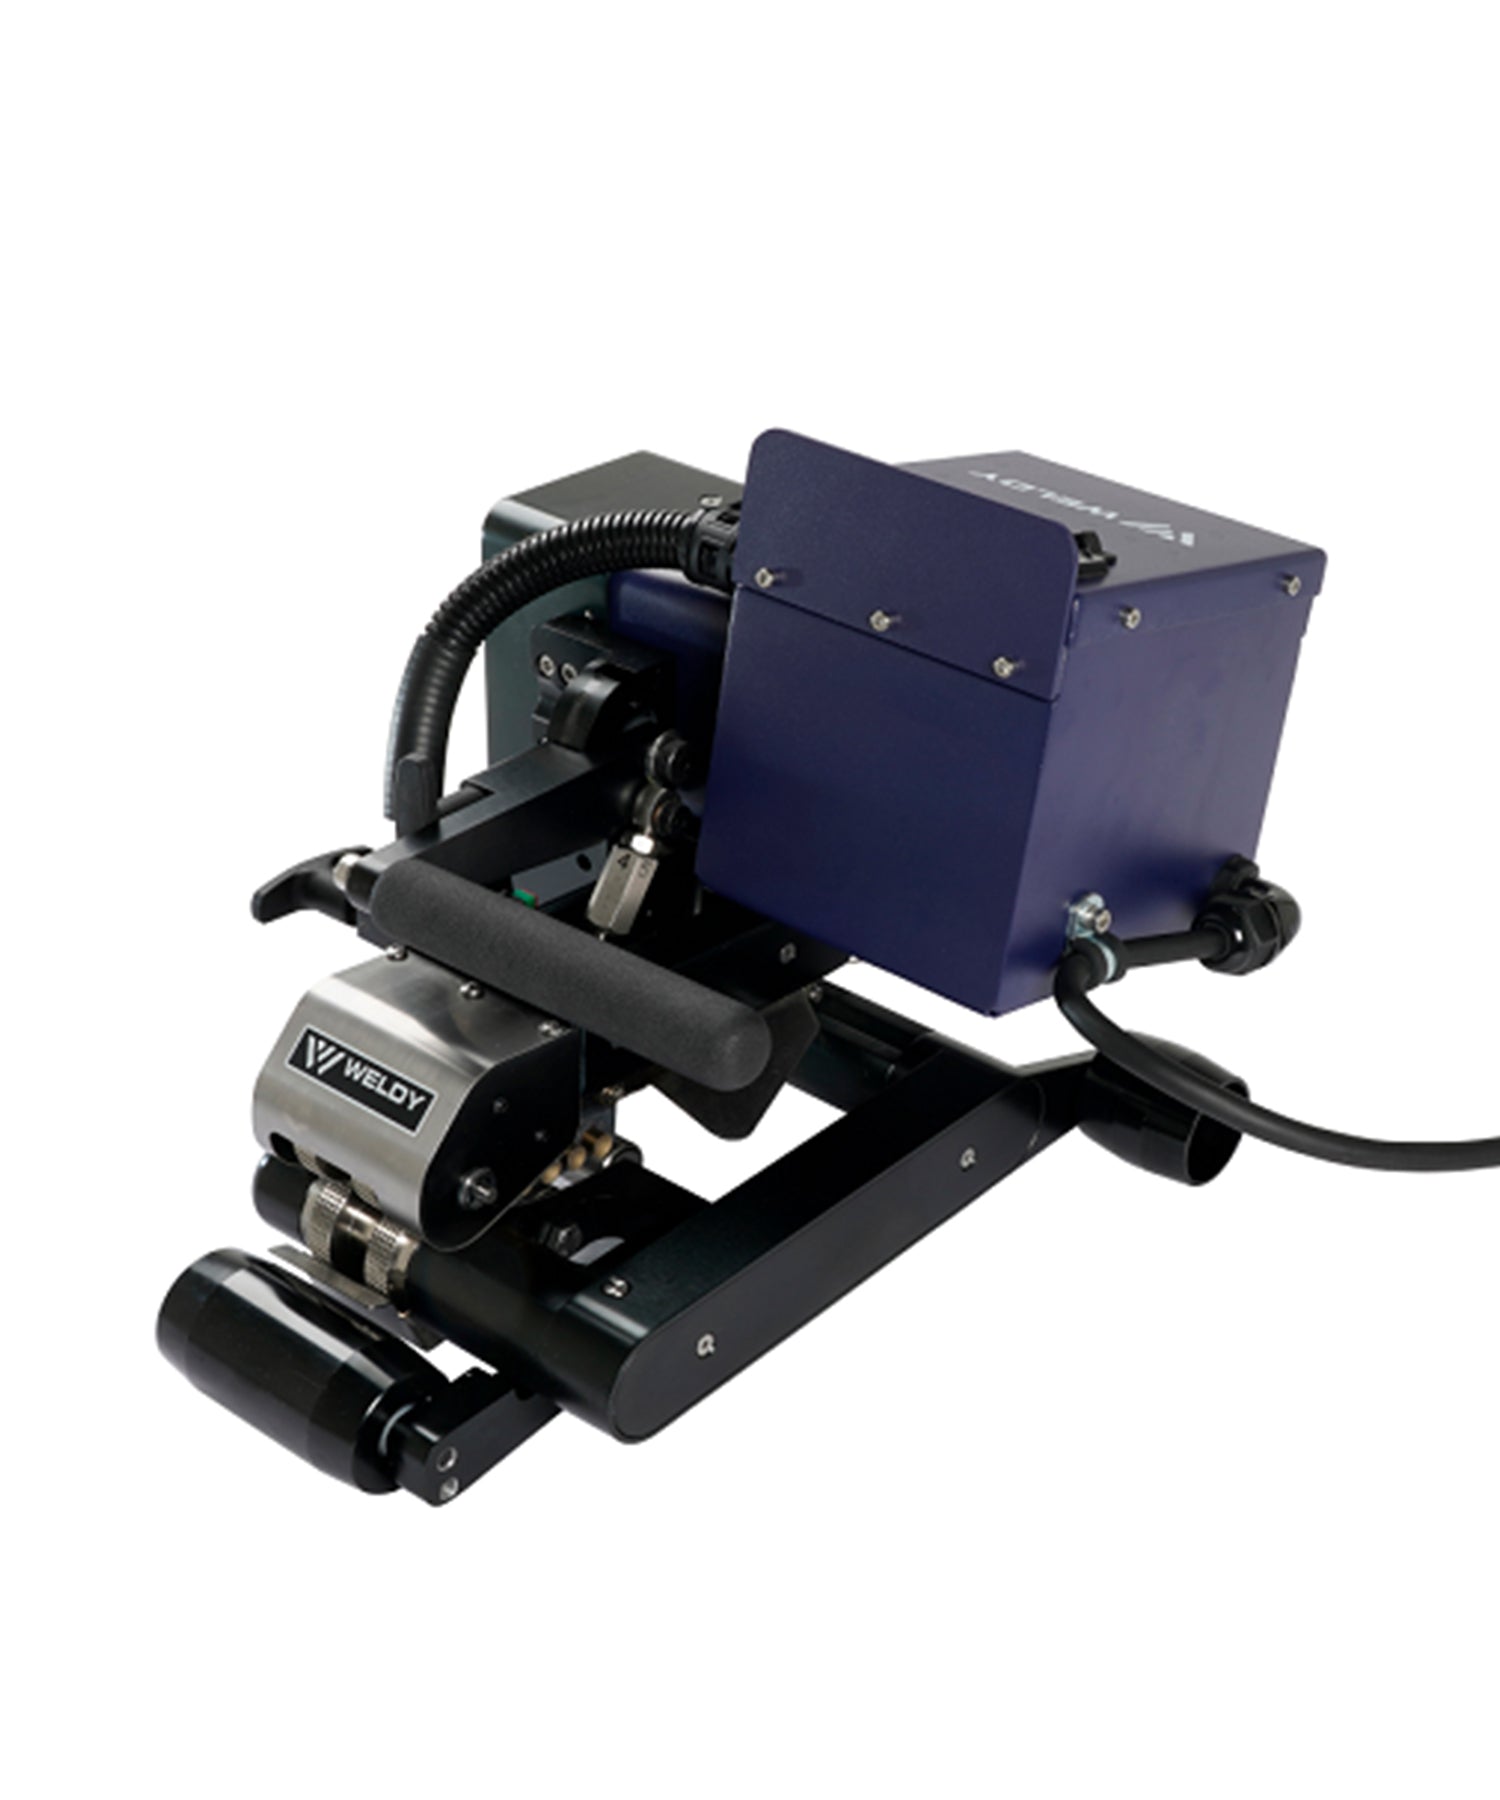
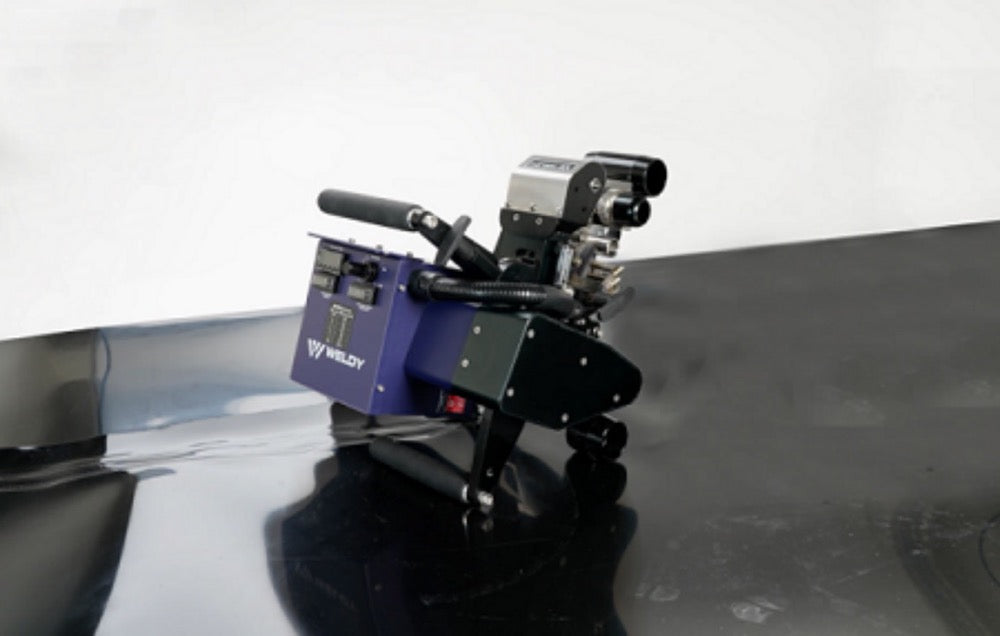
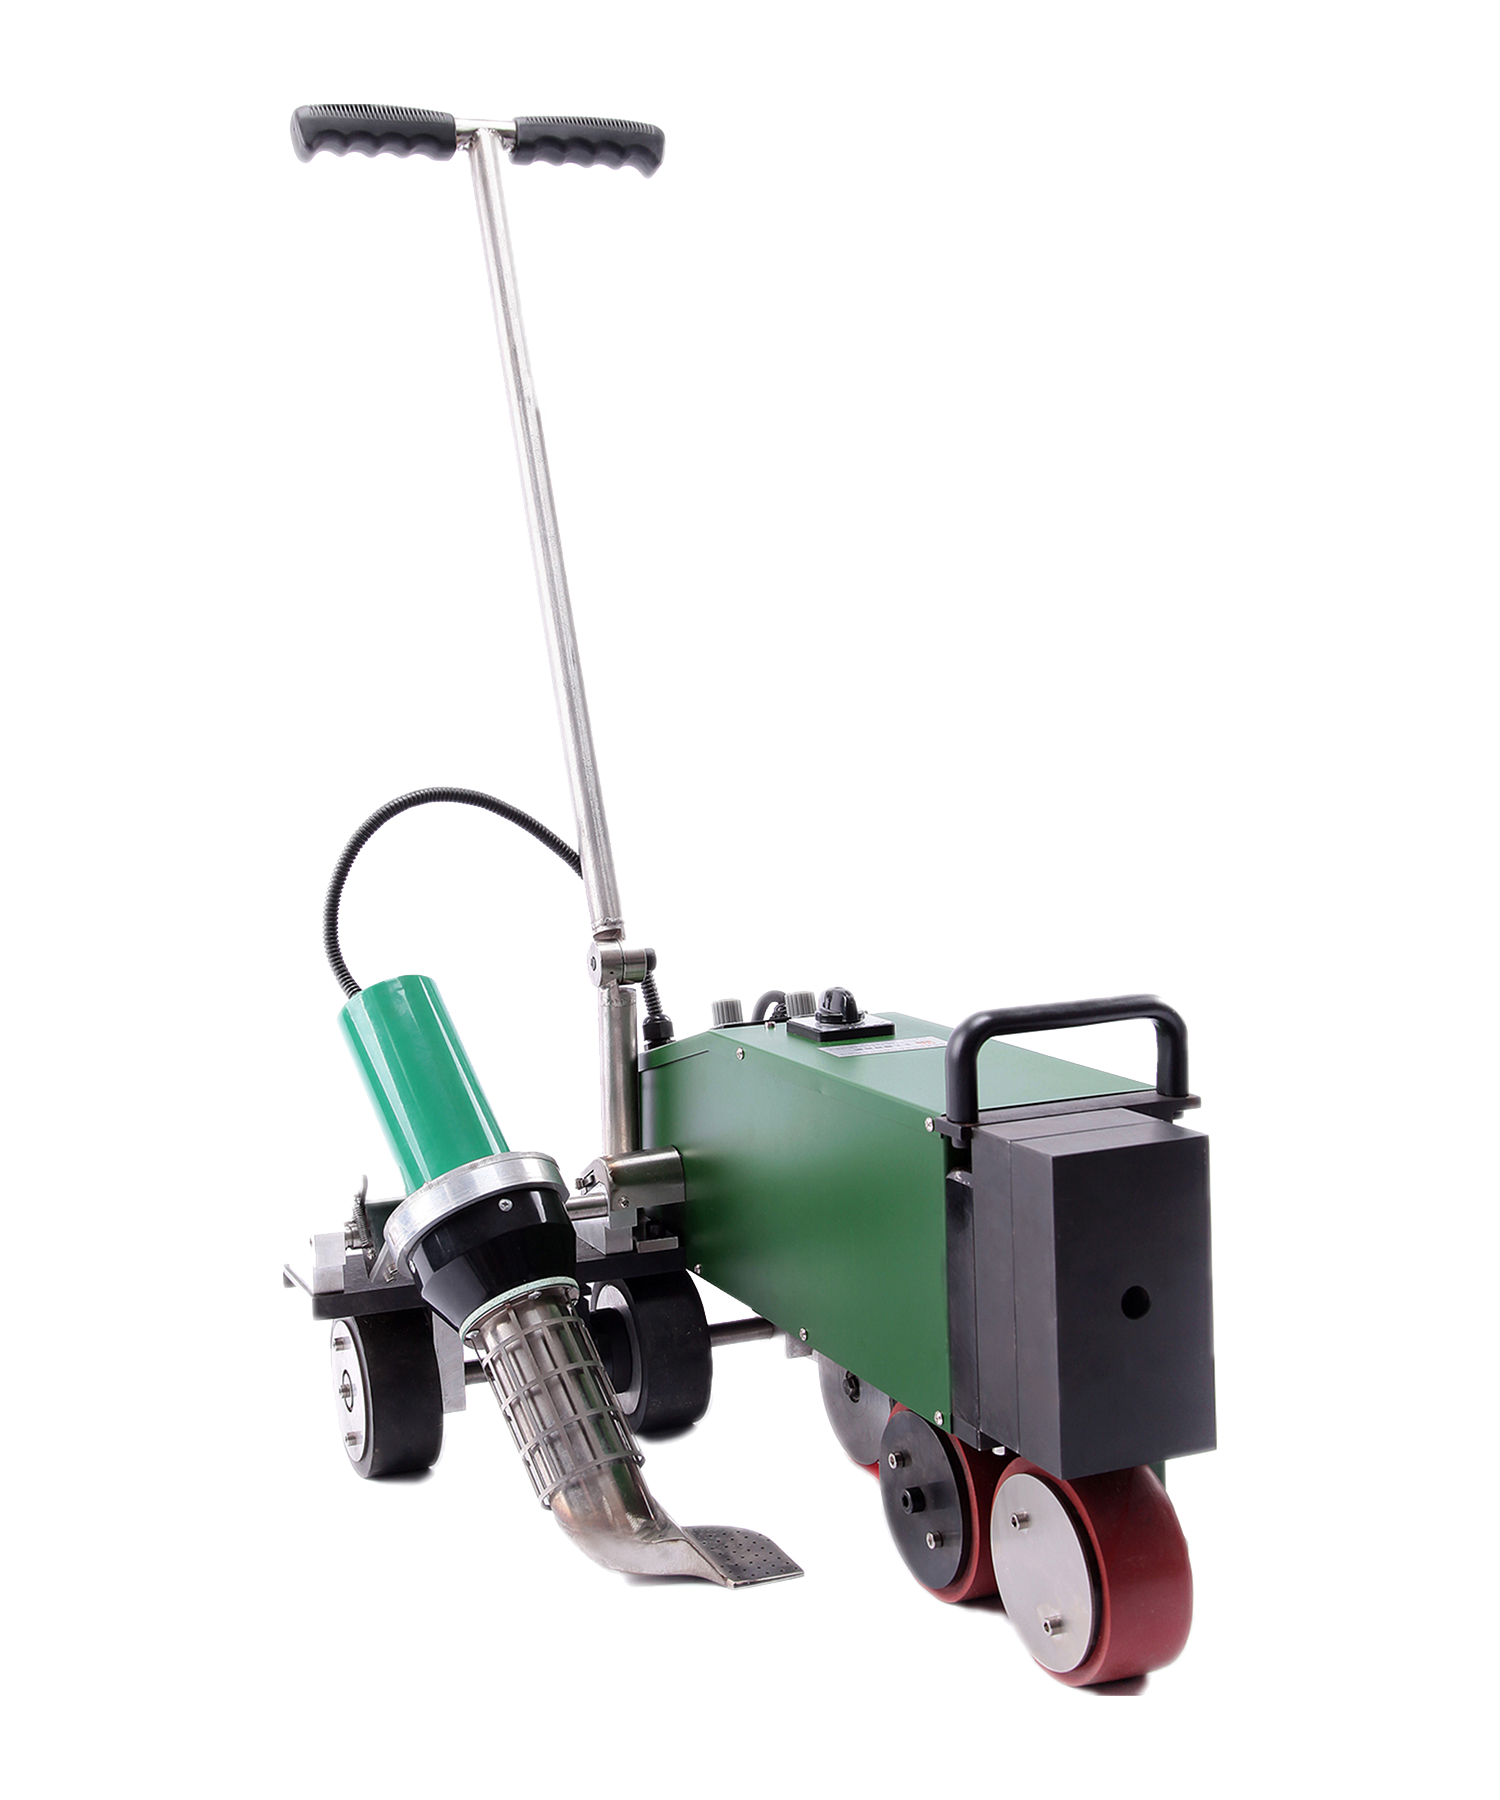
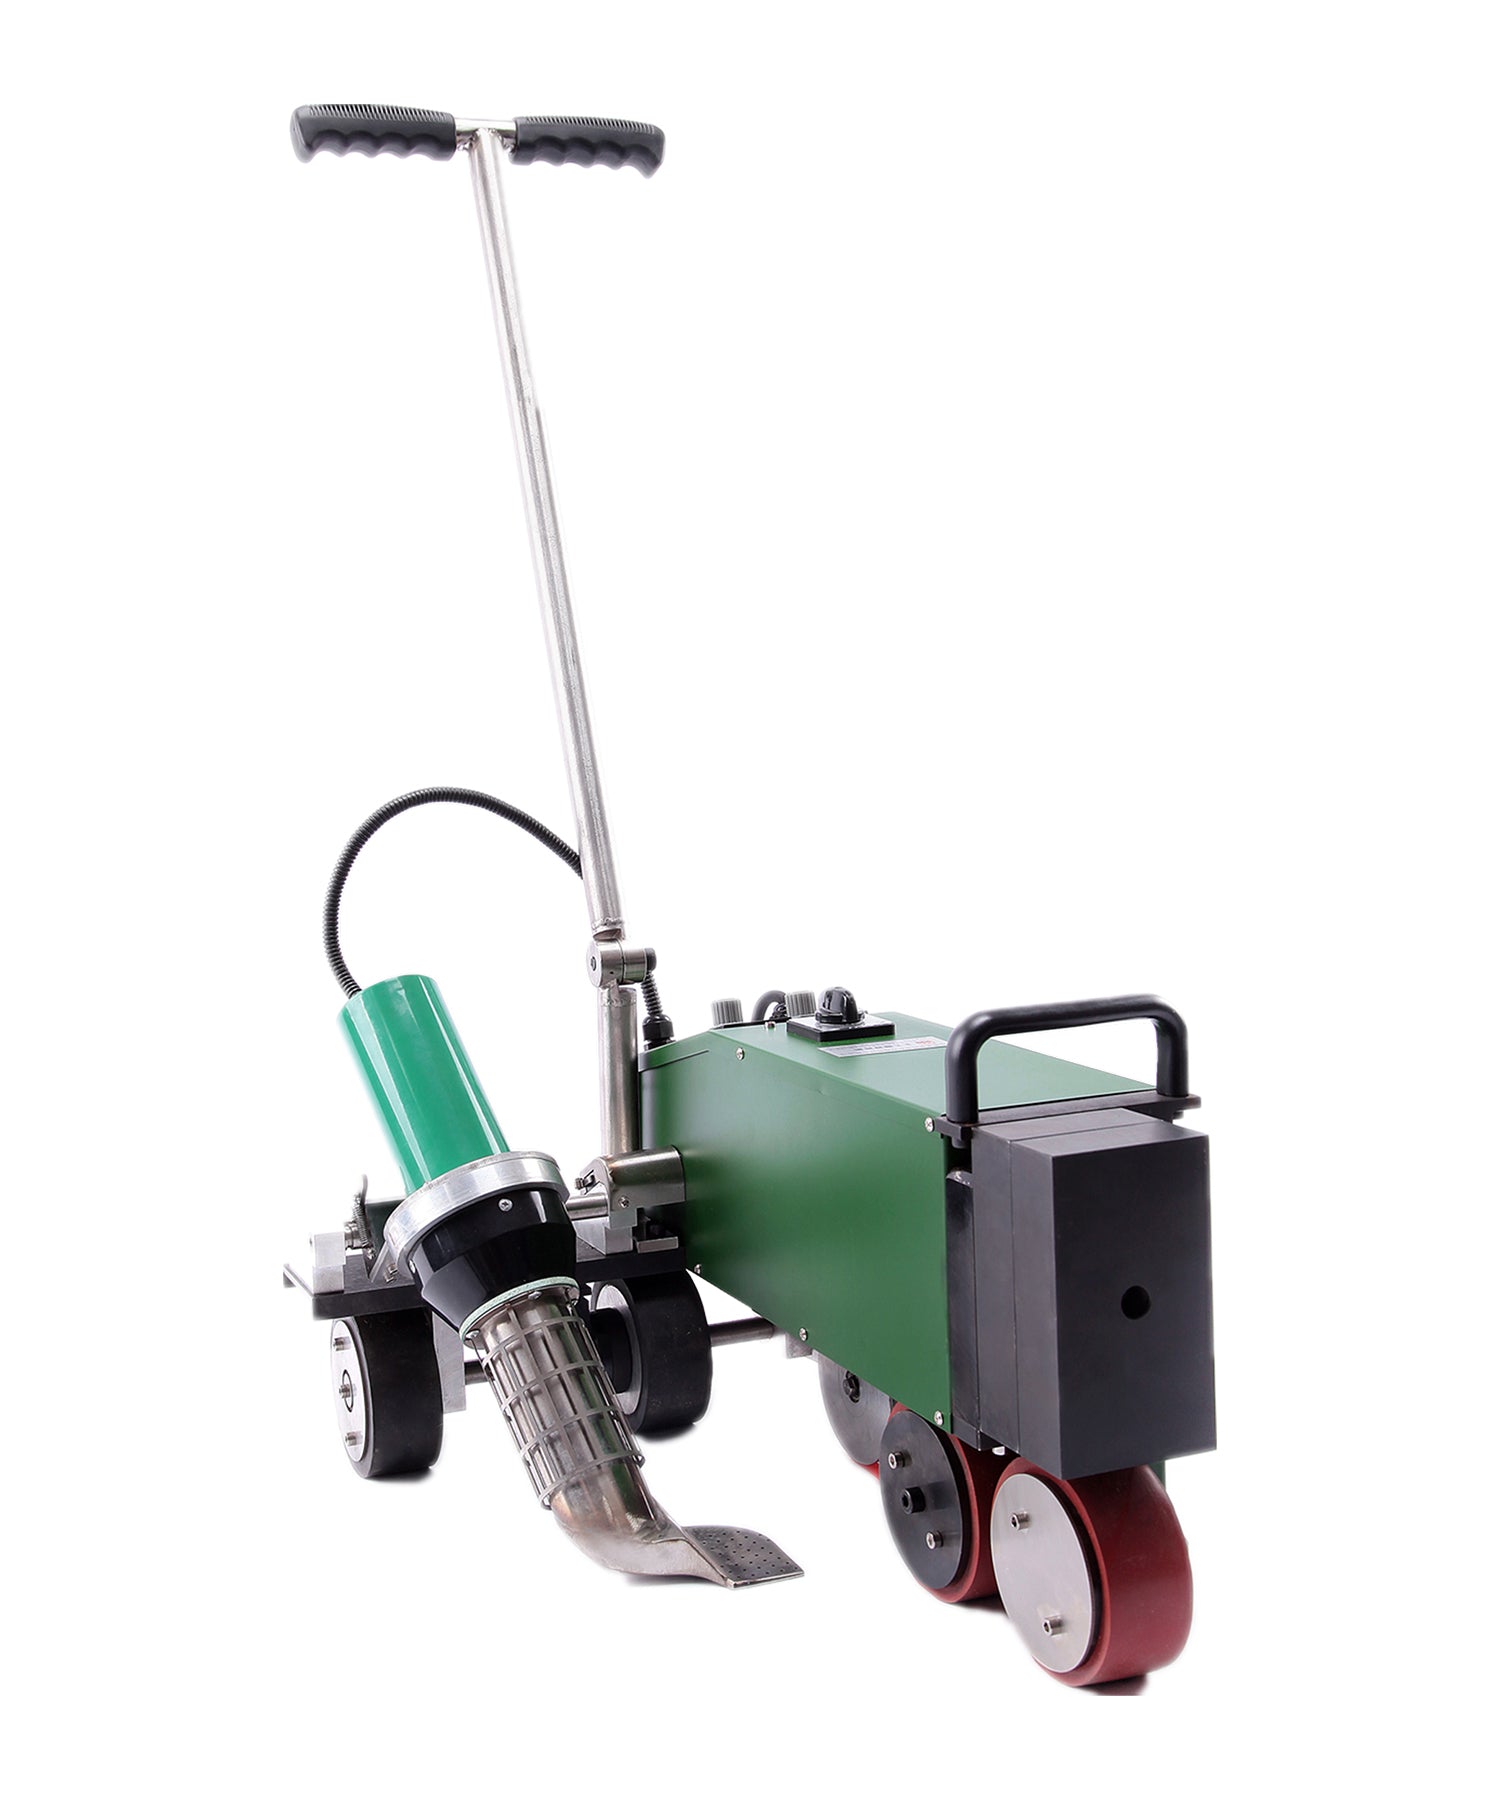
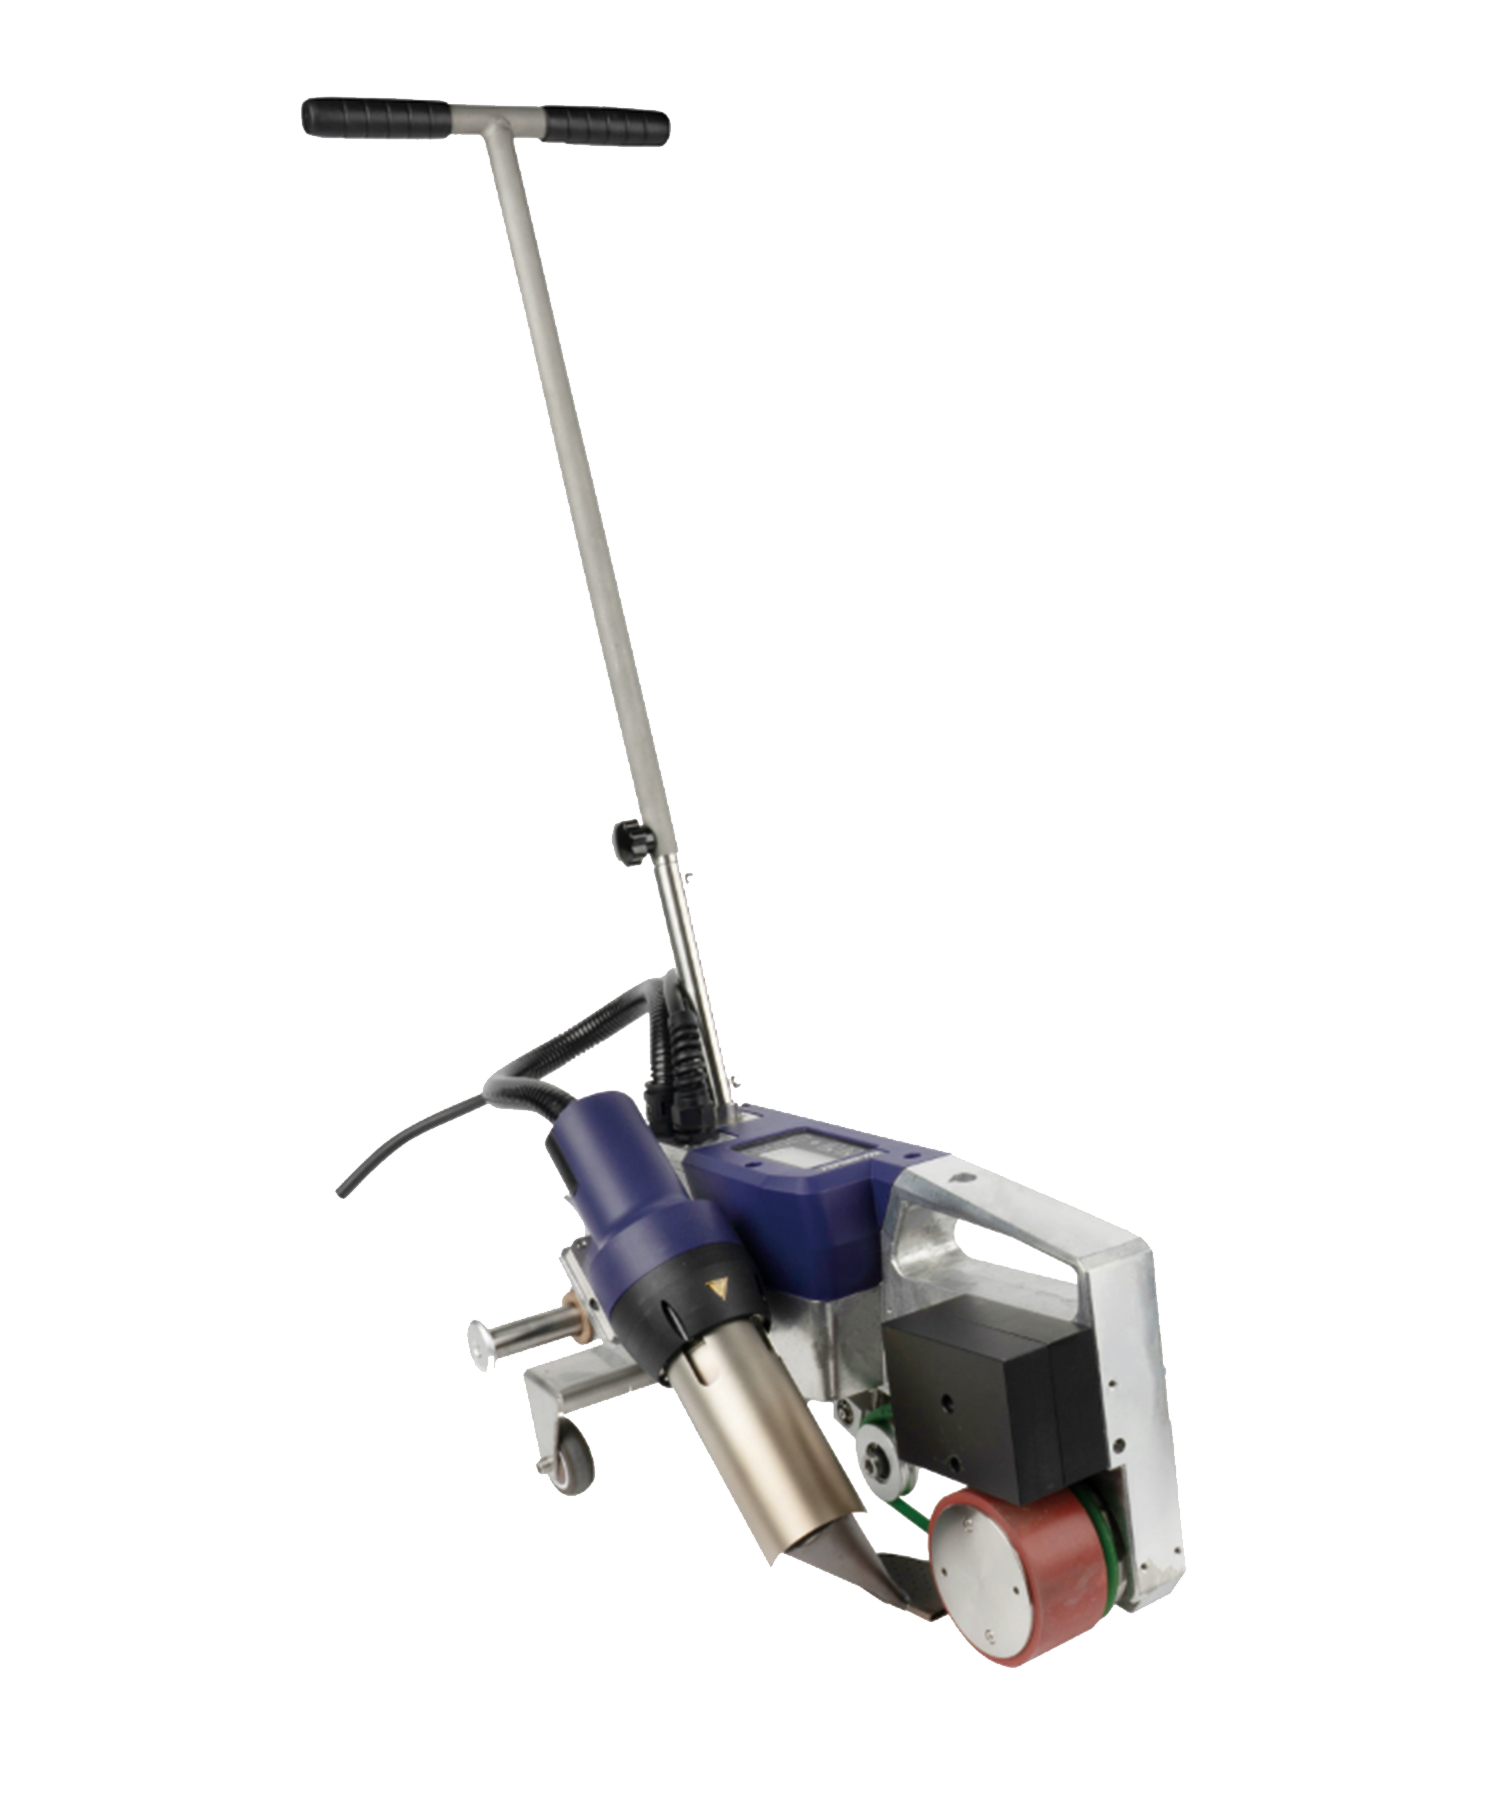
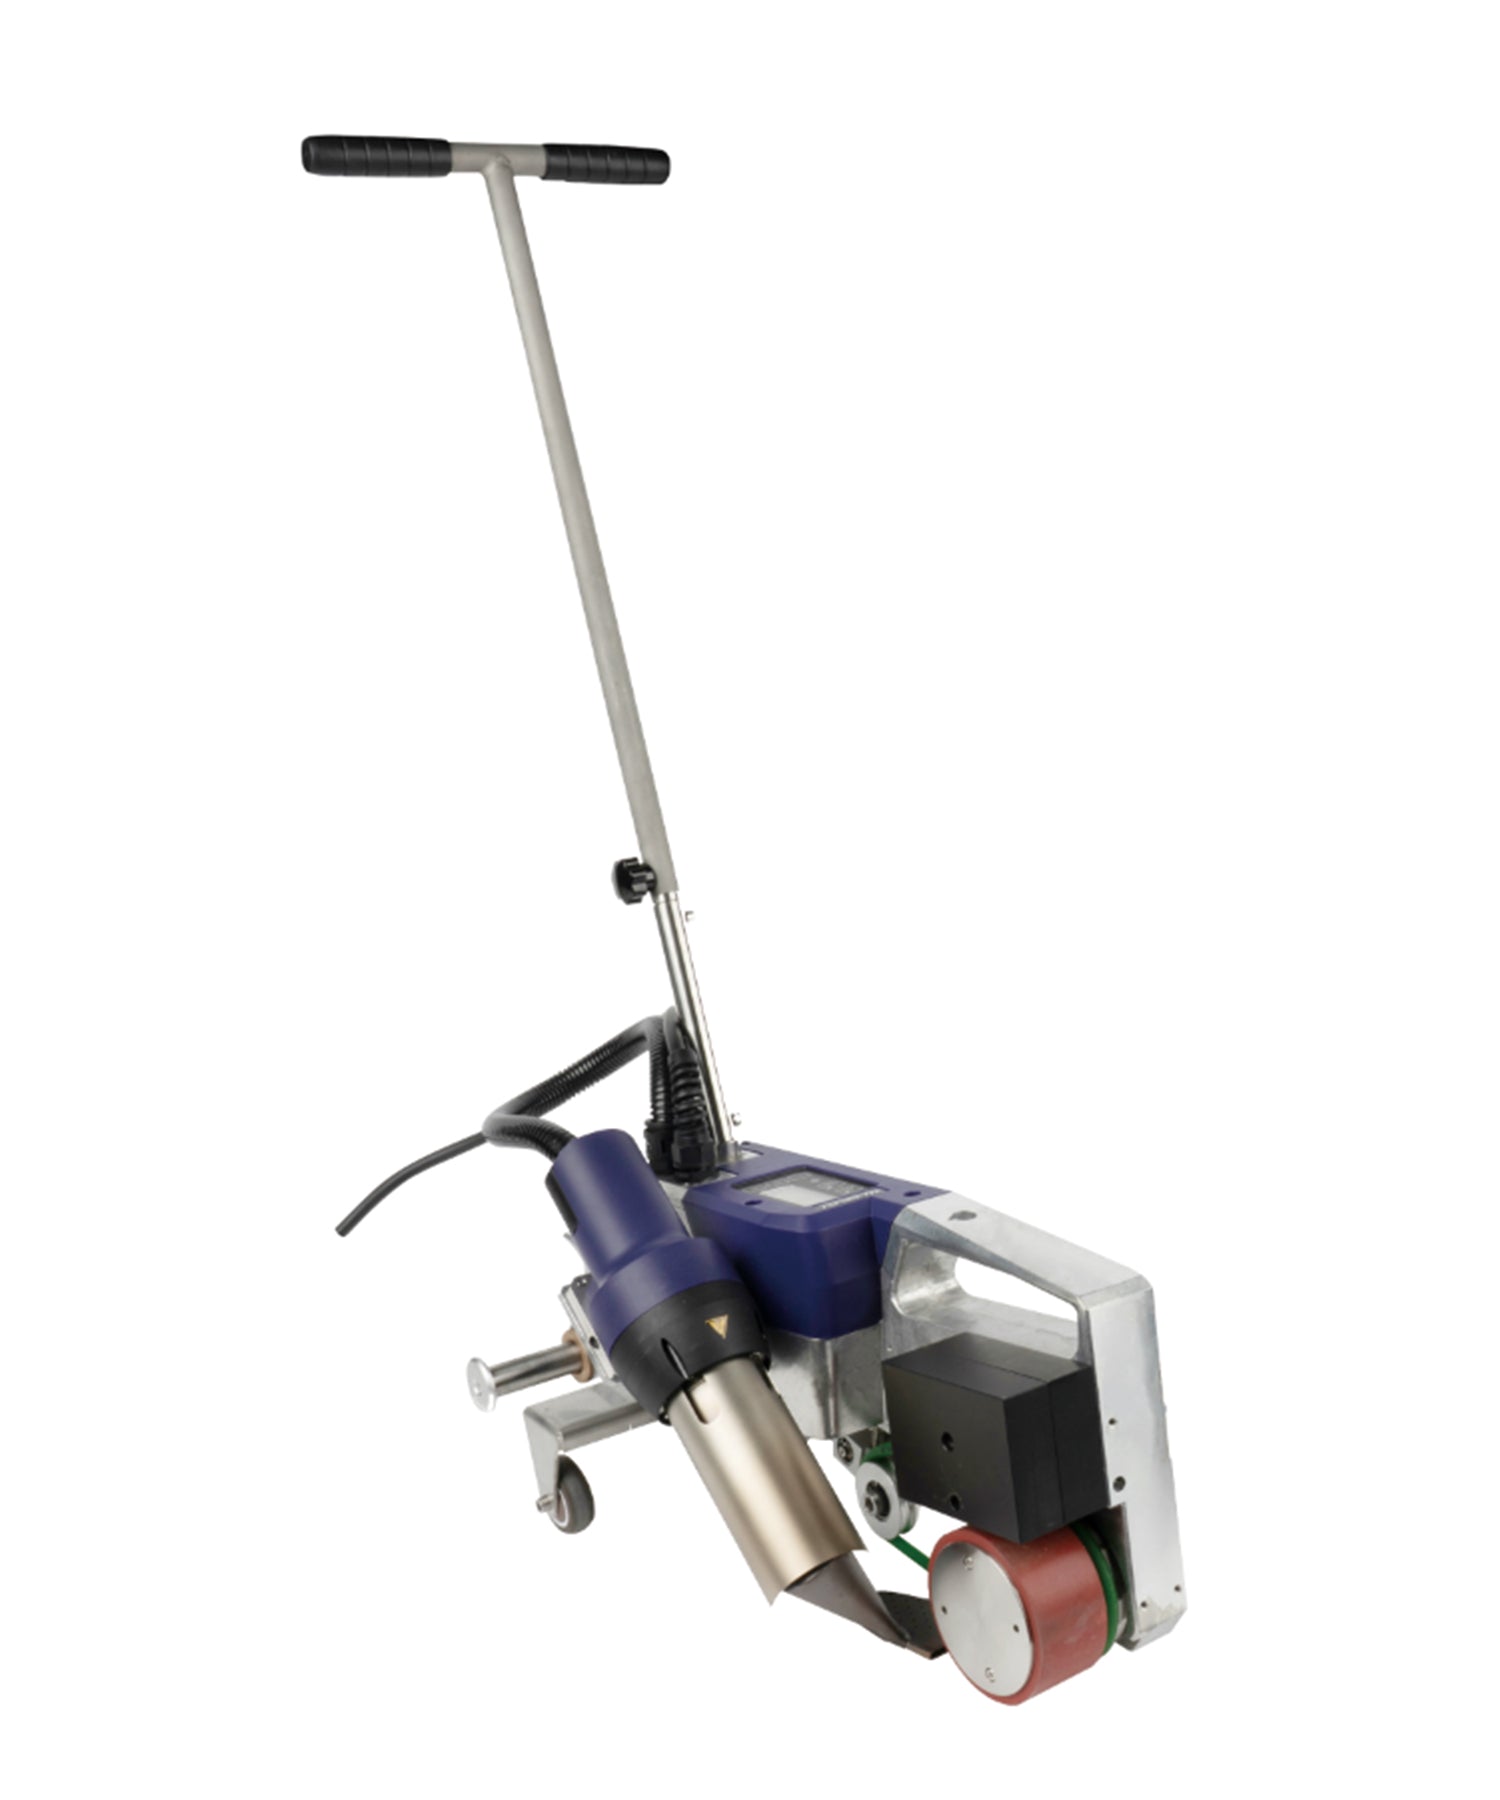
A self-propelled roofing welder is specified for continuous seams on the open field of the roof, where the membrane lies flat and the seam line runs straight. We stock two machines for this work: the Weldy Roof40 and the Weissenberg RWP1.
| Specified item | Weldy Roof40 | Weissenberg RWP1 |
|---|---|---|
| Power | 3,450 W | 4,200 W |
| Temperature range | 100–600 °C | 50–620 °C |
| Speed | 1–10 m/min | 1–10 m/min |
| Seam width | 40 mm | 40 mm |
| Net weight | 15.5 kg | 38 kg |
Compliance note: Weldy article 159.522 is currently listed by the manufacturer as “No CE – no use in Europe.” Buyers in Europe should confirm the appropriate compliant model or variant before ordering.
Both machines are specified with a 40 mm seam width and a 1–10 m/min travel speed; they differ in specified power, temperature range and weight. The 40 mm figure is the machine’s own specified seam width. It is not a claim about the seam width every roofing project uses — that comes from the membrane manufacturer’s instructions and the project specification.
Weldy specifies the Roof40 for close-to-the-edge welding in narrow areas down to approximately 100 mm, so some runs can be finished closer to a wall or a parapet than a wider machine would allow. The RWP1 is the heavier of the two and is aimed at large-area work. The Roof40 and RWP1 comparison covers the machine side in detail.

What a Hot Air Gun Is Built For
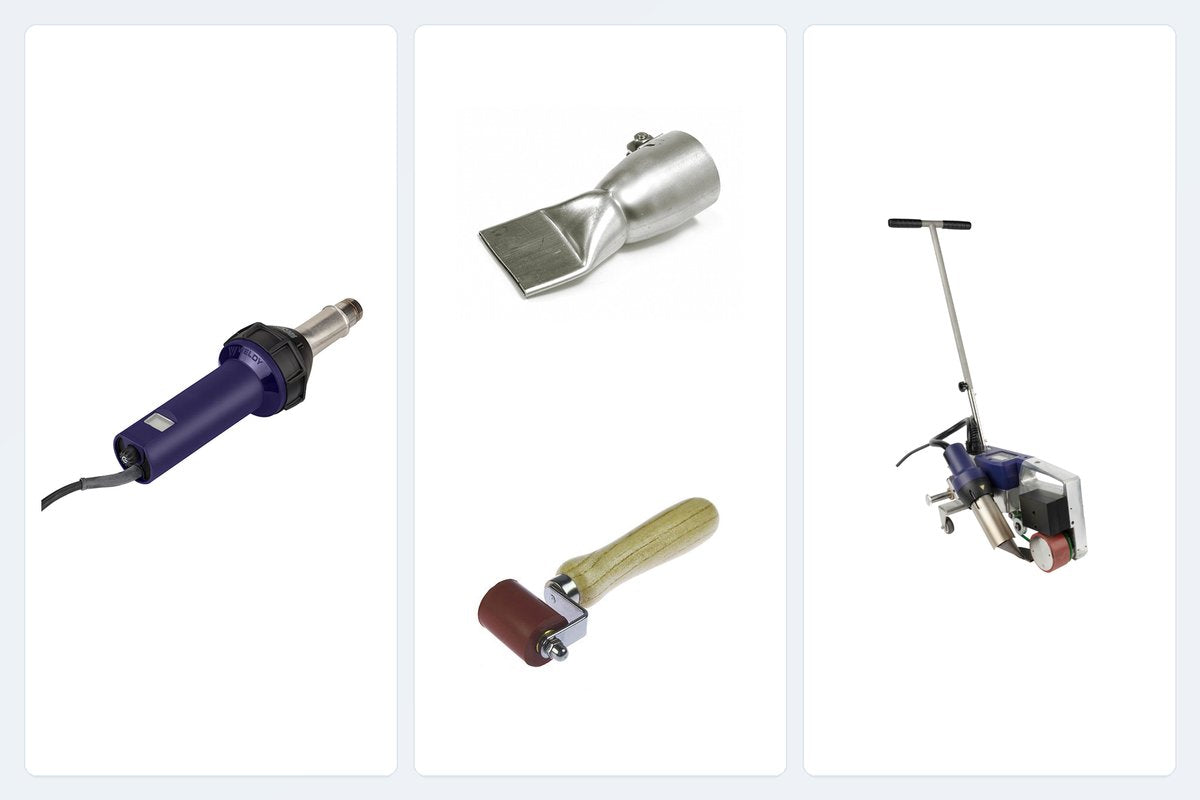
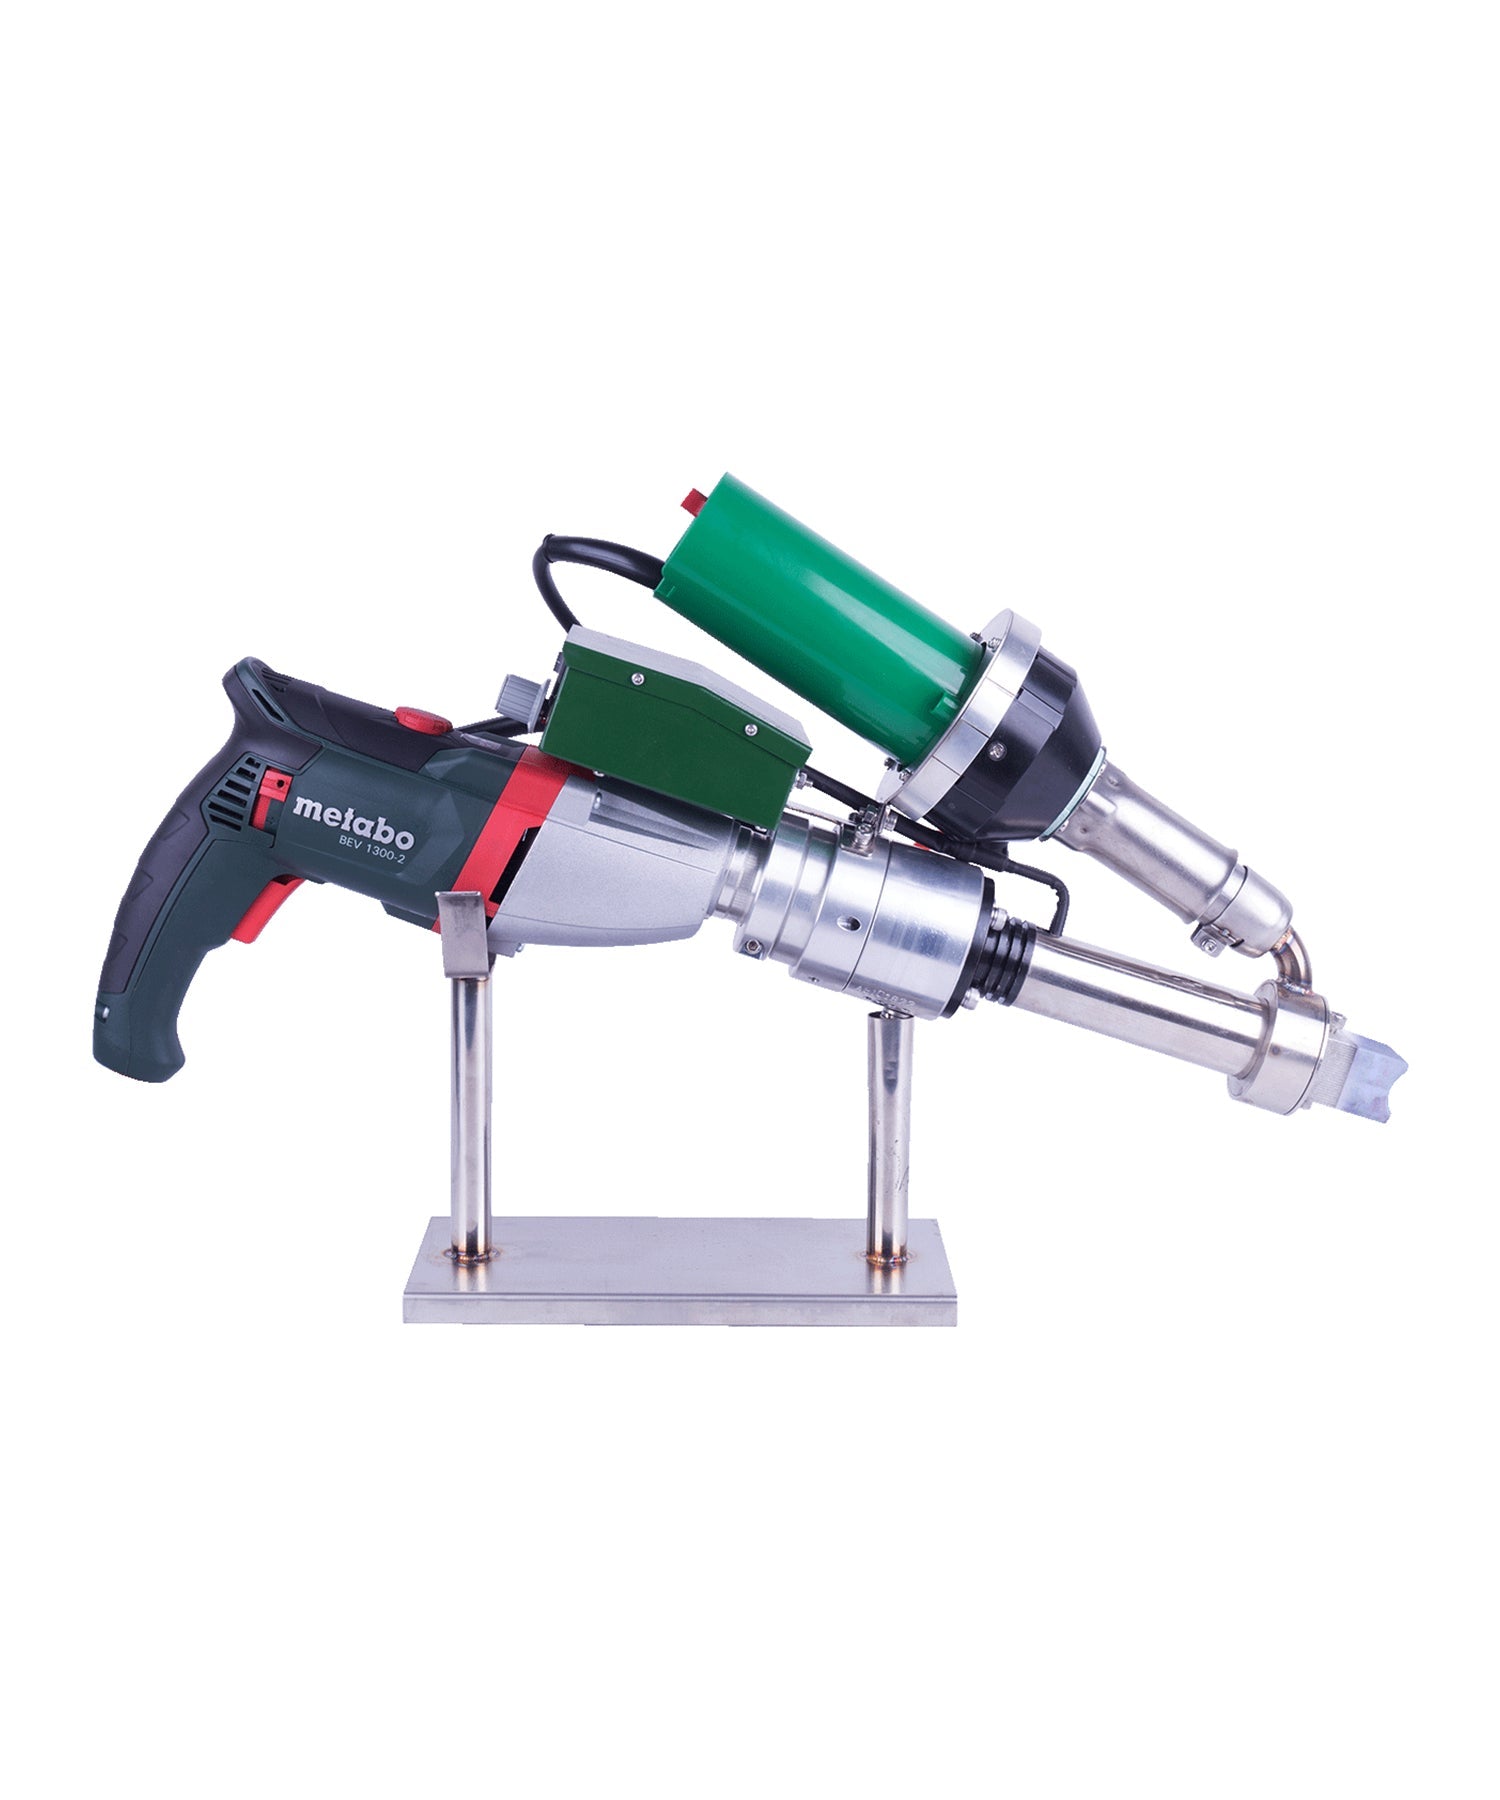
Hand welding is what closes the parts of a roof an automatic welder cannot practically follow. It is a two-handed operation, so three things matter on the tool: an adjustable temperature, a nozzle connection you can fit the right slot nozzle to, and a weight you can hold steady along a corner, a curb or an overhead flashing.
We stock two 1,600 W Energy-series options for this work: the energy HT1600 and the digitally controlled energy HT1600D. Both use the same Ø 31.5 mm nozzle connection, which is the connection the wide slot nozzles below fit.
| Specified item | energy HT1600 | energy HT1600D |
|---|---|---|
| Power | 1,600 W | 1,600 W |
| Store voltage options | 120 V or 230 V, 50/60 Hz — select the correct version | 120 V or 230 V, 50/60 Hz — select the correct version |
| Temperature control | Stepless, 40–700 °C | Digital on LCD, 40–620 °C |
| Airflow | 240 l/min at 20 °C | 120–240 l/min, adjustable |
| Static pressure | 2,600 Pa | 2,600 Pa |
| Nozzle connection ø | 31.5 mm | 31.5 mm |
| Length | 346 mm | 360 mm |
| Weight | 0.99 kg | 1.2 kg |
These are separate voltage variants, not a switchable dual-voltage tool. The key specified differences are the temperature control and the airflow: the HT1600 uses a stepless control without a display and a fixed 240 l/min airflow, while the HT1600D provides a digital setpoint on an LCD and 120–240 l/min adjustable airflow. The display makes it easier to return to a known numeric temperature setpoint between details, and the adjustable airflow gives the operator one more variable when conditions on an open roof change.

Nozzle: a wide slot, direct-fit on the 31.5 mm connection
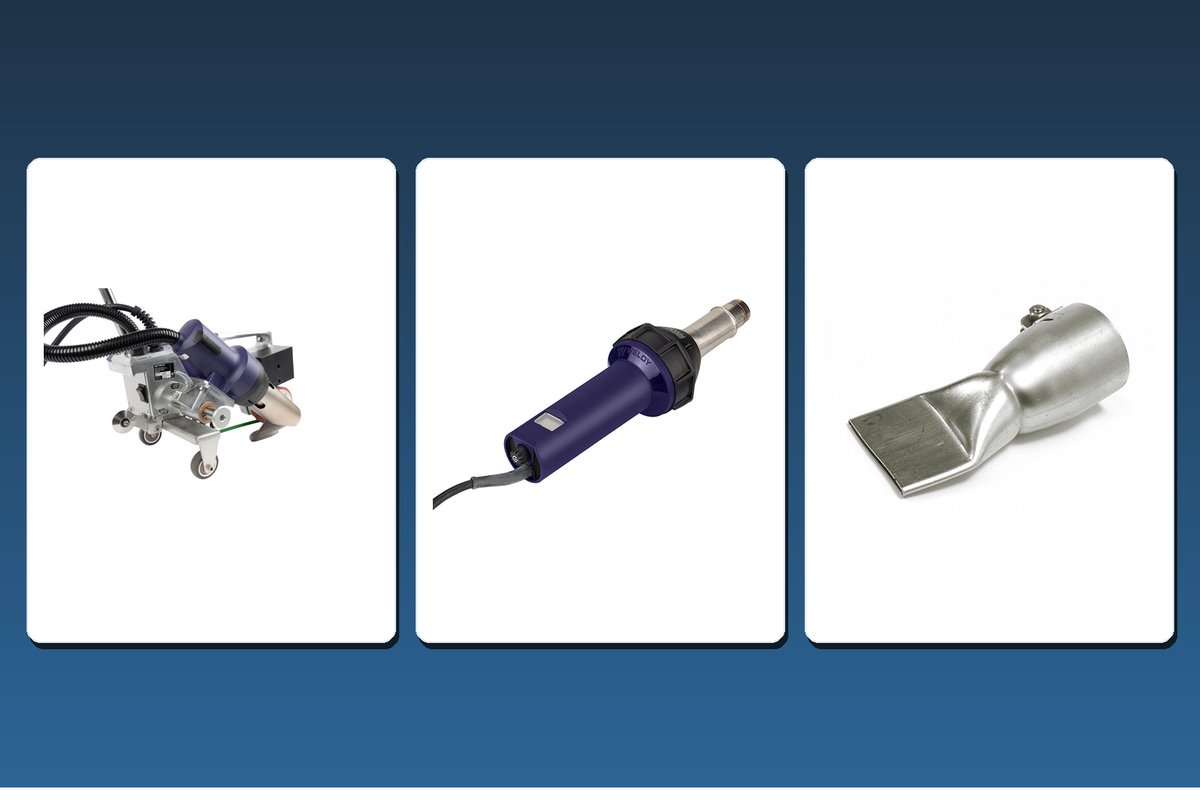
For a flat overlap — a boot flange, a curb flange, a straight flashing run — a wide slot nozzle delivers the hot air in a band instead of a narrow strip, so both overlapped surfaces are heated together. We stock the 40 × 2 mm wide slot nozzle (124.777) and the 20 × 2 mm wide slot nozzle (124.772); the narrower head reaches inside corners and around a pipe where a wider head will not seat flat.
Both are direct-fit: they mount straight onto the gun’s Ø 31.5 mm connection with no adapter. That is worth stating plainly, because it is not true of every nozzle type. Speed and tacking nozzles use a two-part setup: a Ø 31.5 mm tubular nozzle mounts on the gun first, and the Ø 8 mm push-fit speed or tacking nozzle mounts onto that tubular nozzle. The wide slot nozzle size comparison covers the ranges we stock.

Roller: match it to the detail you are closing
The roller is what turns plasticized membrane into a welded seam, and it has to reach the same place the nozzle just heated. We stock the 40 mm silicone pressure roller (130.611) and the 30 mm silicone pressure roller (130.146). Both share the same silicone body and ball bearing, and the key specified difference is the working width. The 30 mm vs 40 mm pressure roller guide compares them. Always check the roofing-system manufacturer’s detail manual, because some systems specify a particular roller width, hardness or hand-welding sequence.
Automatic Welder vs Hot Air Gun: Where Each One Fits
The table below is a job-by-job view of the tool the work normally goes to. It describes what each tool is specified and shaped for, not what a skilled operator can improvise with either one.
| What is being closed | Automatic roofing welder | Hot air gun |
|---|---|---|
| Long straight seams on the open field | The work it is built around: set the travel speed, guide along the overlap, monitor the run | Possible, but less efficient and more operator-dependent on long continuous runs |
| Seam intersections and T-joints | Used for the main seam runs; the T-joint may require additional hand finishing or a cover patch depending on the membrane system | Used where the roofing-system detail requires additional hand welding, finishing or a cover patch |
| Inside and outside corners | Cannot follow the change of direction | The normal tool, with a slot nozzle narrow enough to seat flat |
| Pipe penetrations, boots and drains | Not designed to reach around a penetration | The normal tool, working around it with a narrower slot nozzle |
| Curbs, parapets, terminations and flashing | Not designed to turn up onto a vertical surface | The normal tool, with the nozzle held flat along the flashing |
| Close-to-the-edge work in narrow areas | Weldy specifies the Roof40 for close-to-the-edge welding in narrow areas down to approximately 100 mm | Where the geometry is tighter still, the detail is finished by hand |
| Repairs and patch work on a finished roof | A short or irregular patch is usually quicker to set up by hand | The normal tool for repairs and patches |
Where the Split Falls on a Real Roof
On projects that use both tools, crews typically divide the work by geometry: the automatic welder handles suitable field seams, while the hand gun handles corners, boots, penetrations and other details the machine cannot practically complete. The actual installation and hand-welding sequence should follow the membrane manufacturer’s instructions and project specification.
Follow the membrane manufacturer’s specified hand-welding sequence. Some roofing systems require a pre-weld or multi-step hand-welding method before the final weld; do not assume every TPO or PVC detail is completed in one pass. TPO and PVC are different polymers and should not be assumed to use the same welding settings — follow the membrane manufacturer’s starting parameters and confirm them with a trial weld.
Both tools also have to be verified before the work is signed off. Establish the setup with a trial weld on a sample of the membrane you are installing, then assess the finished work against the membrane manufacturer’s instructions and the project acceptance criteria. Whether the seam has to meet a watertightness requirement, and how that is verified, comes from the project specification. The detail welding guide takes the hand-welding side step by step.

Do You Need Both Tools?
Three honest answers, depending on what you actually weld:
- Details, repairs and small areas only. A hot air gun, a wide slot nozzle and a silicone roller cover the work, and an automatic machine may add little value.
- Long field seams, with details as well. Both tools earn their place: the machine closes the field seams, and the hand gun closes everything the run cannot follow. Many commercial roofing projects therefore use both tool types.
- Large-area membrane work. The machine does the bulk of the linear work; the hand gun is still needed for penetrations, terminations and repairs that typically accompany the installation.
The practical way to choose is by workload, not by category. A machine buys consistent travel along a long seam; a hand gun buys reach into geometry a machine cannot practically enter. Sourcing the gun, the nozzles, the roller and the brushes as separate items means matching every connection yourself. The energy HT1600 overlap welding kit and the energy HT1600D overlap welding kit arrive matched: 1,600 W gun, the 40 × 2 mm and 20 × 2 mm wide slot nozzles, a 40 mm silicone pressure roller, and spare blower-motor carbon brushes (125.810). Choose 120 V or 230 V for your supply.
Possible Causes When a Seam or a Detail Looks Wrong
Seam faults rarely have a single cause, and none of them belongs to one accessory or one step on its own. The same symptom can come from the machine side or the hand side of the job.
| What you see | Possible causes | Where to check |
|---|---|---|
| Field seam opens along the overlap | Travel speed, temperature setting, air volume, wheel or roller pressure, contamination on the faces, or overlap below the specified width | Trial weld from the same roll, the machine settings used, the manufacturer’s welding instructions, the project acceptance criteria |
| Seam line looks glossy, thinned or discoloured | Temperature too high for the membrane, travel too slow, or dwell at the start and stop of a run | Temperature setting, travel habit, where the run starts and stops |
| Wrinkles or bridging in a field seam | Membrane not lying flat ahead of the machine, uneven overlap, or trapped air under the sheet | How the membrane is laid out and held ahead of the run, guide tracking |
| Detail opens at a corner or over a penetration | Slot width not suited to the geometry, roller unable to seat flat, overlap reduced to make the detail fit, or contamination on the faces | Whether a narrower nozzle is needed, roller access, overlap layout before welding |
| Hand weld looks complete but fails a seam check after cooling | Insufficient heat input, uneven roller pressure, contamination, or the membrane manufacturer’s hand-welding sequence not followed | Trial weld, roller technique, the cleaning step, the membrane manufacturer’s seam-check procedure |
A field seam check does not replace the trial weld used to establish the welding setup. Repair any unacceptable area according to the membrane manufacturer’s approved repair procedure.
Keeping Both Tools Working
Inspect and clean both tools before use and as needed. On the hand gun, keep the nozzle slot clear of burnt material, because a partly blocked slot spreads heat unevenly and shows up later as a patchy weld, and check the blower-motor carbon brushes for wear since they are a service item on the Energy-series guns. On the machine, check the drive wheel, the guide and the hot-air outlet before a run and keep the air intake clear. Store the silicone roller clean and out of direct sun.
Setting Up a Working Combination
Weissenberg Store is an authorised Weldy distributor and also manufactures the RYG, RYH, RYA, CONDOR, HAWK and GOPHER lines. Tell us the membrane you are welding and how much of the roof is field seam versus detail, and our technical team will point you at the right combination of machine, gun, nozzle and roller. Shop the roofing welders, hot air guns and accessories. Every item ships with a 1-year warranty.





Leave a comment
This site is protected by hCaptcha and the hCaptcha Privacy Policy and Terms of Service apply.