
Quick answer
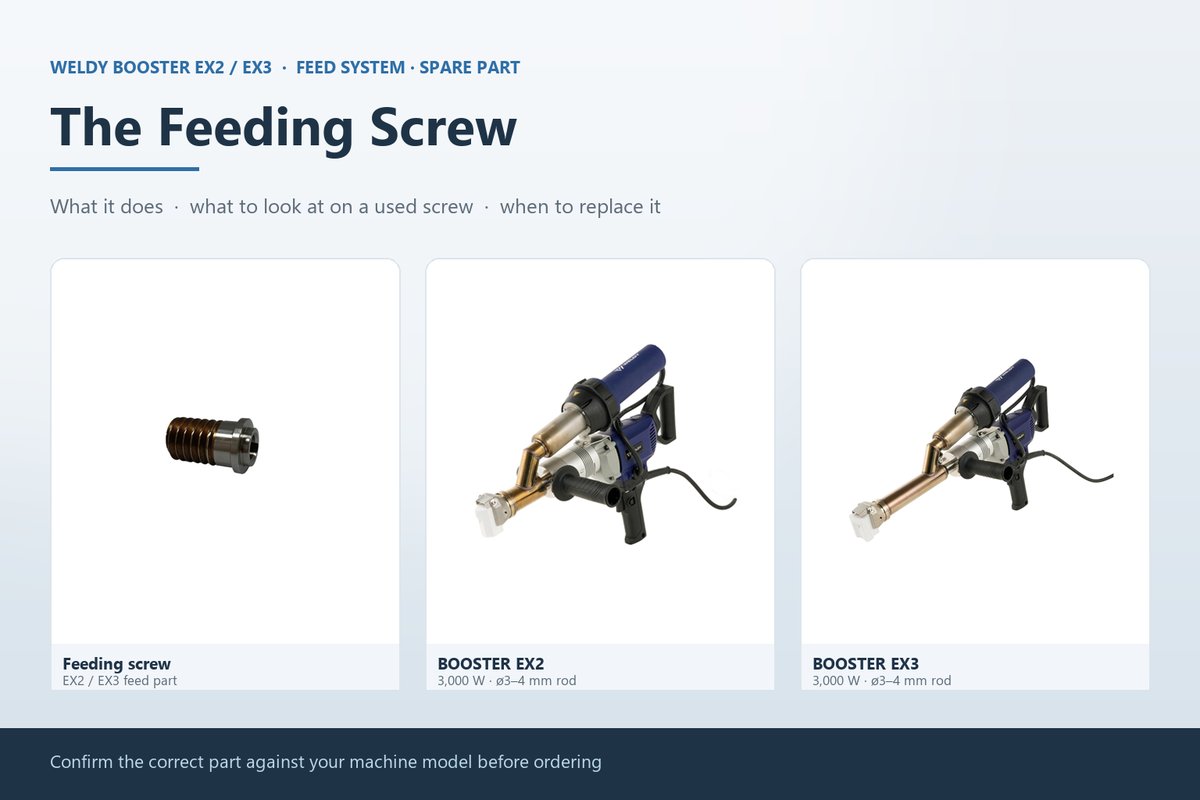
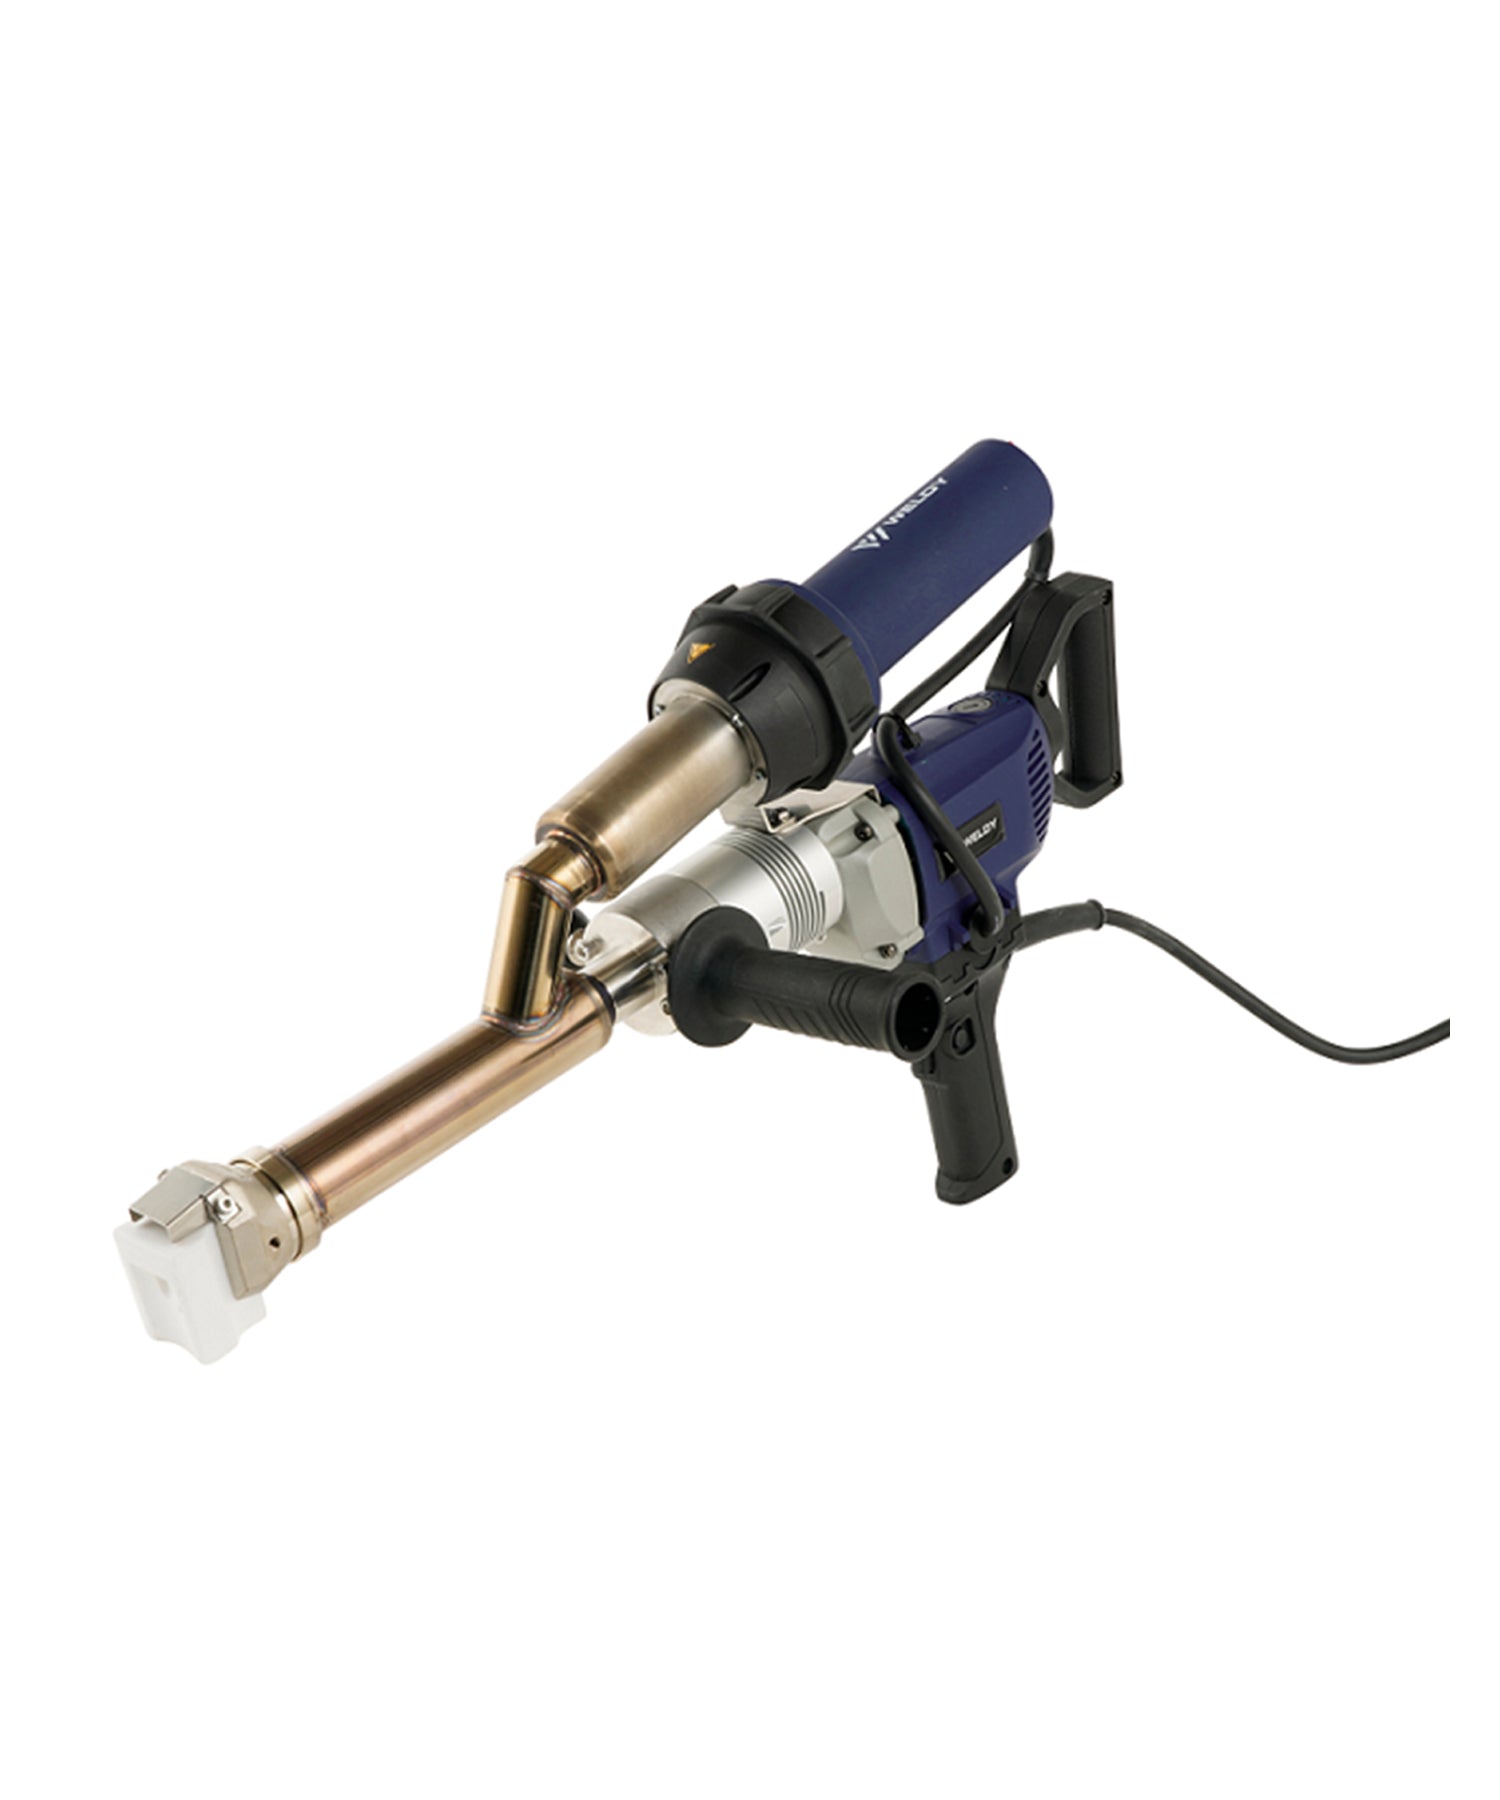
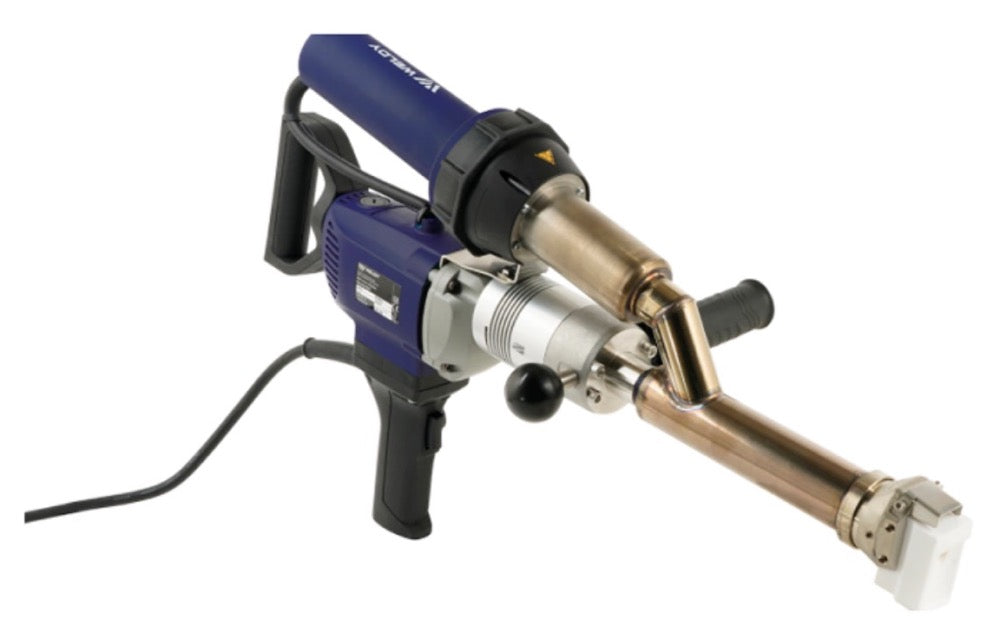
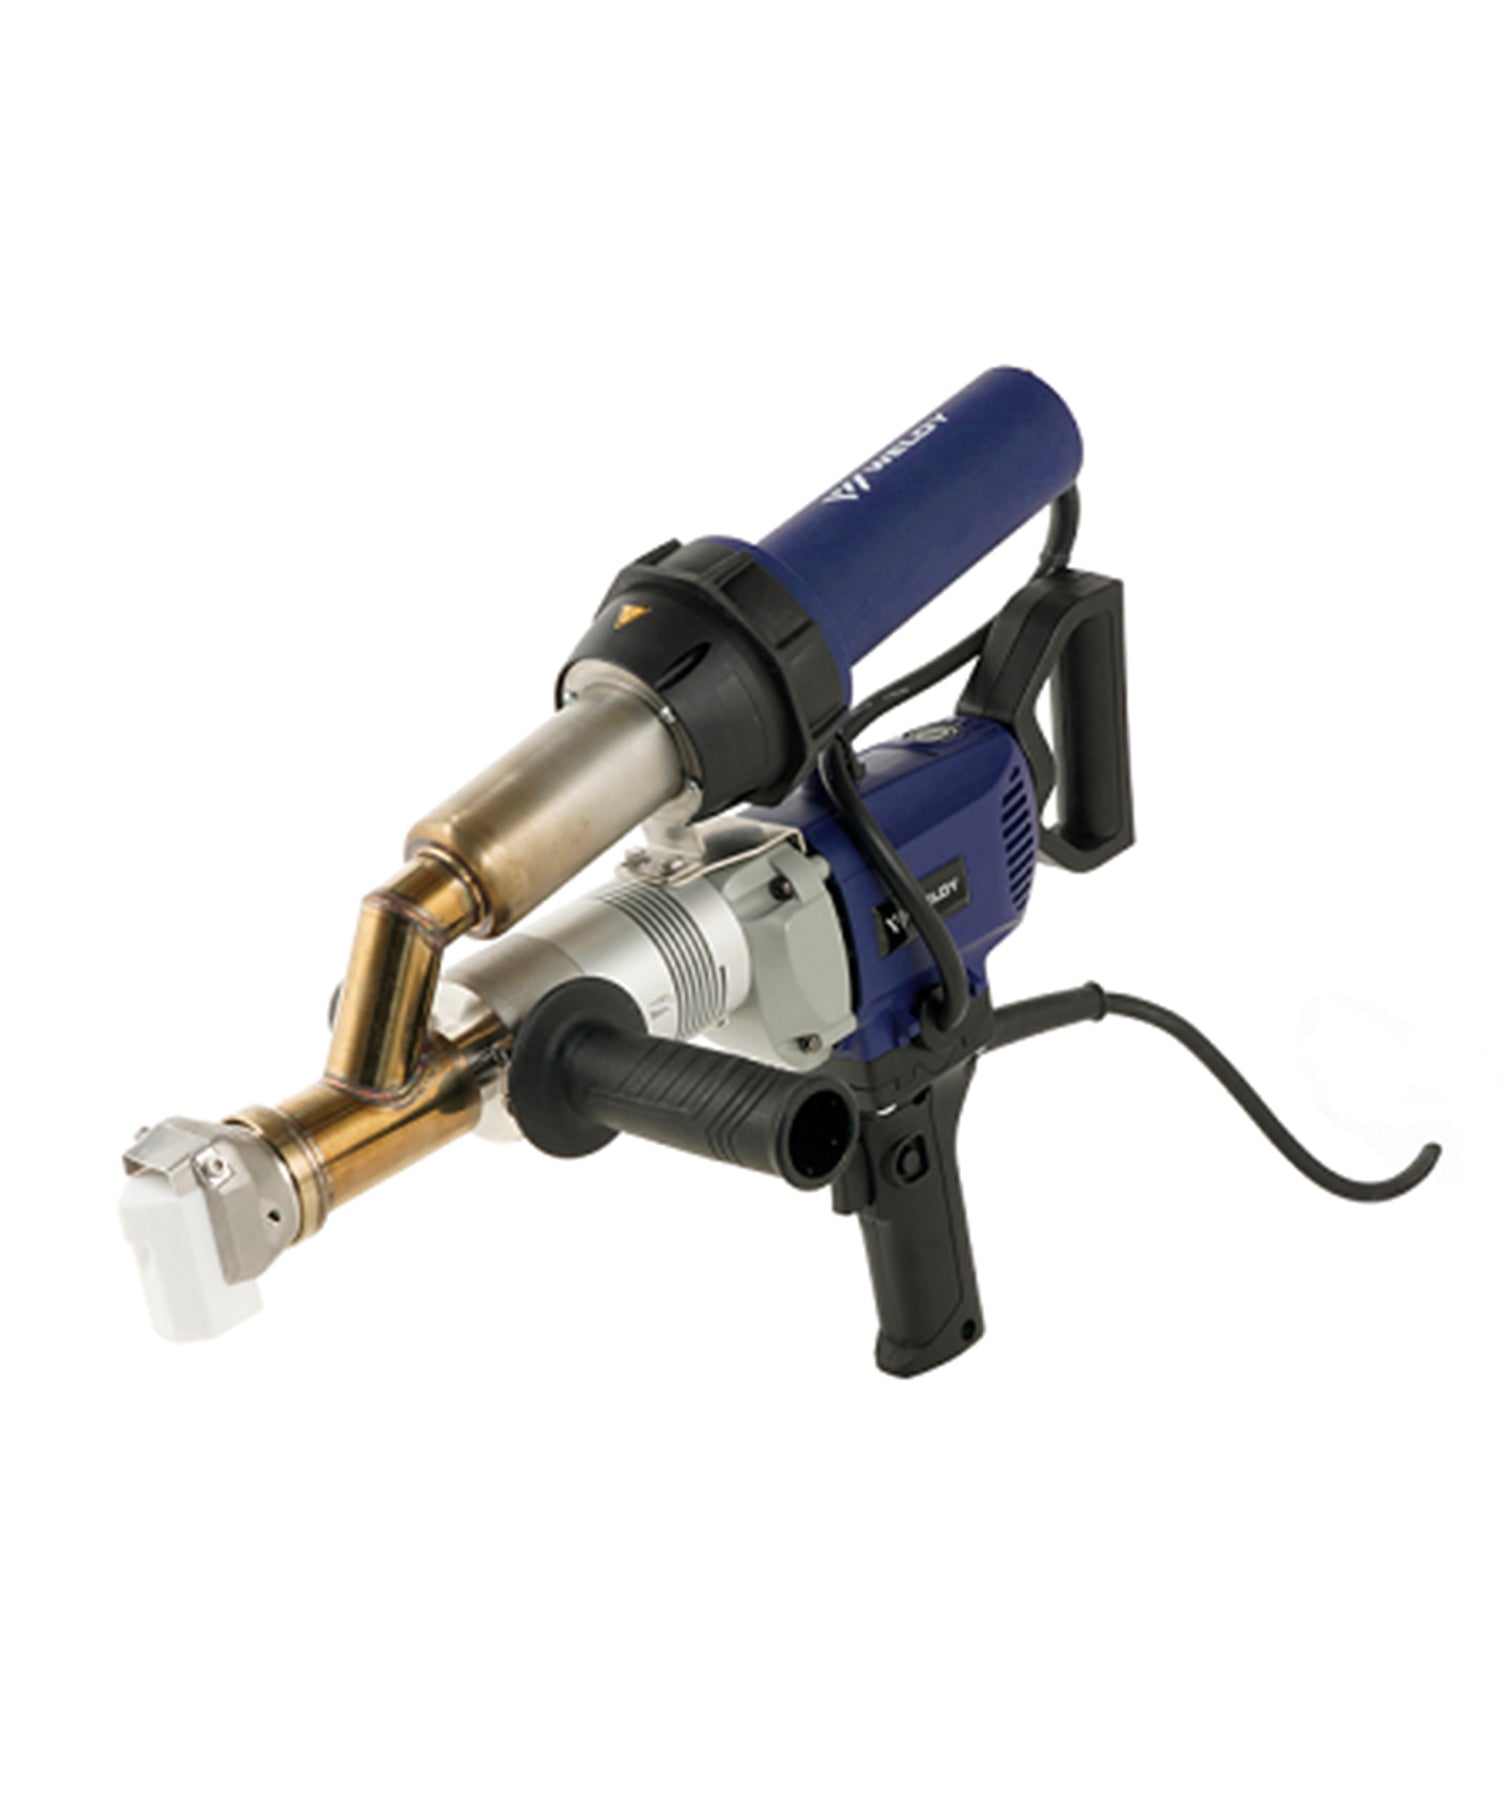
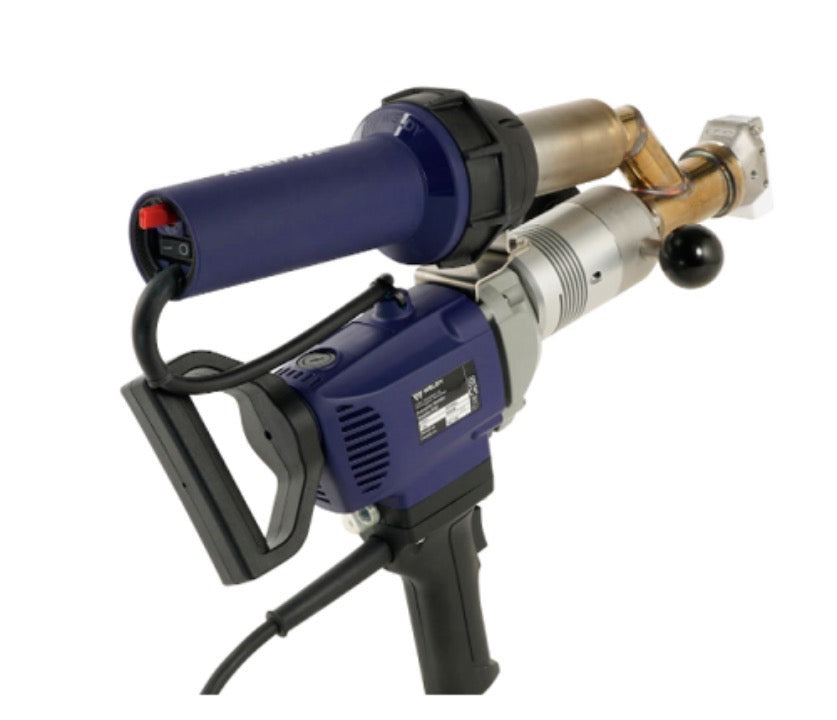
The extrusion welder feeding screw is the auger inside the barrel of a Weldy BOOSTER EX2 or BOOSTER EX3. It takes welding rod from the inlet, conveys it through the heated barrel and delivers plasticised material to the welding shoe, so the rod leaves the tool as a weld.
It is a wear part. How much change is still acceptable is set out by the machine manufacturer rather than by a visual rule of thumb, so the manufacturer’s service criteria are the reference when you are deciding whether a screw is still serviceable.
Confirm the part against your machine model before ordering. The feed chain on these two machines holds three separate parts, and a rod feed symptom on its own does not identify which of them has changed.
The feeding screw is the part of a hand extrusion welder that nobody looks at until the rod stops moving the way it used to. On a Weldy BOOSTER EX2 or BOOSTER EX3 it sits inside the barrel, behind the welding shoe, and it is the only component that carries the rod from the inlet all the way into the melt.
This page covers what the feeding screw does, what to look at on a screw that has seen service, how to tell a screw question from a drive question, and how to make sure the screw you order is the one listed for your machine. It does not replace the machine’s own service instructions.
What the Feeding Screw Does in a BOOSTER EX2 or EX3
Both machines use an internal, air-heated screw system. In that system the screw does two jobs at once: it conveys the rod forward from the inlet, and it carries the rod through the heated part of the barrel so that the material reaches the shoe in a workable state.
Because the screw sits between the drive and the shoe, everything an operator notices as “feed” passes through it. A screw that is conveying, a drive that is turning and a rod that is within the grade and diameter the machine is specified for together produce a steady bead. Change any one of the three and the bead changes with it — which is why a screw question and a drive question look alike from the operator’s side of the tool.
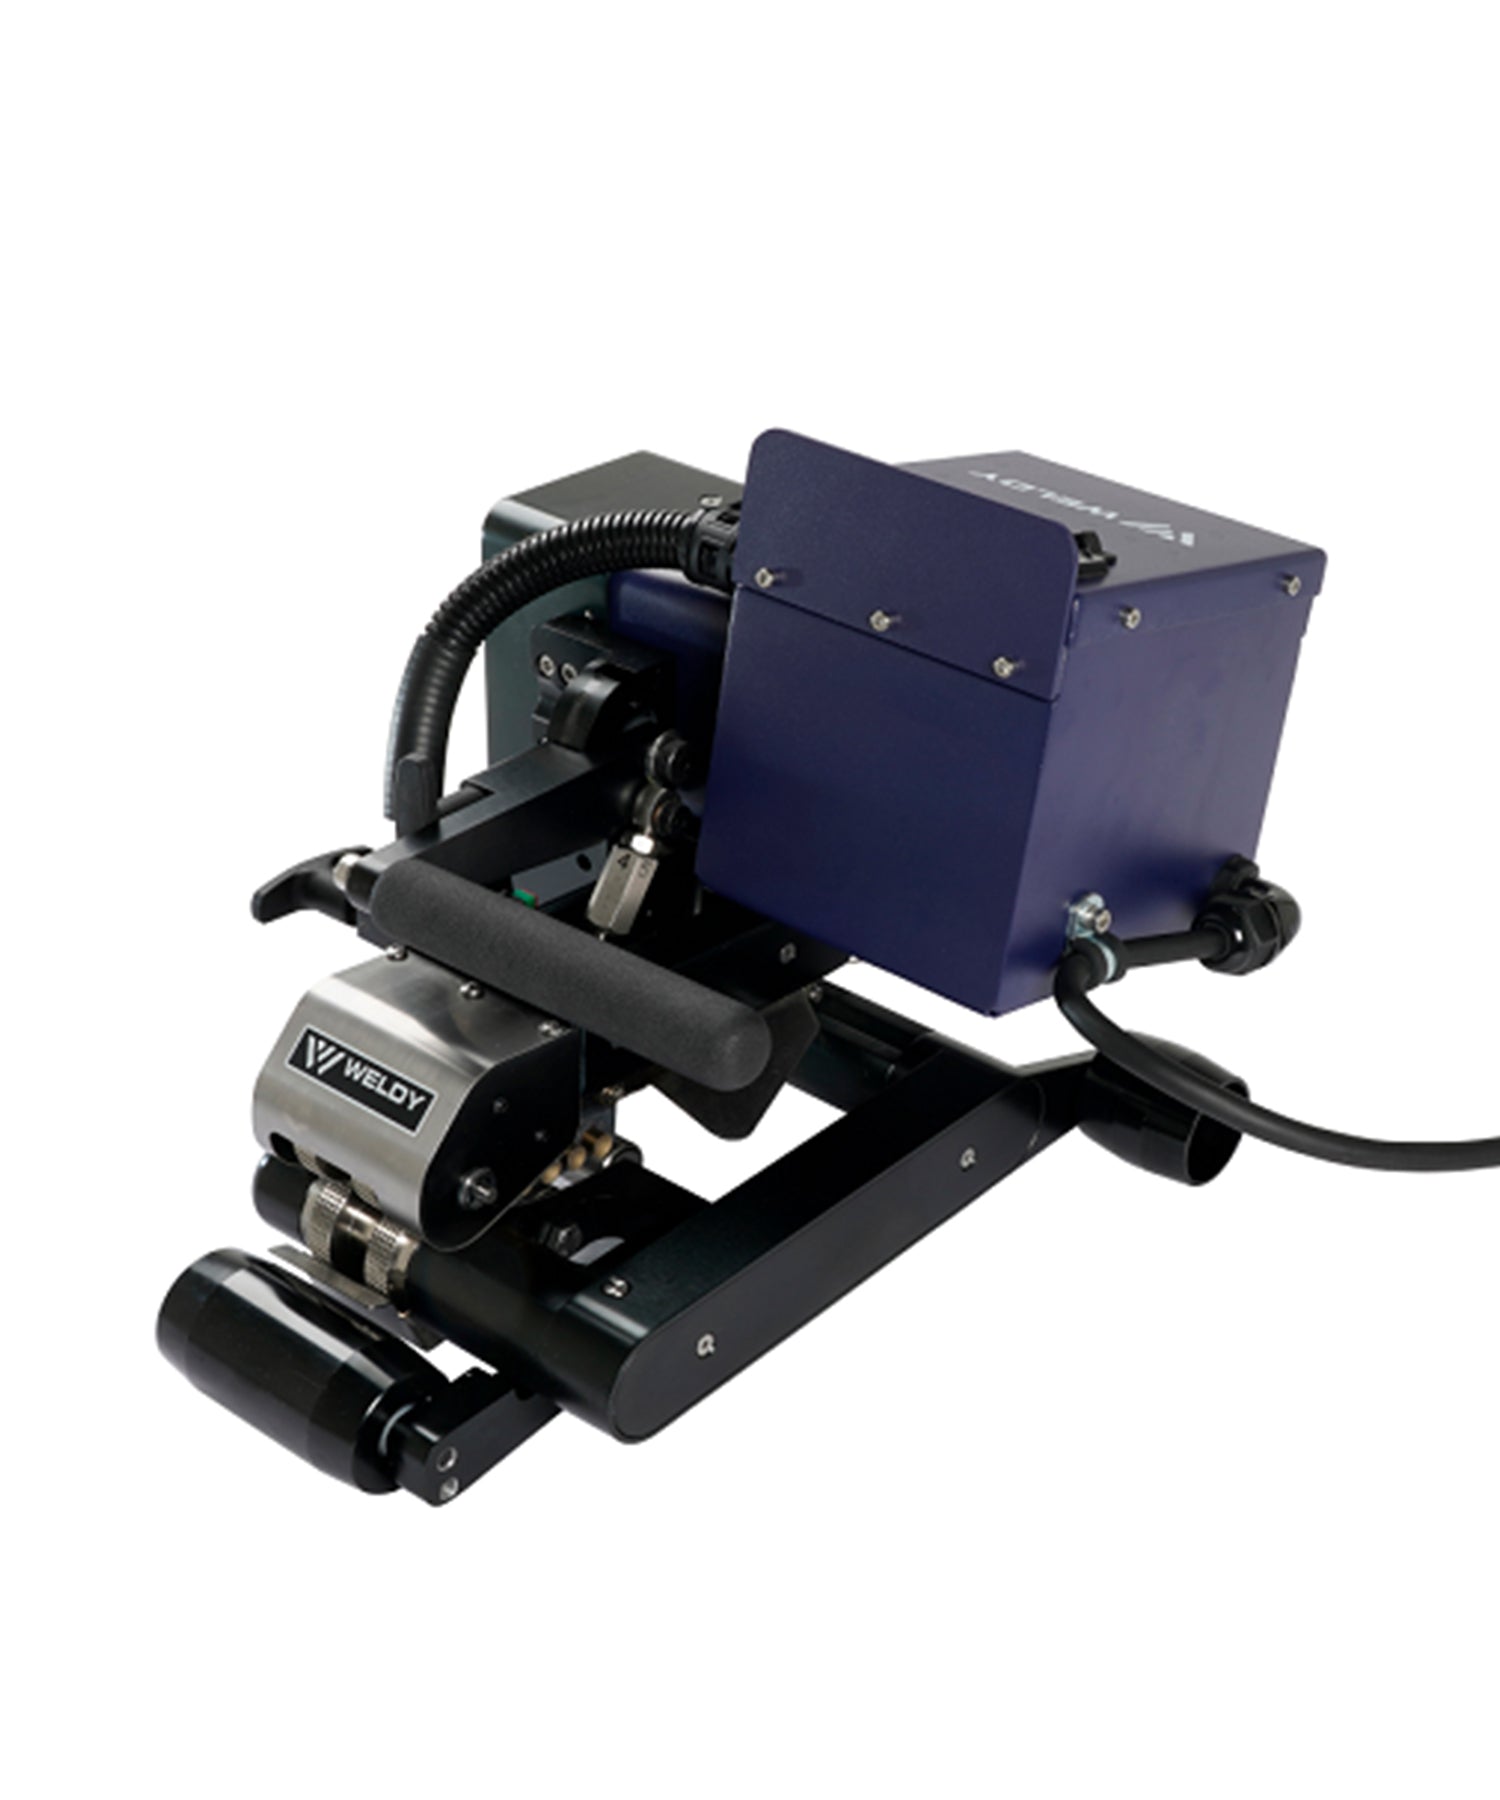
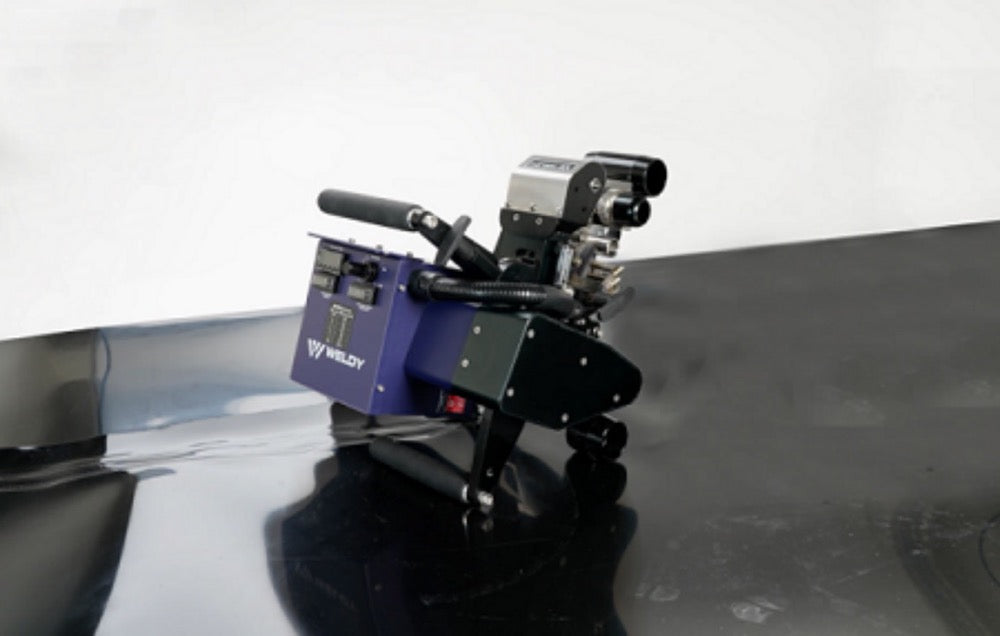
The output figures published for these machines describe the machine, not the screw on its own. Weldy lists the BOOSTER EX2 at 1.5 kg/h with ø 3 mm rod and 2.2 kg/h with ø 4 mm rod, and the BOOSTER EX3 at 2.5 kg/h and 3.6 kg/h for the same two rod sizes; both are 3,000 W machines that run rod from ø 3 mm to ø 4 mm. Machine specification and the working range each model is intended for are set out on the BOOSTER EX2 and BOOSTER EX3 product pages.
Extrusion Welder Feeding Screw: What to Check on a Used Screw
Inspect with the tool disconnected from the supply and cool, and with the barrel clean. The points below describe what to look at. What counts as worn is decided by the machine manufacturer’s service criteria, not by a visual rule of thumb.
- The surface that engages the rod. On a screw that has seen service, that surface can change. Whether the change has reached the point where it affects feeding is a question for the manufacturer’s service criteria rather than for a judgement made by eye.
- Visible mechanical damage. Look for scoring, deformation or other mechanical damage. If damage is present, report it rather than working around it.
- Material left in the barrel or on the screw. Material left in a tool after a job can set and interfere with the next run. Cleaning and storage between jobs should follow the manufacturer’s instructions.
- The parts around the screw. The screw only conveys as well as the drive that turns it and the rod it is given. Both belong in the same inspection.
| What you observe | What it can point to | Where to look next |
|---|---|---|
| The surface that engages the rod has changed; feed is weak but continuous | A screw that is no longer conveying as it did, or a drive that is no longer turning it as it did | Have the screw assessed against the manufacturer’s service criteria, and check the drive side in the same pass |
| Visible scoring, deformation or other mechanical damage on the screw | A screw that should be taken out of service | Replace with a genuine part, and refit to the machine’s service instructions |
| Material has set in the barrel since the last job | A storage or cleaning issue rather than a worn part | Clean and store the tool as the manufacturer specifies, then re-test before ordering anything |
| Rod feeds steadily but the weld is poor | Not a screw fault: heat input, travel speed, airflow or surface preparation | The process settings, not the parts list |
The last row keeps the table honest. A steady rod feed with a poor weld sends you to the process settings, and the screw is not part of that investigation.
A rod that slips, surges or stops is a symptom rather than a diagnosis, and it does not identify a single part by itself. Our guide to extrusion welder rod feed problems works through that symptom on the EX2 and EX3 in six checks, and this page is the deeper look at the screw that sits in that chain.
Feeding Screw Wear: What Changes Over a Service Life
The feeding screw is treated as a wear item on both machines. It runs in the hottest part of the tool and it carries the rod for every metre of seam the extruder lays, so it is a part that is expected to be replaced during the life of the machine rather than one that lasts indefinitely.
What changes over that service life, and how far that change can go before the screw is no longer serviceable, is defined by the machine manufacturer. There is no cross-machine wear limit that can be applied from the outside, and we do not publish one. Two extruders that have run the same number of hours can arrive at different points, because the conditions around the screw differ.
The conditions that belong in the picture are practical ones:
- Rod specification. Use the grade and diameter the machine is specified for. Rod outside that specification is not the rod the machine is intended to run. Diameter, compatibility and storage are covered in our HDPE welding rod guide.
- Rod condition and handling. Rod that has picked up dirt, moisture or other contamination is not the condition the welding procedure assumes, and rod that has been stored badly may not travel as intended.
- Cleaning between jobs. Material left in the barrel can set and interfere with the next run. Cleaning and storage are carried out to the manufacturer’s instructions.
- How the tool is run. Temperature setting, travel speed and airflow are process variables that act on the material inside the barrel, and they are set to the values the material supplier and the job require.
None of these is a reason on its own to order a screw. They are the reasons two screws can reach the same age in different condition, and they are why the decision to replace is made against the manufacturer’s service criteria rather than against a rule of thumb from outside the machine.
Weldy EX2 vs EX3: Confirm the Screw for Your Model
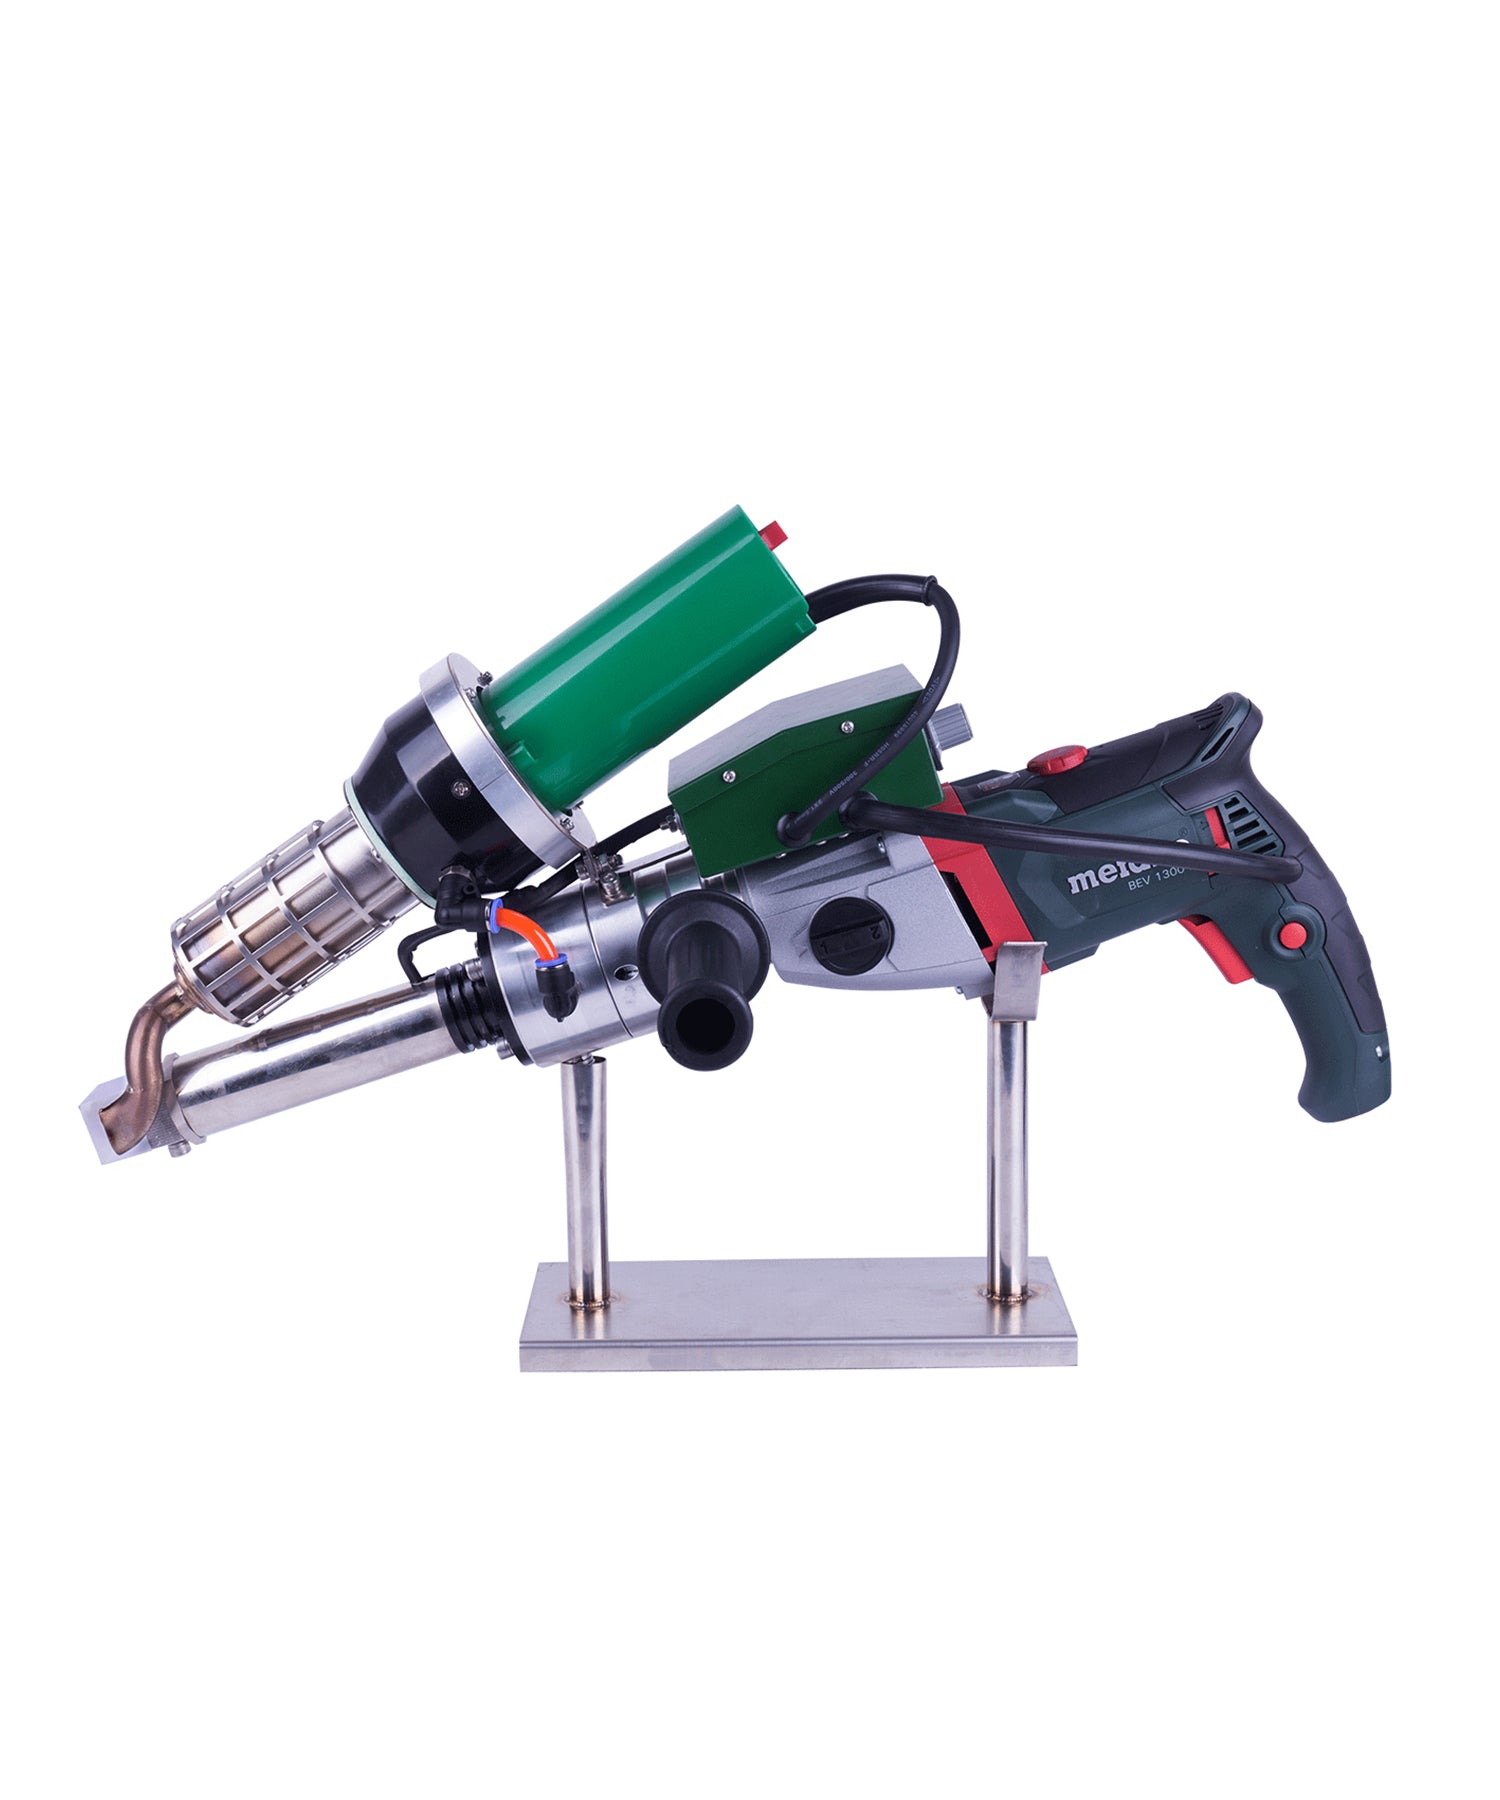
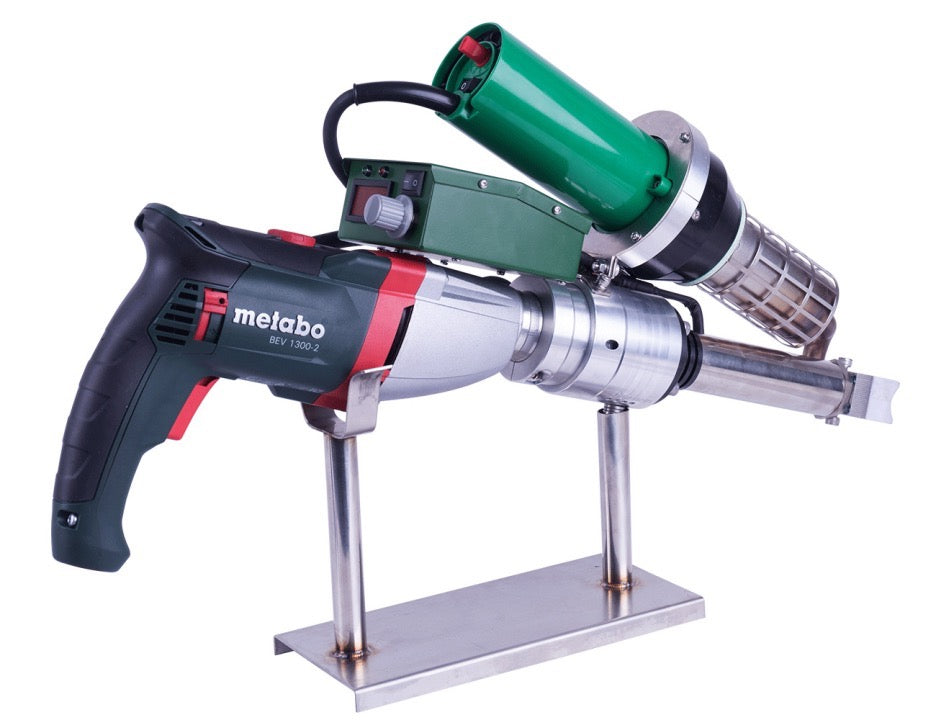
The BOOSTER EX2 and BOOSTER EX3 are two different machines with different output ratings and working ranges. Internal parts are listed per machine rather than as one generic extruder part, so give us the machine model as well as the problem you are seeing.
The two machines do share several working-end components and both accept ø 3–4 mm welding rod, which can make their spare parts easy to confuse. What they share and where they differ is set out in Weldy Booster EX2 vs EX3.
For internal feed parts, treat the model as the deciding factor. Confirm your extruder model, then check the Feeding Screw product page before ordering, because the correct part depends on the machine rather than on the rod alone.
Feeding Screw, Drive Unit and Drive Brushes: One Feed Chain, Three Parts
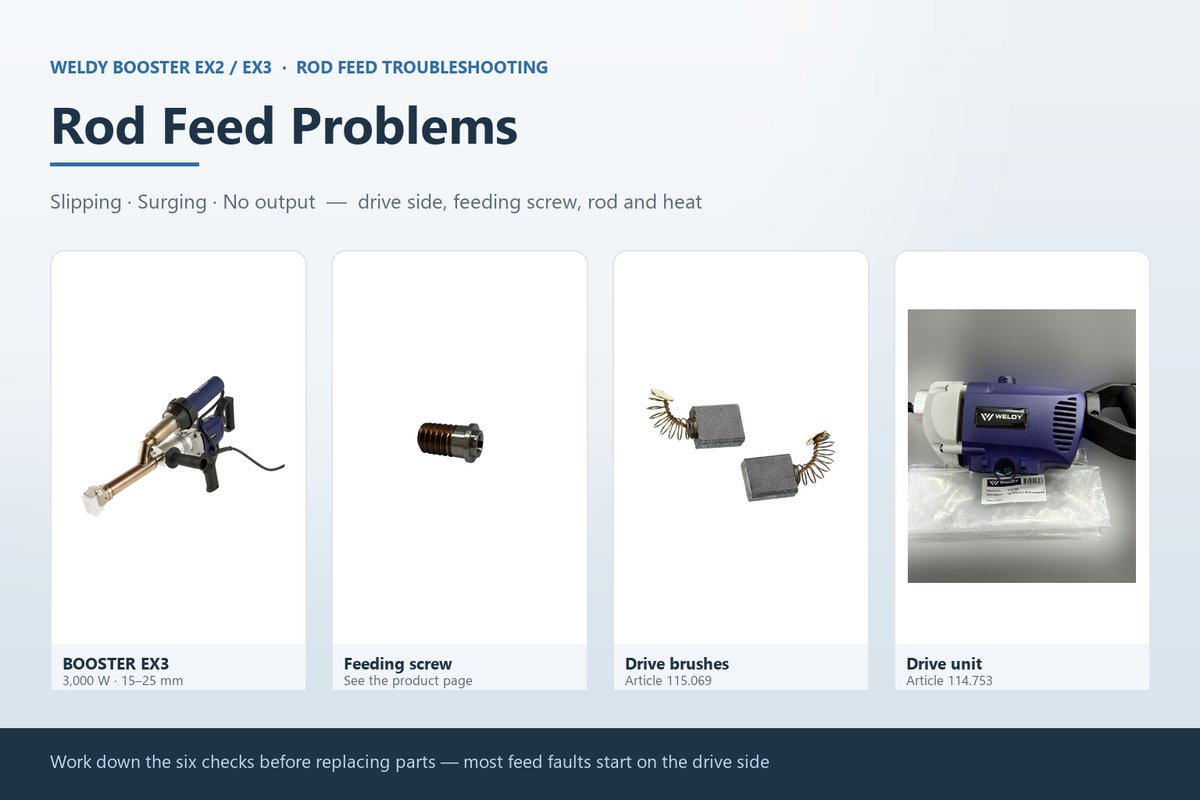
Three separate parts sit in the feed chain of an EX2 or EX3, and any of the three can change the way the rod moves:
- Feeding screw — conveys the rod through the heated barrel and delivers material to the welding shoe.
- Drive unit (electric drill) 114.753 — turns the screw. If it does not turn, or turns without carrying the screw, the coupling and the drive unit are the first areas to check.
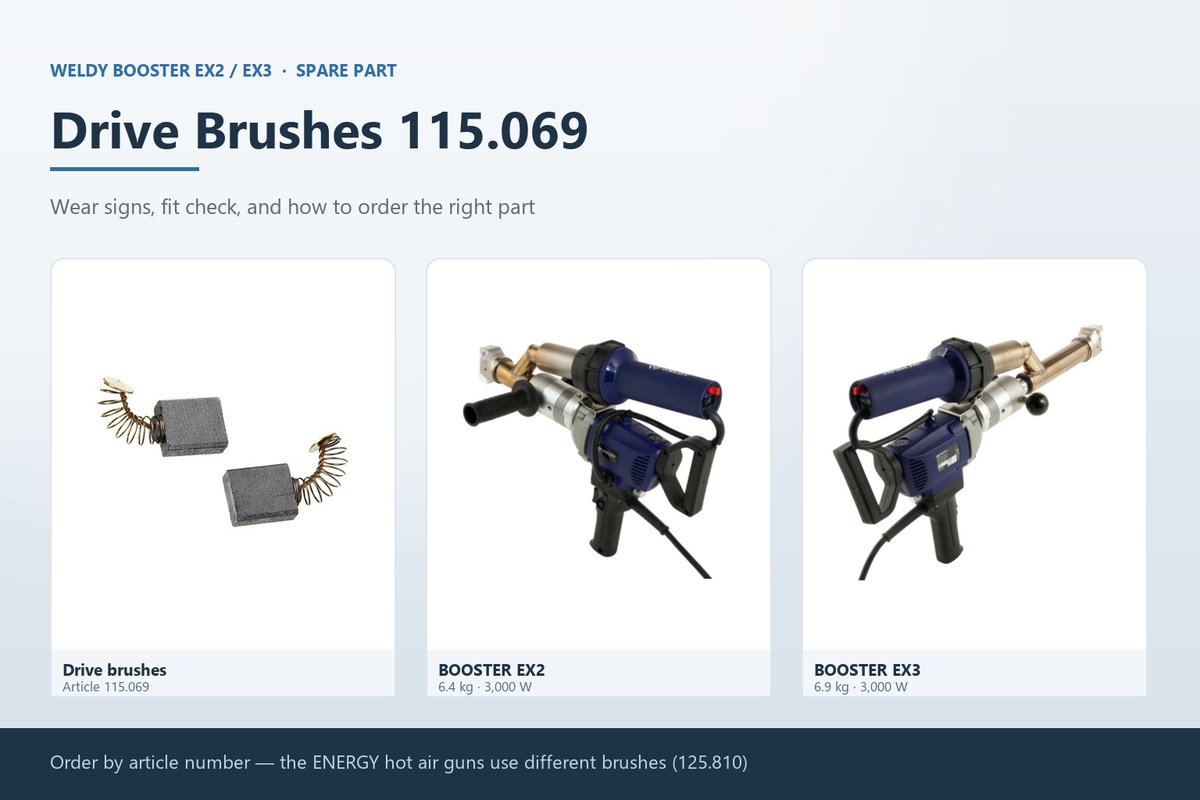
- Drive brushes 115.069 — the consumable brushes in the drive motor of both machines. A brush that has worn can leave the motor running while the feed becomes weak or uneven.


Three feed parts, three different shapes: the feeding screw, the drive unit (electric drill) and the drive brushes. Order by article number rather than by appearance.
Article 115.069 is the drive brush used in the BOOSTER EX2 and EX3 drive motor. It is a separate part from the feeding screw and the drive unit, so confirm the article number rather than ordering by appearance.
The other two parts are covered in their own pages: wear signs, fit notes and how to tell the two brush families apart are in our guide to Weldy 115.069 drive brushes, and background on the motor that turns the screw is in our article on the 114.753 drive unit.
Replace the Feeding Screw, or Look Somewhere Else First?
The decision is not automatically “order the screw”. The table below is the short version of this page.
| What you are seeing | Replace the screw? | What to do |
|---|---|---|
| Visible scoring, deformation or other mechanical damage on the screw | Yes | Fit a genuine replacement and refit the parts to the machine’s service instructions |
| The feed surface has changed and the feed is weak or uneven | Depends | Have the screw checked against the manufacturer’s service criteria before you order |
| Output is only unstable at some settings | Not yet | Reset temperature, travel speed and airflow, then run a test weld and re-assess |
| The motor runs but the screw does not turn | Depends | Check the coupling and the drive unit before the screw |
| The rod slips while the screw turns normally | Depends | Check the drive brushes and the condition of the rod in the same pass |
Three of the five rows end in “depends”, and that is the honest answer. A feeding screw can be the part that has changed, and it can also be the part that is working correctly while something else in the chain has not.
Before Replacing the Feeding Screw in an EX2 or EX3
This page does not reproduce a repair procedure: the order of work and the method for your machine come from the manufacturer’s service instructions. What follows are the stages that prepare and finish a screw replacement safely, and the points worth checking before you start.
- Disconnect and cool. Disconnect the tool from the supply and let it cool fully before you open anything. Do not inspect, disassemble or touch internal components while the tool is connected to the power supply.
- Check the warranty position first. Opening a tool can affect a warranty claim, so contact us before you dismantle an extruder that is still under warranty.
- Work to the machine’s service instructions. Open the tool in the way the manufacturer specifies for your model, and work on a clean surface — dust and debris carried into the barrel create new feed problems.
- Record what you find before you remove anything. Note the arrangement of the parts you take off, so that reassembly follows the same order.
- Fit the genuine replacement. Refit the parts to the machine’s service instructions, and use genuine spare parts. Nothing in the assembly is forced into place.
- Re-test with a test weld. After reassembly, reconnect the tool and carry out a test weld according to the manufacturer’s operating instructions, then confirm the feed and the bead are back to what the job requires.
If the feed is unchanged after a correctly fitted replacement screw, the screw was probably not the only cause. Re-check the drive chain, rod condition and process settings before replacing additional parts.
Feeding Screw: Part Reference
The feed parts for the Weldy BOOSTER EX2 and BOOSTER EX3, and what each one is listed for:
| Part | Listed for | Article number | Where to order |
|---|---|---|---|
| Feeding screw | The feed system of the Weldy BOOSTER EX2 and BOOSTER EX3 hand extrusion welders — confirm your machine model before ordering | See the product page | Feeding Screw — linked above |
| Drive brushes for BOOSTER | The drive motor of the Weldy BOOSTER EX2 and BOOSTER EX3 hand extrusion welders | 115.069 | Drive brushes for Booster |
| Electric drill (drive unit) | The drive unit for the Weldy EX2 and EX3 extruders | 114.753 | Electric Drill for EX2 EX3 |
Where an article number is listed, use it to confirm a spare part rather than ordering by appearance alone. For the feeding screw, confirm the machine model and the current product variant before ordering.
Safety Before You Open the Extruder
- Disconnect the tool from the supply and let it cool before you inspect anything.
- Do not inspect, disassemble or touch internal components while the tool is connected to the power supply.
- Opening a tool can affect a warranty claim — contact us before you dismantle anything that is still under warranty.
- Work on a clean surface. Dust and debris introduced into the barrel create new feed problems.
- Refit parts to the machine’s service instructions, and use genuine spare parts.
Get the Right Feeding Screw for Your EX2 or EX3
As a Weldy distributor we supply genuine Weldy spare parts for the BOOSTER EX2 and EX3, including the feeding screw, the drive brushes (115.069) and the drive unit (114.753). If you are not sure whether the screw is the part that has changed, tell us the machine model and what the rod feed is doing, and our technical team will help you confirm the part before you order.






Leave a comment
This site is protected by hCaptcha and the hCaptcha Privacy Policy and Terms of Service apply.