
Quick answer
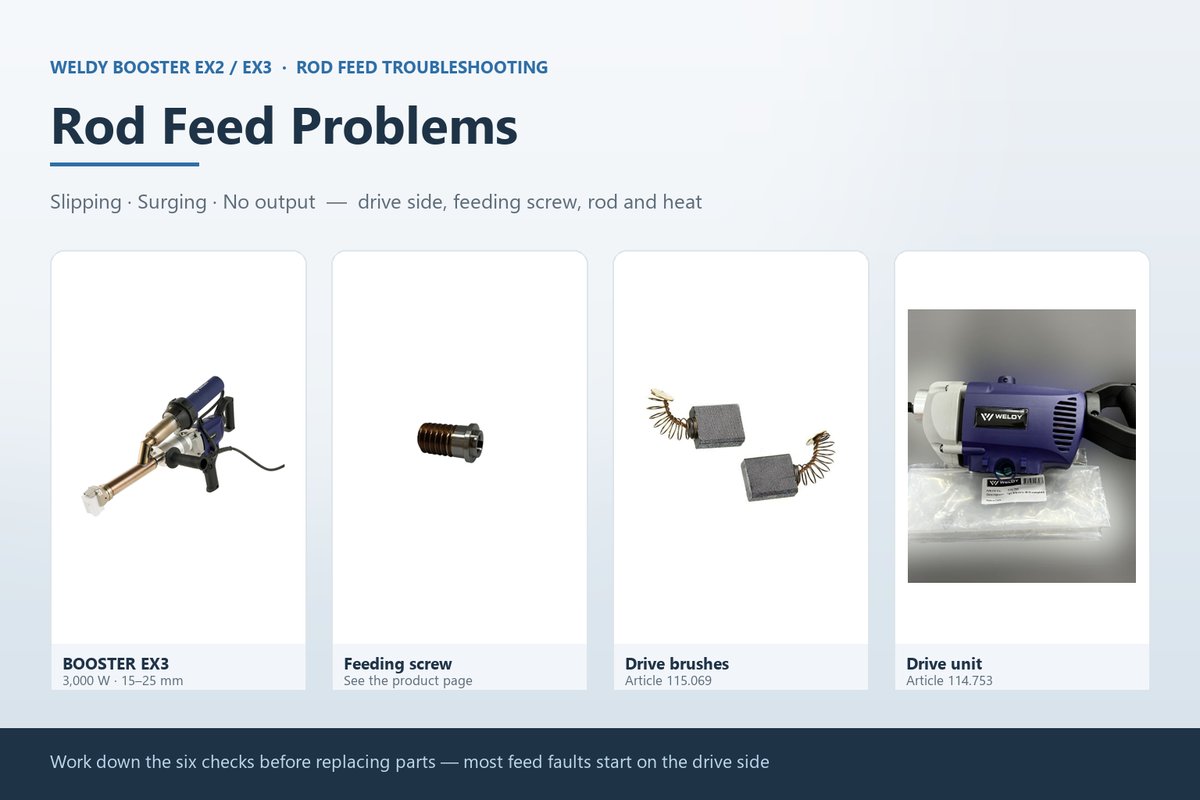
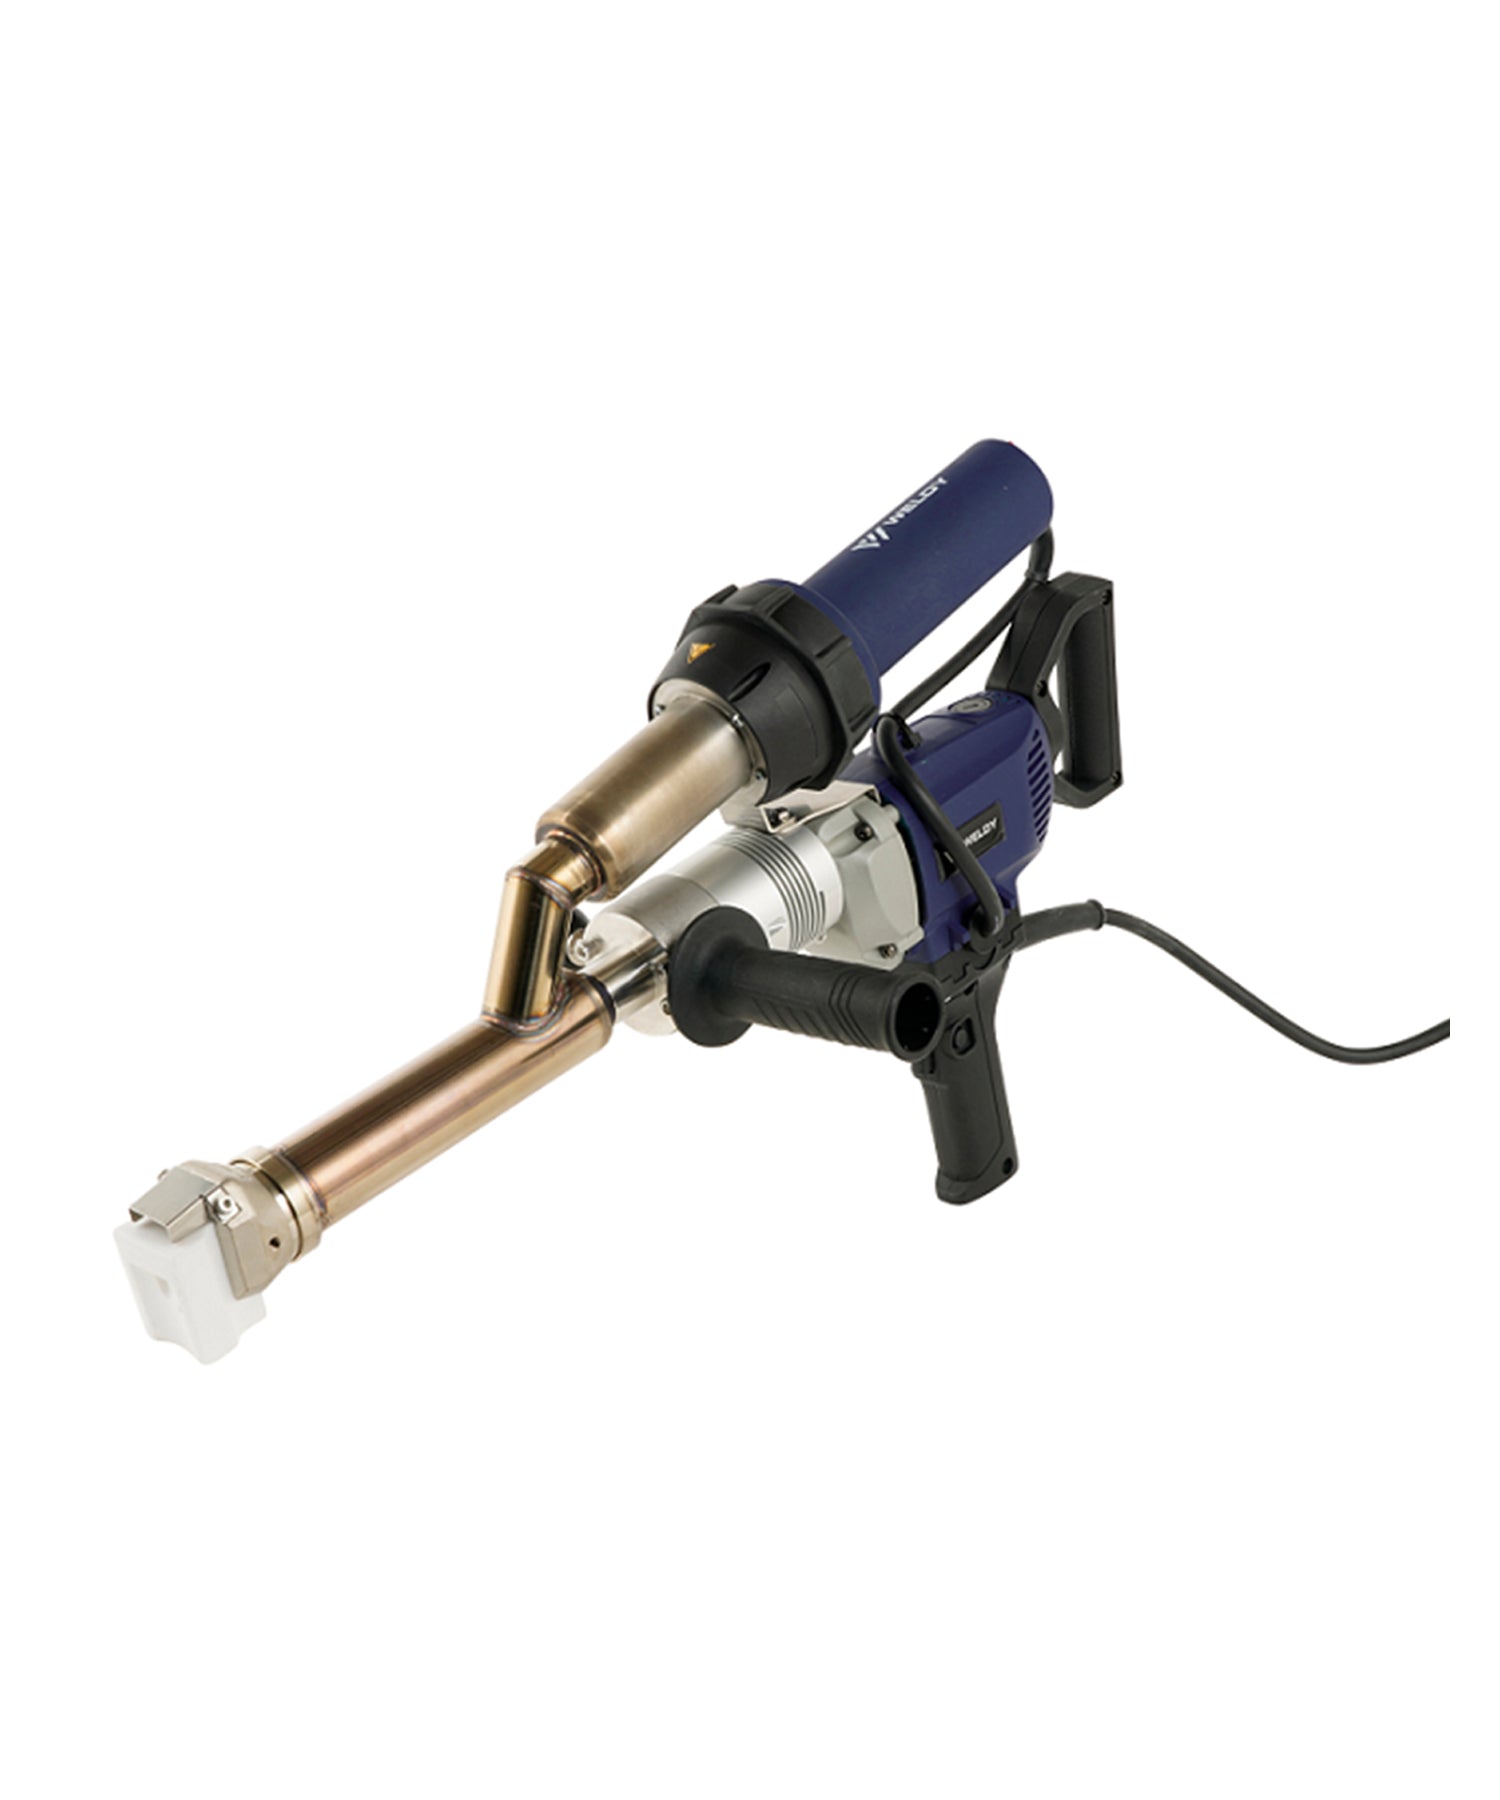
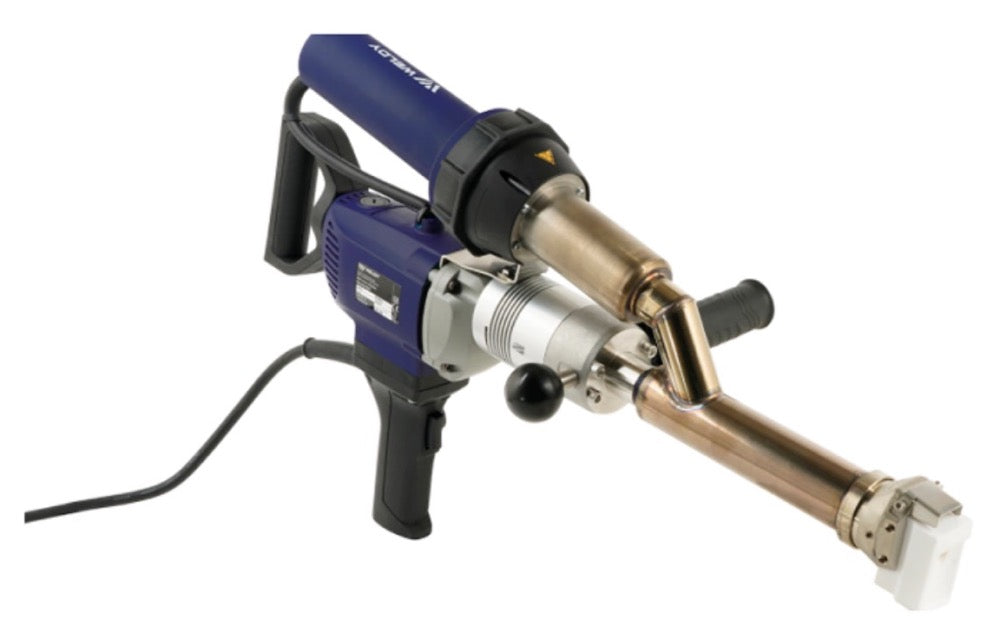
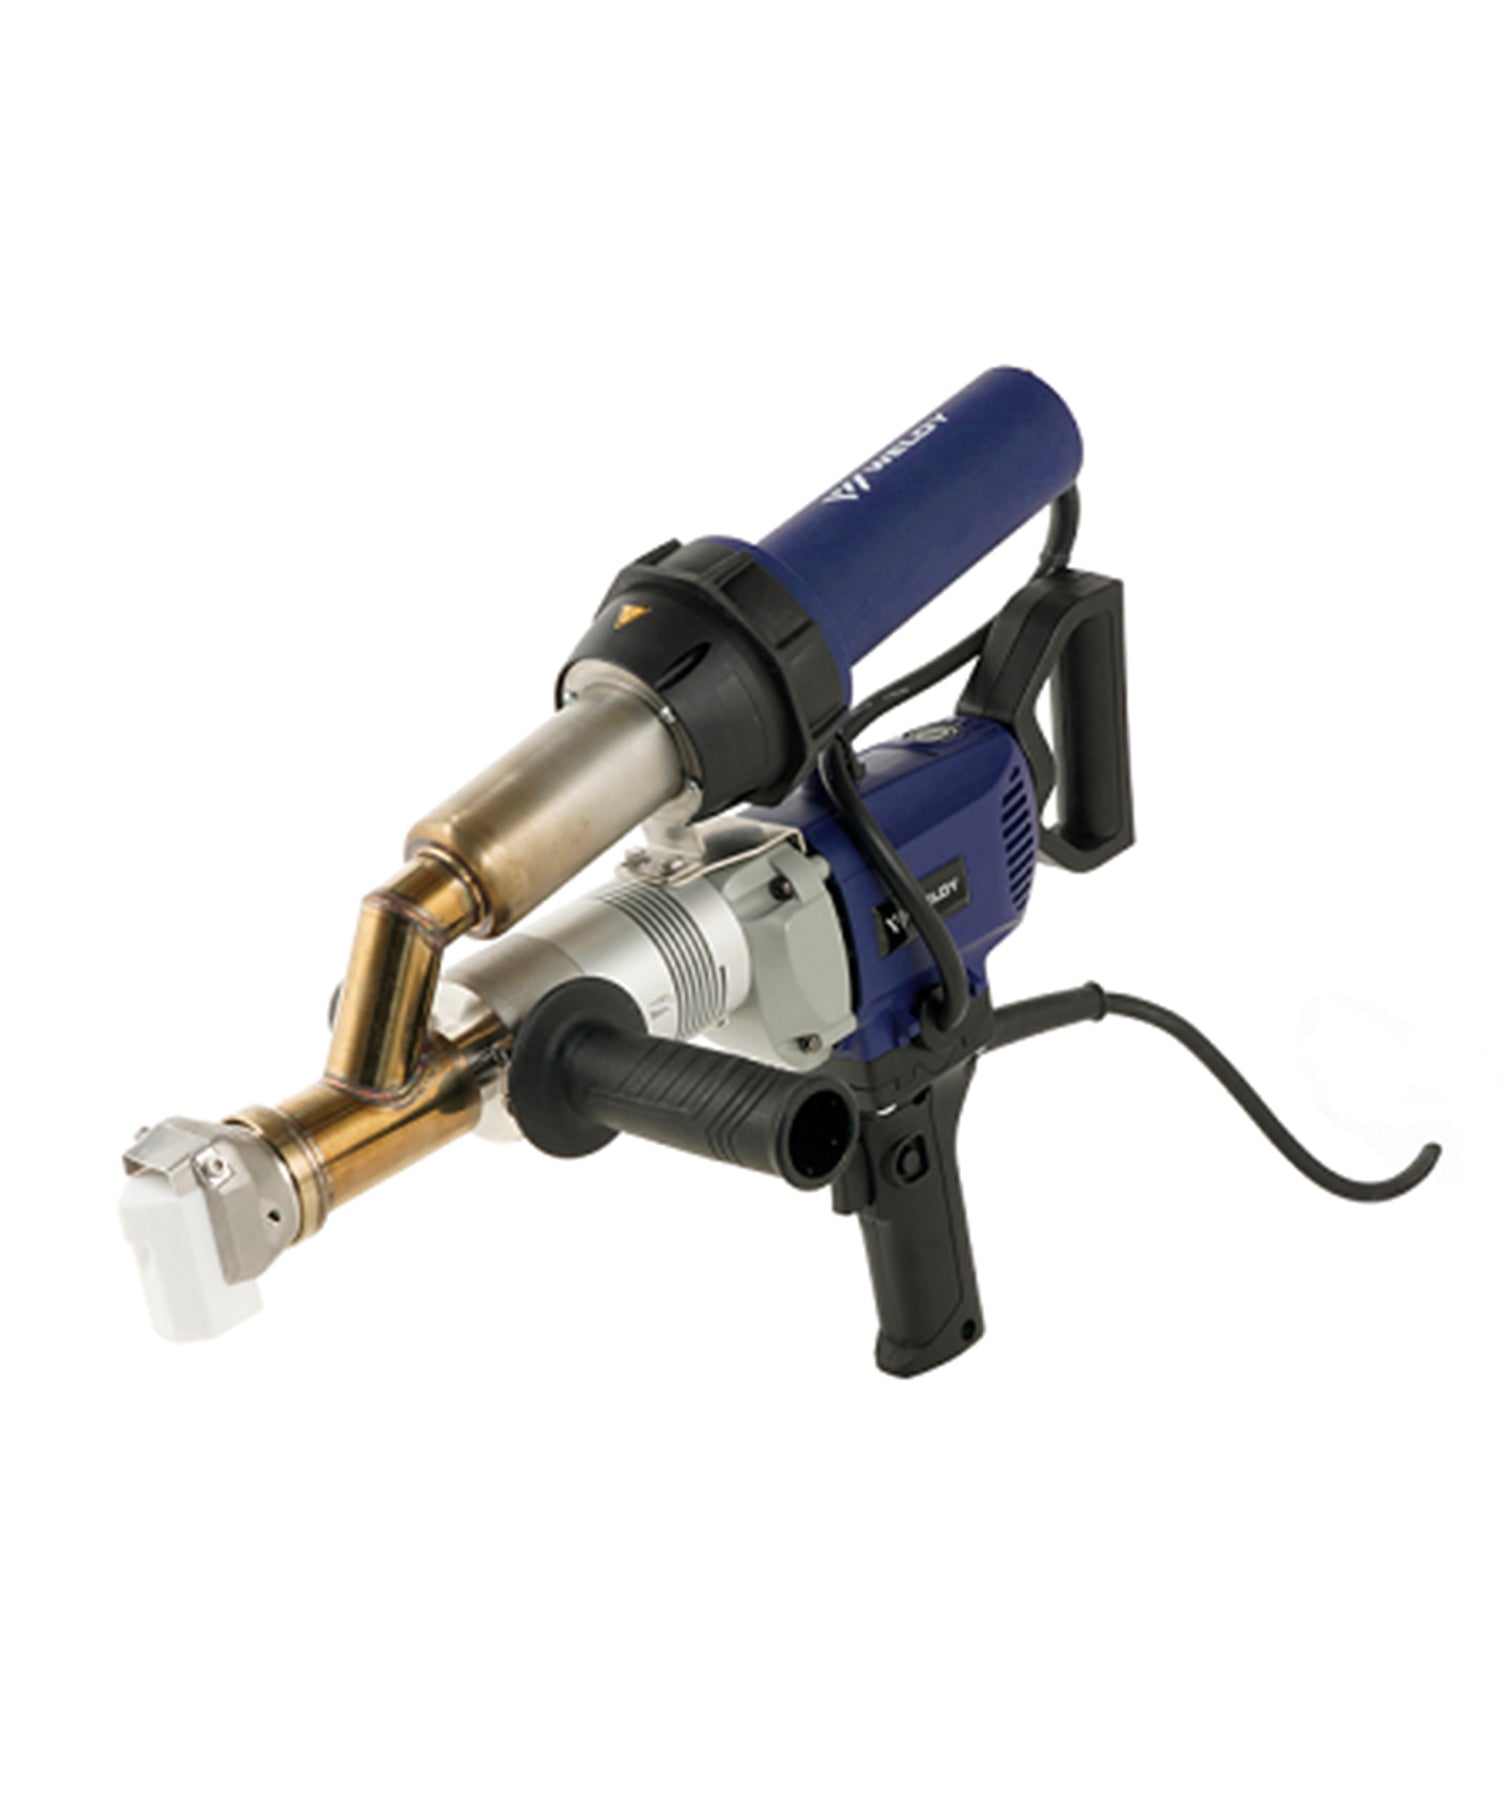
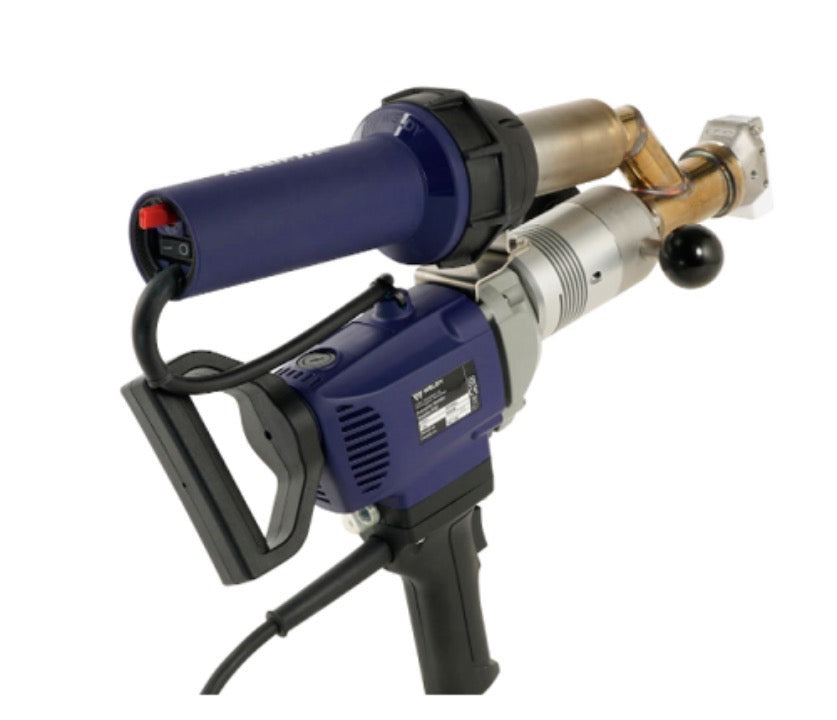
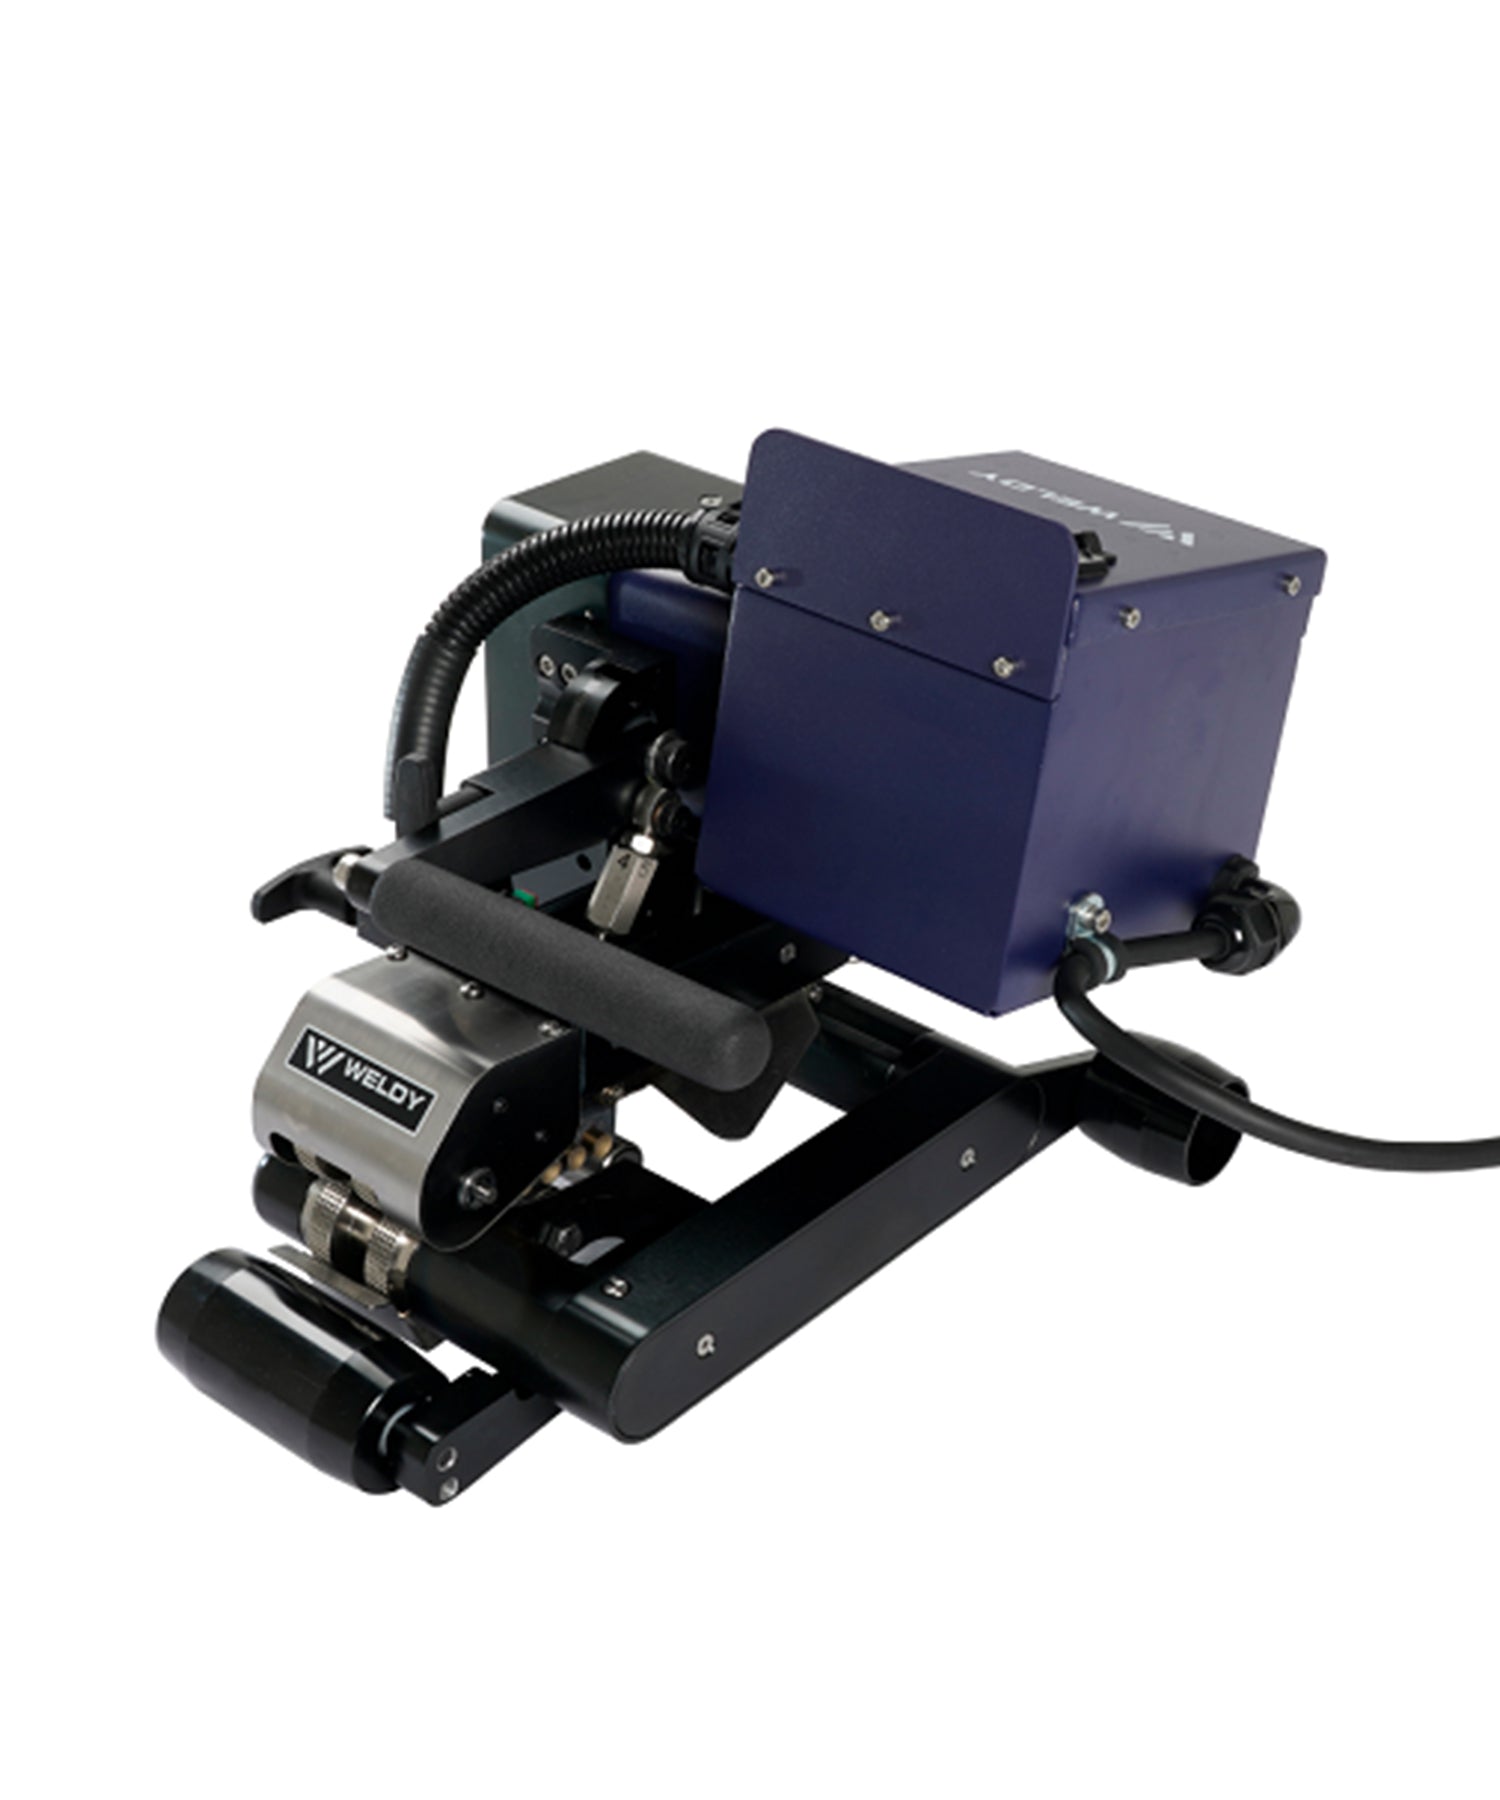
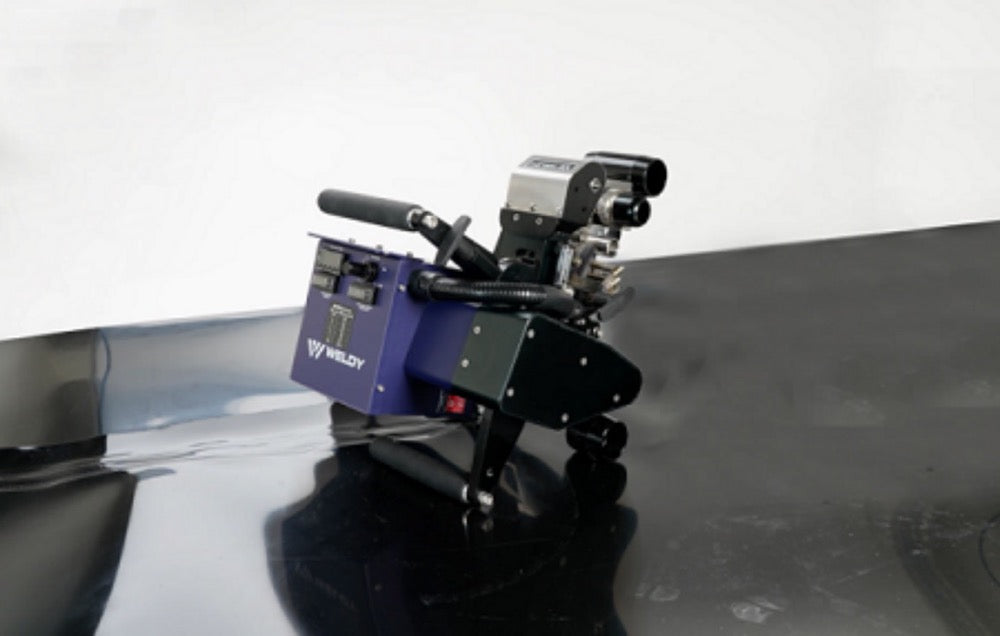
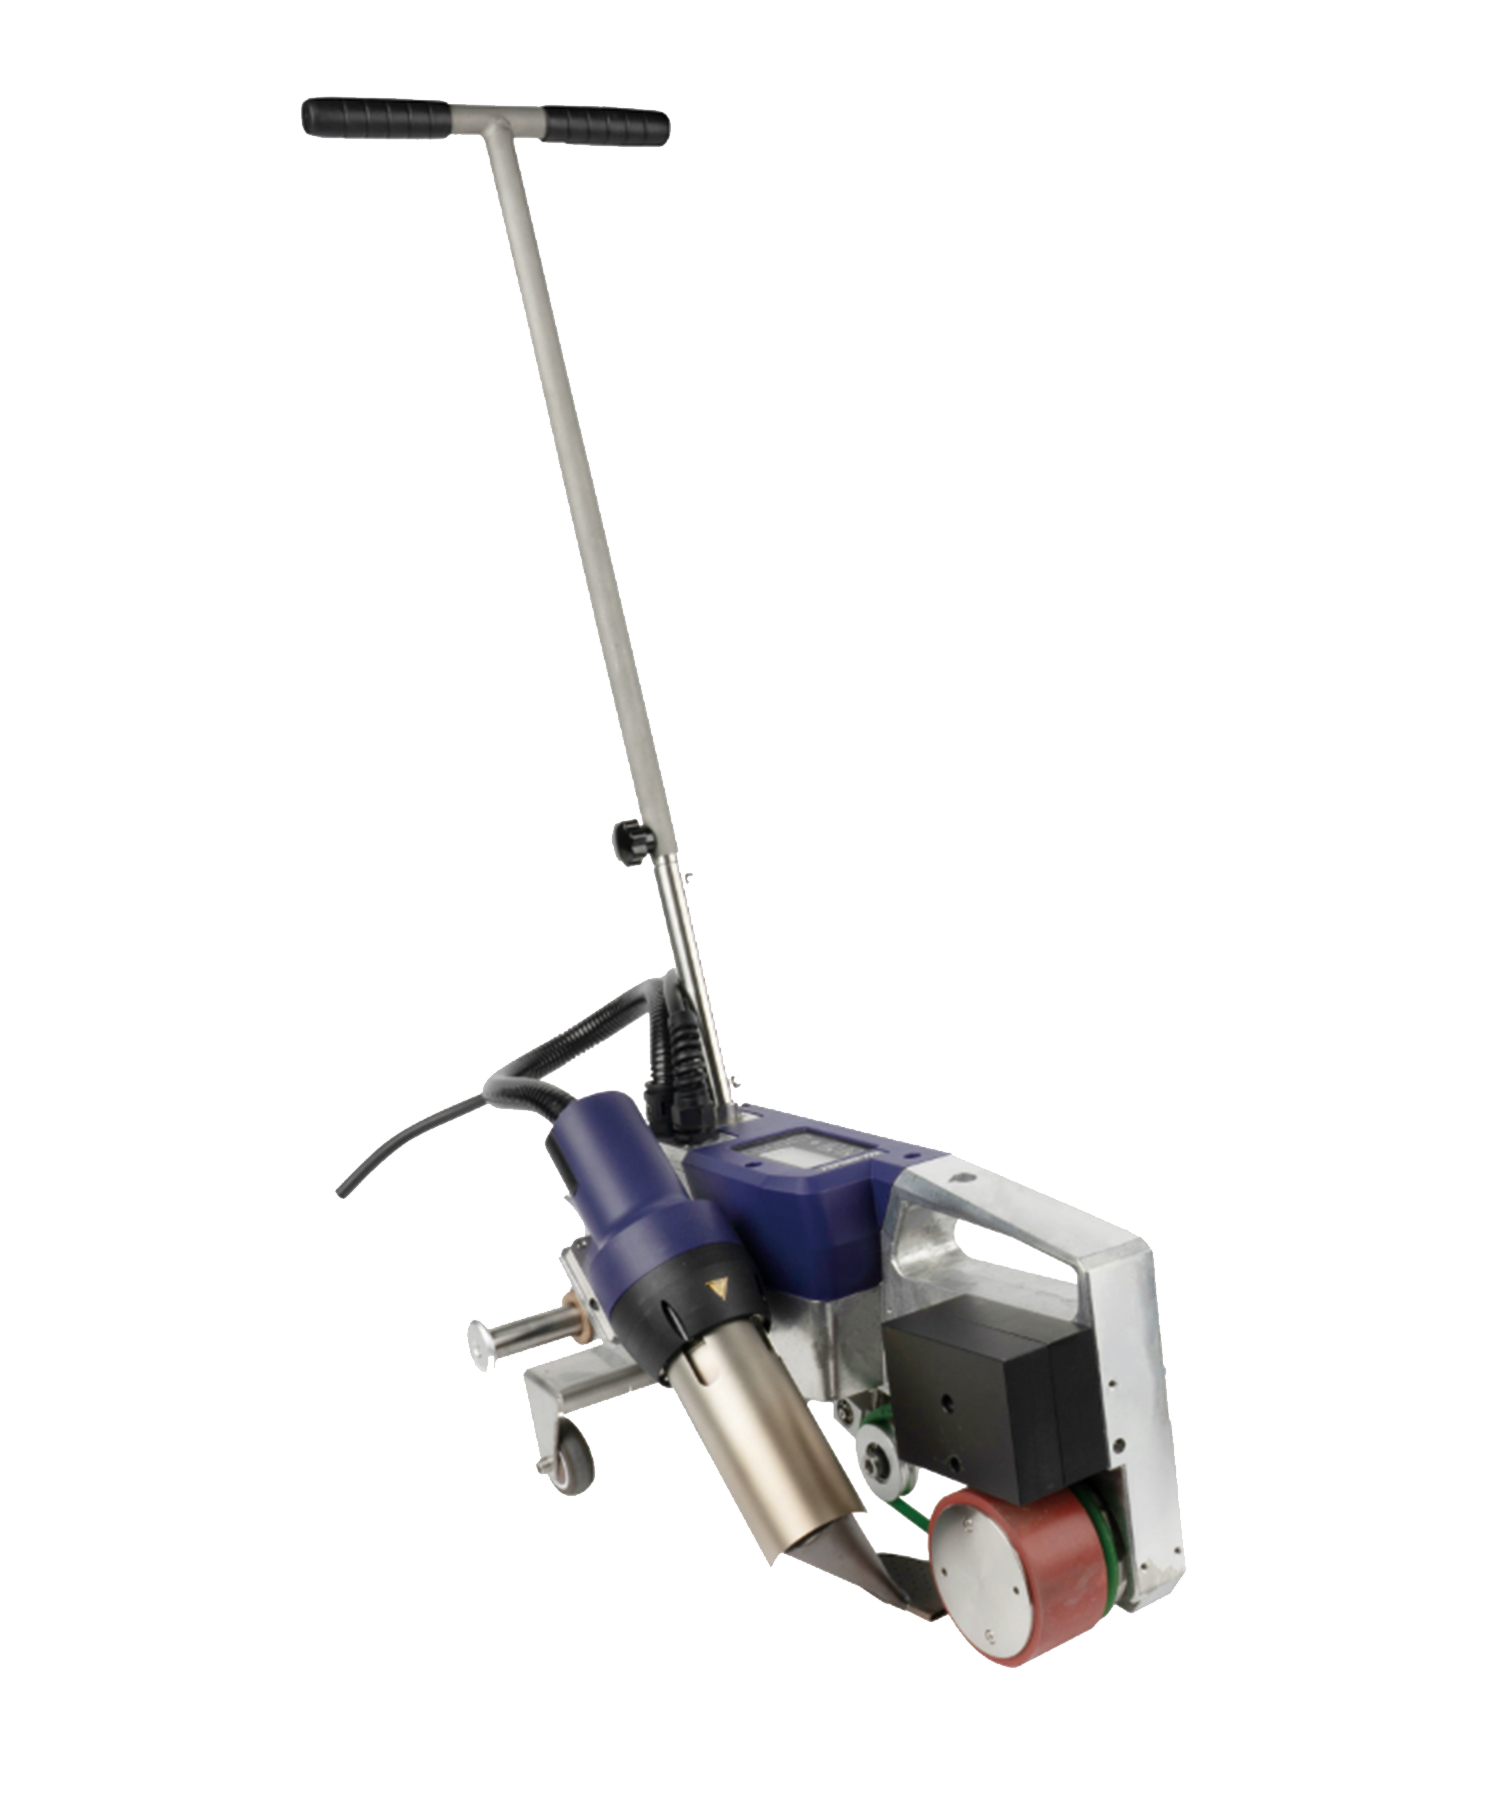
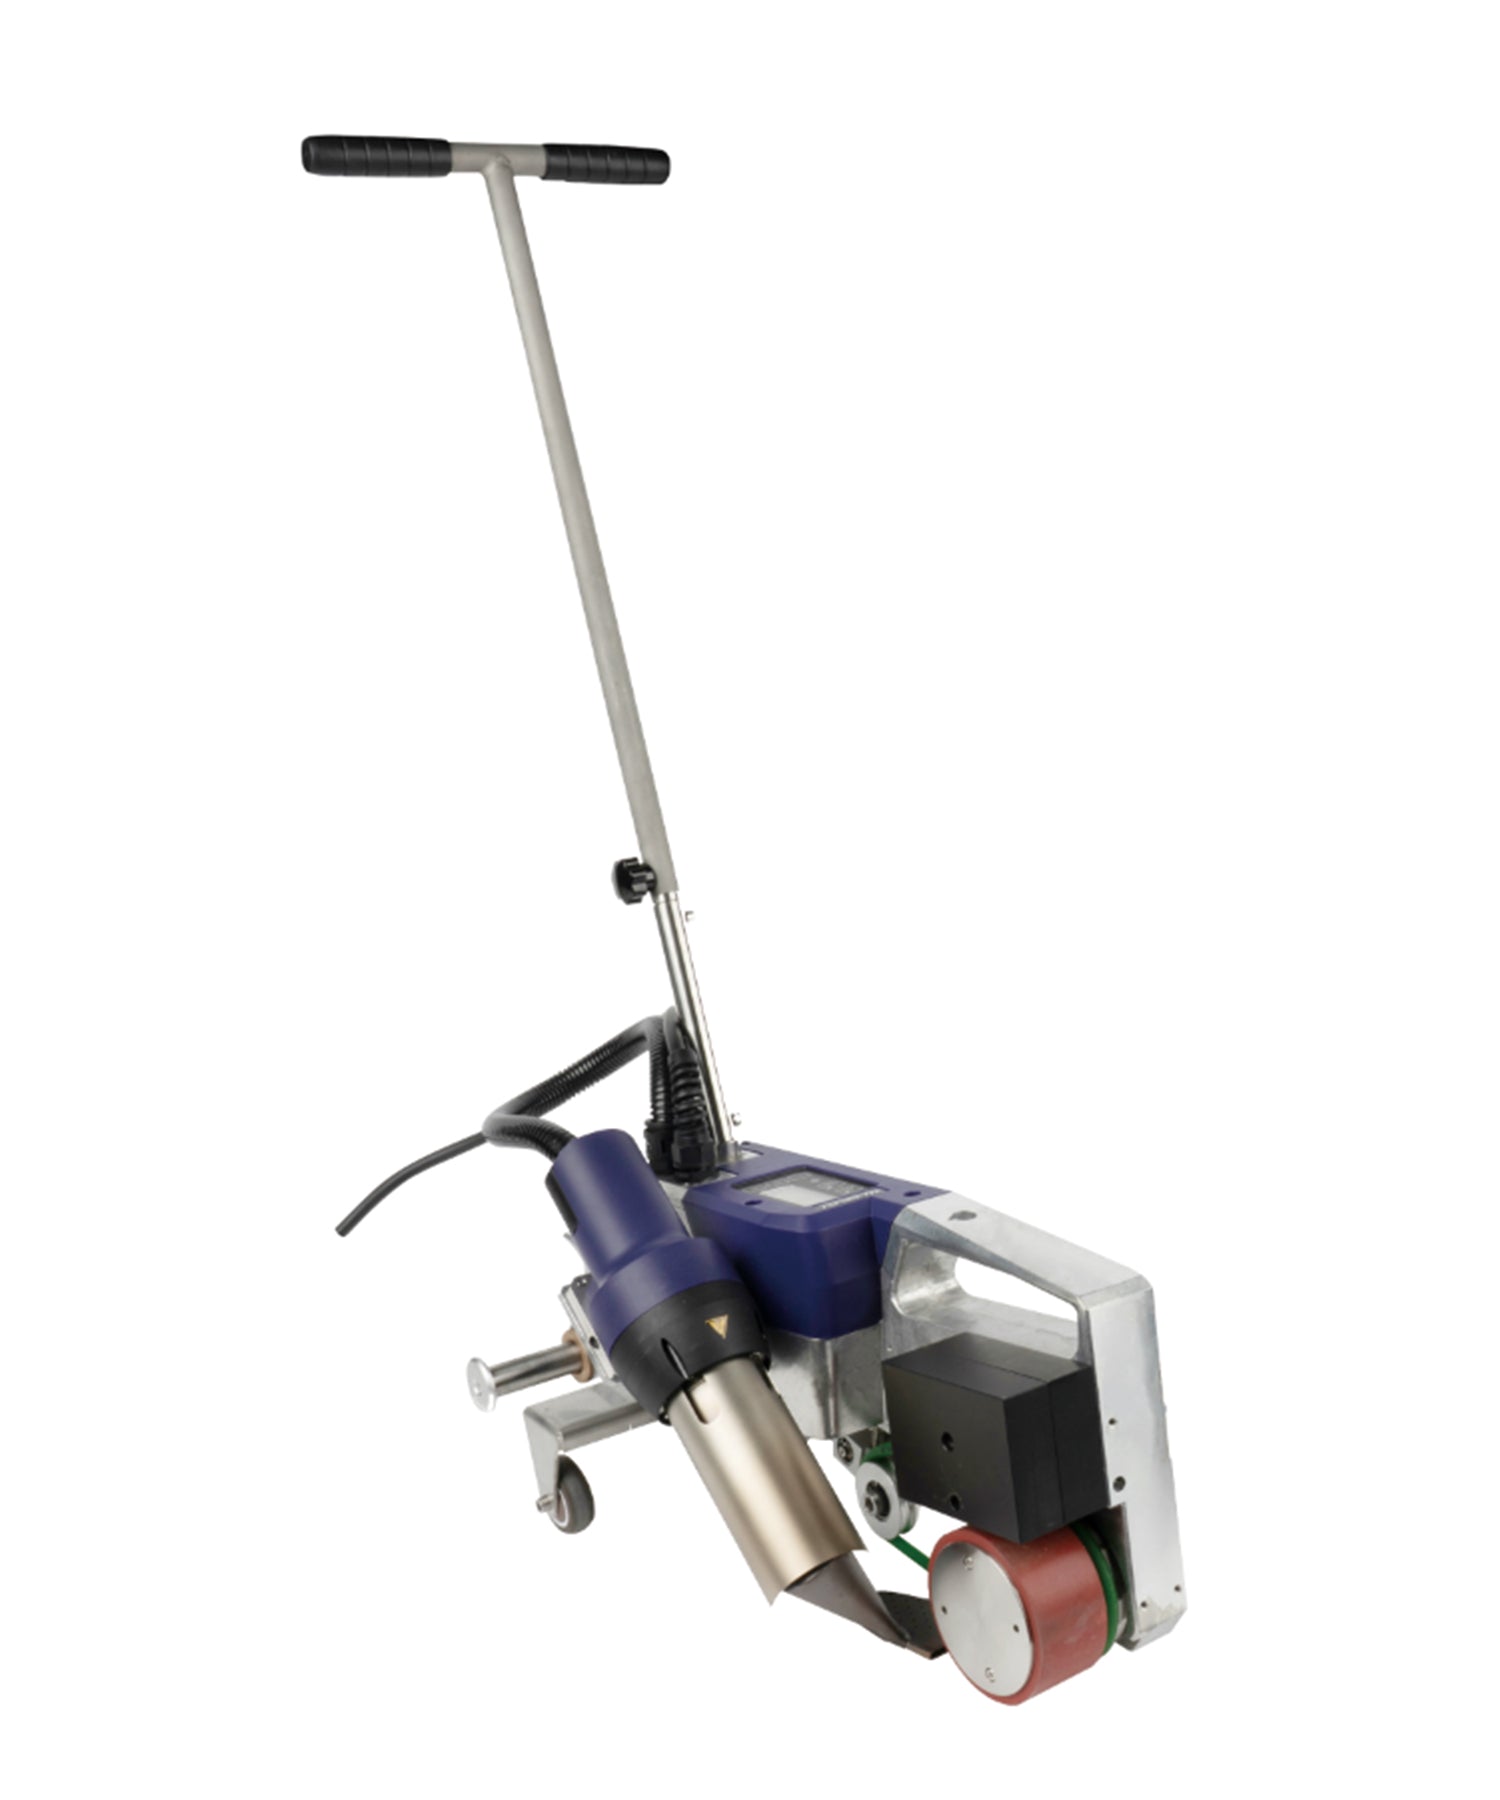
An extrusion welder feed problem is a change in the way the welding rod is pulled into the extruder: rod that slips, surges or stops moving. On a Weldy BOOSTER EX2 or BOOSTER EX3 the rod is fed by a drive unit that turns a feeding screw, so the drive unit, the drive brushes (115.069) and the feeding screw all sit in the same feed chain.
Work down the six checks below before ordering anything. A rod feed fault is not automatically a screw fault, and it is not automatically a brush fault: the parts sit in one chain, and a single symptom does not identify which of them has changed.
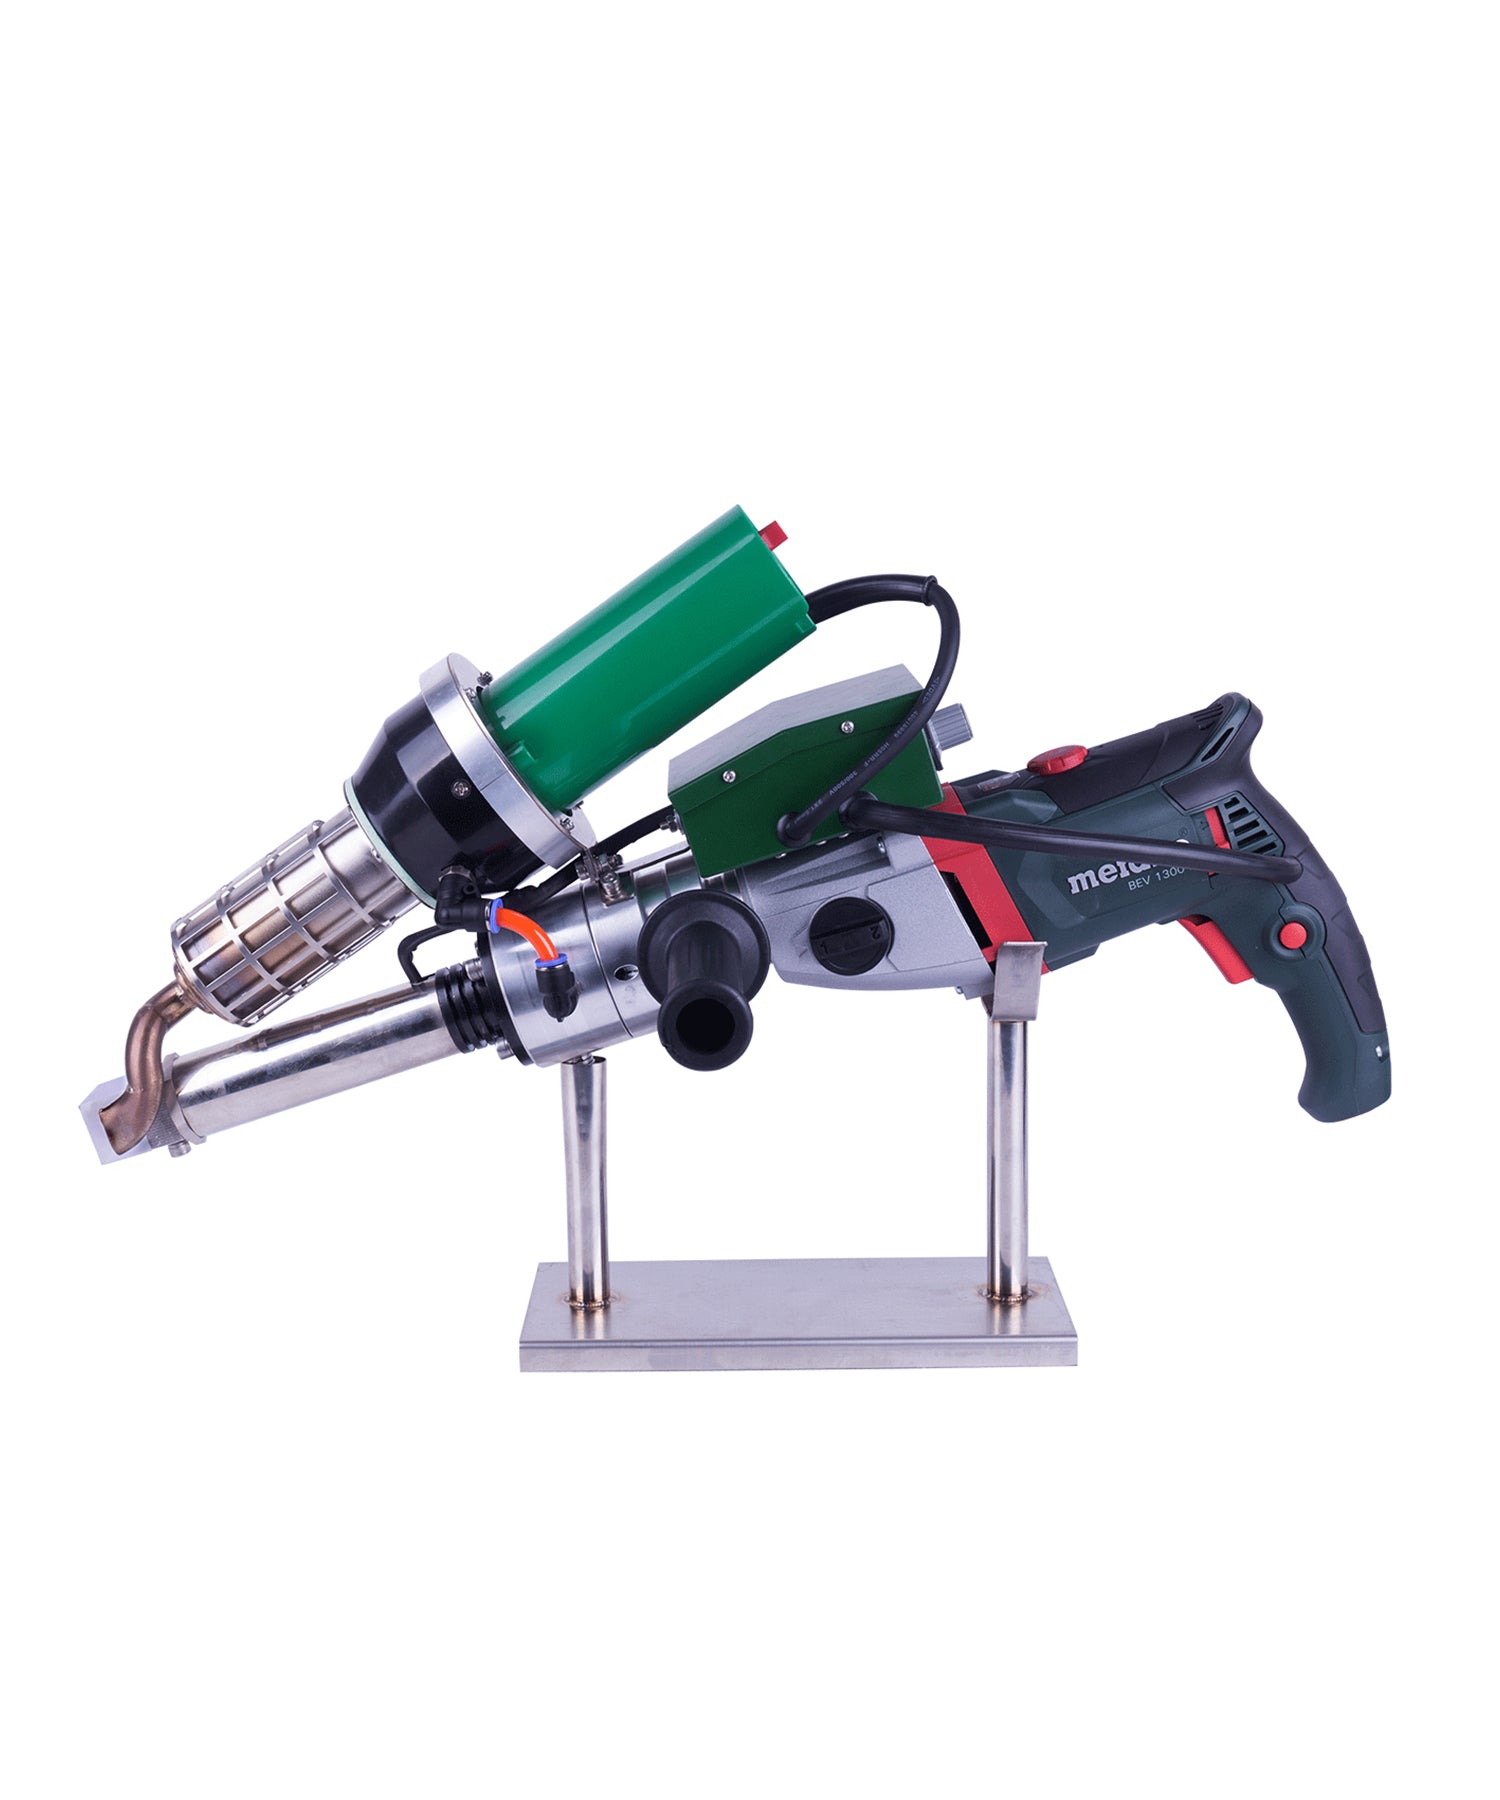
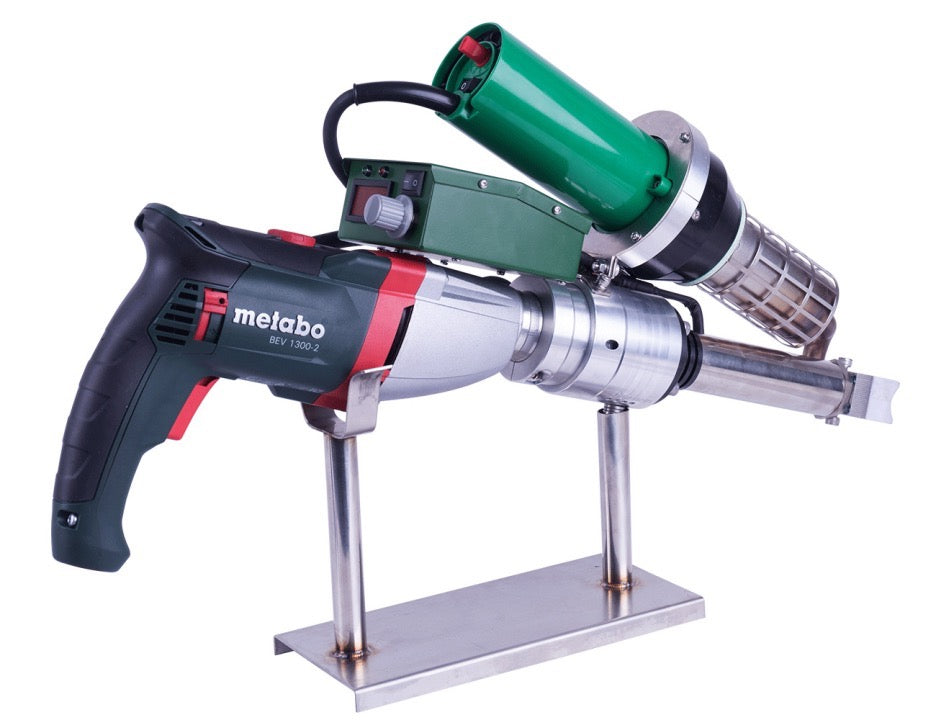
On a hand extrusion welder, a rod feed problem draws attention to the rod, to the material and to the operator first, while the feed chain that moves the rod is checked later. On the Weldy BOOSTER EX2 and BOOSTER EX3 that chain is short, and each part in it can change the way the rod moves.
This page is the fault entry point for EX2 and EX3 rod feed problems. It covers the symptoms worth recording, a six-step check sequence, a flowchart to work down, and the replacement parts that are listed for these two machines. It does not replace the machine’s own service instructions.
Extrusion Welder Feed Problem: Quick Diagnosis
Before opening anything, write down two things: what the rod feed is doing, and whether the tool still reaches temperature. Those two answers split the problem into the feed chain and the heat path, and the two are handled differently.
| Symptom | What it can point to | Check first |
|---|---|---|
| Rod slips against the screw; feed is weak but continuous | Reduced drive torque, a change in the feeding screw surface, or rod that is not being gripped | Drive brushes and feeding screw condition |
| Feed surges or pulses; output comes and goes | Intermittent drive contact, slip at the screw, material build-up, or a heat-side fluctuation | Feed chain first, then rod and heat input |
| No rod output at all while the motor runs | Rod not gripped by the screw, screw not turning with the drive, or a restriction in the barrel | Drive coupling and screw rotation |
| The drive motor does not turn | Supply, switch or drive unit failure | Power supply, then the drive unit |
| Feed is steady but the weld is poor | Not a feed fault: heat input, travel speed, airflow or surface preparation | Process settings before parts |
The last row matters. A steady rod feed with a poor weld sends you to the process settings rather than to the parts list, and the table stays honest about that.
Check 1 — Is the Fault on the Feed Side or the Heat Side?
Start with the simplest split. If the tool reaches its working temperature and still extrudes hot material, but the rod supply itself has changed, the feed chain becomes the first area to check. If output has dropped and the extrudate looks cold, rough or partly unmelted, the heat path — heating element, air path and temperature setting — is the first area to inspect, and rod feed may be a consequence rather than a cause.
On the EX2 and EX3 the air-heated screw system warms the barrel and the rod as it travels, so a heat-side fault can look like a feed fault: the rod plasticises unevenly, the screw can lose grip, and the output pulses. Checking the temperature setting and the condition of the heating system before ordering feed parts avoids a wrong order.
Check 2 — Feeding Screw: What to Inspect
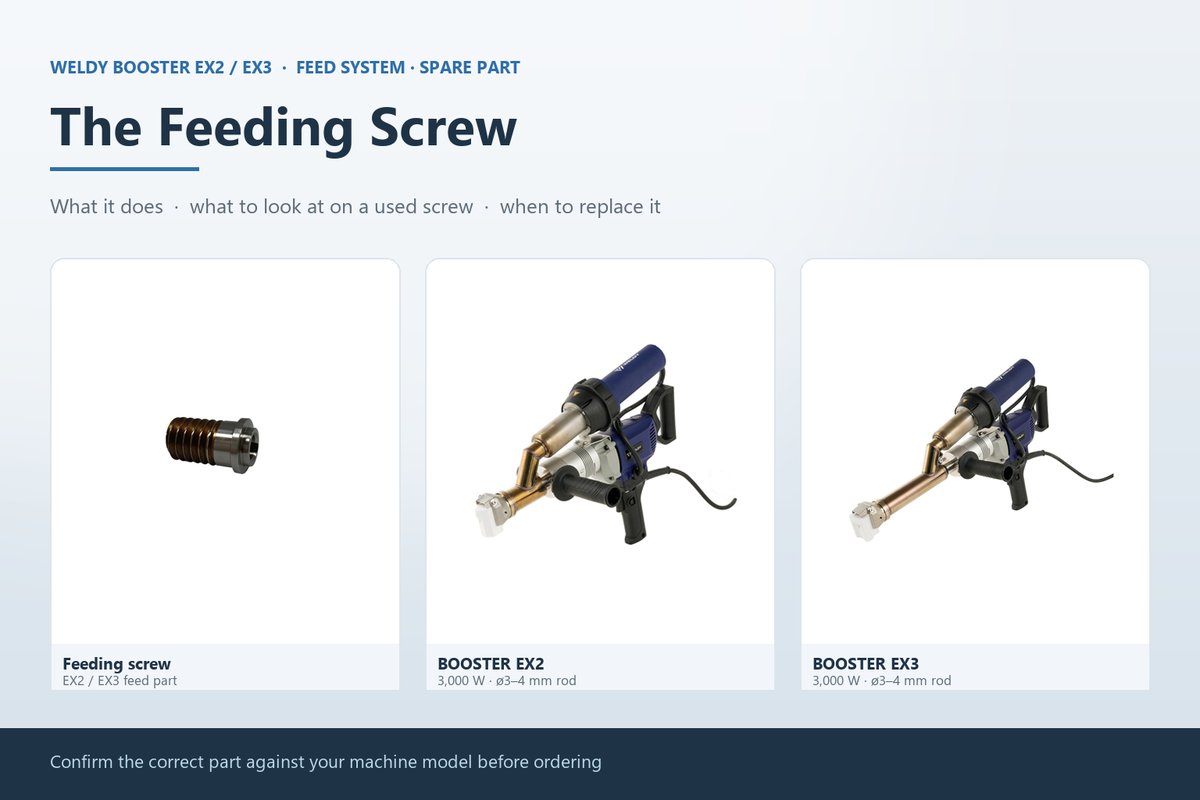
The feeding screw moves the rod from the inlet into the barrel, and it is a wear item. How the feed surface changes over a service life, and how much change is still acceptable, is set out by the machine manufacturer rather than by any general rule — so the manufacturer’s service guidance is the reference for deciding whether a screw is still serviceable.
With the tool cold and the barrel clean, three things are worth looking at:
- The feed surface itself. On a screw that has seen a lot of use, the surface that engages the rod can change. Whether that change has reached the point where it affects feeding is a question for the manufacturer’s service criteria, not for a visual rule of thumb.
- Visible damage. Inspect for visible scoring, deformation or other mechanical damage. If damage is present, report it rather than working around it.
- Material left in the barrel. Material that has been left in a tool after use can set and interfere with the next run. Cleaning and storage between jobs should follow the manufacturer’s instructions.
We list a replacement feeding screw for extrusion welders, and the product page is the place to confirm the correct part for your machine, because the correct variant depends on the model rather than on the rod alone.
Check 3 — Drive Brushes 115.069: Wear Signs to Look For
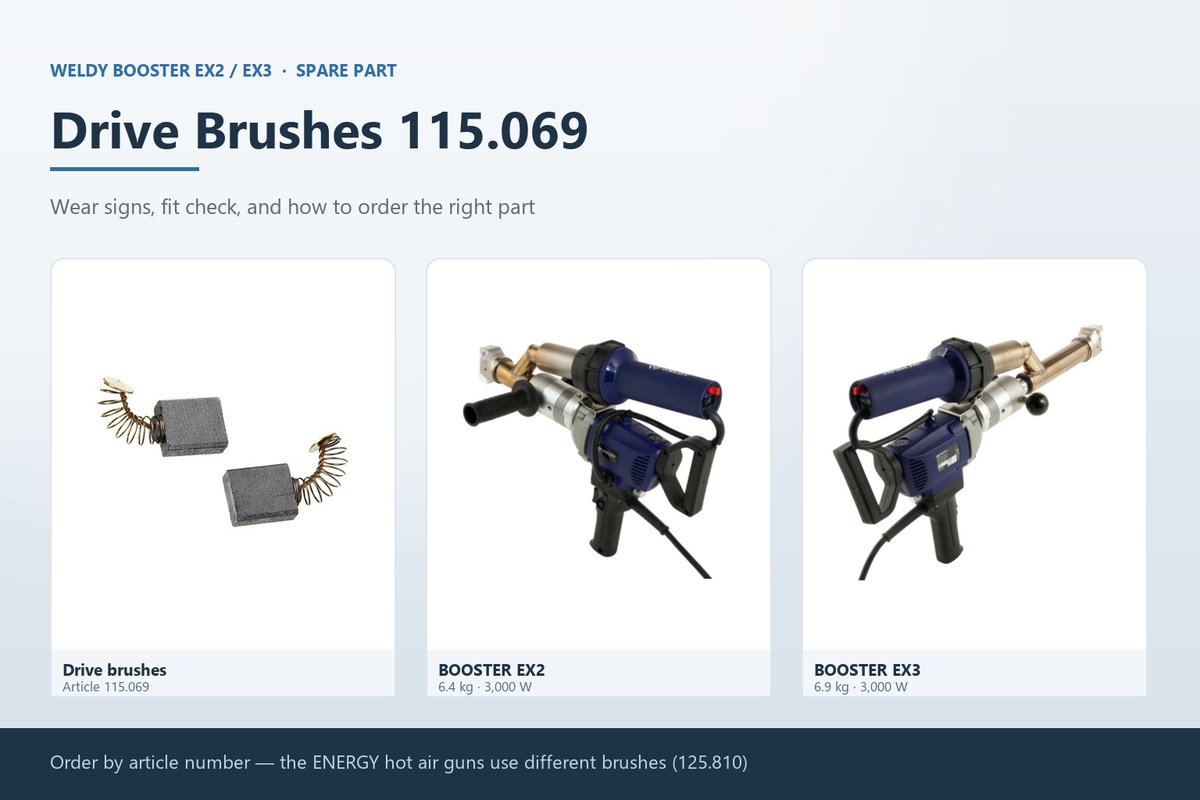
On the EX2 and EX3 the drive motor is a brushed motor, and the brushes are a consumable. Both machines use the same drive brush, article 115.069. Wear can show up as drive torque that has dropped rather than as a clean failure: the motor can still run while the feed becomes weak, uneven or intermittent, and the change can be easier to hear than to see.
Article 115.069 is the drive brush for the BOOSTER EX2 and BOOSTER EX3 extruders. It is not the same part as the carbon brushes used in the ENERGY hot air guns, which carry a different article number and are listed for a different tool. Order by article number rather than by appearance — the two look similar in a small bag.
Wear signs, fit notes and how to tell the two brush families apart are set out in our guide to Weldy 115.069 drive brushes.
Check 4 — Drive Unit 114.753: Does the Motor Still Turn?
The electric drive unit turns the feeding screw, and it is a serviceable item in its own right. If the motor does not turn at all, or turns but does not carry the screw with it, the drive unit and the coupling between it and the screw become the first areas to check rather than the screw alone.
We list the electric drill used as the drive unit for the EX2 and EX3, article 114.753. Listen to the tool while it runs: a drive unit that has lost torque can change pitch under load, and the feed slows at the moment the rod begins to resist. A drive unit that has failed mechanically may stop turning altogether, and then there is no feed at all. Background on this part is in our article on the 114.753 drive unit.
Check 5 — Is the Rod the One the Machine Is Specified For?
Feed also depends on the rod. Use welding rod of the grade and diameter that the machine manufacturer specifies for the model you are running, and check that the rod is the one matched to the material being welded. A rod outside that specification is not the rod the machine is intended to run, so confirm the correct rod before looking for a fault inside the tool.
Rod condition belongs in the same check. Rod that has picked up dirt, moisture or other contamination is not the condition the welding procedure assumes, and rod that has been bent or stored badly may not travel as intended. Plastic welding rod should be stored as its supplier specifies, and used within the condition that supplier describes. Diameter, compatibility and storage are covered in our HDPE welding rod guide.
Check 6 — Temperature, Travel Speed and Airflow
Heat, travel speed and airflow work together, and a change in any one of them changes how the rod behaves in the barrel. This is the check that prevents an unnecessary parts order: if the temperature has drifted, if the travel speed has changed, or if airflow is restricted, the rod may plasticise unevenly and the output can look as though the feed is surging.
Set the tool back to settings you know work, confirm the airflow path is clear, and repeat a test weld. If output is then stable, the feed chain is sound and the earlier symptom was a process effect. If output is still unstable at known-good settings, go back to Check 2. Process parameters for these machines are discussed in our guide to extrusion welding with the BOOSTER EX2 and EX3.
Rod Feed Slipping, Surging or Stopping: Diagnostic Flowchart
Four questions separate the heat path from the feed chain, and then narrow the feed chain to a specific component.
This chart narrows down the area to check. It does not replace the machine’s service instructions, and it does not replace a repair decision made by a qualified technician.
Replacement Parts for a Rod Feed Problem
The feed parts that come up in a rod feed investigation, and what each one is listed for:
| Part | Listed for | Article number | Where to order |
|---|---|---|---|
| Drive brushes for BOOSTER | The drive motor of the Weldy BOOSTER EX2 and BOOSTER EX3 hand extrusion welders | 115.069 | Drive brushes for Booster |
| Electric drill (drive unit) | The drive unit for the Weldy EX2 and EX3 extruders | 114.753 | Electric Drill for EX2 EX3 |
| Feeding screw | Extruder feed part — confirm your model before ordering | See the product page | Feeding Screw |
Safety Before You Open the Extruder
- Disconnect the tool from the supply and let it cool before you inspect anything.
- Do not test an extrusion welder or a hot air gun while it is connected to power.
- Opening a tool can also affect a warranty claim, so contact us before you dismantle anything that is still under warranty.
- Work on a clean surface — dust and debris introduced into the barrel create new feed problems.
- Refit parts to the machine’s service instructions, and use genuine spare parts.
Find the Right Feed Part for Your EX2 or EX3
As a Weldy distributor we supply genuine Weldy spare parts for the BOOSTER EX2 and EX3, including drive brushes (115.069) and the drive unit (114.753). If you are not sure which part is causing the feed problem, tell us the machine model and what the rod feed is doing, and our technical team will help you narrow it down before you order.
Spare parts for these machines are listed in our Weldy collection.






Leave a comment
This site is protected by hCaptcha and the hCaptcha Privacy Policy and Terms of Service apply.