
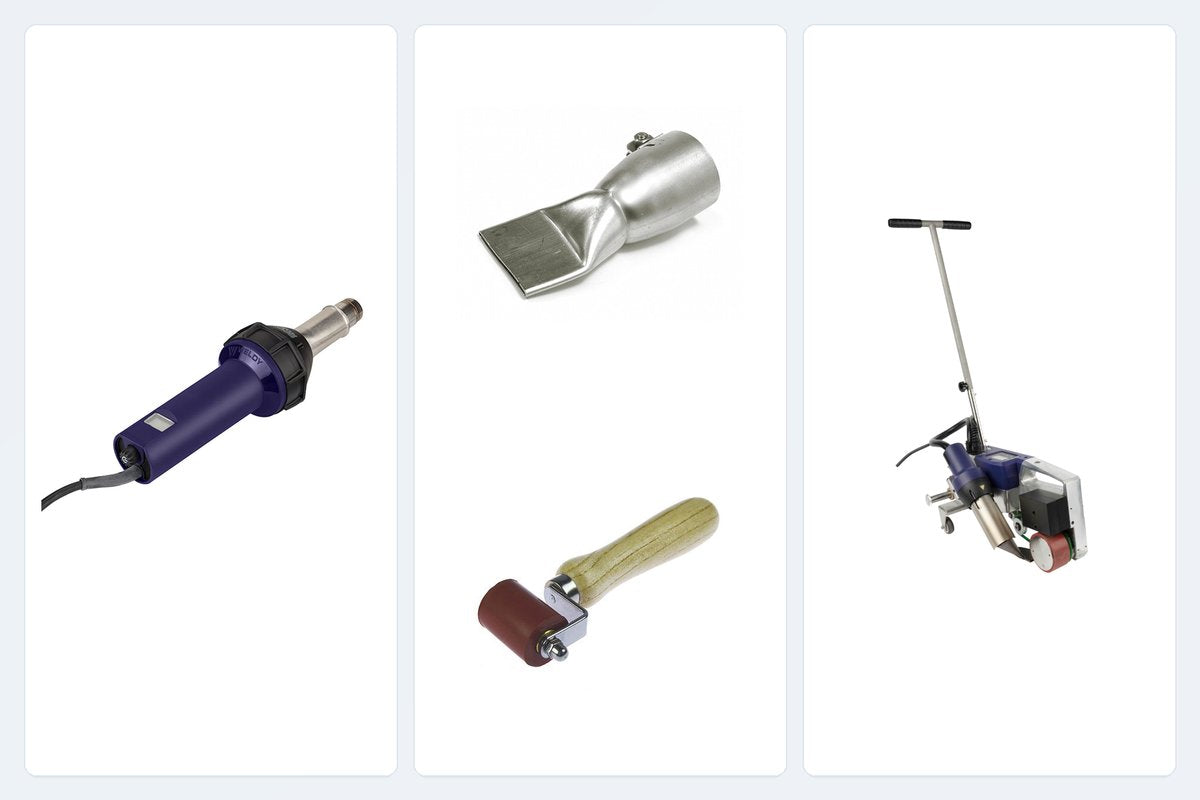
TPO hand welding is how the parts of a roof that a machine cannot reach get closed: pipe penetrations and boots, inside and outside corners, drains and scuppers, curb and parapet terminations, T-joints and edge details. The thermoplastic welding principle is the same as for a field seam — heat the compatible weld surfaces until they are properly plasticized, then consolidate them while they remain weldable — but the detail material, tool access, nozzle and hand-rolling sequence may differ.
This guide applies to hot-air-weldable thermoplastic roofing membranes, including TPO and PVC. Always confirm the membrane, the coating and any surface treatment are specified as weldable by the membrane manufacturer.
Field Seams and Details Are Two Different Jobs
A roofing membrane is closed in two stages, and they are not the same operation.
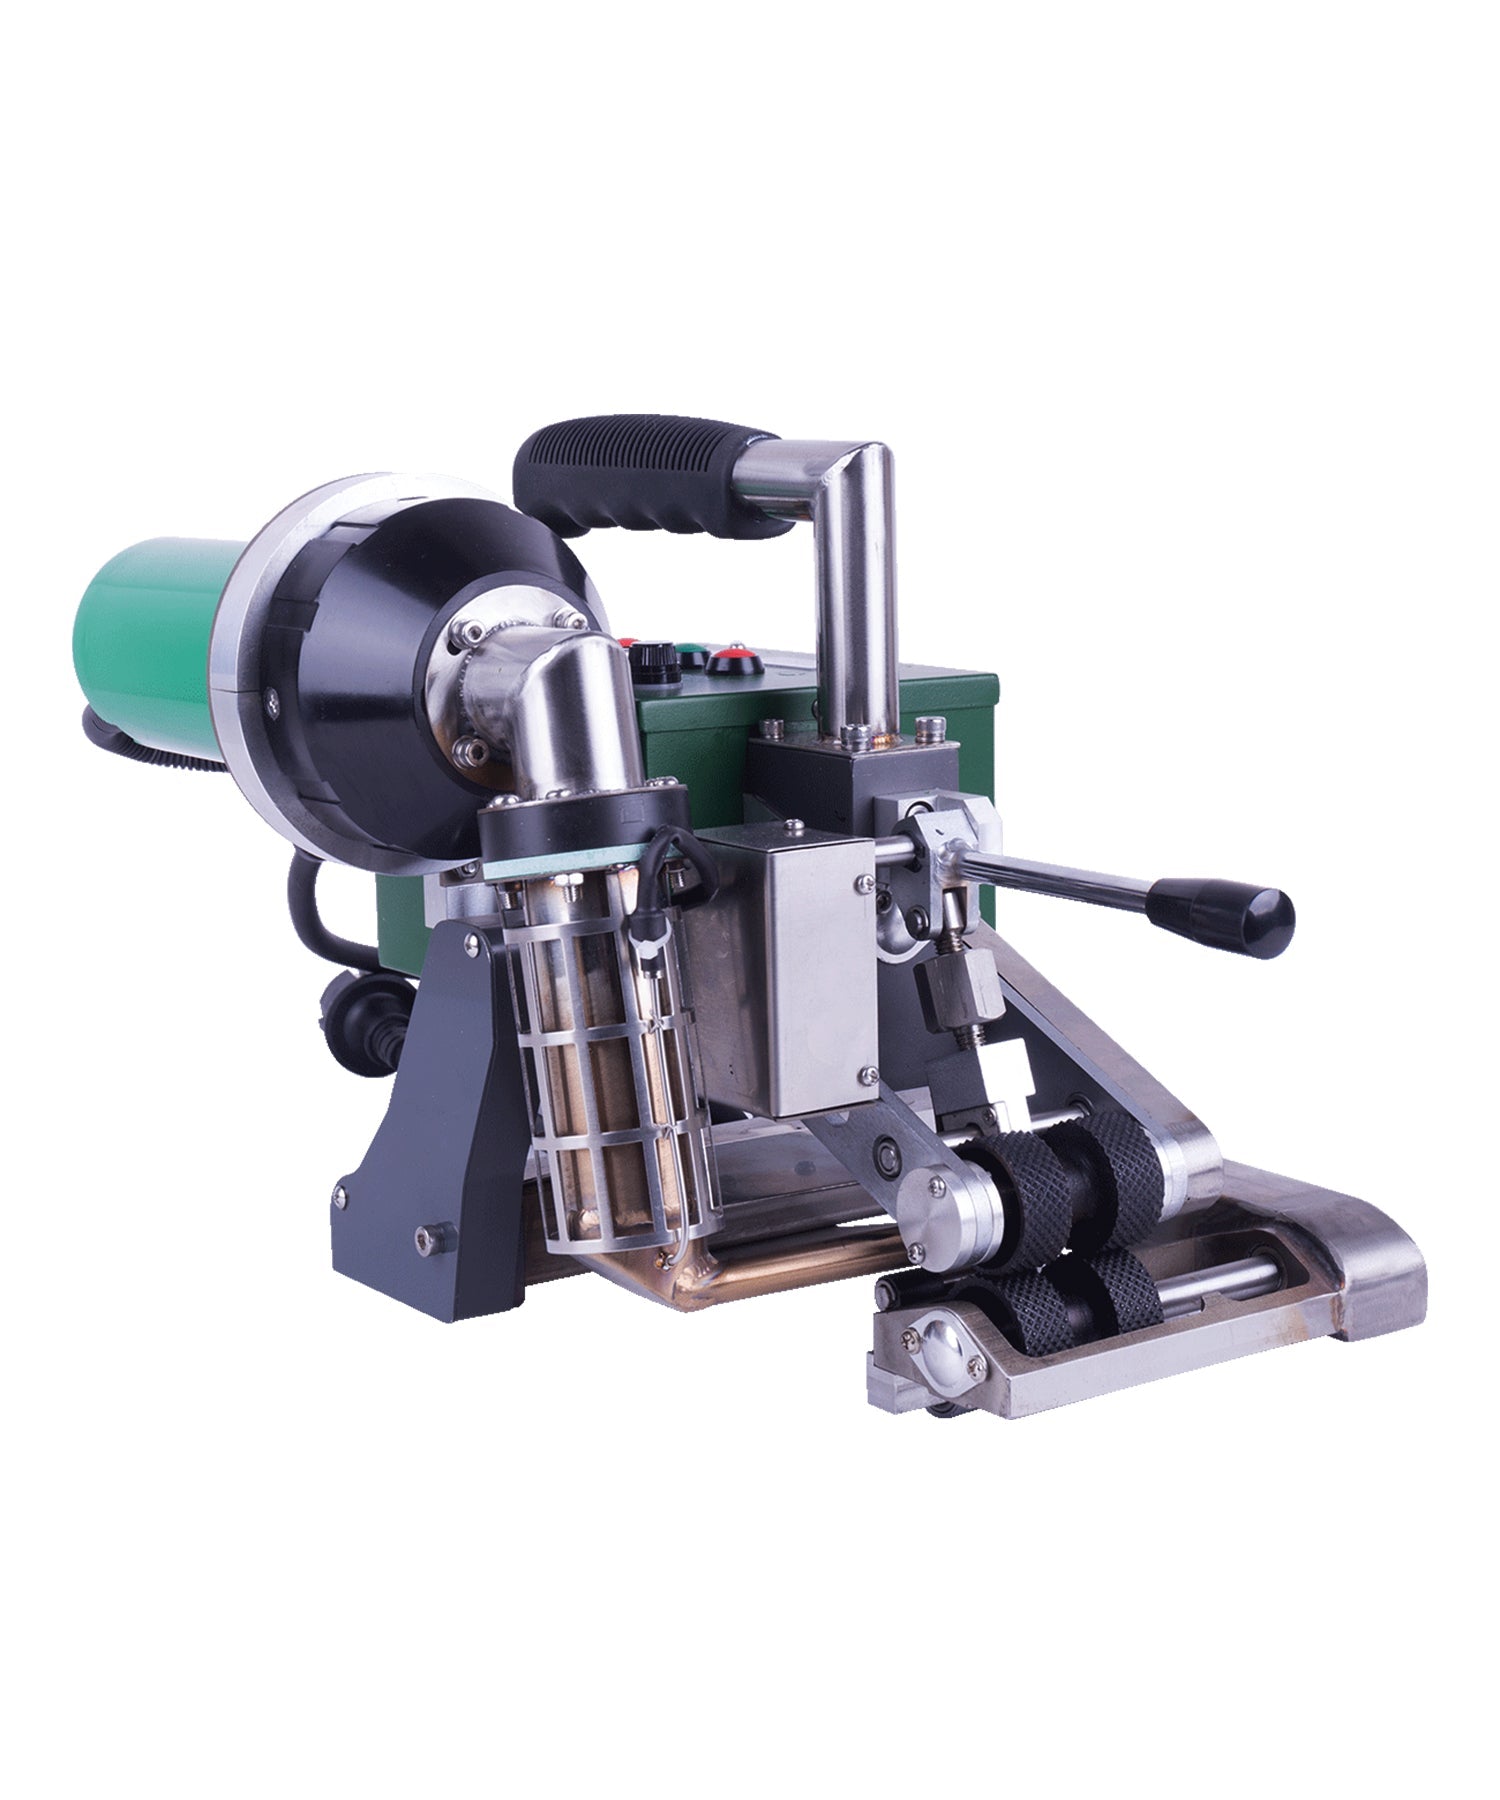
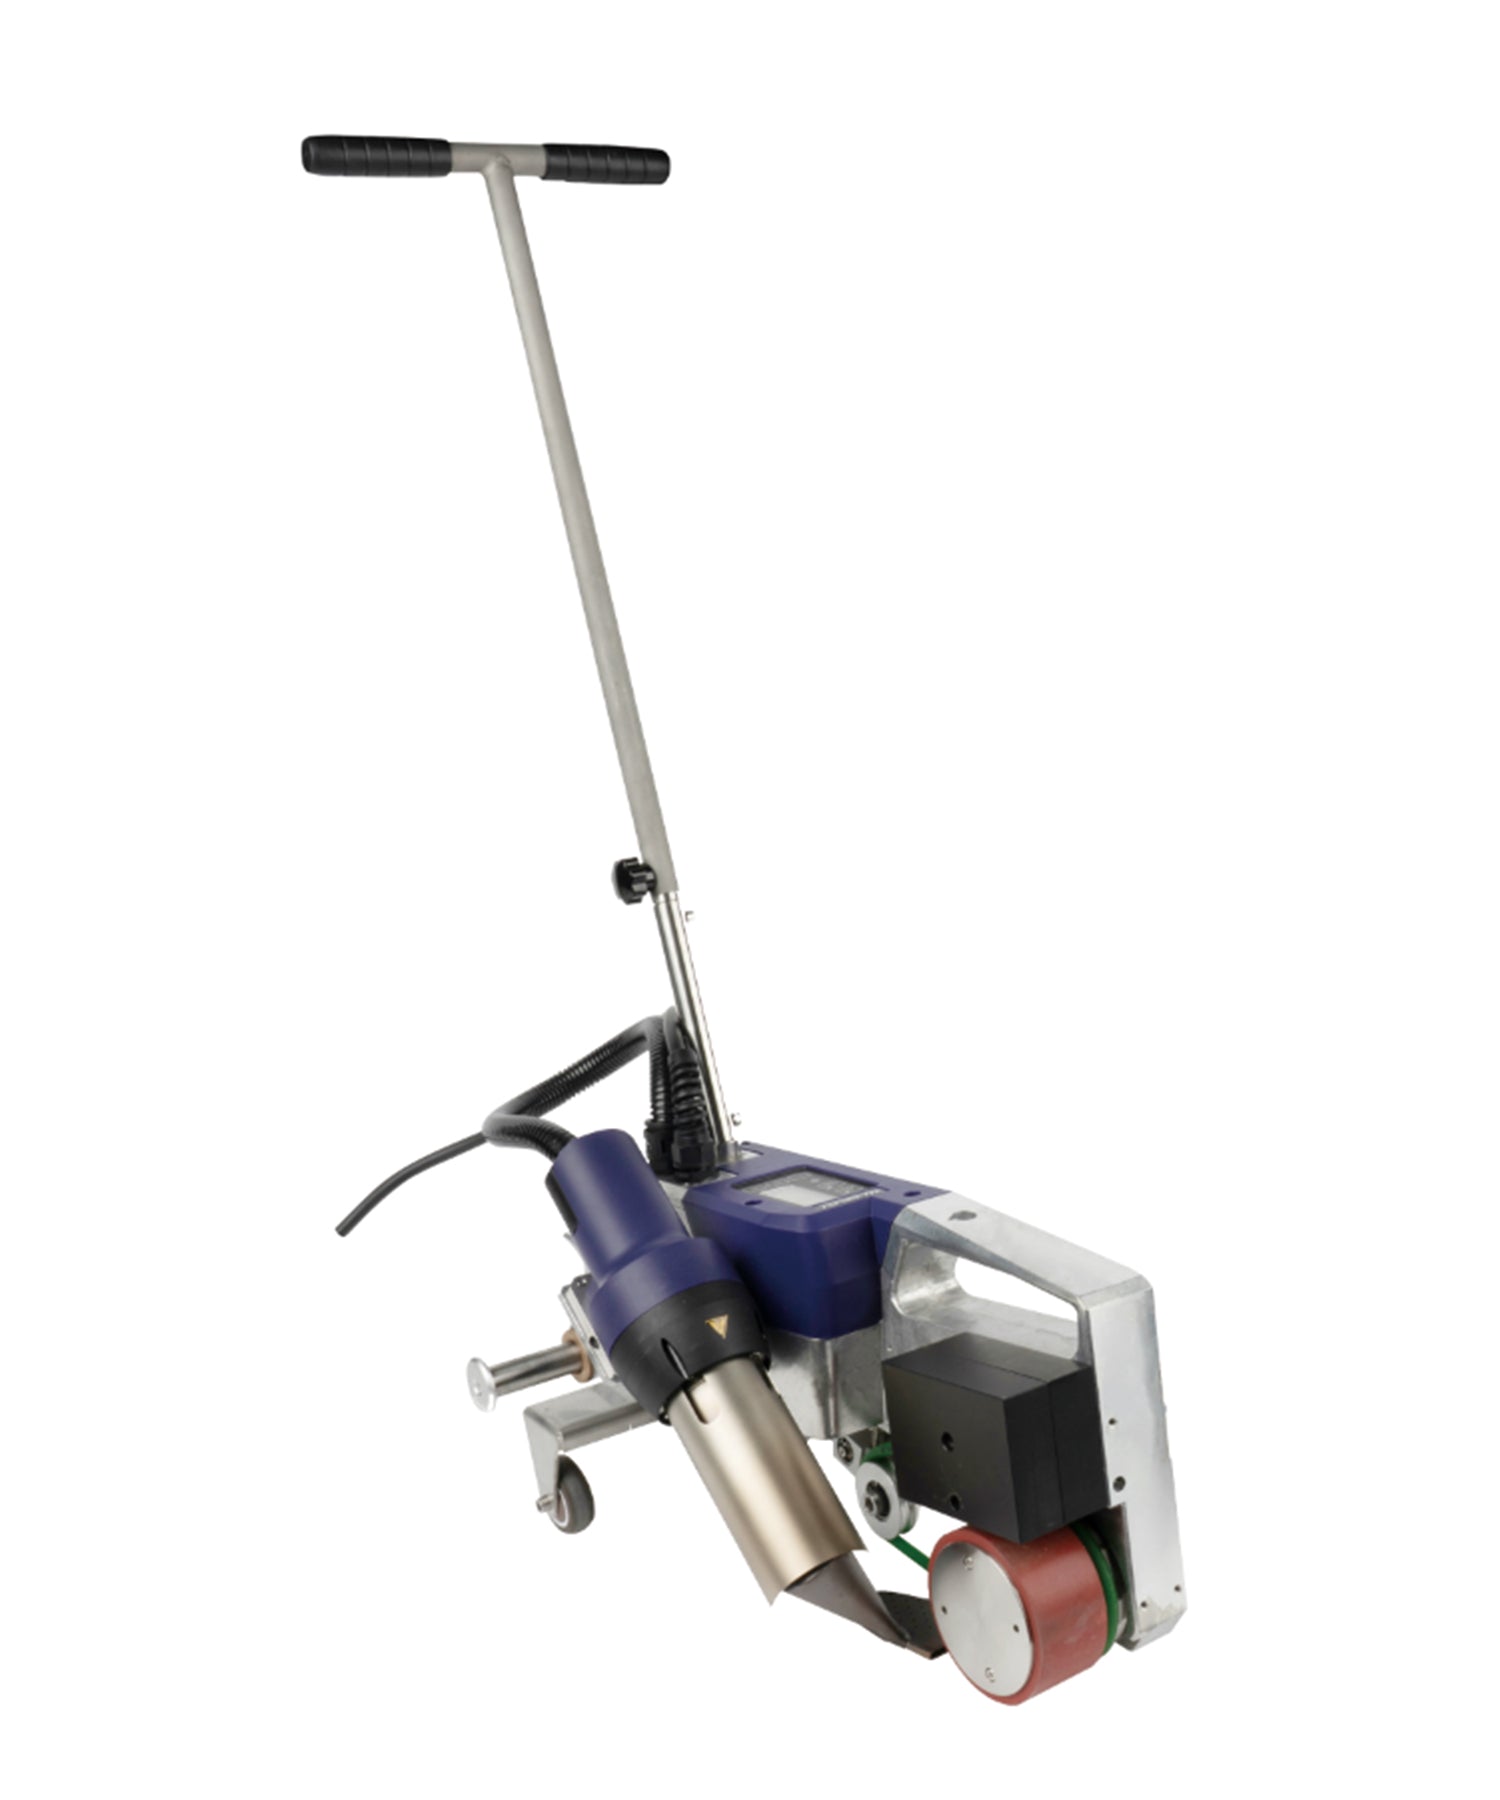
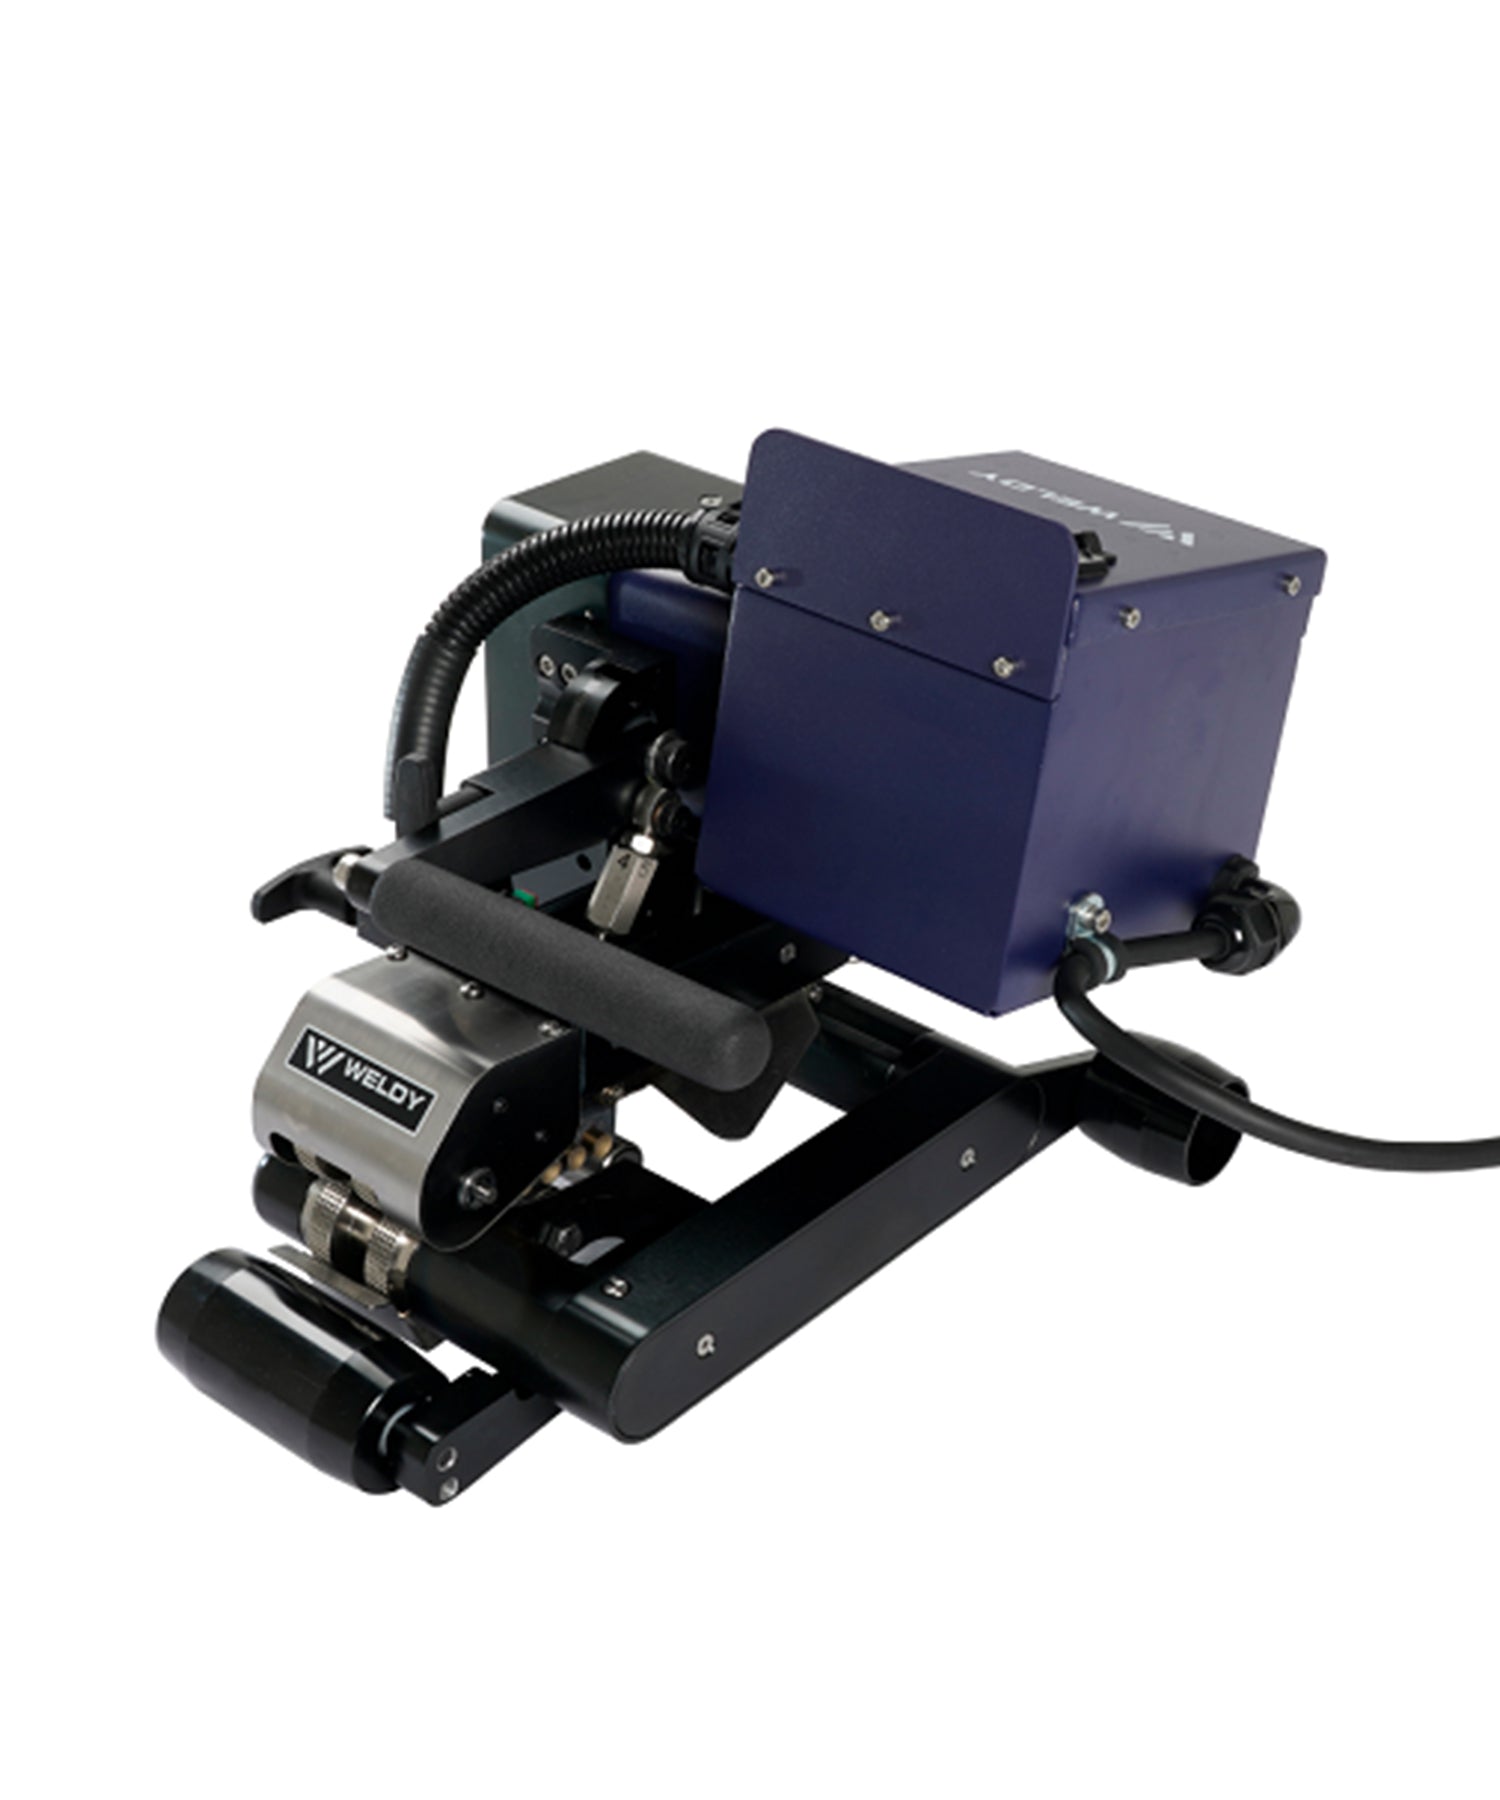
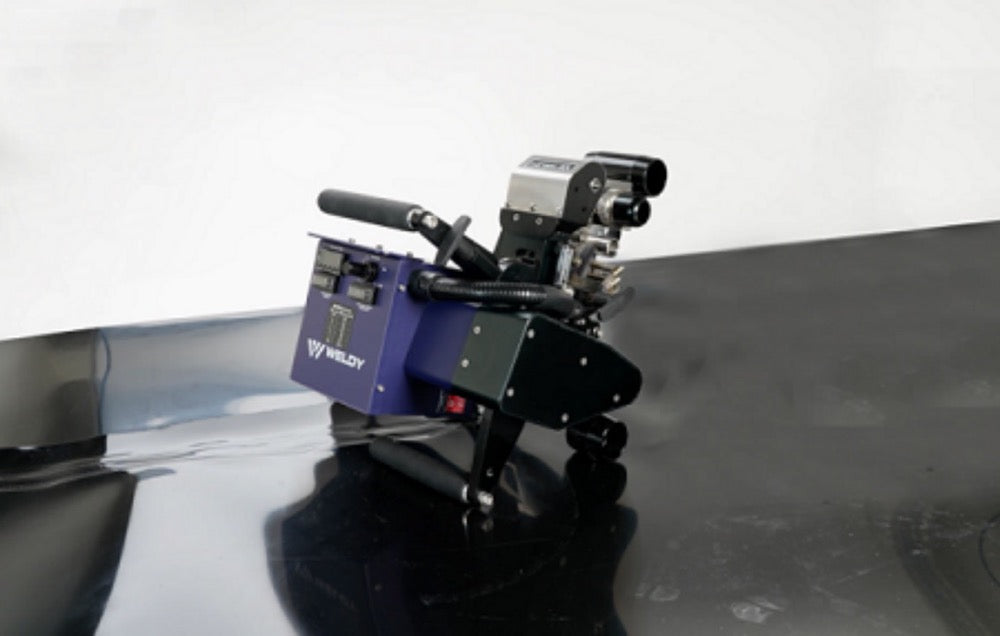
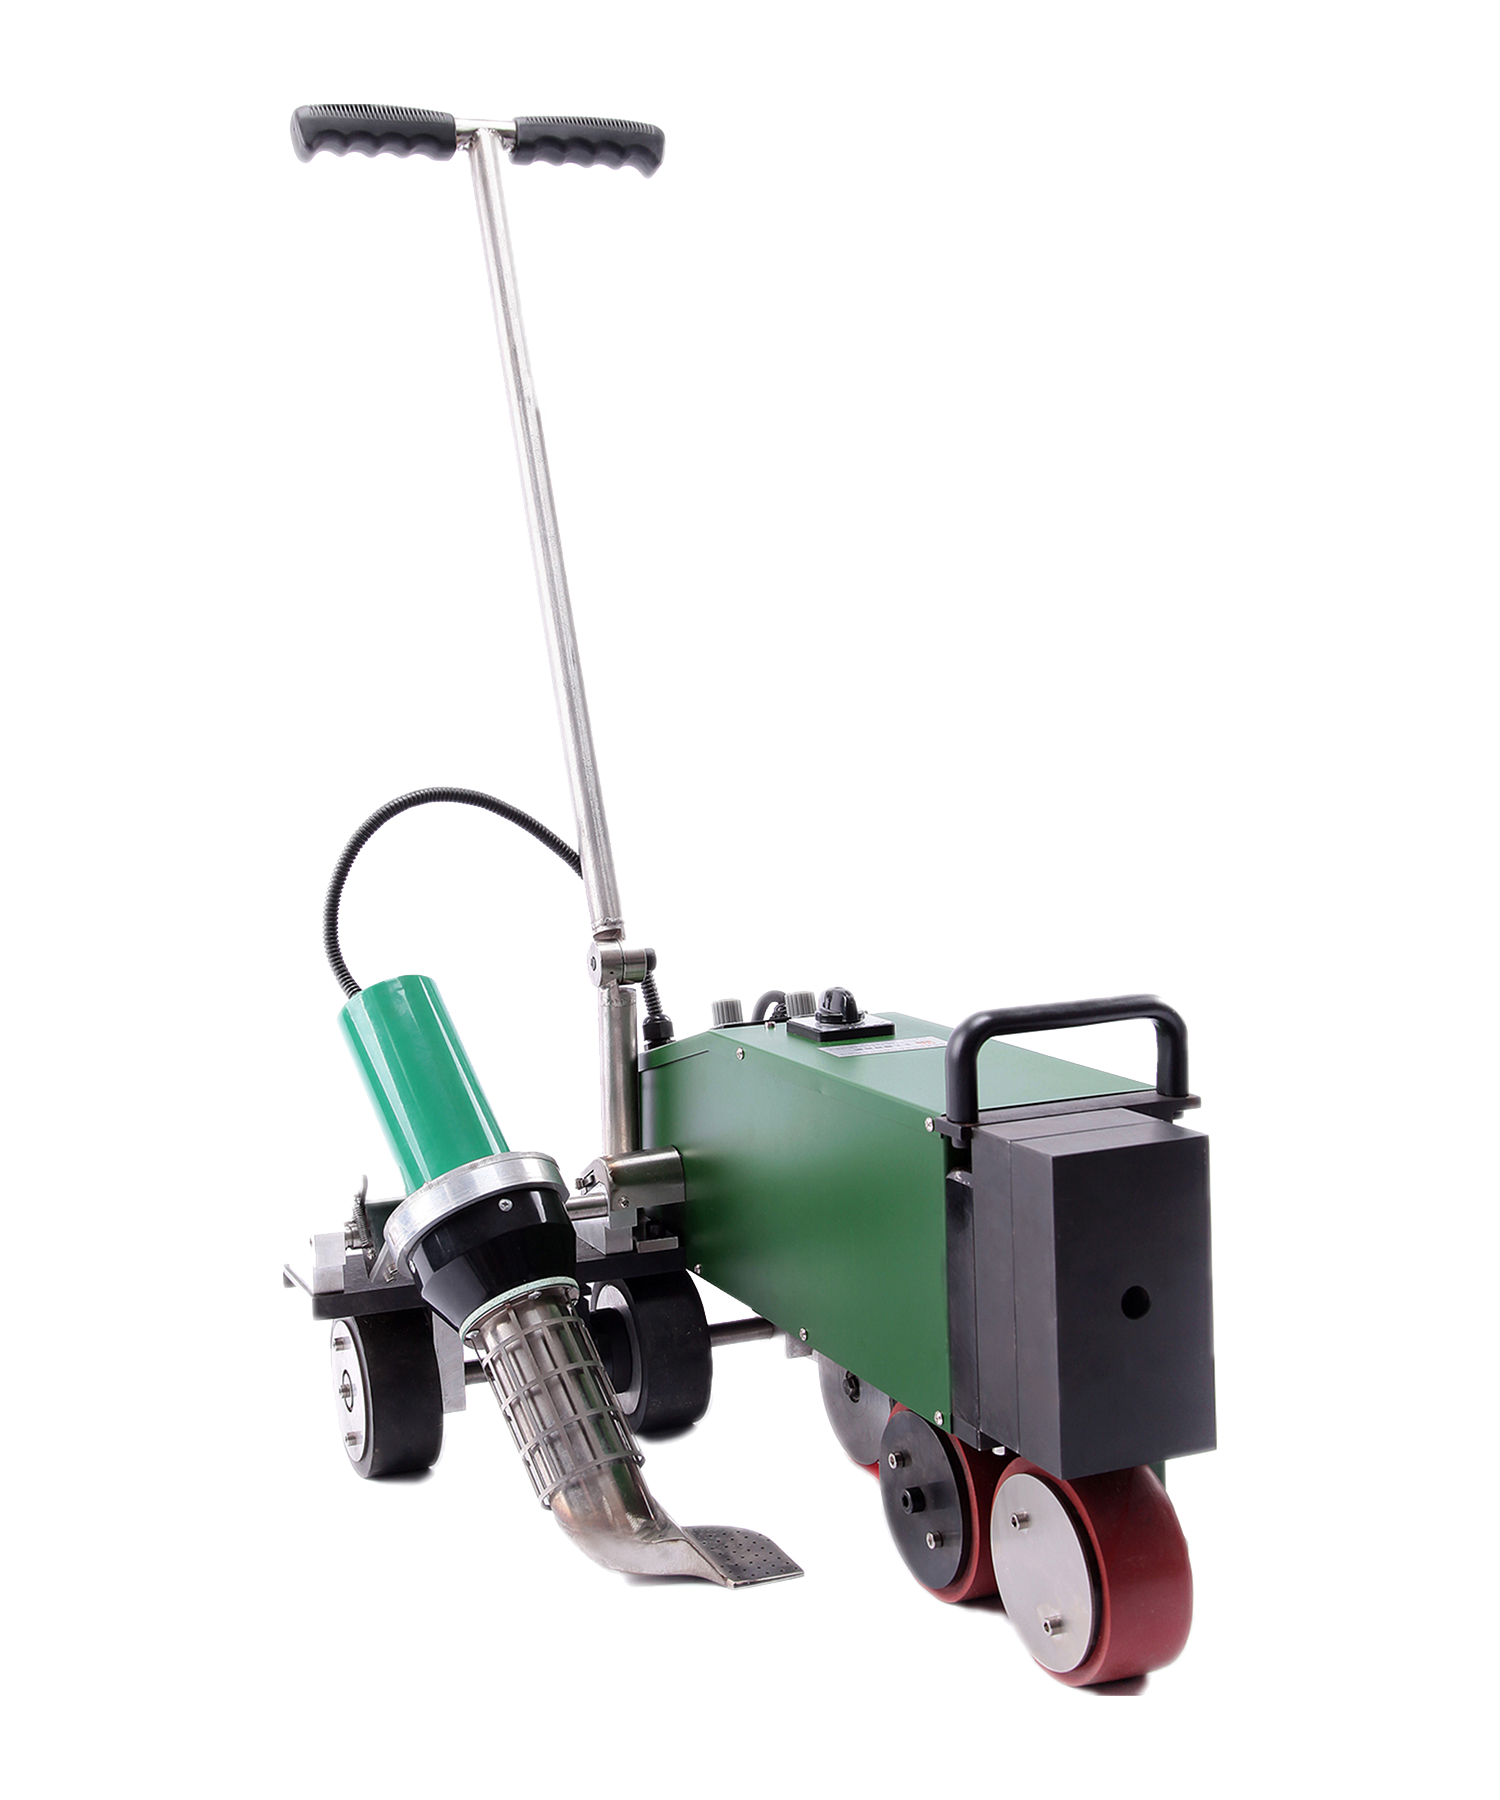
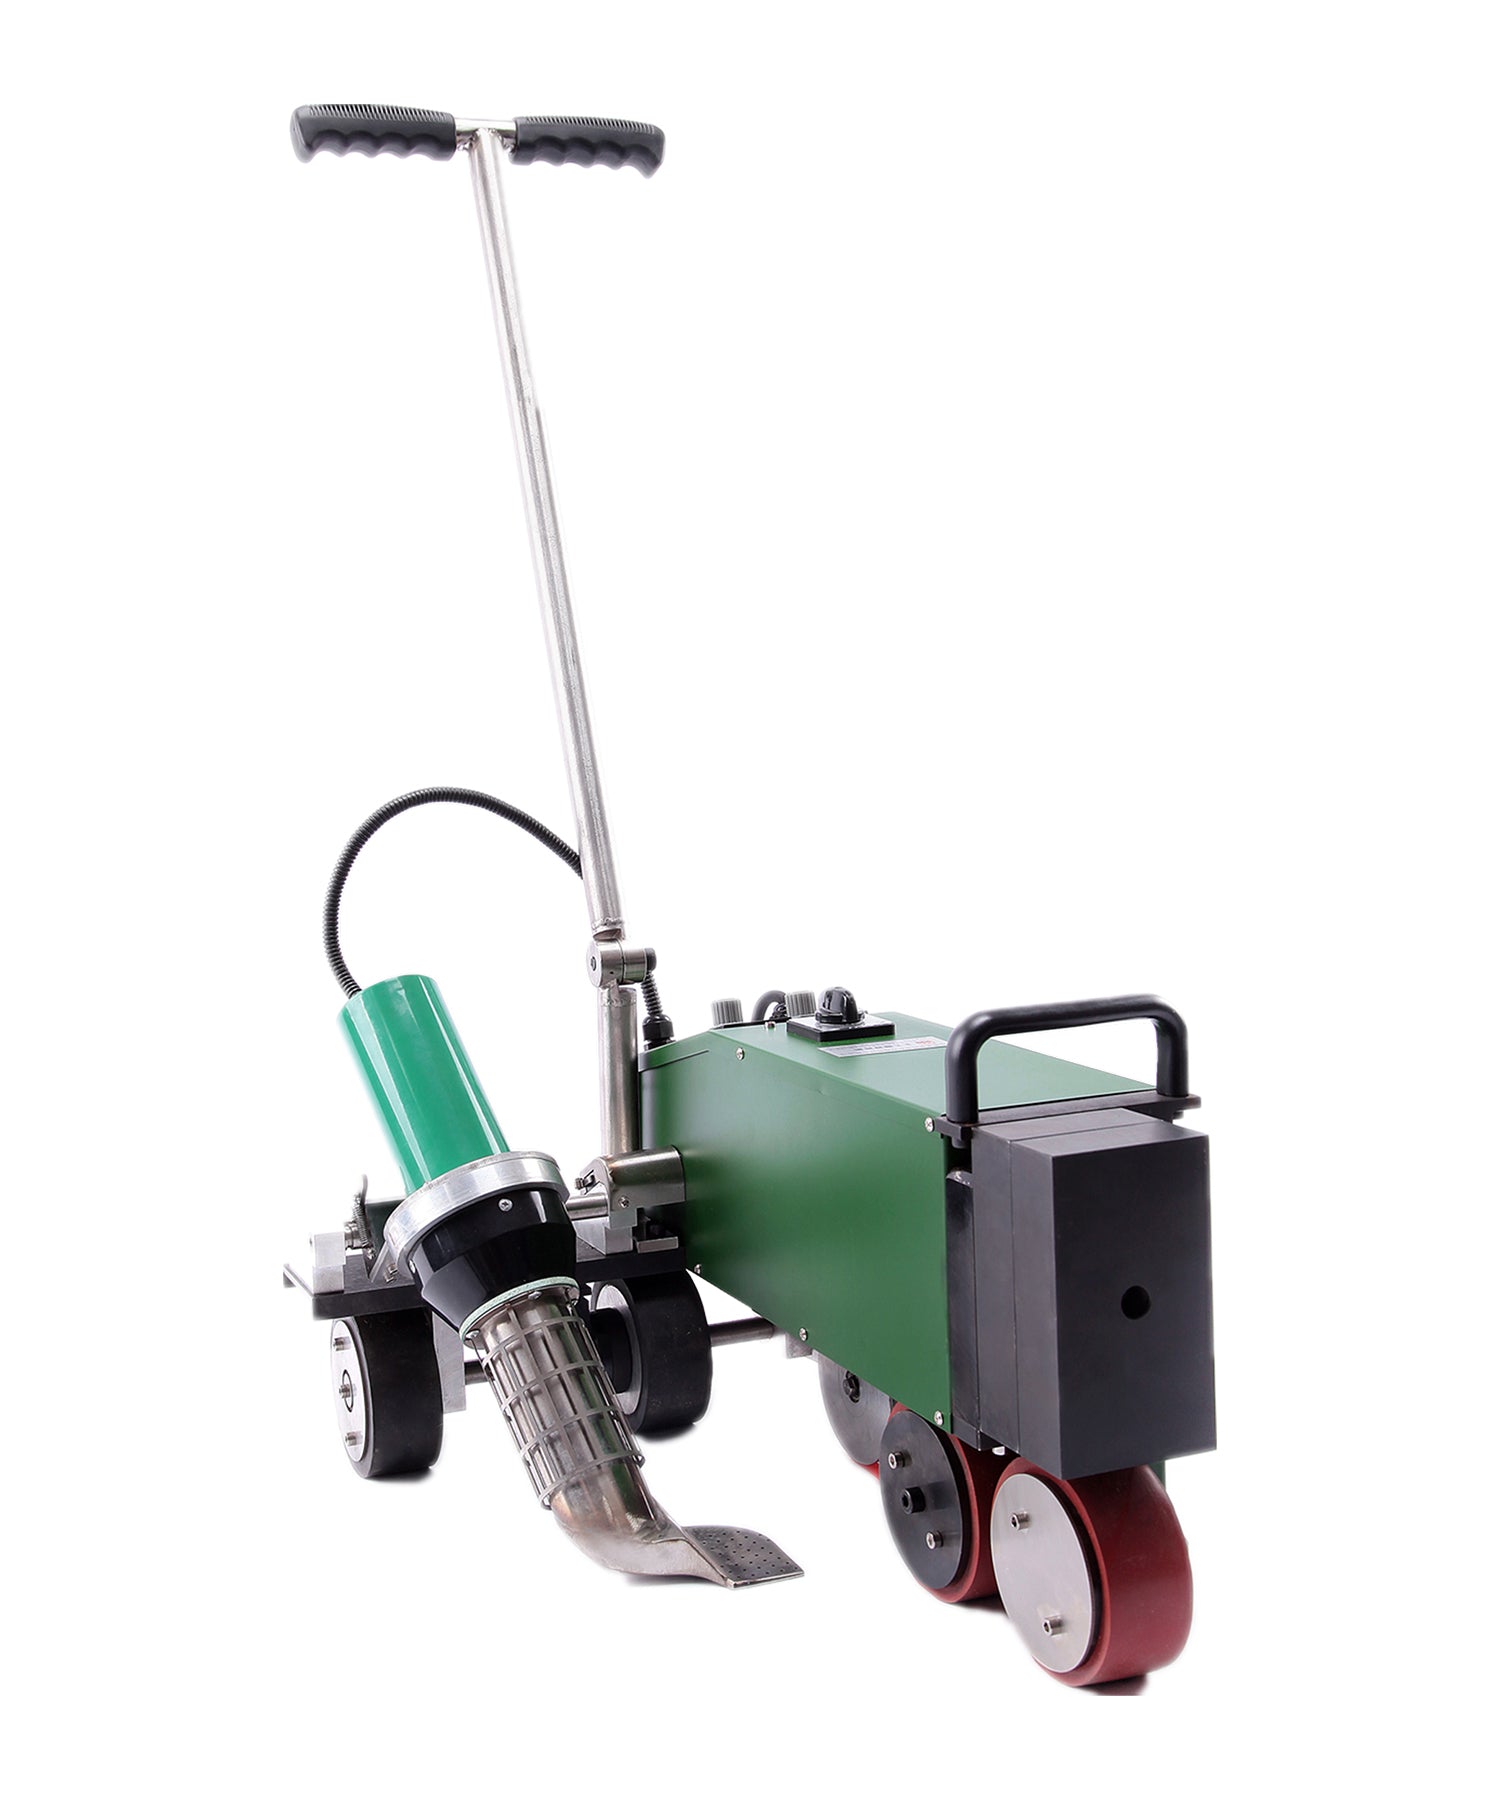
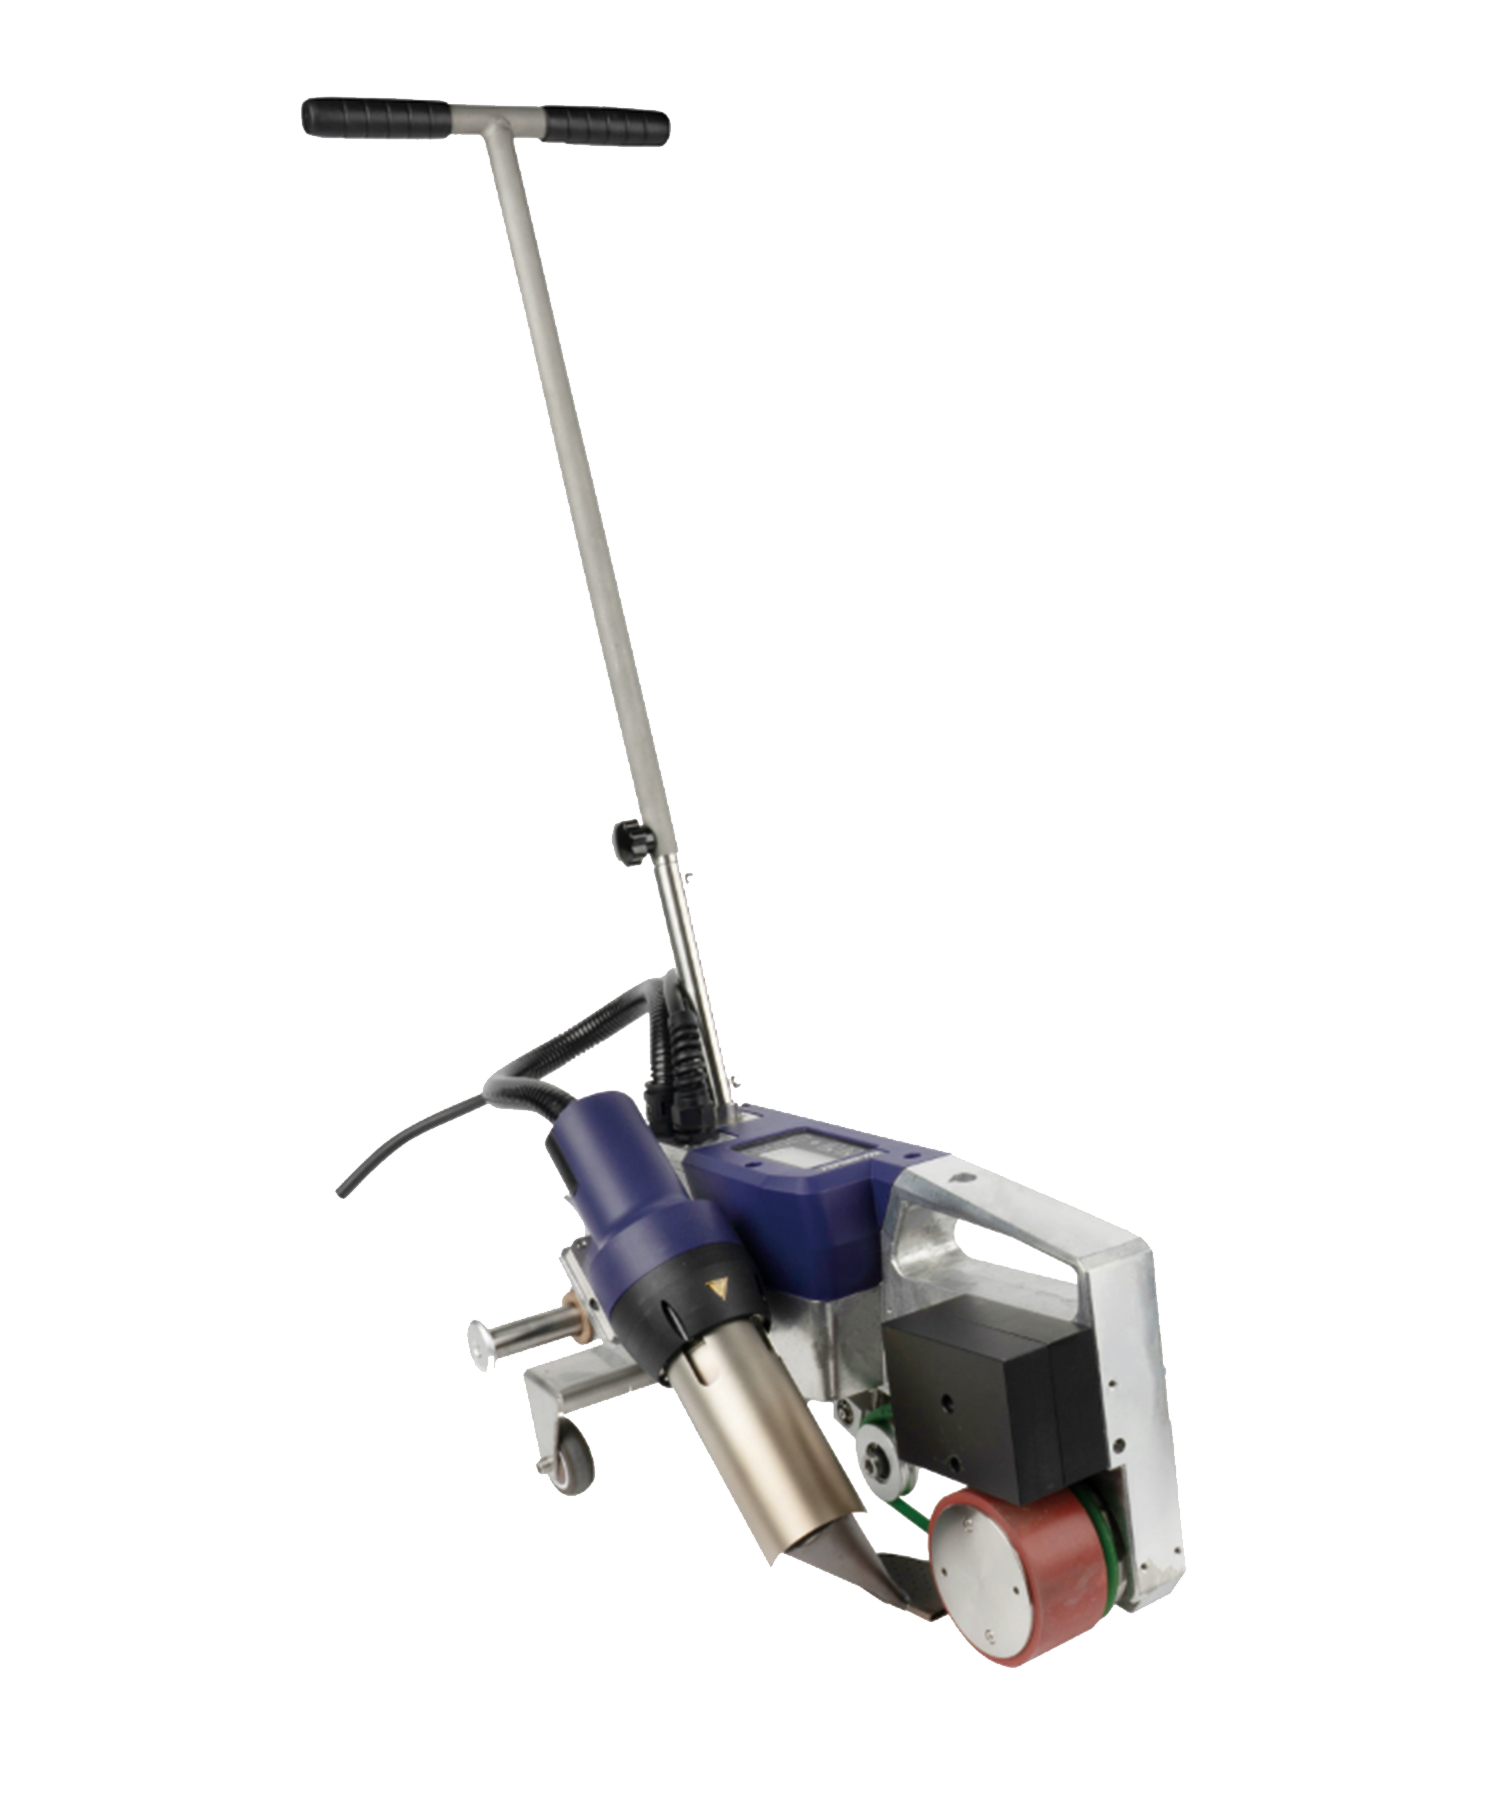
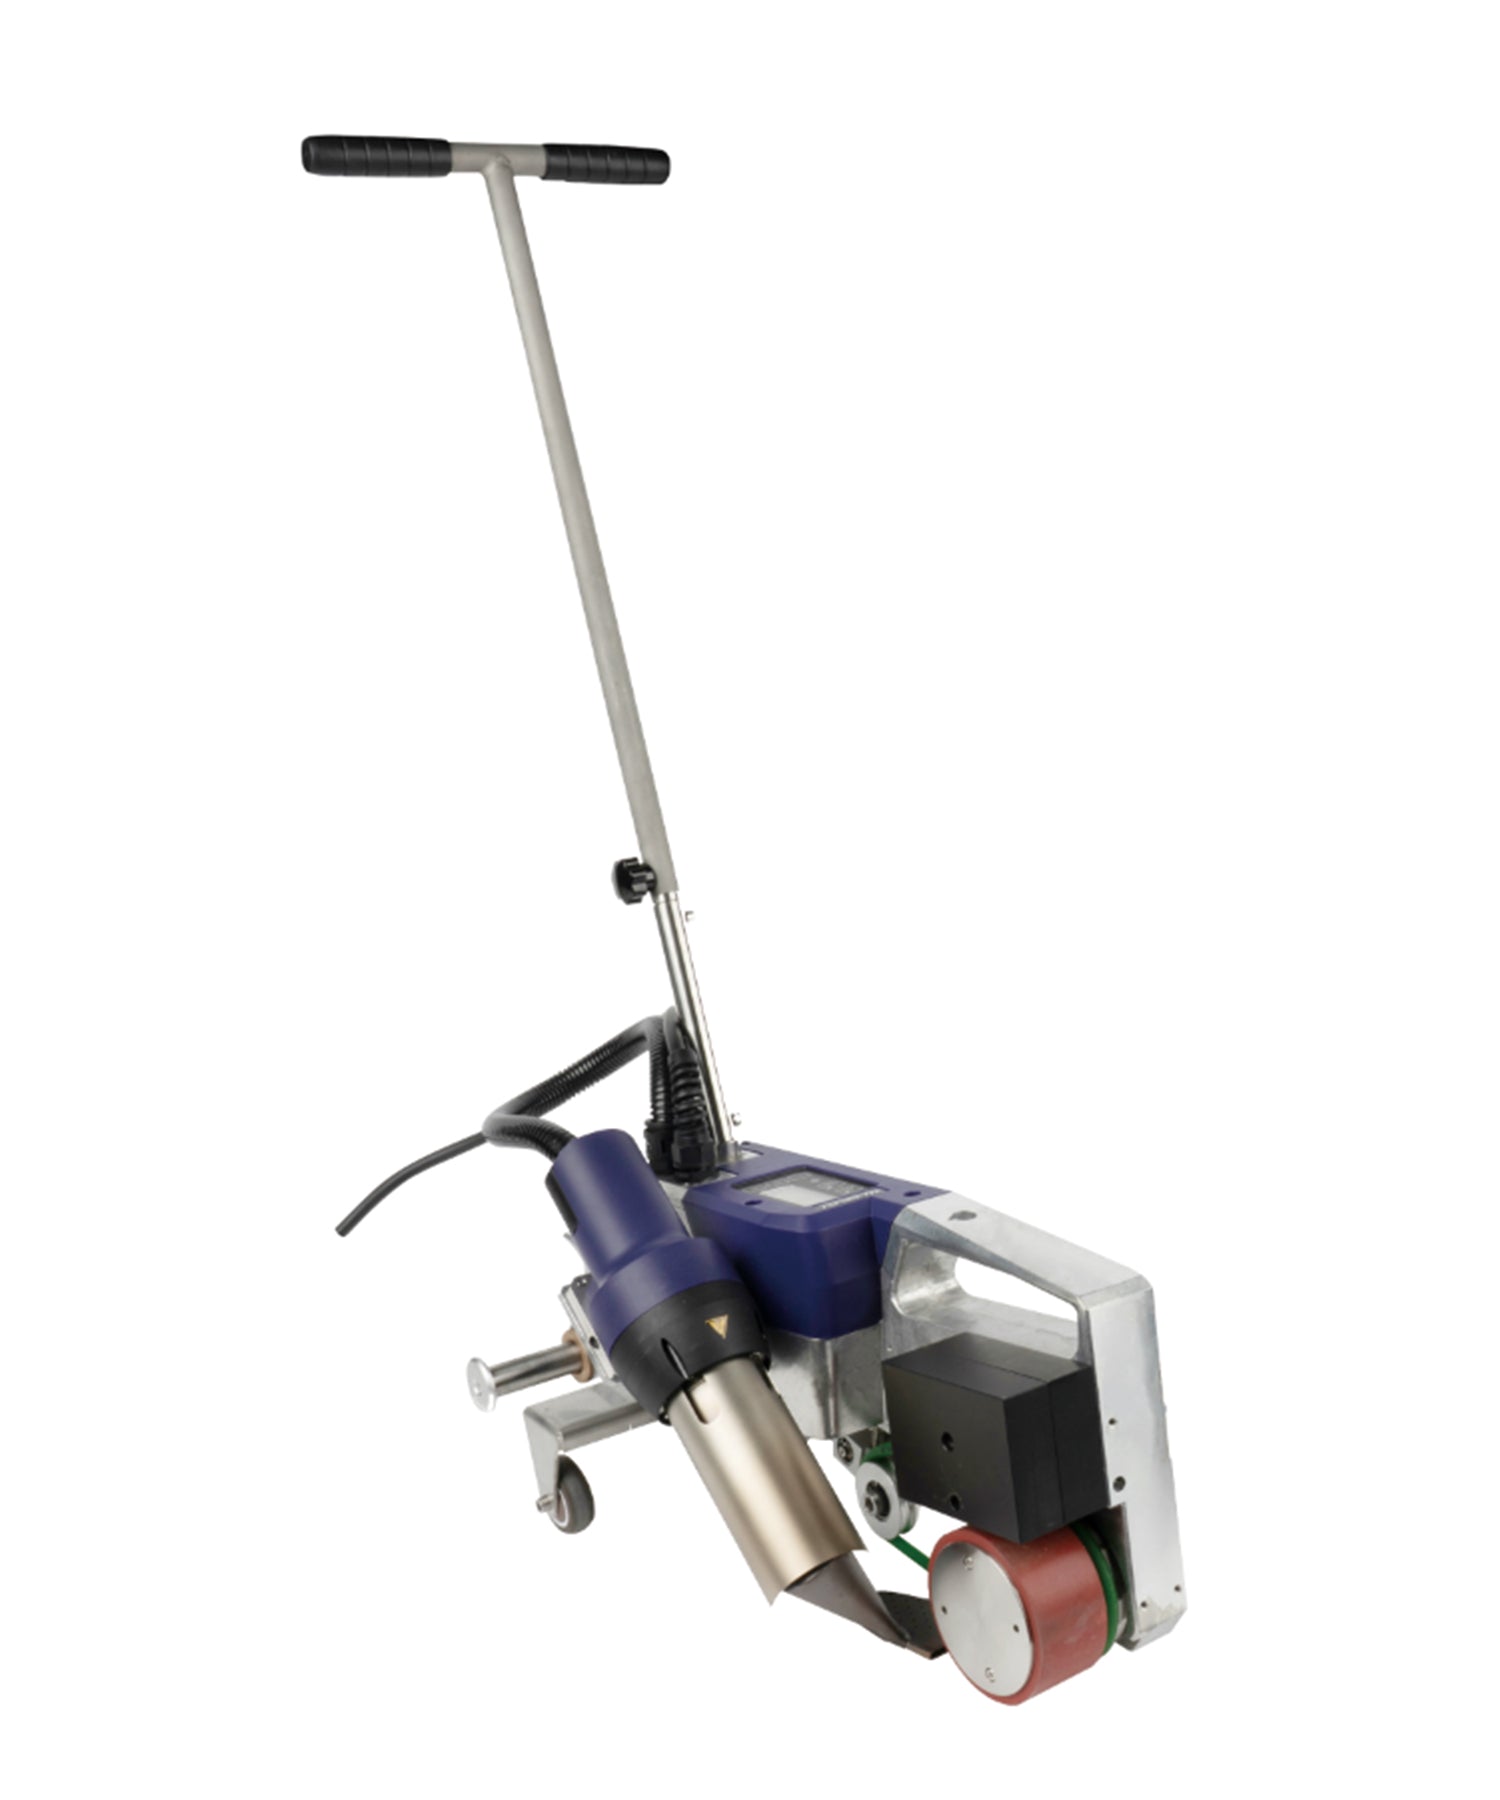
- Field seams are the long, straight runs across the open roof area, where an automatic hot-air welder travels at a set speed and closes the seam as it goes. The Weldy Roof40 and the Weissenberg RWP1 are built for this; both are specified with a 40 mm seam width and a 1–10 m/min travel speed. The overlap and seam layout a given project uses come from the membrane manufacturer’s instructions and the project specification.
- Details are everything the run cannot follow: changes of direction, tight geometry, vertical surfaces, and places where a penetration interrupts the membrane. The seams are short, the direction changes often, and the operator controls the nozzle by hand.
Weldy specifies the Roof40 for close-to-the-edge welding in narrow areas down to approximately 100 mm. Corners, boots, penetrations and other areas the automatic welder cannot practically complete are typically finished with a hand gun, wide-slot nozzle and silicone roller. The Roof40 and RWP1 comparison covers the machine side.
| Specified item | Weldy Roof40 | Weissenberg RWP1 |
|---|---|---|
| Power | 3,450 W | 4,200 W |
| Temperature range | 100–600 °C | 50–620 °C |
| Speed | 1–10 m/min | 1–10 m/min |
| Seam width | 40 mm | 40 mm |
| Net weight | 15.5 kg | 38 kg |
Choosing the Gun for Detail Work
Hand welding a detail is a two-hand operation: one hand steers the nozzle, the other follows immediately behind with the roller. That puts three demands on the gun — an adjustable temperature, a nozzle connection you can fit the right slot nozzle to, and a weight you can hold steady along a corner, a curb or an overhead flashing.
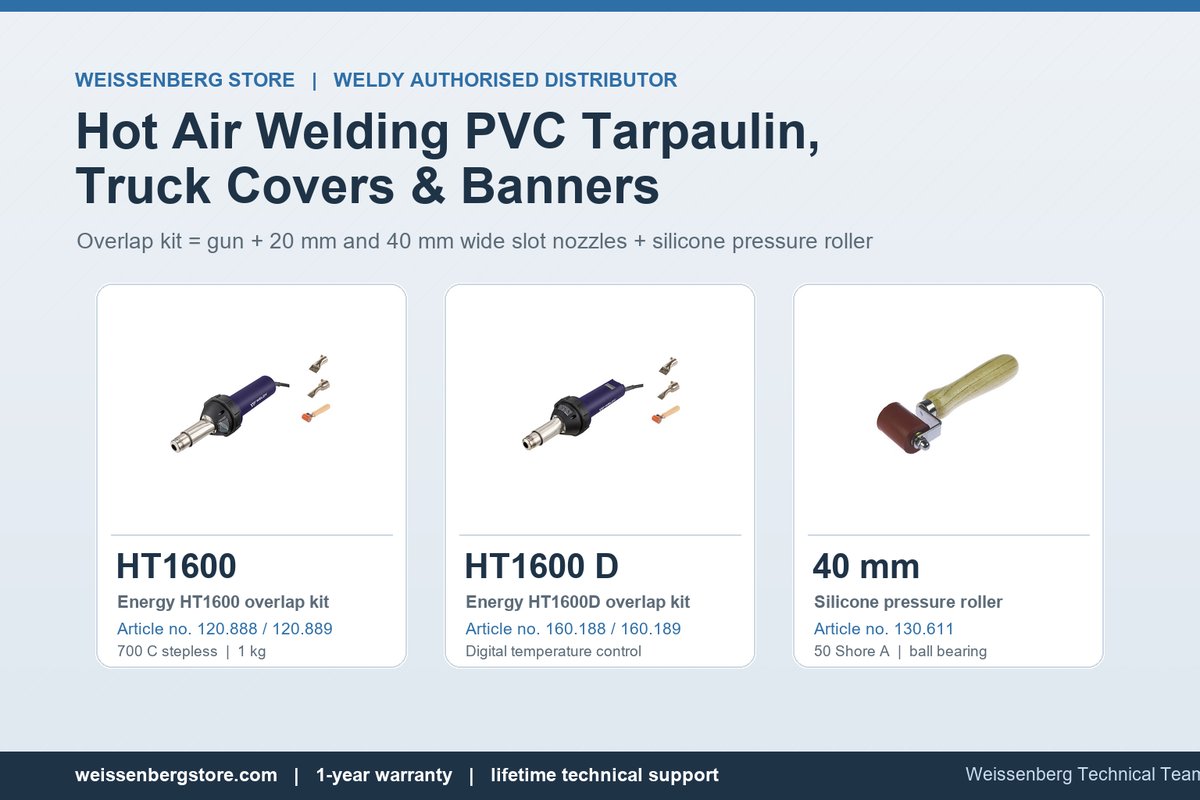
Weldy offers two 1,600 W Energy-series hand guns for this work: the energy HT1600 and the digitally controlled energy HT1600D. Both use the same Ø 31.5 mm nozzle connection, which is the connection the wide slot nozzles below fit.
| Specified item | energy HT1600 | energy HT1600D |
|---|---|---|
| Power | 1,600 W | 1,600 W |
| Store voltage options | 120 V or 230 V, 50/60 Hz — select the correct version | 120 V or 230 V, 50/60 Hz — select the correct version |
| Temperature control | Stepless, 40–700 °C | Digital on LCD, 40–620 °C |
| Airflow | 240 l/min at 20 °C | 120–240 l/min, adjustable |
| Static pressure | 2,600 Pa | 2,600 Pa |
| Nozzle connection ø | 31.5 mm | 31.5 mm |
| Length | 346 mm | 360 mm |
| Weight | 0.99 kg | 1.2 kg |
These are separate voltage variants, not a switchable dual-voltage tool. The key specified differences are the temperature control and the airflow: the HT1600 uses a stepless control without a display and a fixed 240 l/min airflow, while the HT1600D provides a digital setpoint on an LCD and 120–240 l/min adjustable airflow. The display makes it easier to return to a known numeric temperature setpoint between details, and the adjustable airflow gives the operator one more variable when conditions on an open roof change.

Nozzle: a wide slot, direct-fit on the 31.5 mm connection
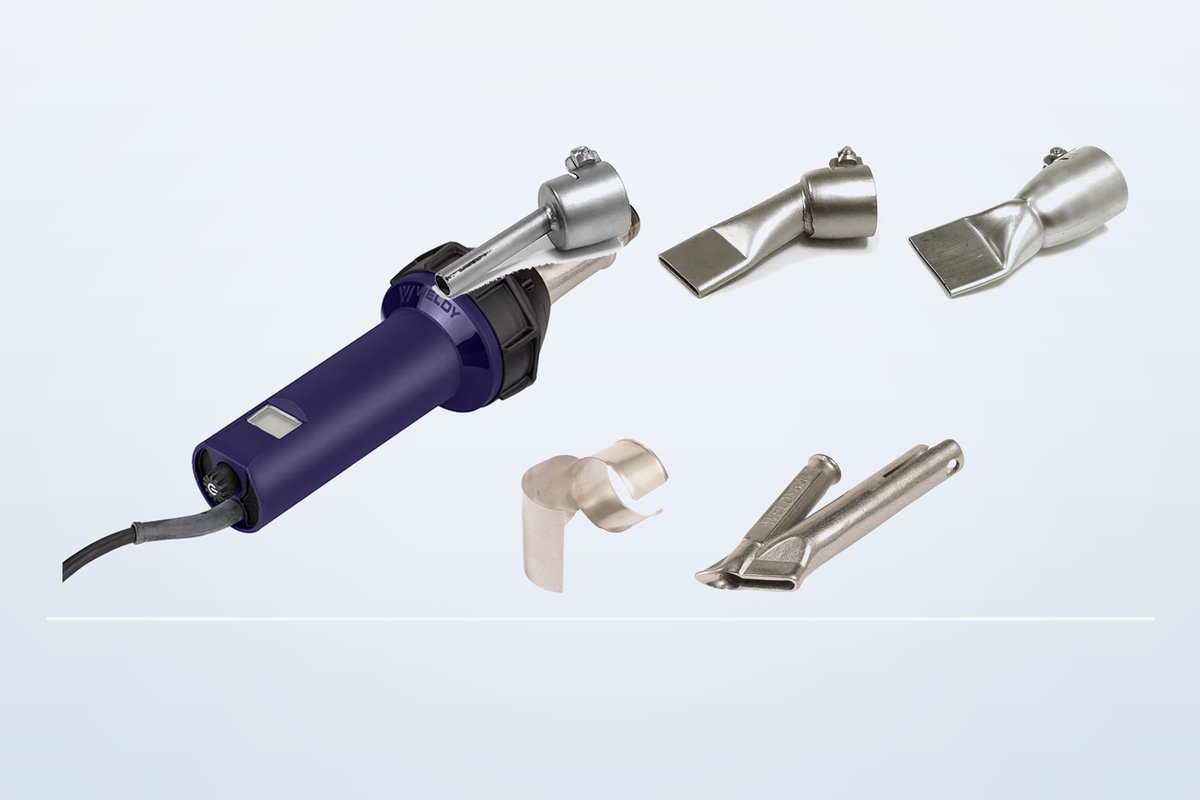
For a flat overlap — a boot flange, a curb flange, a straight flashing run — a wide slot nozzle delivers the hot air in a wide band instead of a narrow strip, so both overlapped surfaces are heated together. We stock the 40 × 2 mm wide slot nozzle (124.777) and the 20 × 2 mm wide slot nozzle (124.772); the narrower head reaches inside corners and around a pipe where a wider head will not seat flat.
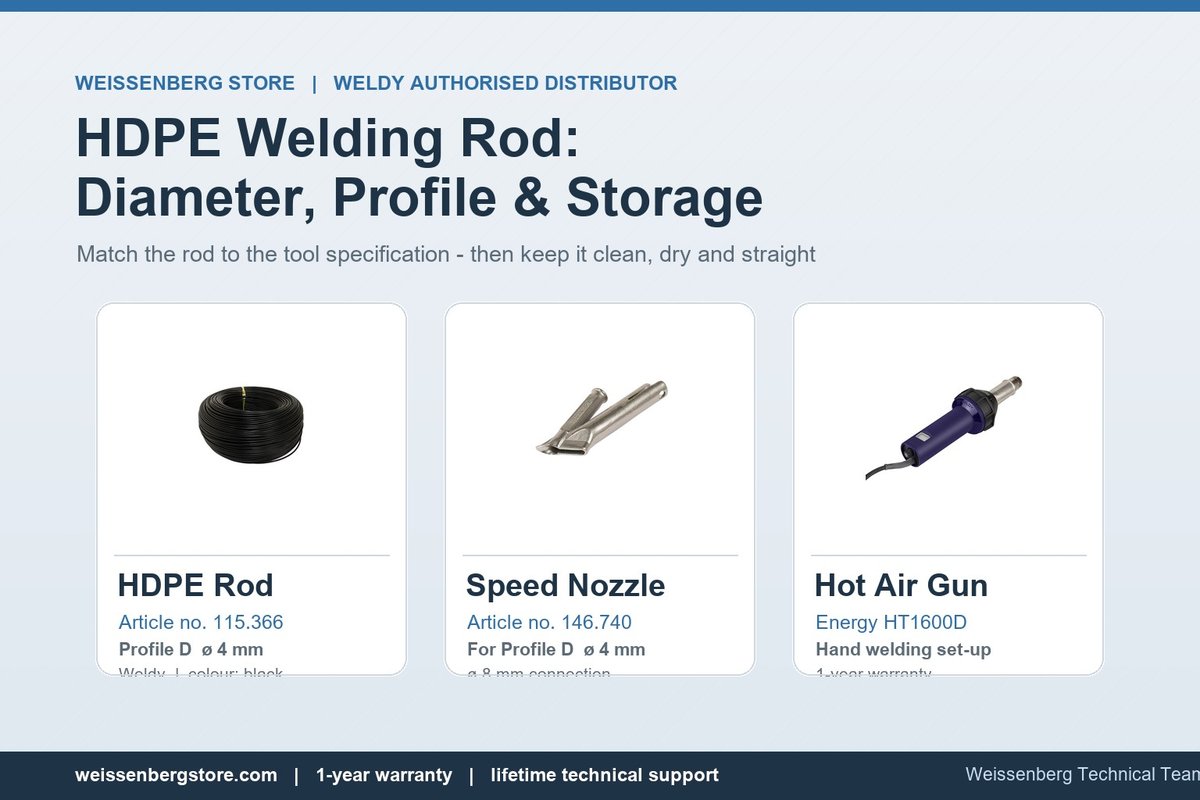
Both are direct-fit: they mount straight onto the gun’s Ø 31.5 mm connection with no adapter. That is worth stating plainly, because it is not true of every nozzle type. Speed and tacking nozzles use a two-part setup: a Ø 31.5 mm tubular nozzle mounts on the gun first, and the Ø 8 mm push-fit speed or tacking nozzle mounts onto that tubular nozzle. The wide slot nozzle size comparison covers the ranges we stock.

Roller: match it to the seam you are closing
The roller is what turns plasticized membrane into a welded seam, and it has to reach the same place the nozzle just heated. We stock the 40 mm silicone pressure roller (130.611) and the 30 mm silicone pressure roller (130.146). Both share the same silicone body and ball bearing, and the key specified difference is the working width. The 30 mm vs 40 mm pressure roller guide compares them. Always check the roofing-system manufacturer’s detail manual, because some systems specify a particular roller width, hardness or hand-welding sequence.

Safety note: Hot-air welding a roofing membrane means working with a hot tool at height. Work in a well-ventilated area, avoid overheating or burning the membrane, and follow the membrane supplier’s safety data sheet (SDS) and your site safety requirements.
Hand-Welding a Roofing Detail, Step by Step
The order below is how a detail weld is usually approached. It is not a fixed recipe: the overlap, temperature range, travel speed and acceptance criteria come from the membrane manufacturer’s welding instructions and the project specification, and they change with the membrane and with the detail.
- Clean and dry the weld zone. Remove dust, grit, moisture, talc and any release agent from both faces, and make sure the membrane is dry. Contamination is the quietest cause of a weak detail, because the weld still looks complete afterwards.
- Position the detail and hold it. Keep the two surfaces flat against each other with no bridging or trapped air, and hold the assembly still so the overlap cannot creep while you weld.
- Set the overlap from the membrane manufacturer’s instructions and the project specification.
- Trial weld a sample of the membrane you are installing for the detail you are about to run. Let the test cool fully, then assess it against the membrane manufacturer’s welding instructions and the project acceptance criteria. TPO and PVC are different polymers and should not be assumed to use the same welding settings. Follow the membrane manufacturer’s starting parameters and confirm them with a trial weld.
- Follow the membrane manufacturer’s specified hand-welding sequence. Some roofing systems require a pre-weld or multi-step hand-welding method before the final weld; do not assume every TPO or PVC detail is completed in one pass.
- Complete the required welding passes using the setup confirmed by the trial weld. The wide slot nozzle goes between the two layers so hot air reaches both surfaces, and the nozzle stays parallel to the surface as you travel — the aim is to keep the heated surfaces properly plasticized along the seam.
- Roll behind the nozzle with even pressure along the weld zone, then let the detail cool undisturbed before folding, loading or covering it.
Inspect the Detail After It Has Cooled
Allow the completed weld to cool fully, then inspect it using the membrane manufacturer’s specified seam-check procedure. Where the roofing system requires seam probing, use the approved blunt probe and technique to check for skips or open areas along the weld edge. A field seam check does not replace the trial weld used to establish the welding setup. Repair any unacceptable area according to the membrane manufacturer’s approved repair procedure.
Heat, Travel Speed, Airflow and Pressure Work Together
Temperature, travel speed, airflow and roller pressure work together, and changing one changes what the others have to do. Moving too quickly can leave the membrane insufficiently heated, while excessive dwell or temperature can overheat, discolour or thin it. Insufficient pressure may prevent full consolidation, while excessive pressure can displace softened material. Establish the starting setup with a trial weld, change one variable at a time, and re-check the trial weld when the membrane roll or the ambient conditions change.

Possible Causes When a Roofing Detail Weld Looks Wrong
Detail faults rarely have a single cause, and none of them belongs to one accessory or one step on its own.
| What you see | Possible causes | Where to check |
|---|---|---|
| Detail opens along the overlap | Travel speed, temperature setting, airflow, roller pressure, contamination on the faces, or overlap below the specified width | Trial weld from the same roll, the membrane manufacturer’s welding instructions, the project acceptance criteria |
| Glossy, discoloured or thinned weld line | Temperature too high for the membrane, travel too slow, nozzle held too close, or dwell at the start and stop of a short run | Temperature setting, travel habit, nozzle height, start/stop position |
| Bubbles or a lifted weld line | Moisture on the membrane or substrate, uneven roller pressure, membrane not held flat, or trapped air under the detail | Drying and cleaning step, how the detail is held down, roller technique |
| Membrane sticks to the nozzle | Nozzle too close, temperature too high, or the gun held stationary in one spot | Nozzle clearance, temperature setting, whether travel is continuous |
| Detail fails at a corner or over a penetration | Wrong slot width for the geometry, roller unable to seat flat, or overlap reduced to make the detail fit | Whether the 20 mm nozzle is needed, roller access, overlap layout before welding |
Looking After the Gun and the Nozzles
Inspect and clean the gun and accessories before use and as needed. Keep the nozzle slot clear of burnt material: a partly blocked slot spreads heat unevenly and shows up as a patchy weld. Check the blower motor carbon brushes for wear, since they are a service item on the Energy-series guns, and store the silicone roller clean and out of direct sun.
Getting a Detail Setup That Works First Time
The core detail-welding setup is a hot-air gun, wide-slot nozzle and silicone roller. Weldy’s overlap kits also include spare blower-motor carbon brushes (125.810). Sourcing them separately means matching every connection yourself. The energy HT1600 overlap welding kit and the energy HT1600D overlap welding kit arrive matched: 1,600 W gun, the 40 × 2 mm and 20 × 2 mm wide slot nozzles, a 40 mm silicone pressure roller, and the spare blower-motor carbon brushes (125.810). Choose 120 V or 230 V for your supply.
Already own a gun? The 40 × 2 mm wide slot nozzle, the 20 × 2 mm wide slot nozzle and the 40 mm silicone pressure roller are available on their own, alongside the roofing welders, hot air guns and accessories we stock. Weissenberg Store is an authorised Weldy distributor and also manufactures the RYG, RYH, RYA, CONDOR, HAWK and GOPHER lines — send us the membrane type and the detail you need to close, and our technical team will point you at the right combination. Every item ships with a 1-year warranty.




Leave a comment
This site is protected by hCaptcha and the hCaptcha Privacy Policy and Terms of Service apply.