
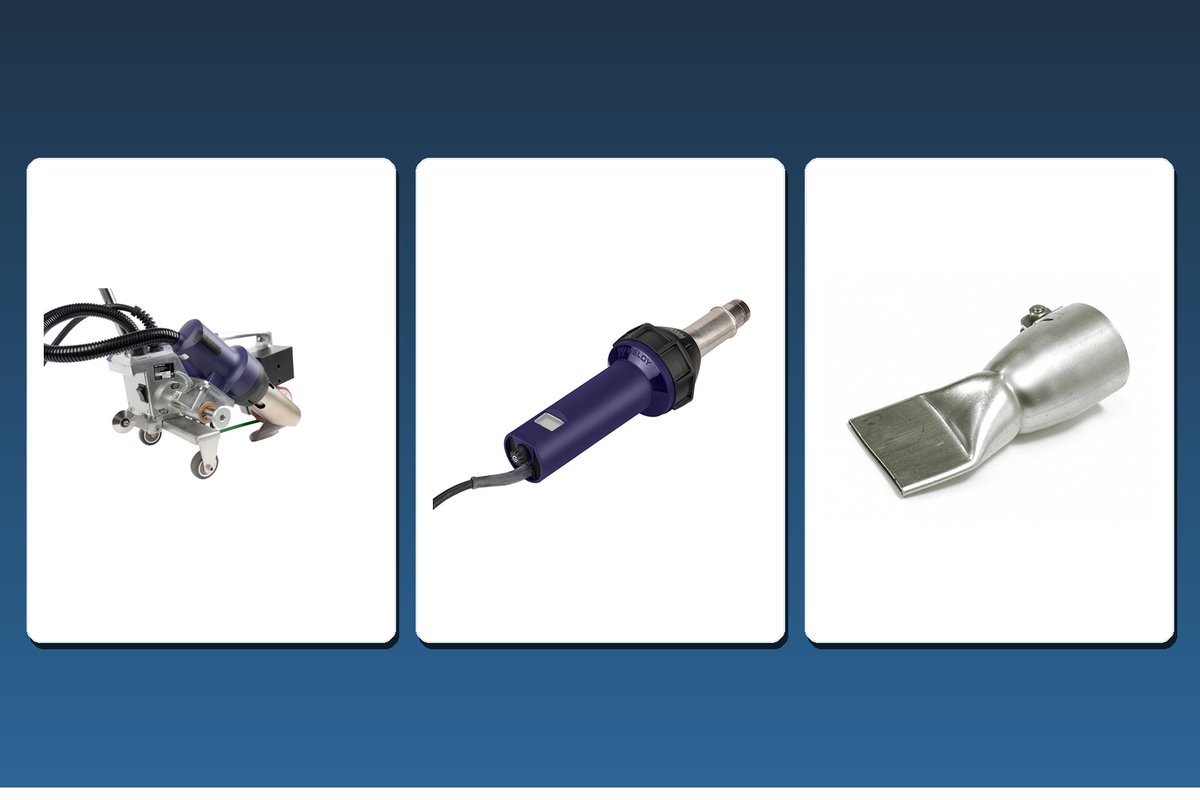
TPO welding problems usually show up at the seam, not in the sheet. A factory-made membrane arrives with predictable properties, but every overlap is welded on site, in changing weather, with a machine or a hand gun that has to be set up for that particular roof on that particular day. When a TPO seam fails, the first investigation usually focuses on the welding process — heat input, travel speed, consolidation pressure, surface condition, weather and power delivery — while membrane condition and roofing-system requirements should also be verified.
This guide covers the three outcomes behind many TPO seam complaints — cold welds, overheating and failed seams — and gives a troubleshooting sequence that isolates the cause instead of guessing at it. It applies to hot-air-weldable TPO membrane. Always confirm with the membrane manufacturer that the sheet, the coating and any surface treatment are specified as weldable, and take the overlap, the seam layout and the acceptance criteria from the manufacturer’s instructions and the project specification.
Why TPO Problems Show Up at the Seam
The membrane sheet is factory-produced; the seams between sheets are created on site. A seam is formed on the roof, by an operator, at a temperature that is affected by sun, wind and substrate.
A seam defect also rarely names its own cause. An open edge can come from too little heat or from contamination. A scorched lap line can come from too much heat or from travelling too slowly. The sensible approach is to read the symptom, then check the whole process that produced it:
- Heat input — temperature setting, air volume and travel speed together decide how much heat actually reaches the overlap.
- Movement — whether the machine or the operator held a constant speed along the run.
- Consolidation — whether the roller followed close enough behind the nozzle, with enough pressure, to close the plasticized surfaces.
- Conditions — membrane and substrate temperature, wind, moisture and surface cleanliness.
- Supply — whether the tool actually received the power it is specified to run on.
| What you see | Possible causes | Check first |
|---|---|---|
| Lap looks closed but opens along the overlap | Cold / false weld — inadequate fusion caused by insufficient heat input, contamination, moisture, inconsistent pressure or another process condition | Trial weld result, temperature, travel speed, air volume |
| Seam partially bonded, opens at one section only | Uneven heat or pressure along the run | Nozzle seating, roller follow-up, drive tracking |
| Discoloured or scorched seam edge | Too much heat, or travel slower than the heat input needs | Temperature setting and speed |
| Weld zone wider than expected | Settings have moved, or dwell at a start / stop | Values in use against the trial weld that was signed off |
| Open seam at the start or the stop of a run | Incomplete temperature / pressure transition at the ends | Start and stop handling, end treatment for the detail |
| Wrinkles or bridging beside the seam | Membrane not lying flat, uneven overlap, trapped air | Sheet layout and alignment ahead of the tool |
| Damage to membrane outside the weld zone | Nozzle edge, shoe or roller misaligned with the seam line | Tool setup and tracking first; also verify heat input and dwell time |
The table describes what to check, not what to change. In most cases the correct first action is a new trial weld with only one variable moved.
Cold Welds: Closed in Appearance, Not Fused
A cold or false weld is a seam that appears closed but has not developed adequate fusion between the membrane layers. Insufficient heat input is one cause, but contamination, moisture, inadequate consolidation or an unsuitable setup can produce a similar failure, which may only open along the overlap under service conditions. A seam check may find it as skips, edge voids or an opening that runs along the weld line.
Because the symptom is the same, the diagnosis has to cover the whole chain rather than the temperature dial alone:
- Heat input. A temperature setting below what the membrane needs, travel speed too fast for the heat being delivered, or reduced air volume from a partly blocked nozzle slot or a dirty air intake.
- Cold conditions. Cold membrane and a cold substrate absorb heat before the surfaces reach welding temperature, and wind pulls heat out of the lap as the machine passes over it.
- Moisture. Dew, mist or a passing shower on the overlap. Water has to be removed before welding, not welded over.
- Weathering or contamination. Membrane that was left exposed before it was welded can carry dust, dirt or surface weathering that blocks fusion.
- Pressure. Insufficient or inconsistent roller pressure behind the nozzle, so plasticized surfaces are not consolidated while they are still weldable.
- Overlap. An overlap too narrow for the nozzle to enter fully, so only part of the weld zone is heated.
Cold welds are not a matter of the temperature setting alone. Heat input is the result of temperature, air volume, travel speed and how much heat the membrane loses to the roof. Raising the temperature without checking the rest of the chain can simply trade a cold weld for an overheated one.

Overheating: When More Heat Makes a Weaker Seam
Overheating is easier to see than a cold weld, and therefore easier to dismiss as cosmetic. The visible signs are usually a combination of:
- A discoloured or scorched seam edge, or a glossy, thinned band beside the weld where the surface has been over-heated.
- A lap that has distorted, drawn in, or lost the flat profile it had before welding.
- A weld zone noticeably wider than expected, which can be the first sign that the settings have moved.
- Gouges, drag marks or damage to the membrane outside the seam, where the nozzle edge, the machine shoe or the roller was misaligned with the seam line.
Typical causes include a temperature set higher than the membrane requires, a travel speed slower than that heat input needs, and dwell at the start and stop of a run where the tool pauses over the membrane. A hand gun left in one place while the operator changes position will over-heat a small area quickly, and a nozzle held so that the outlet or the shoe drags across the sheet can damage membrane outside the weld zone even when the temperature is correct.
Formed details deserve particular care. A hand gun set up for field work can over-heat a small detail — a corner, a pipe boot or a T-patch — before the operator notices. A seam that looks extra wide is not automatically a safer seam: excess heat degrades the membrane surface, and the damage does not always appear immediately.
Contamination, Moisture and Weather
Contamination and surface weathering can prevent reliable fusion if the overlap is not properly prepared. Clean and prepare the membrane exactly as specified by the roofing-system manufacturer before welding. No amount of extra heat will turn a contaminated lap into a sound seam, and any cleaner has to flash off completely — residual cleaner is itself a contaminant.
Moisture works the same way. Dew on a morning roof, mist, or a lap that has just caught a shower must be removed and the surface dried before welding, because evaporating water pulls heat out of the weld zone and trapped moisture compromises the bond.
Weather keeps changing the welding window through the day. Membrane in direct sun arrives at the nozzle already warm, while the same membrane in shade is cooler and absorbs more heat before reaching welding temperature. Wind cools the surface and disturbs the airflow inside the lap. Substrate type also affects the welding window: dense or cold substrates such as concrete can draw heat away from the membrane, while insulation may behave differently. Moisture should be treated separately according to the roofing-system manufacturer’s requirements. Whenever conditions change, the setup has to be re-confirmed rather than assumed.
Power-delivery problems can easily be mistaken for incorrect welding settings. A long extension cord, a light-gauge lead, an undersized generator, or other equipment sharing the same supply can all reduce the usable heat at the seam. Before adjusting settings for a second time, check the tool against the power-supply requirements it is specified for.
Starts, Stops, T-Joints and Detail Work
Long straight runs get most of the attention, but weak spots usually appear where the machine slows, lifts or restarts. T-joints, step-offs, insulation joints and hand-finished tie-ins carry more variation than open field seams, because the geometry changes and the operator takes over. Those locations are worth checking deliberately rather than assuming the field seam result carries across.
Hand welding has its own discipline. Follow the membrane manufacturer’s specified hand-welding sequence. Some roofing systems require a pre-weld or a multi-step hand-welding method before the final weld; do not assume every TPO detail is completed in one pass. Complete the required welding passes using the setup confirmed by the trial weld.
A Troubleshooting Sequence: Change One Variable at a Time
The fastest way to solve a TPO welding problem is to stop changing several things at once. Work through the process in order, and confirm each step:
- Start with a trial weld on a sample of the membrane you are installing, in the conditions on the roof at that moment.
- Check the practice against the membrane manufacturer’s welding instructions and any published starting guidance for temperature, travel speed, roller, overlap and sequence. Final settings should be confirmed by the trial weld.
- Verify power delivery. Confirm the tool is receiving a stable supply before touching the settings again.
- Check the surfaces. Clean and dry per the manufacturer’s cleaning instructions, with any cleaner fully flashed off.
- Check the tool. Nozzle slot clear, air intake clear, roller clean and seating flat, drive wheel and guide tracking correctly.
- Change one setting at a time and confirm every change with a new trial weld. If heat and speed move together, you lose the ability to tell which one solved the problem.
Setting Up Equipment to Reduce Variation
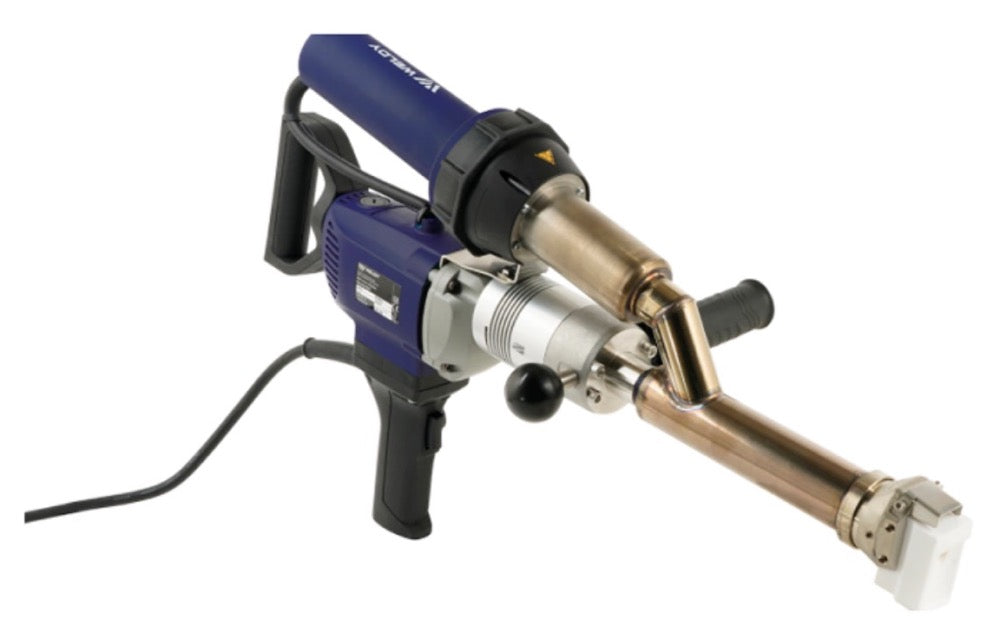
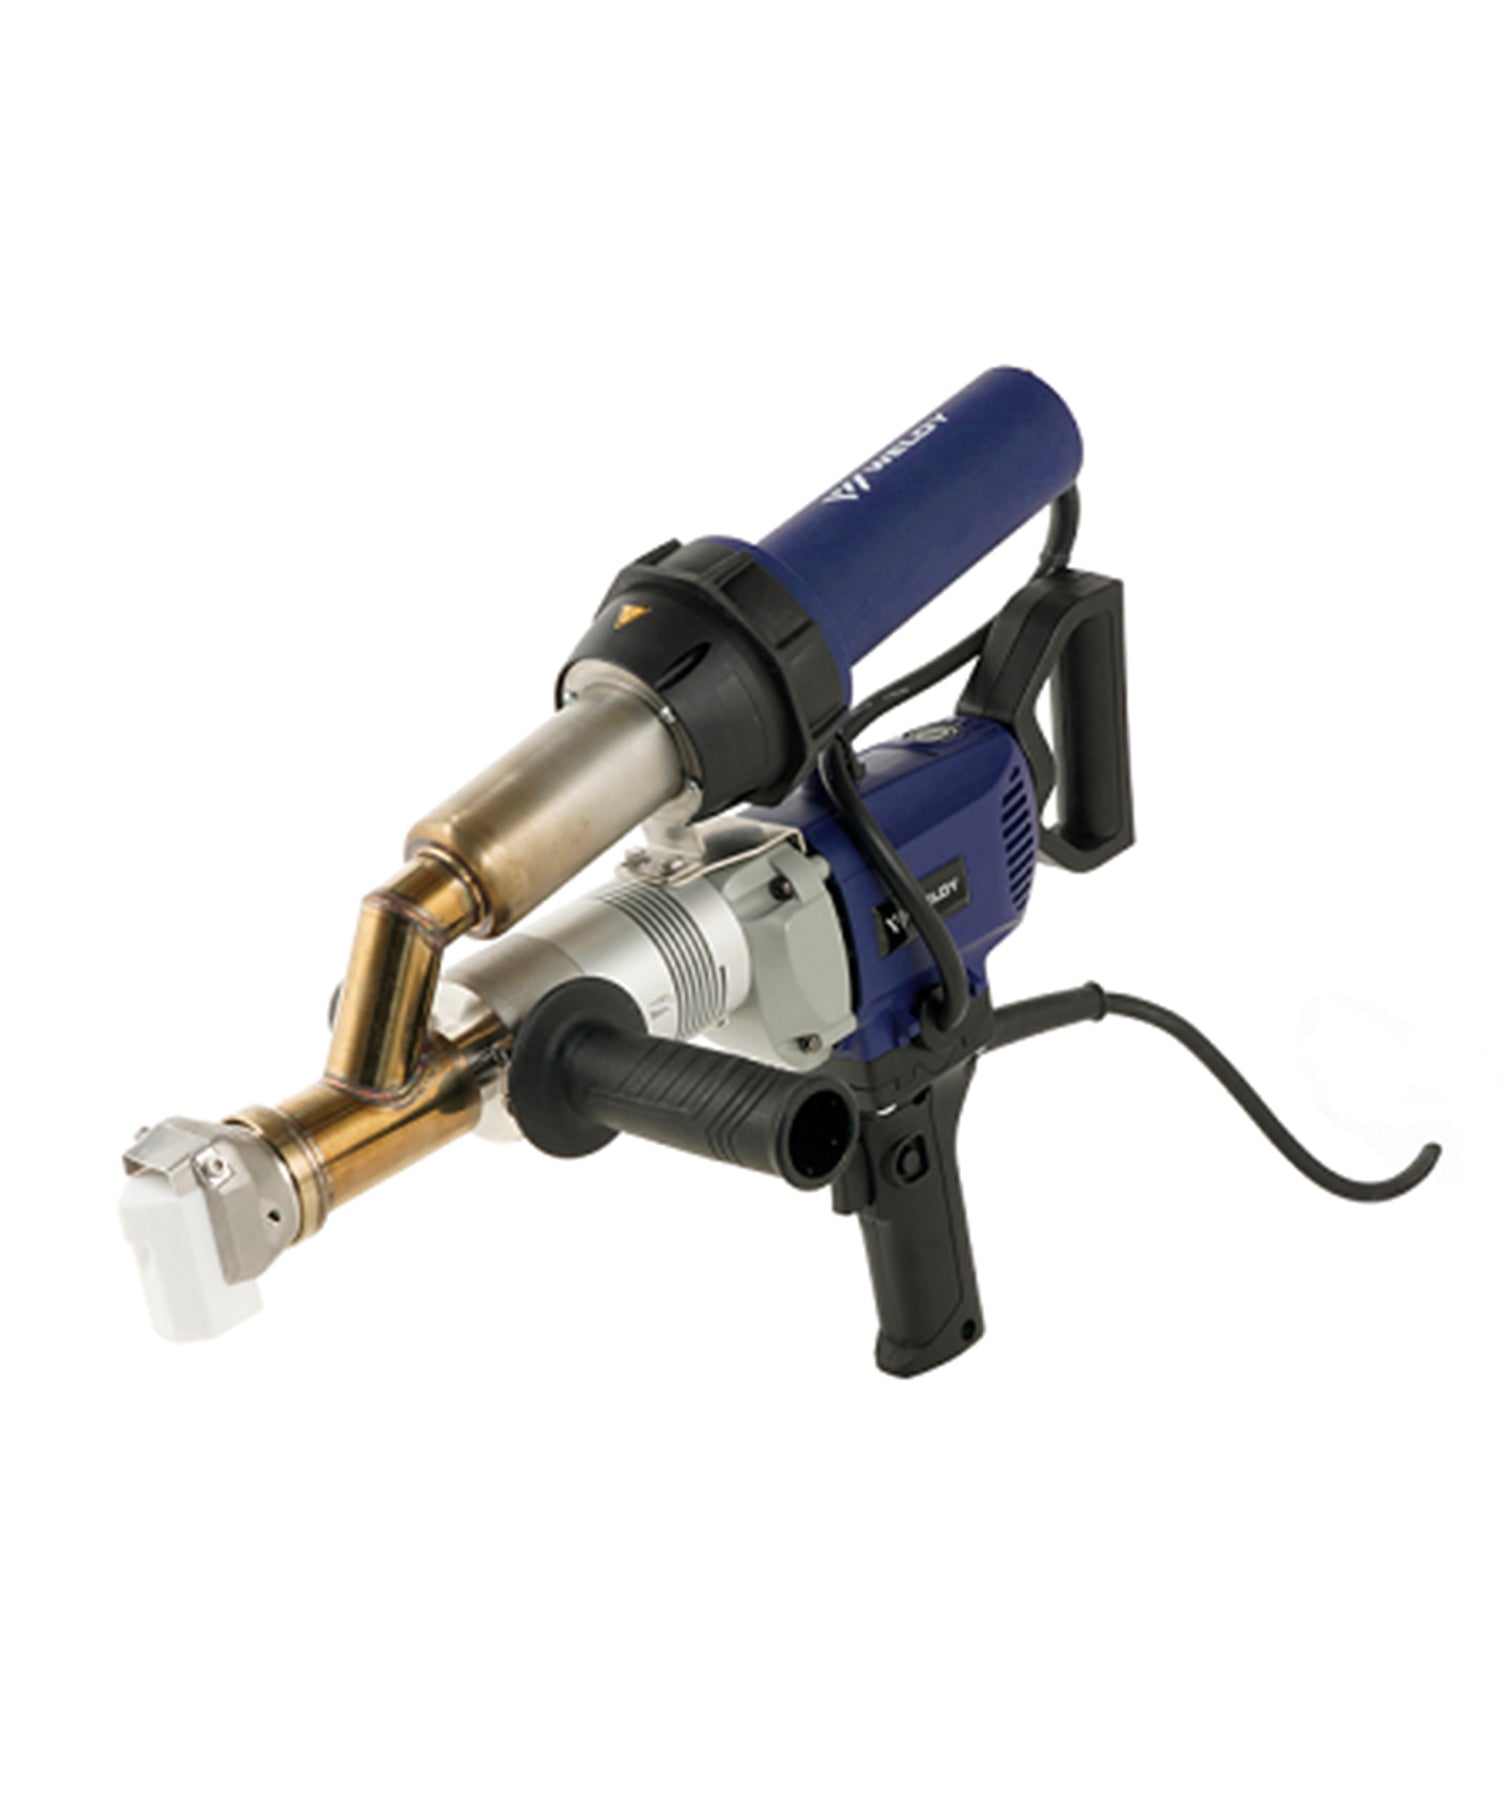
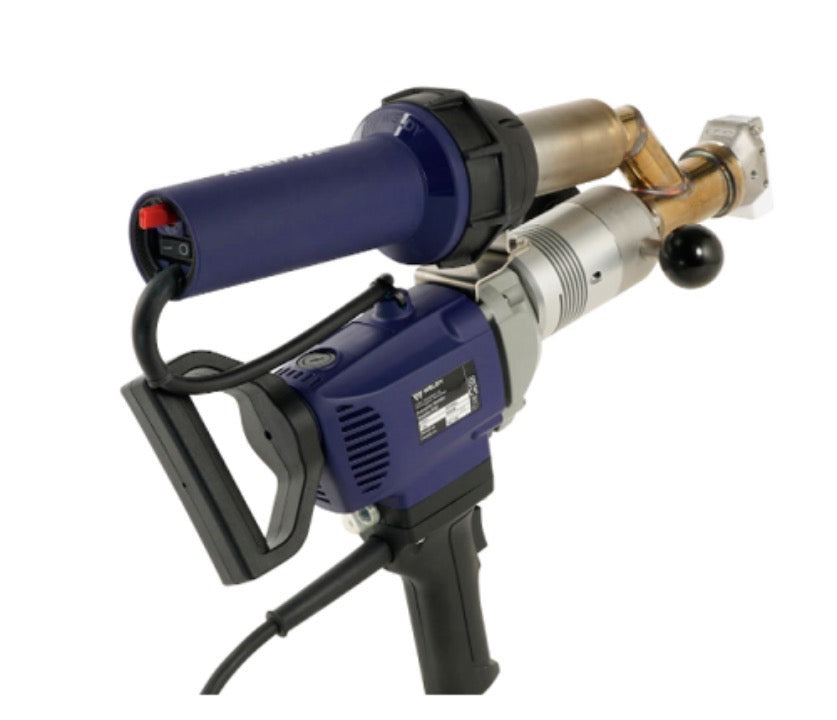
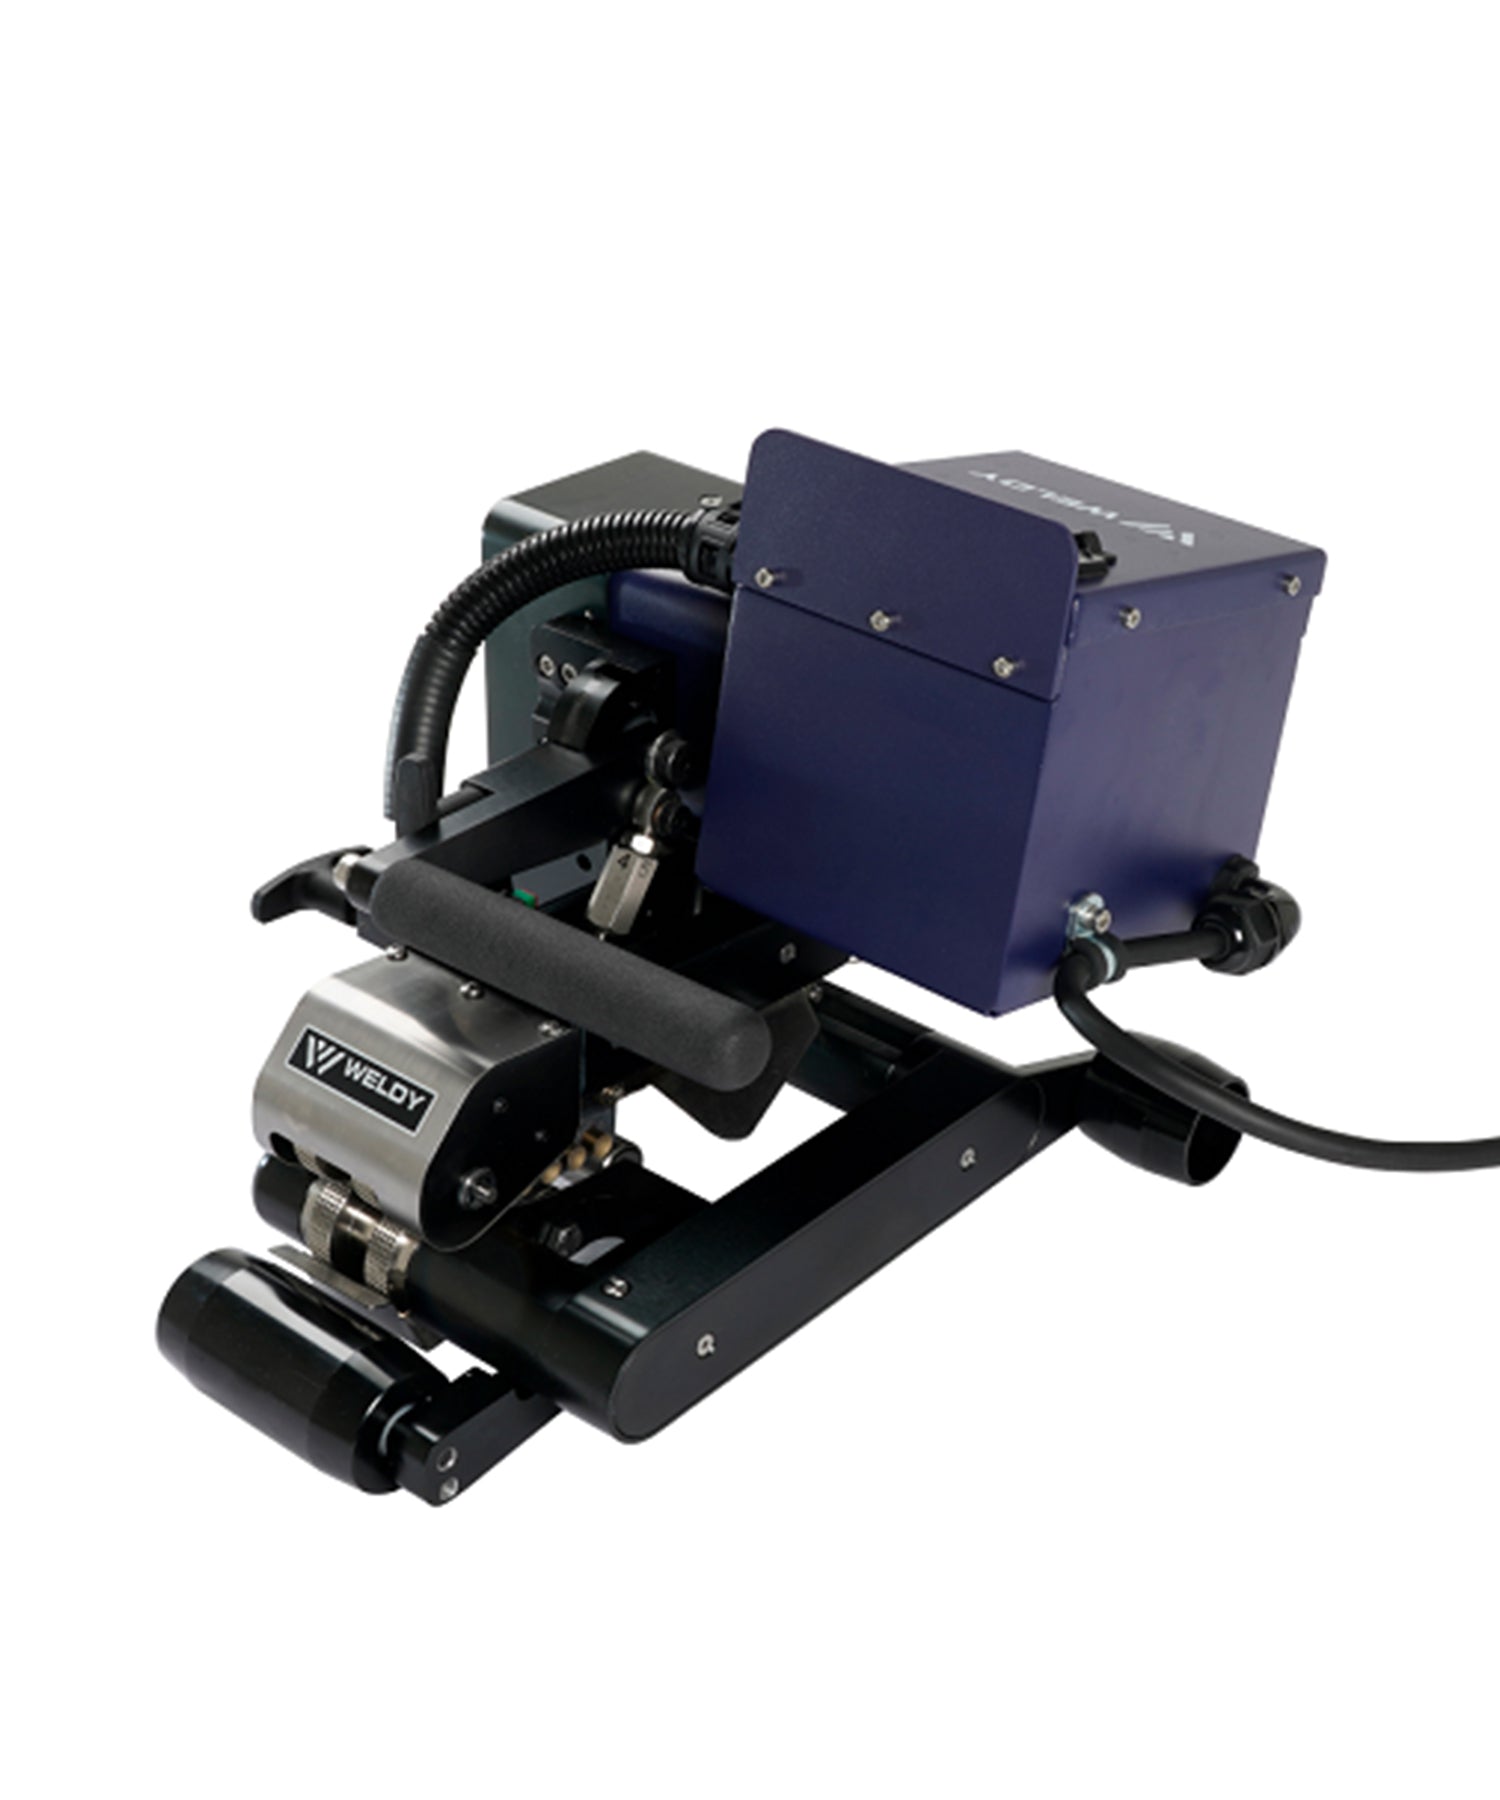
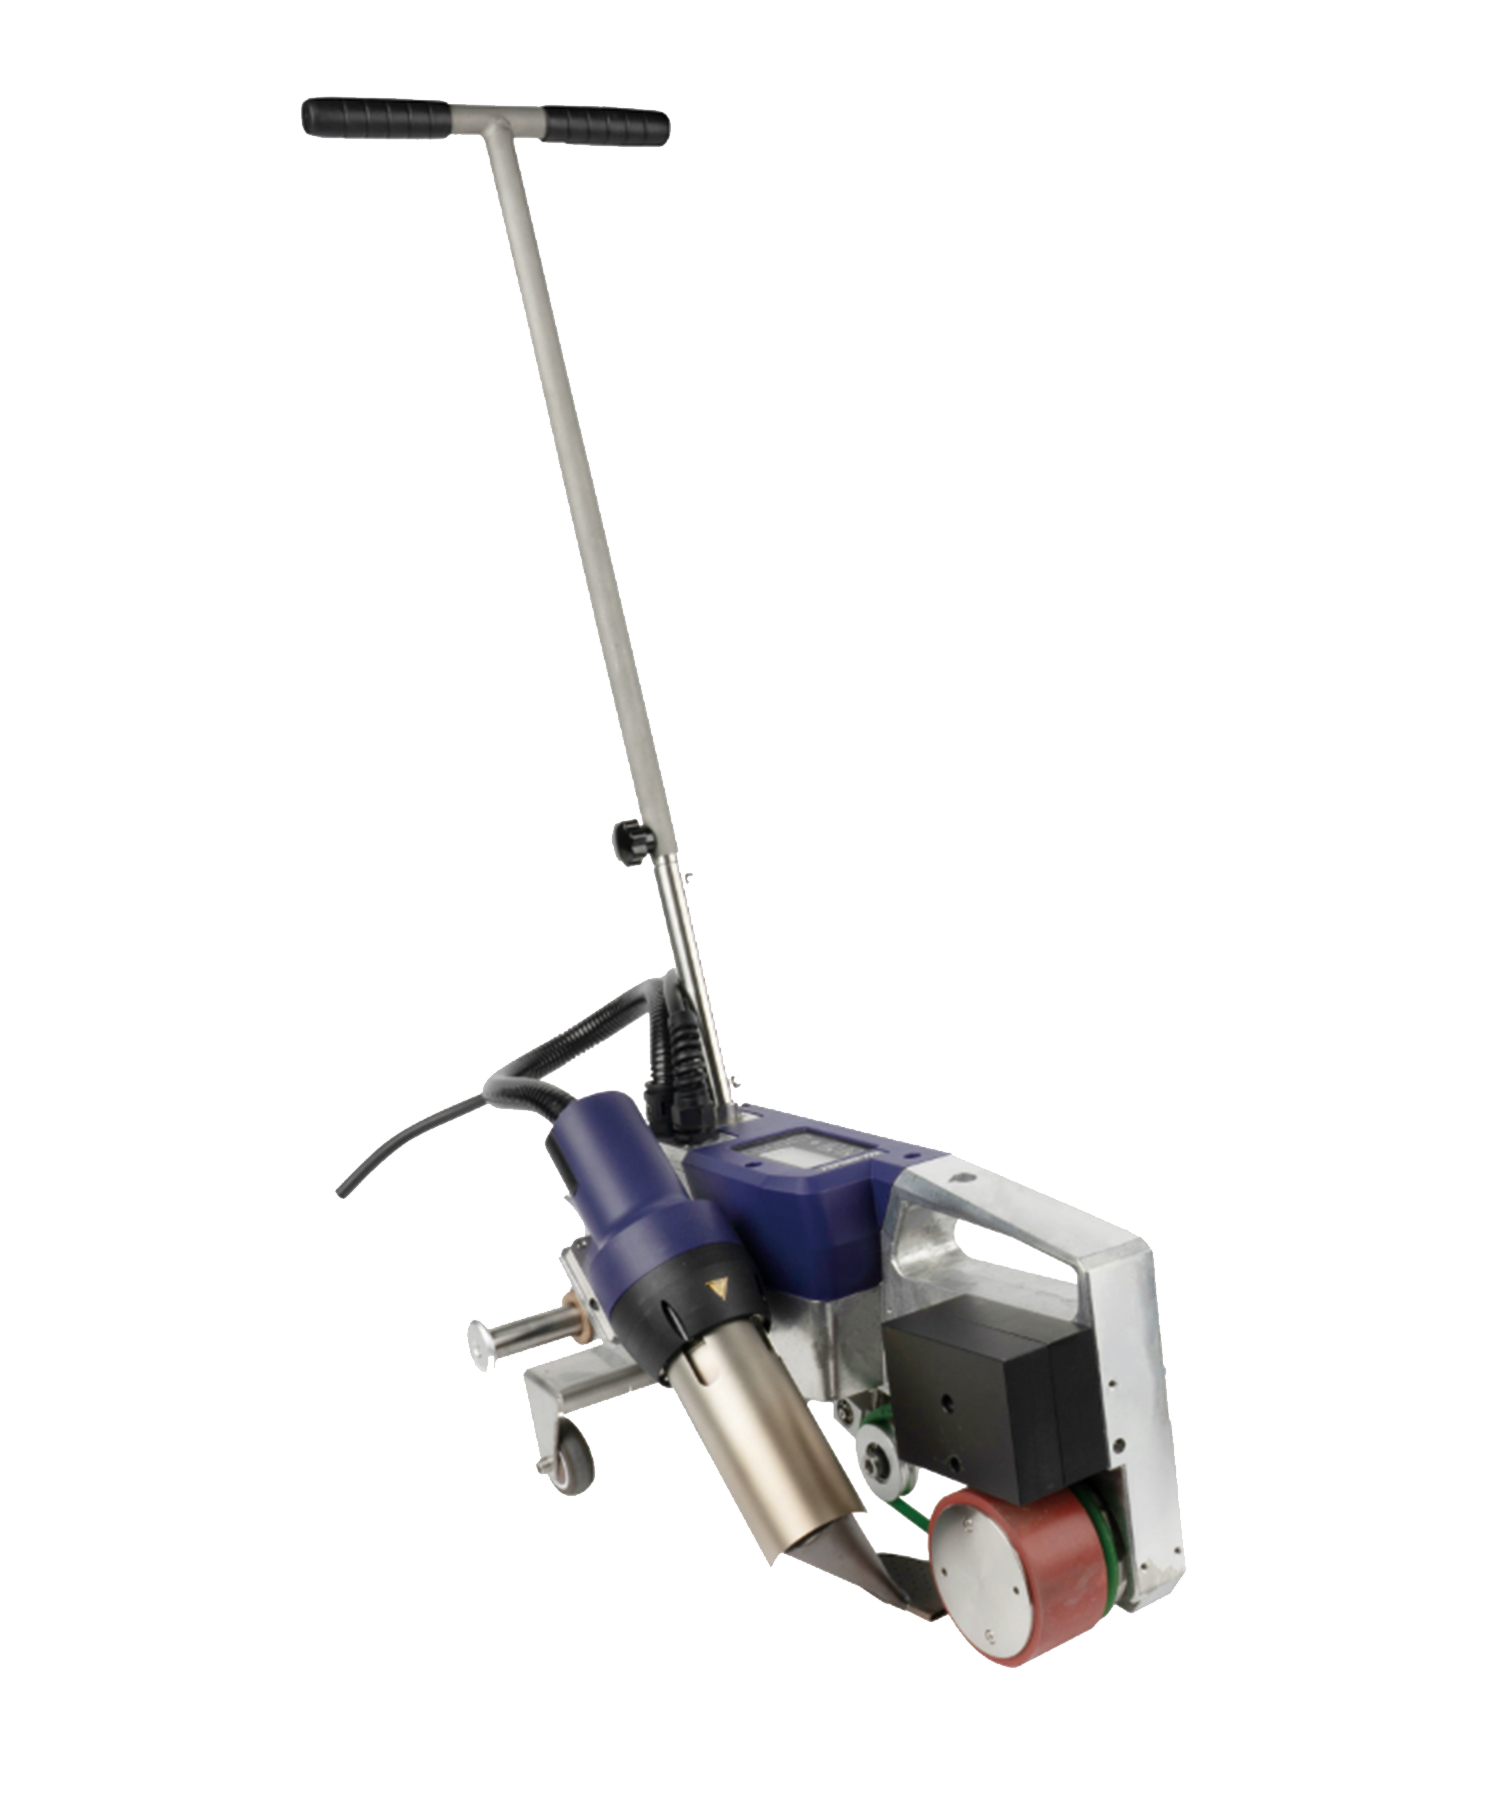
On the machine side, two things make TPO welding more repeatable: a drive that holds a set travel speed across a long run, and a temperature you can return to exactly. On the hand side, it is a controllable heat output and a nozzle that can be seated flat on the detail.
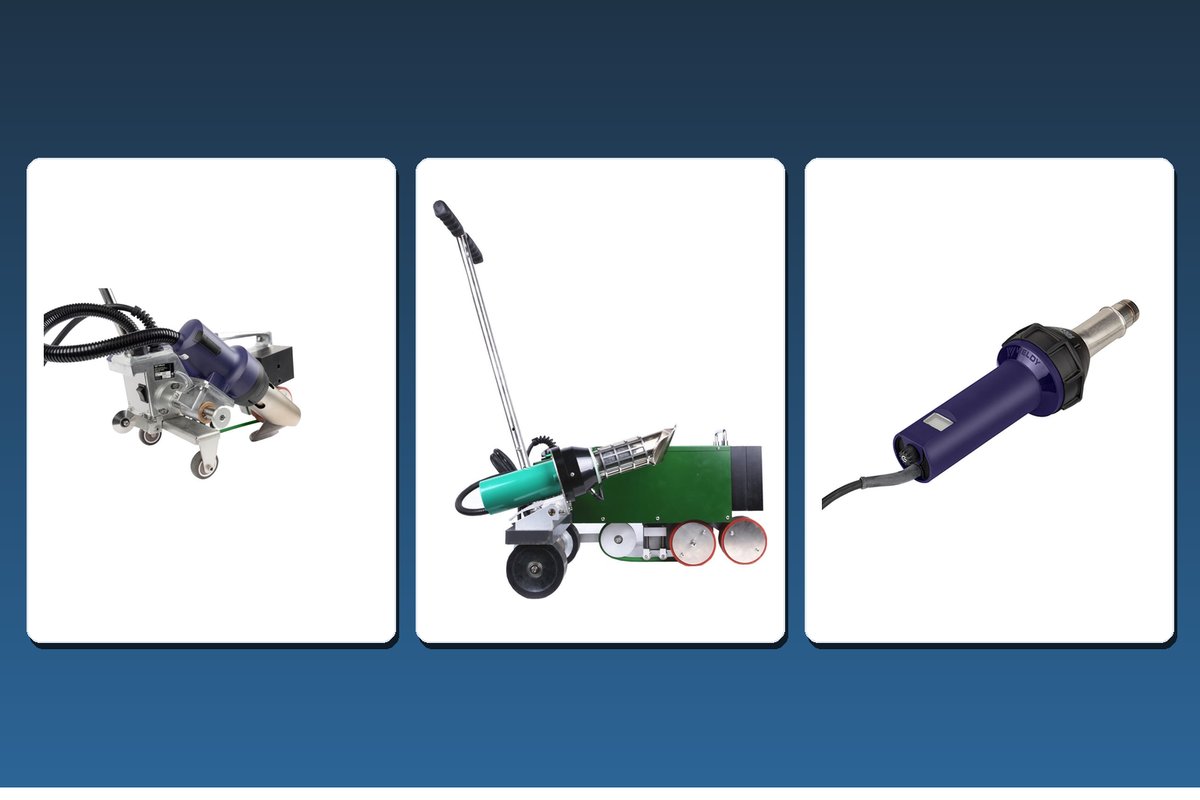
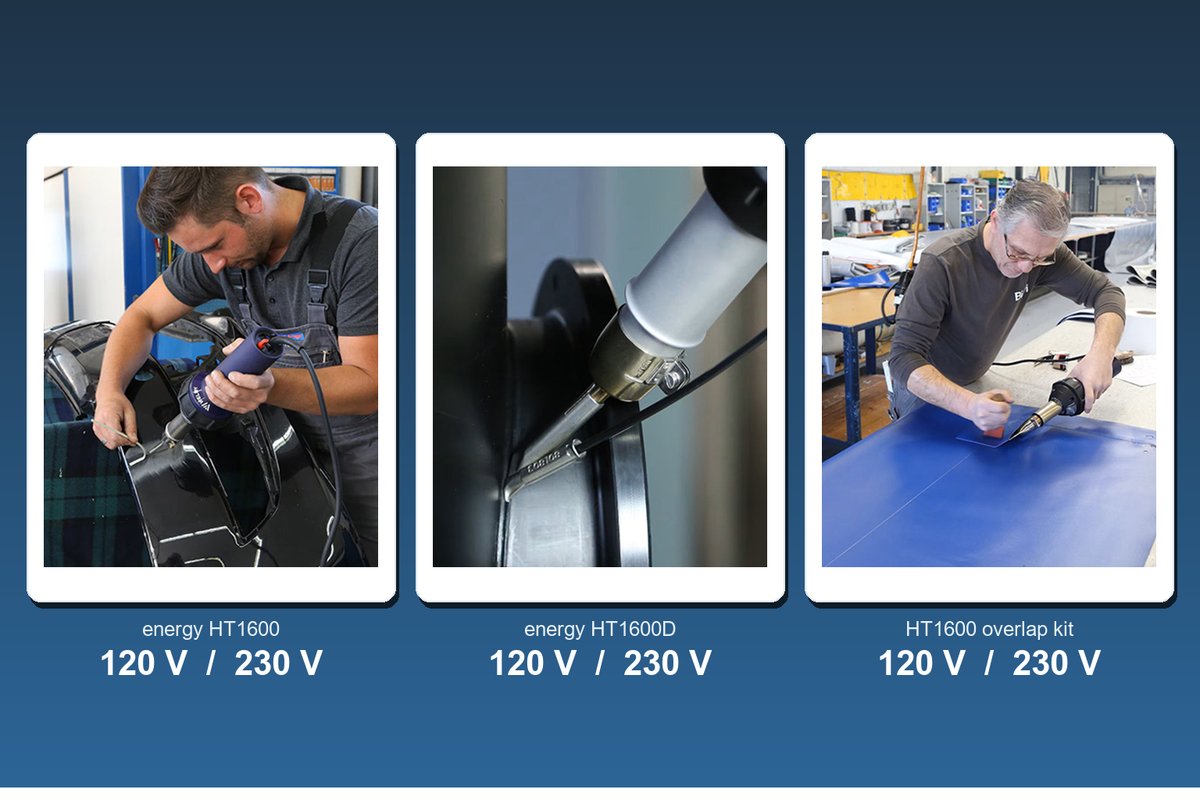
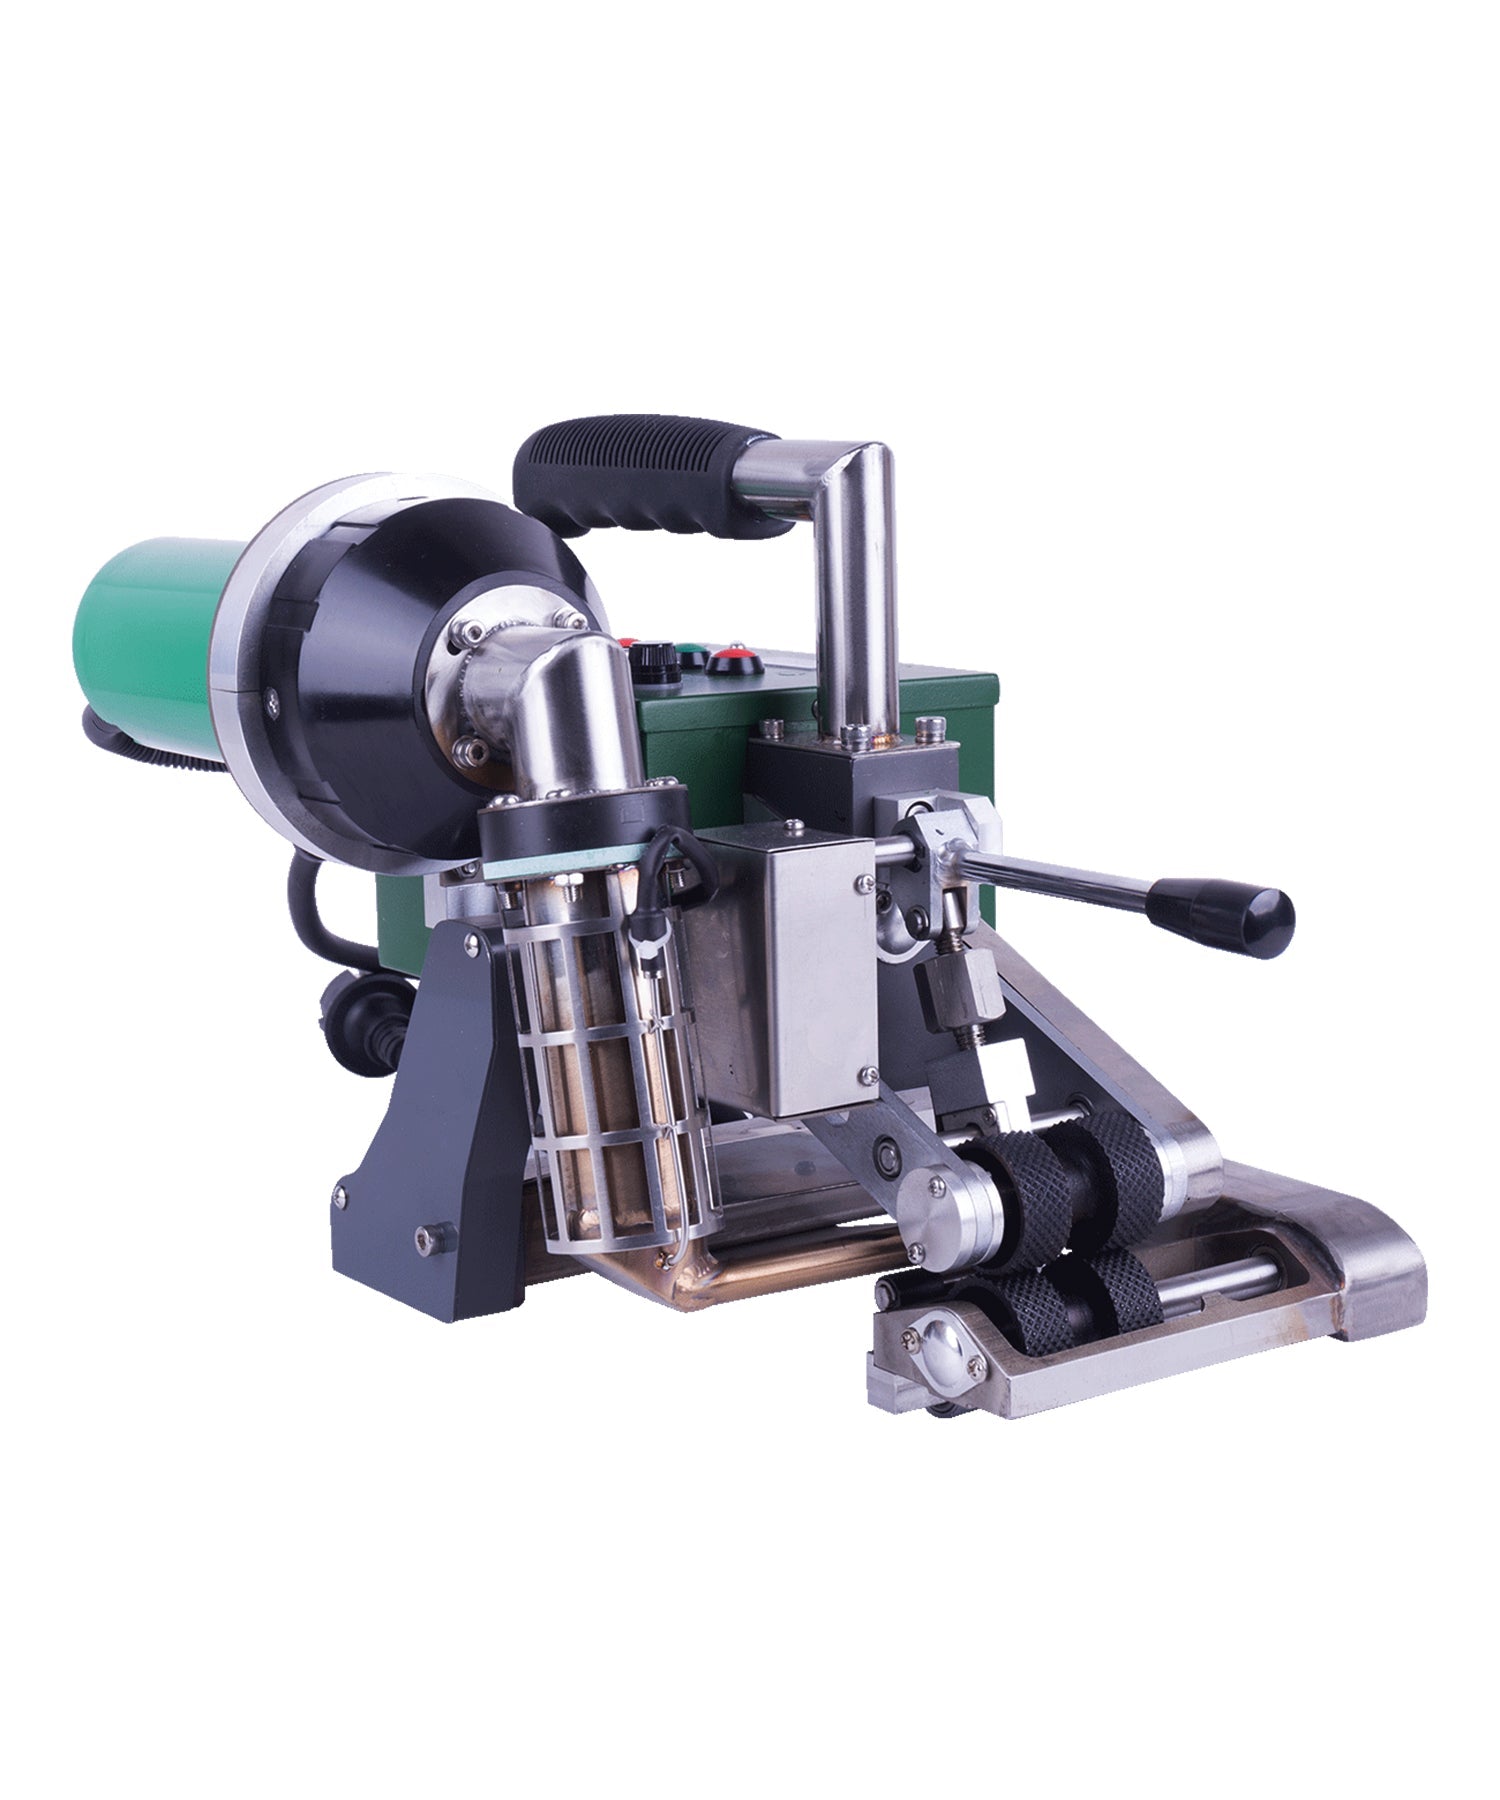
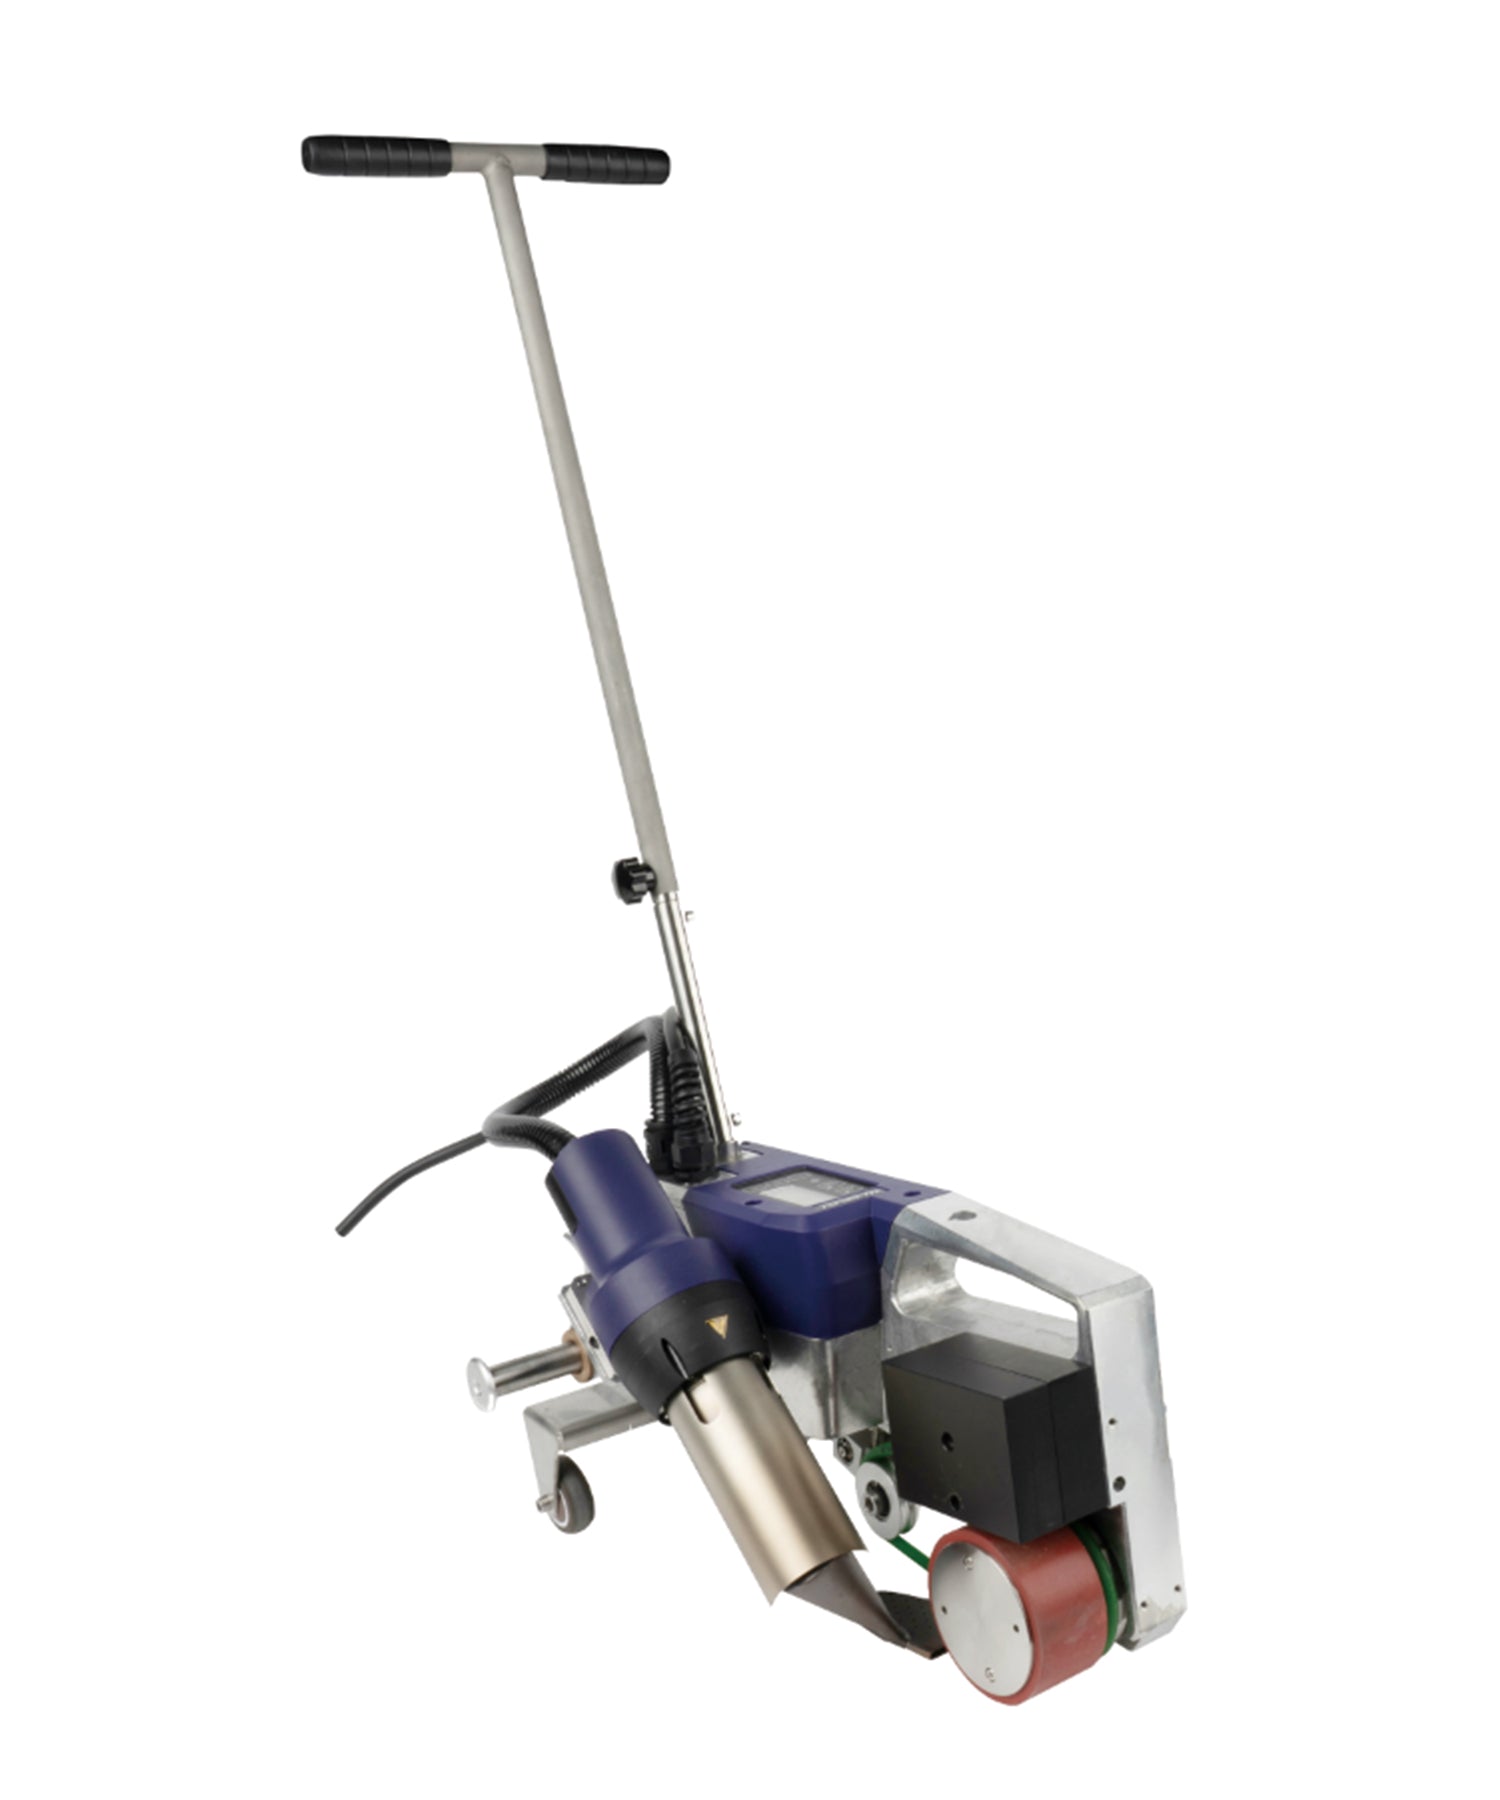
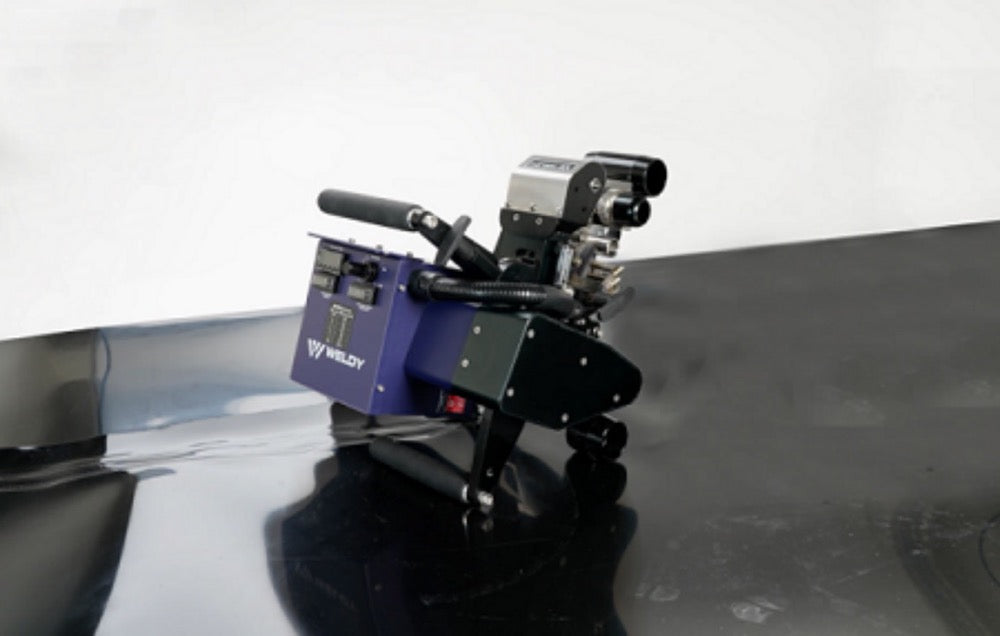
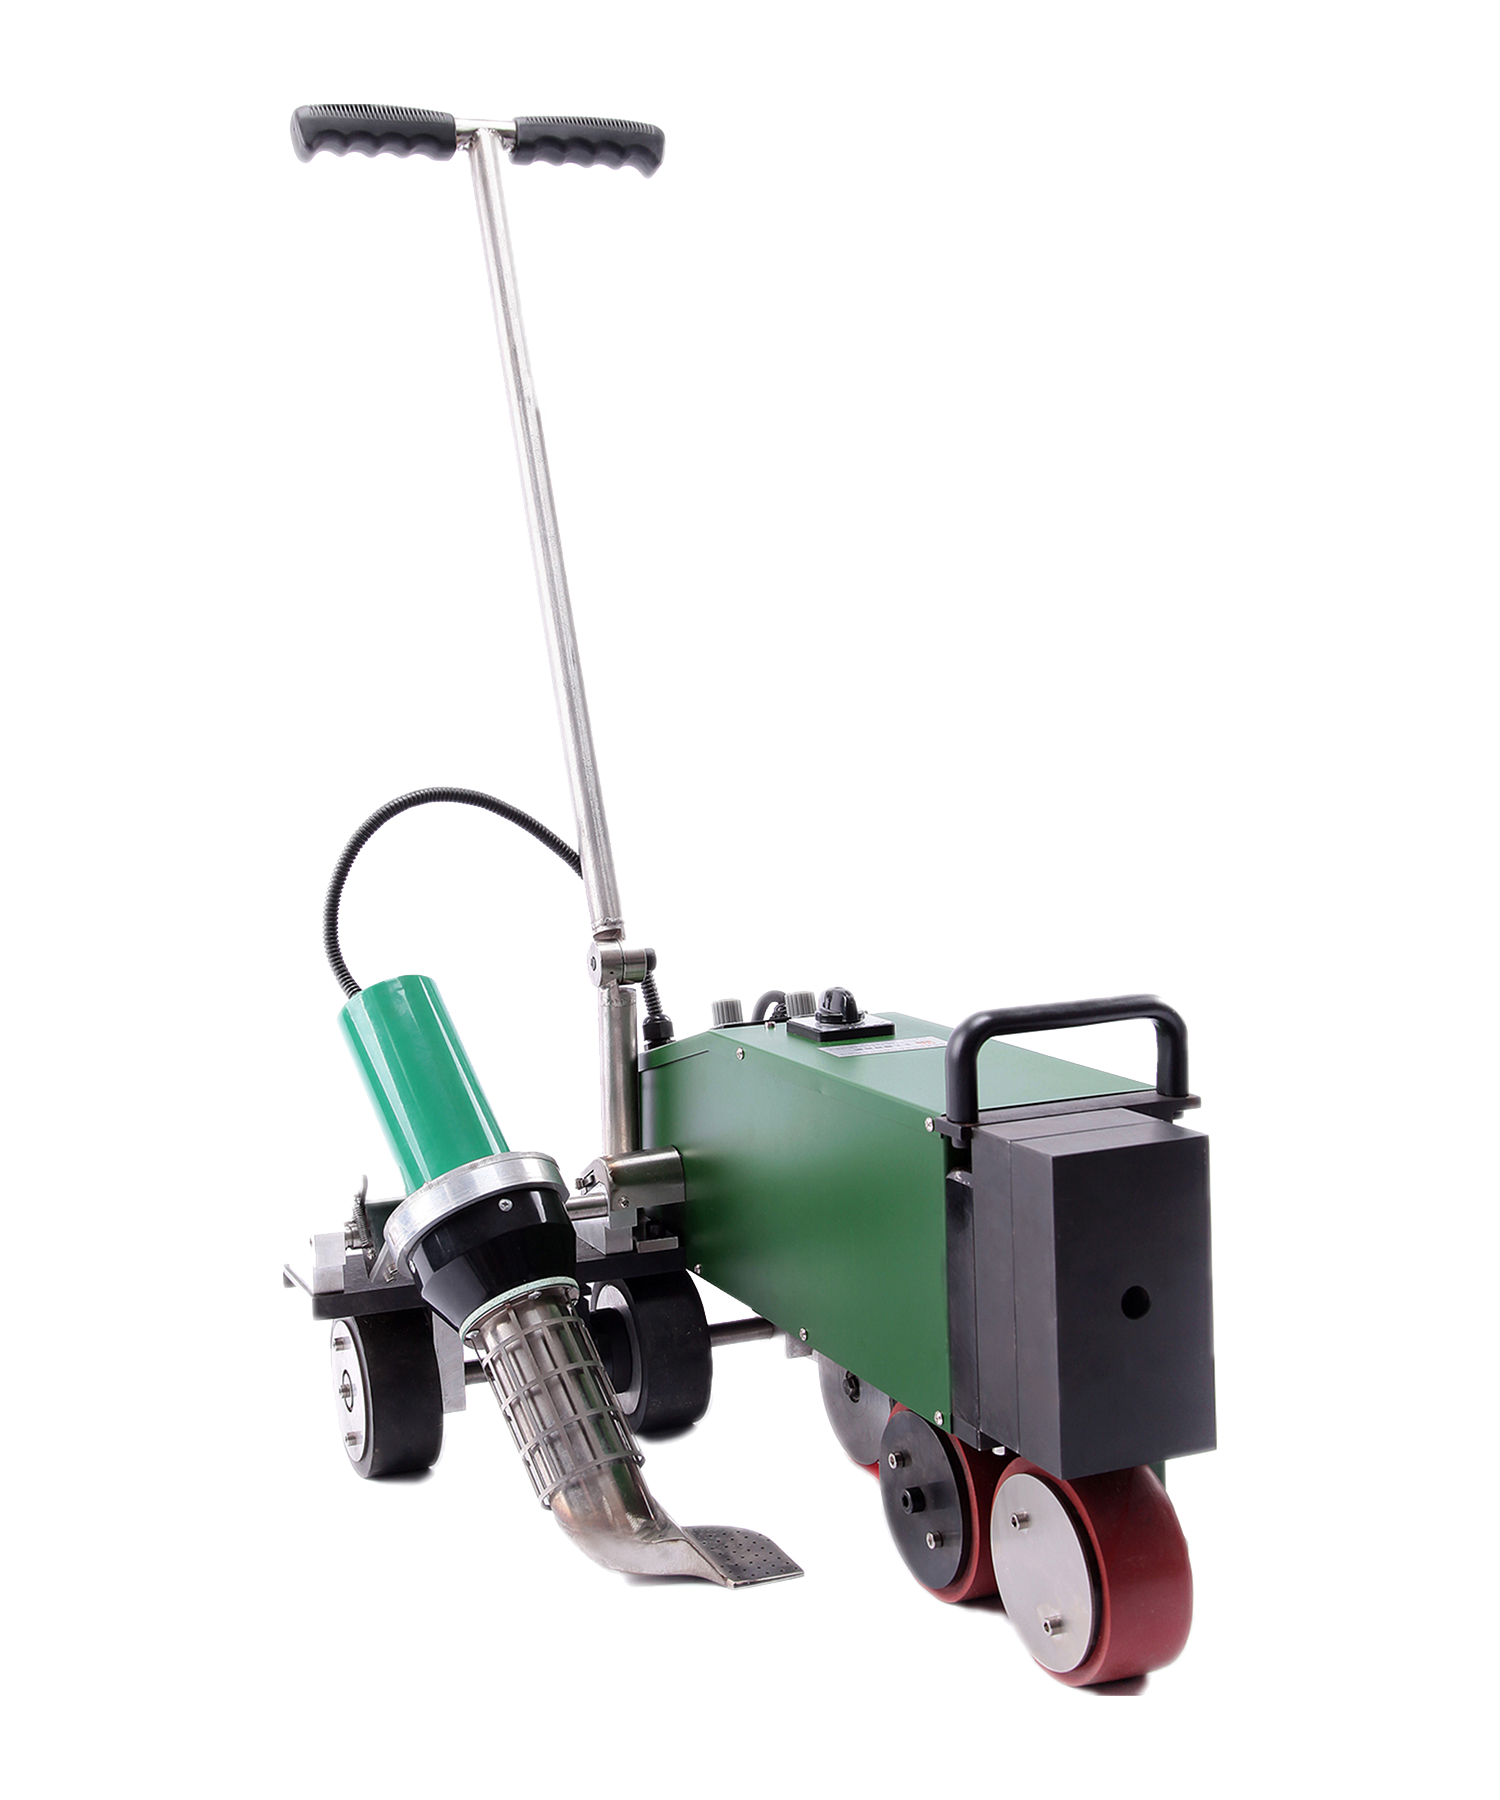
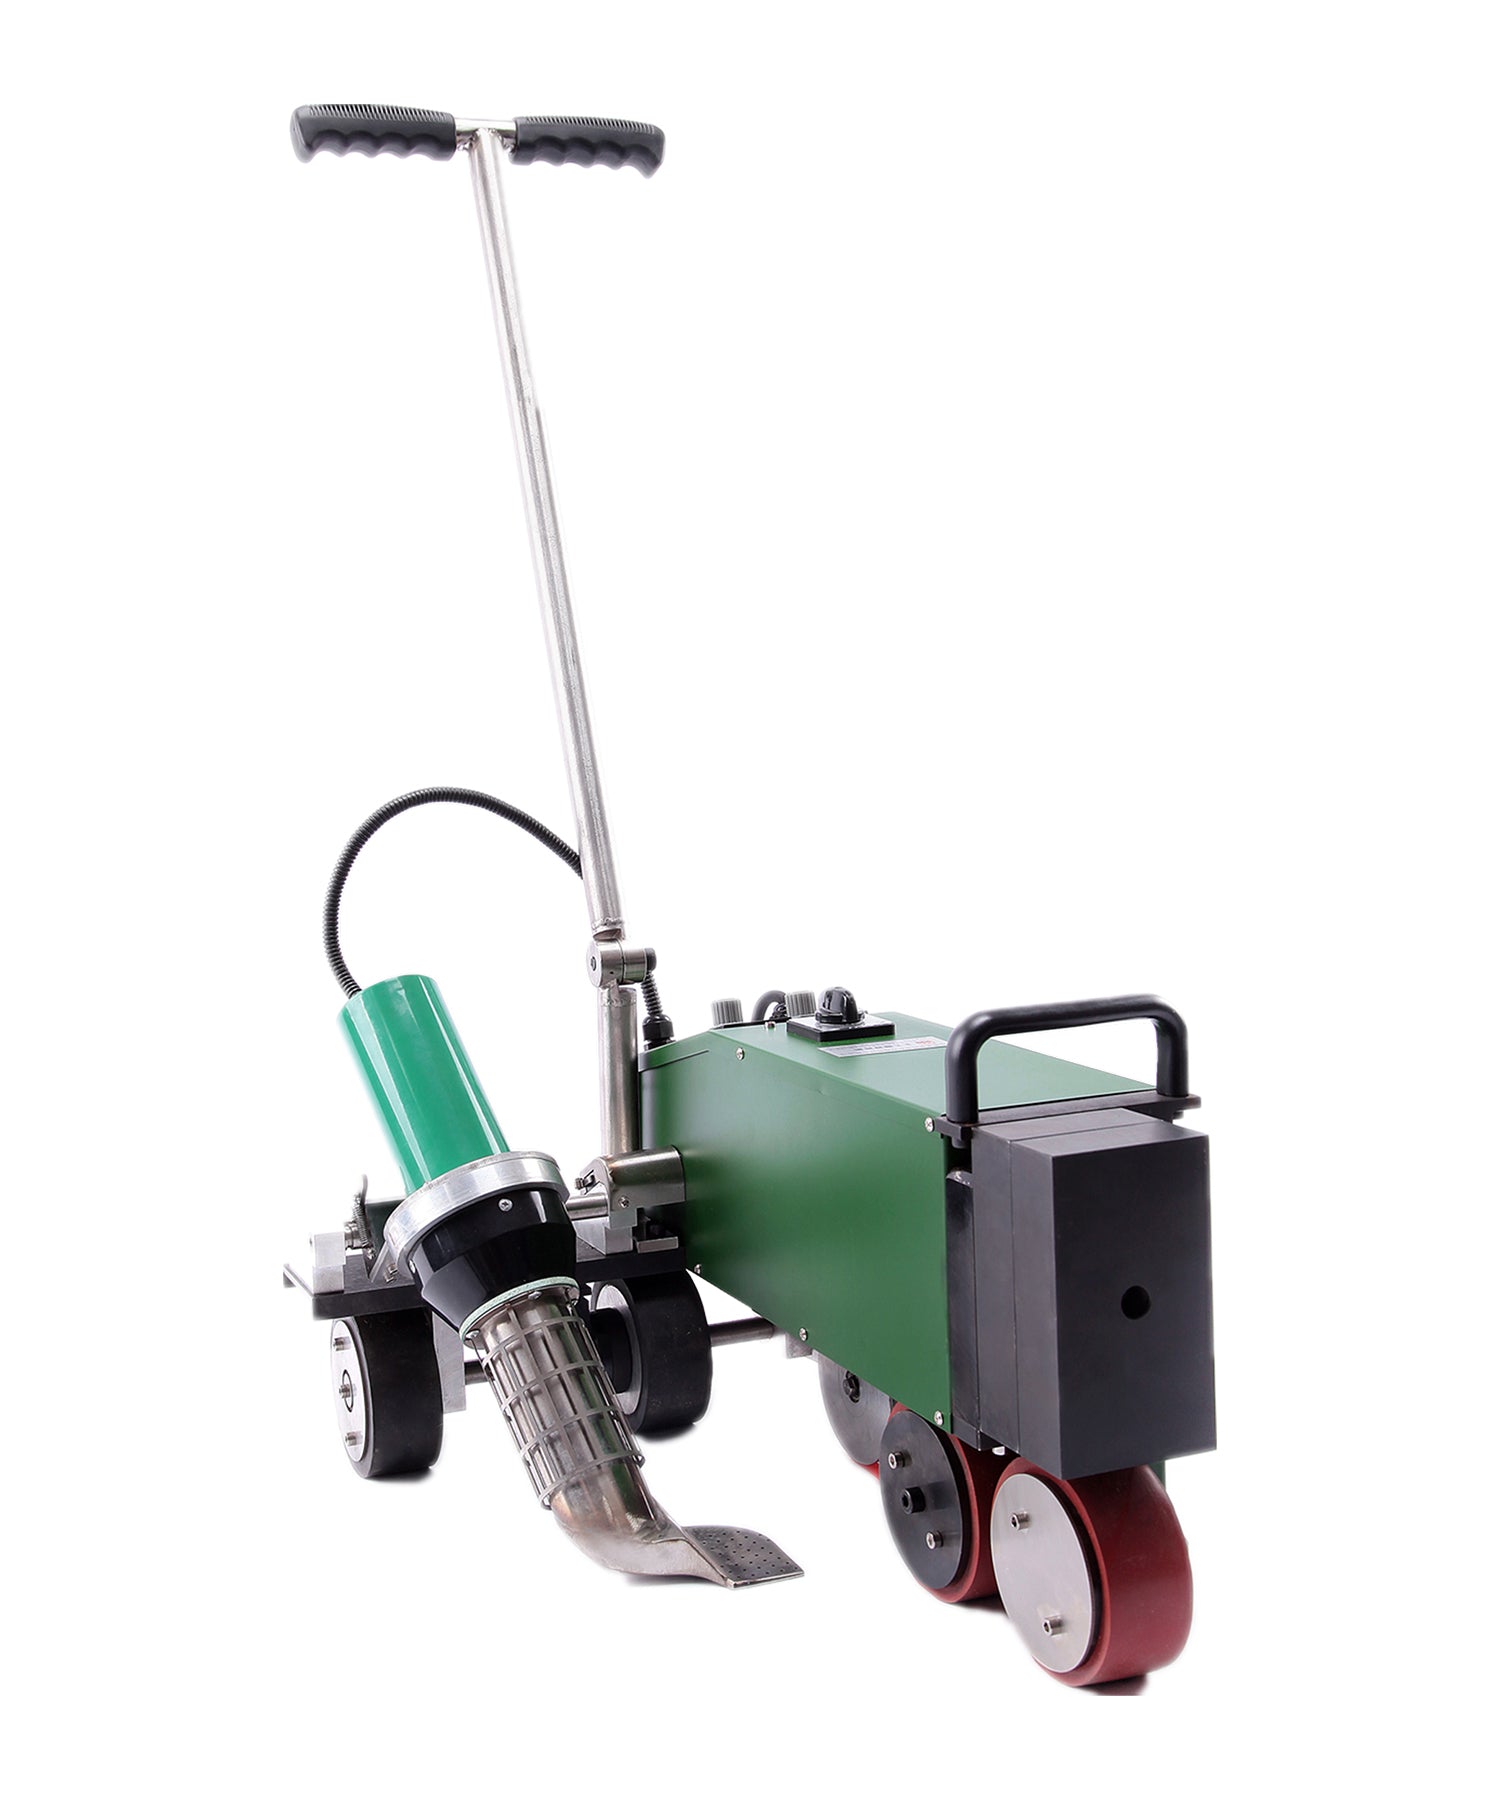
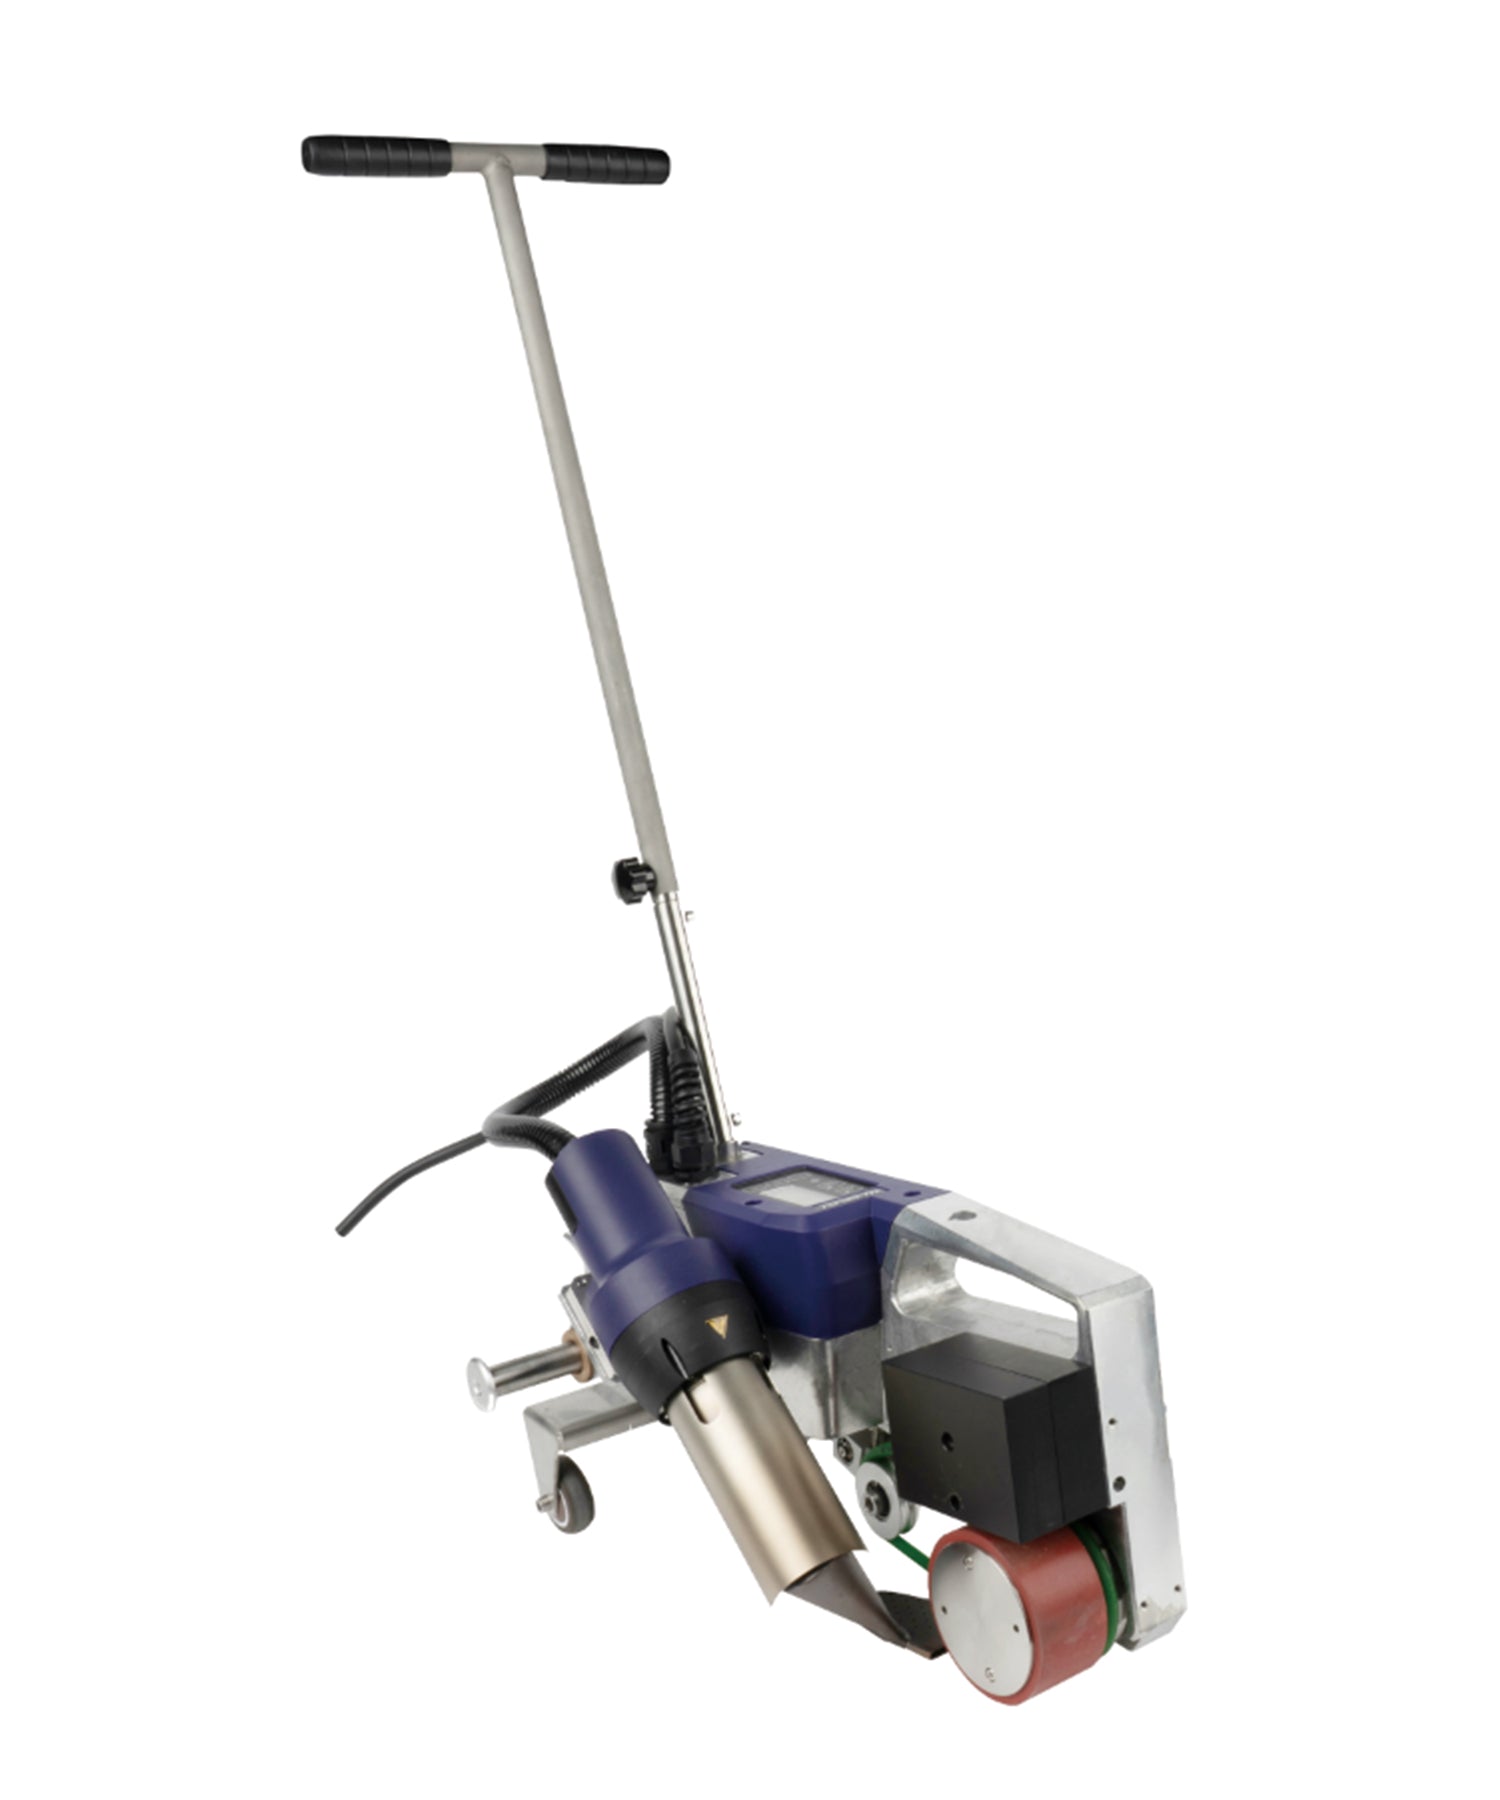
| Specified item | Weldy Roof40 | Weissenberg RWP1 | energy HT1600D (hand gun) |
|---|---|---|---|
| Power | 3,450 W | 4,200 W | 1,600 W |
| Temperature | 100–600 °C | 50–620 °C | 40–620 °C, digital on LCD |
| Travel speed | 1–10 m/min | 1–10 m/min | hand-controlled |
| Seam width | 40 mm | 40 mm | set by the slot nozzle fitted |
| Net weight | 15.5 kg | 38 kg | 1.2 kg |
| Store voltage options | 230 V | 230 V | 120 V or 230 V — select the correct version |
Compliance note: Weldy article 159.522 is currently listed by the manufacturer as “No CE – no use in Europe.” Buyers in Europe should confirm the appropriate compliant model or variant before ordering.
The 40 mm figure is the machine’s own specified seam width, not a claim about the seam width every roofing project uses — that comes from the membrane manufacturer’s instructions and the project specification. Weldy specifies the Roof40 for close-to-the-edge welding in narrow areas down to approximately 100 mm, which lets some runs be finished closer to a wall or a parapet. The RWP1 is the heavier, large-area machine and uses closed-loop control to maintain the set temperature and travel speed, helping keep the welding parameters stable during operation, with a brushless motor that does not require carbon-brush replacement.
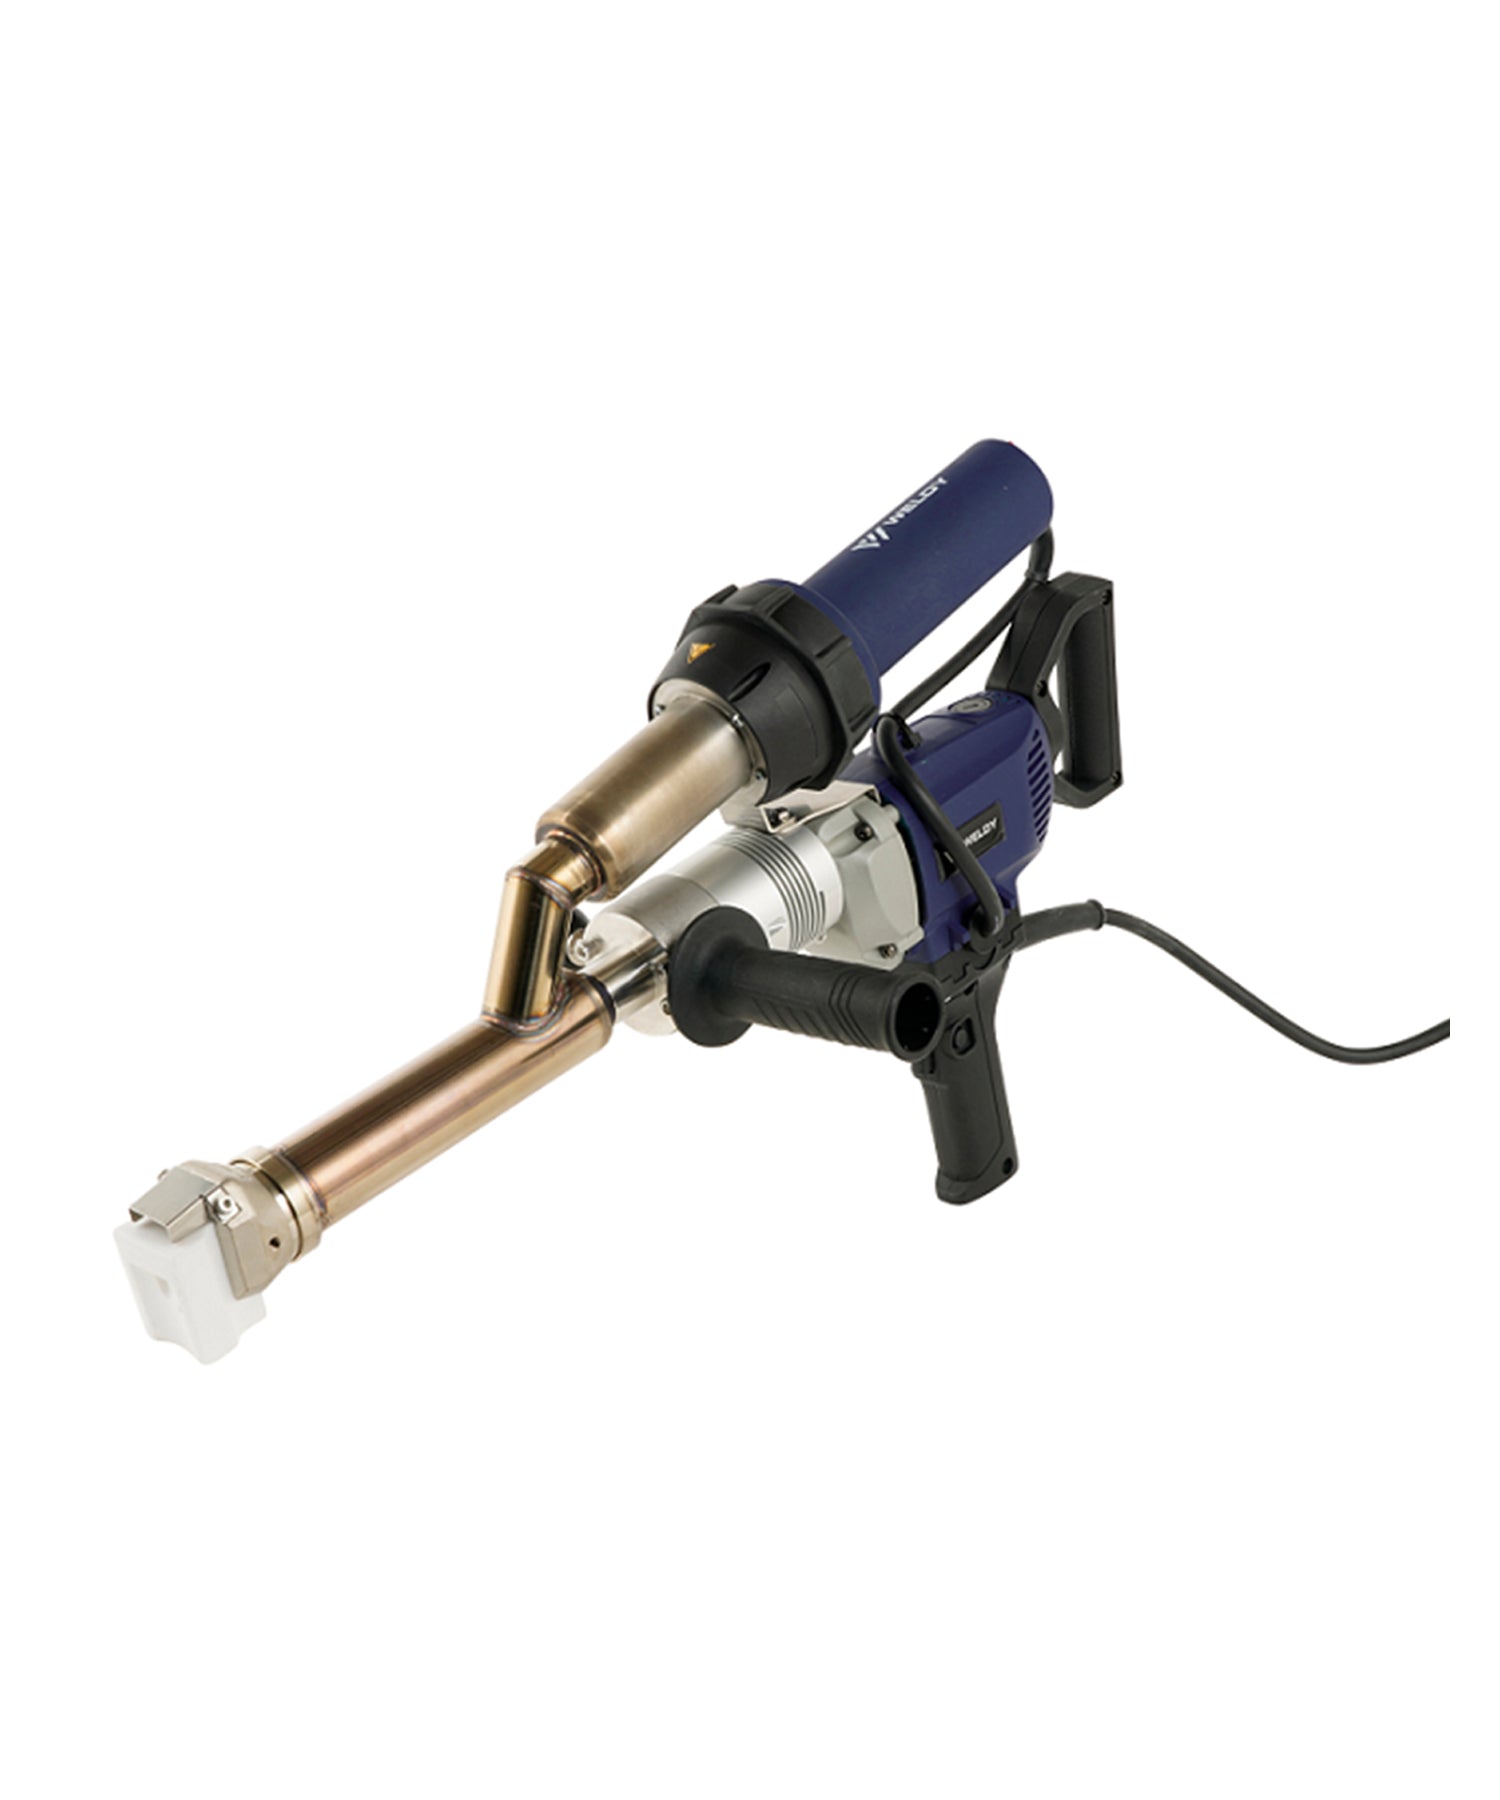
For details and repairs, the energy HT1600D gives a documented numeric temperature setting on an LCD, which makes it easier to return to a known setpoint when you move between details, plus 120–240 l/min adjustable airflow when conditions on an open roof change. The automatic welder vs hot air gun comparison covers how the machine and the hand gun divide the work by geometry, and the Roof40 and RWP1 comparison covers the machine side in detail.

Nozzle and roller on the detail side
A common source of detail-welding problems is a nozzle or roller that cannot follow the geometry correctly. A 40 × 2 mm wide slot nozzle (124.777) delivers the hot air in a band across a flat overlap, while the 20 × 2 mm wide slot nozzle (124.772) reaches into a corner or around a pipe where a wider head will not sit flat. Both are direct-fit on the gun’s Ø 31.5 mm connection, with no adapter — which is worth stating plainly, because it is not true of every nozzle type. The nozzle guide explains the two-part speed and tacking nozzle setup.
The roller is what turns plasticized membrane into a closed seam, so it has to reach the same line the nozzle just heated. The 40 mm silicone pressure roller (130.611) is the wider option for field overlaps; the 30 mm vs 40 mm pressure roller guide compares the two working widths. Where the roofing system specifies a particular roller width, hardness or hand-welding method, that specification governs.
Verifying the Weld: Trial Weld and Seam Check
Establish the welding setup with a trial weld on a sample of the membrane you are installing, then re-confirm it after a break, or after any change in weather, substrate or supply. The trial weld is what tells you whether the setup is acceptable before you commit it to the roof.
Where the roofing system requires seam probing, use the approved blunt probe and technique to check for skips or open areas along the weld edge, as specified by the membrane manufacturer. Recording the settings, the conditions and what the check found is what turns a one-off repair into a process you can repeat on the next roof area.
A field seam check does not replace the trial weld used to establish the welding setup.

Repairing a Failed TPO Seam
Isolate the affected area, clean and dry it following the membrane manufacturer’s cleaning instructions, and repair it according to the membrane manufacturer’s approved repair procedure — whether that is re-welding, a welded cover strip, or a target patch, depends on the roofing system and on how far the defect extends. A wrinkle or fishmouth is not simply flattened and re-welded; follow the system’s procedure for opening and patching it so the repair stays flat and fully welded around its perimeter. Once the repair has cooled, check it the same way you checked the original seam.
If seam failures extend across a wider area, first determine the extent and pattern of the defective welds rather than treating them as isolated repairs. If water intrusion is suspected, assess moisture beneath the membrane separately, because trapped moisture may change the scope of the repair.

Preventing Repeat Problems
Many repeat TPO welding problems trace back to a setup that was never re-confirmed after conditions changed. A short, consistent routine helps prevent many of them:
- Run a trial weld on the membrane you are installing, and again after a break or a change in weather, substrate or supply.
- Keep the overlap clean and dry, with any cleaner fully flashed off before welding.
- Check the power supply and the tool’s power requirement before adjusting settings for a second time.
- Keep the nozzle slot and the air intake clear, and check the roller is clean and seating flat.
- Change one variable at a time, and confirm each change with a new trial weld.
- Give T-joints, step-offs and hand-finished details their own check, rather than assuming the field result carries across.
- Record the settings, conditions and check results for the next area and the next project.
Safety note: hot air welding tools reach high temperatures at the nozzle and in the air stream. Keep hands, cables and membrane clear of the outlet, allow the tool to cool before changing a nozzle, and follow the membrane supplier’s safety data sheet and the site’s workplace safety requirements.
Tools and Accessories for TPO Roofing
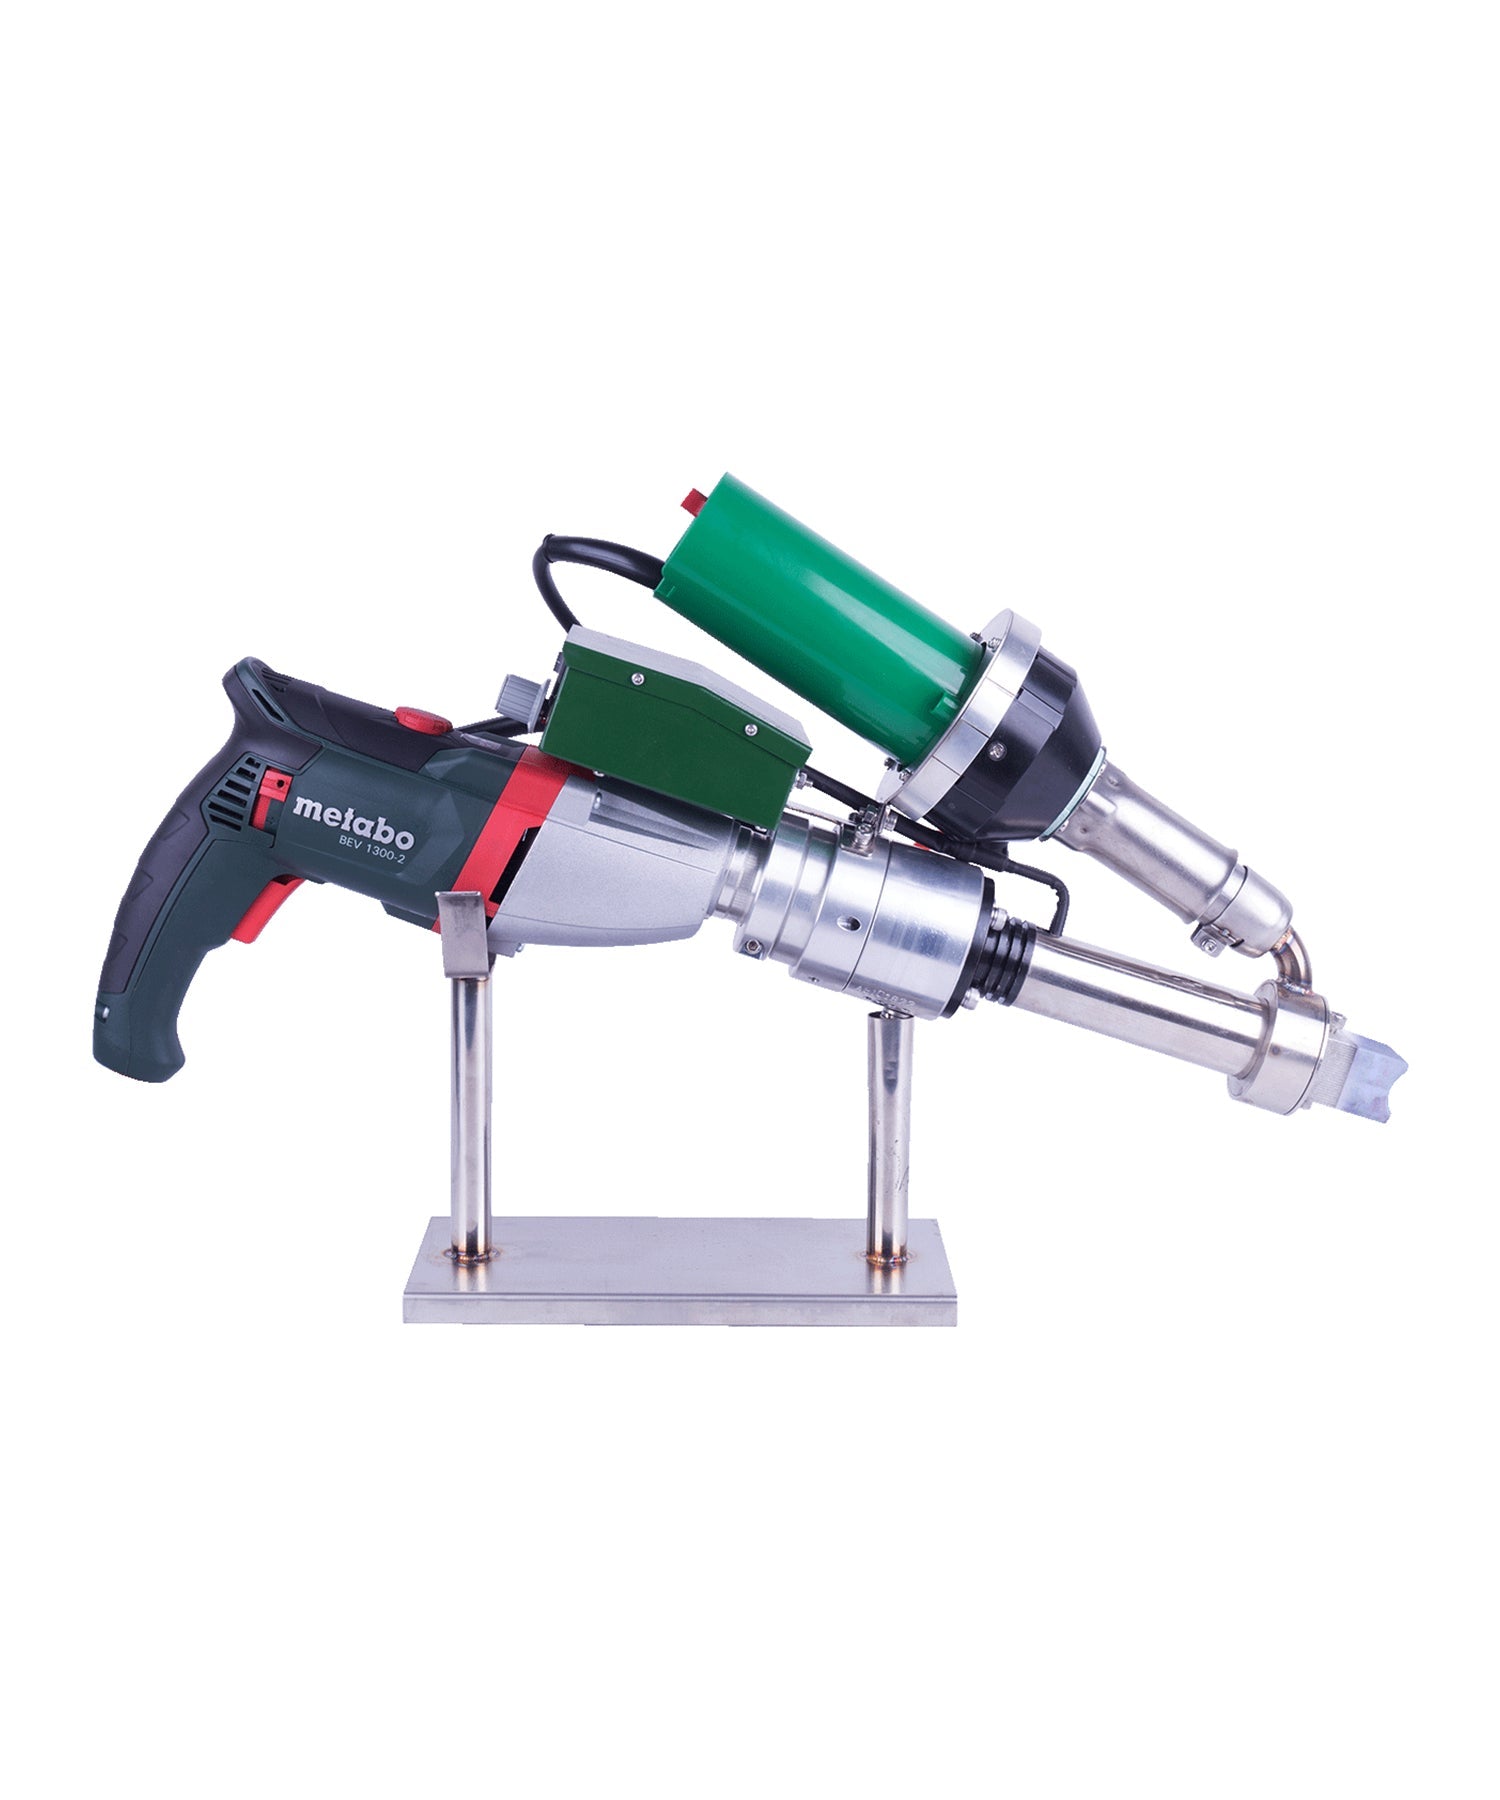
Weissenberg Store is an authorised Weldy distributor and also manufactures the RYG, RYH, RYA, CONDOR, HAWK and GOPHER lines. Tell us the membrane you are welding, the thickness and how much of the roof is field seam versus detail, and our technical team will point you at the right combination of machine, gun, nozzle and roller. Shop the roofing welders, hot air guns and accessories. Every item ships with a 1-year warranty.





Leave a comment
This site is protected by hCaptcha and the hCaptcha Privacy Policy and Terms of Service apply.