
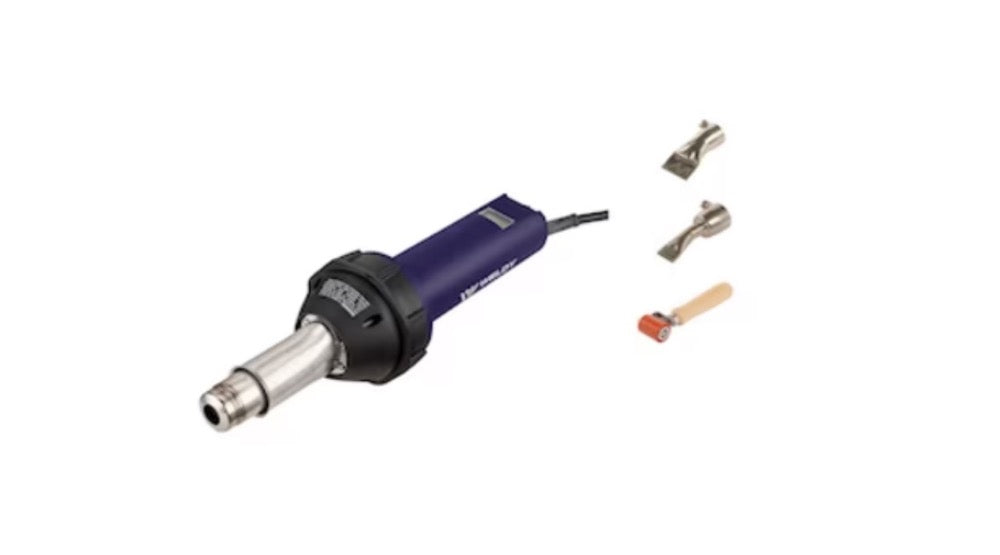
The hot air gun is an efficient thermal processing tool widely used in electronics repair, industrial manufacturing, and DIY projects. However, its high-temperature airflow (often exceeding 600°C) also poses multiple safety hazards. According to the International Occupational Safety Association, improper use of hot air guns accounts for 42% of burns, 31% of fire risks, and 19% of electrical accidents. This manual systematically introduces 10 key protective measures to help you use this powerful tool safely and efficiently.

1. Personal Protective Equipment (Safety Fundamentals)
Personal protective gear is the first line of defense when operating a hot air gun.
Heat-Resistant Gloves:
- Must be made of aramid fiber or carbon fiber(withstands >500°C).
- Critical Note: Ordinary cotton gloves carbonize at 300°C, losing protection and adhering to the skin, worsening burns.
- Recommended: The German UVEX phynomic series (EN407 certified for heat and cut resistance).
Safety Goggles:
- Essential to prevent molten plastic or metal splashes.
- Must be fully enclosed (side shields prevent debris entry).
- Case Study (2022): Three technicians suffered corneal injuries from plastic splashes due to improper eye protection.
- Opt for anti-fog polycarbonate lenses (ANSI Z87.1/EN166 certified).
While these investments may seem costly, they are negligible compared to medical bills and downtime from accidents.
2. Workspace Preparation (Fire Prevention)
A well-prepared workspace is critical for fire prevention and respiratory safety.
Clear Combustibles:
- Remove paper, solvents, foam, and fabrics within a 1-meter radius .
- Test Data: A 600°C hot air gun can ignite cotton fabric in 15 seconds .
- Solution: Use fireproof mats (e.g., 3M FB300) on workbenches.
Ventilation Systems:
- Heating plastics releases toxic gases (e.g., hydrogen chloride from PVC).
- Minimum: Open windows + cross-ventilation with fans.
- Professional Setup: Install side-draft exhaust systems (≥200 m³/h airflow).
Tip: Conduct pre-use checks and maintain ventilation equipment regularly.
3. Operating Procedures (Safe Usage)
Startup/Shutdown Protocol:
- Start: Turn on the fan first , then heat (prevents overheating).
- Shut down: Keep the fan running until <100°C (extends lifespan).
- Statistic: 67% of internal damage results from improper shutdowns .
Safe Working Distance:
- Electronics: 3–5 cm between nozzle and workpiece.
- Large Areas: 10–15 cm distance.
- Temperature Gradient: Each 1 cm increase reduces surface heat by 80–120°C .
- Training Tip: Beginners should practice on scrap materials first.
4. Special Risk Mitigation (Advanced Protection)
ESD-Sensitive Components:
- Use anti-static models (e.g., Hakko FR-410).
- Mandatory: Grounding wrist straps (1MΩ impedance).
- Case Study: A chip factory lost $25,000 in FPGAs due to electrostatic discharge.
Confined Space Warnings:
- Never use in spaces <5 m³ for >10 minutes.
- Requirement: Oxygen monitors (alert at <19.5% O₂).
- Real Incident (2021): A mechanic passed out from oxygen depletion in a basement.
- Best Practice: Use a buddy system + emergency ventilation.
5. Emergency Response Protocols
Burn Treatment:
1. Immediate: Cool under running water (15–20°C) for 15 mins (no ice!).
2. Cover: Use sterile gauze (avoid cotton/paper towels).
3. Medical Help Needed If:
- Blisters >3 cm² or affecting the face/hands .
Electrical Fires:
- Step 1: Cut power— never blow air on flames!
- Step 2: Use CO₂ extinguishers (dry powder damages circuits).
- Step 3: Post-fire, inspect wire insulation before reuse.
- Pro Tip: Keep fire blankets and emergency respirators on-site.
6. Professional Safety Upgrades
For Industrial Users:
- Infrared Thermal Cameras (e.g., FLIR E4, ±2°C accuracy).
- Auto Shutoff Systems (e.g., Weller PTS: 0.1s response).
- Tilt/Temperature Alarms (audible + visual alerts).
Annual Safety Checks:
1. Electrical:
- Insulation resistance >5MΩ .
- Ground continuity <0.1Ω .
2. Calibration:
- Temperature deviation <±15°C .
3. Mechanical:
- Lubricate fan bearings ( every 500 hours ).
- Inspect nozzle threads.
4. Safety Tests:
- Overheat protection triggers.
- Tilt-sensor response.
Maintain a logbook for all maintenance. Authorized technicians only for circuit repairs to avoid voiding warranties.
Final Notes from a Pro
As a seasoned technician, I never compromise on safety:
- My toolkit always includes certified gloves/goggles .
- Fire extinguishers and ventilation are non-negotiable .
I’ve witnessed too many “just this once” accidents . Now, I:
- Post safety rules visibly at my workstation.
- Lead monthly drills for my team.
My advice: Treat every use as a life-or-death matter . Only with strict discipline can a hot air gun be both powerful and safe .






Leave a comment
This site is protected by hCaptcha and the hCaptcha Privacy Policy and Terms of Service apply.