
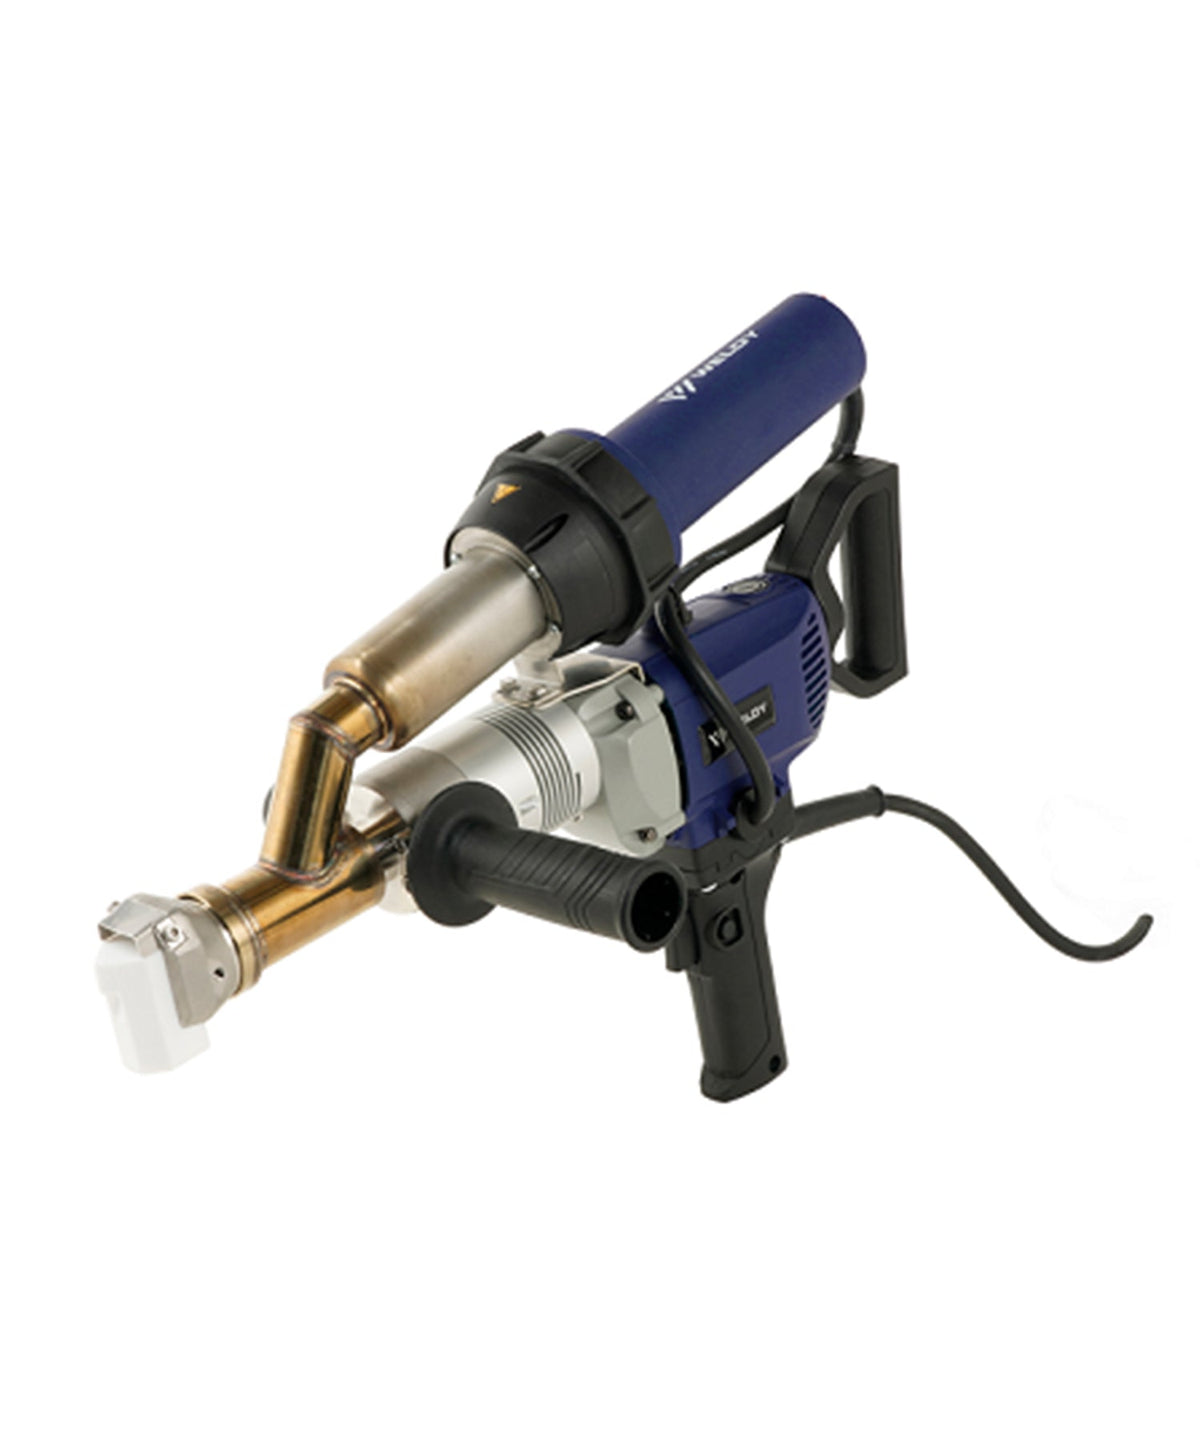
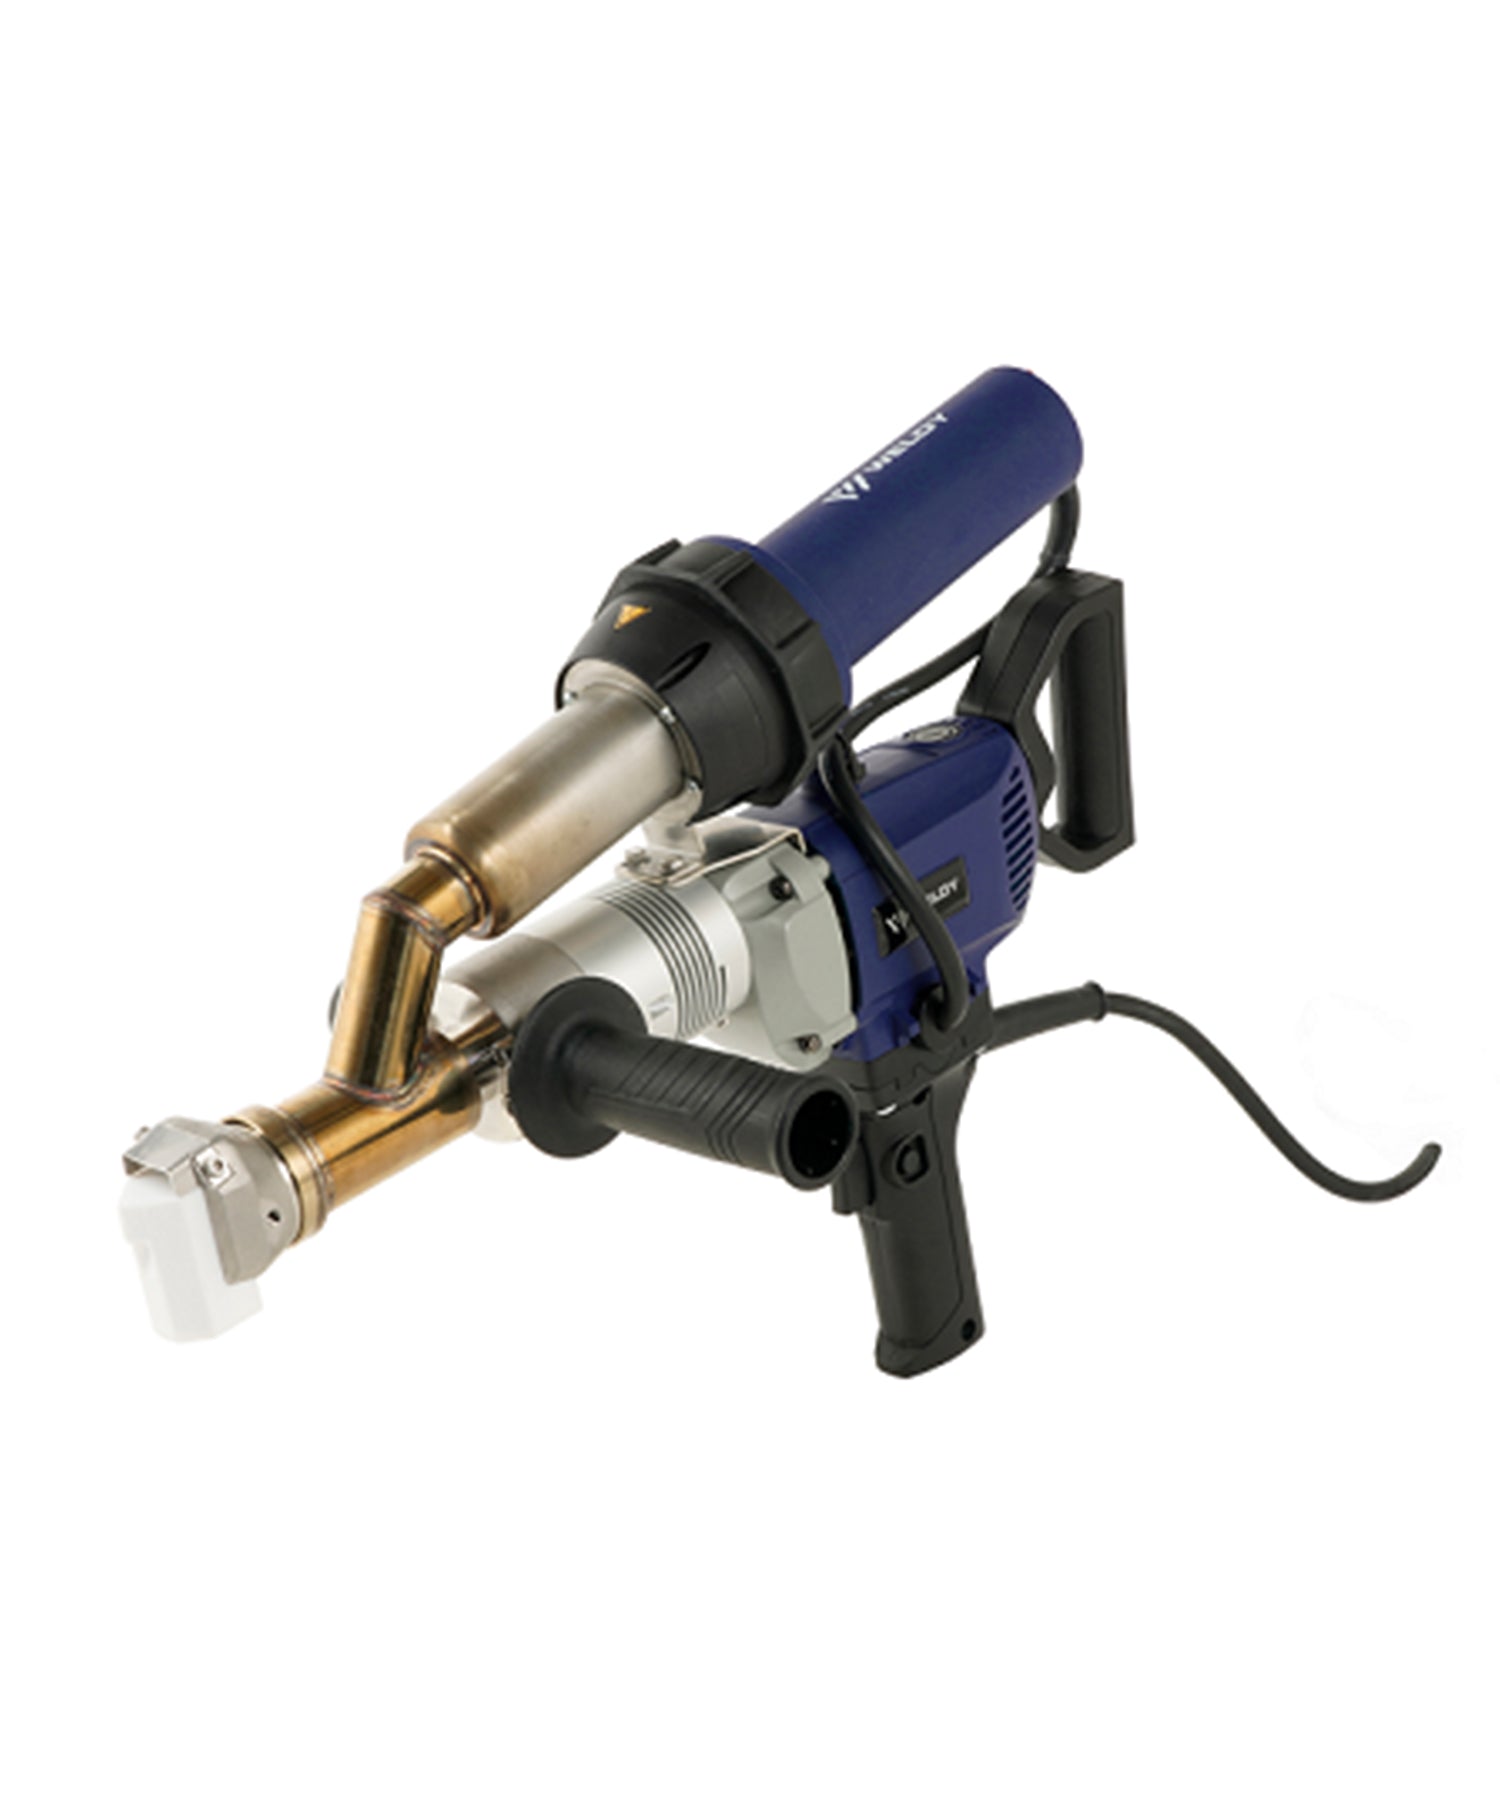
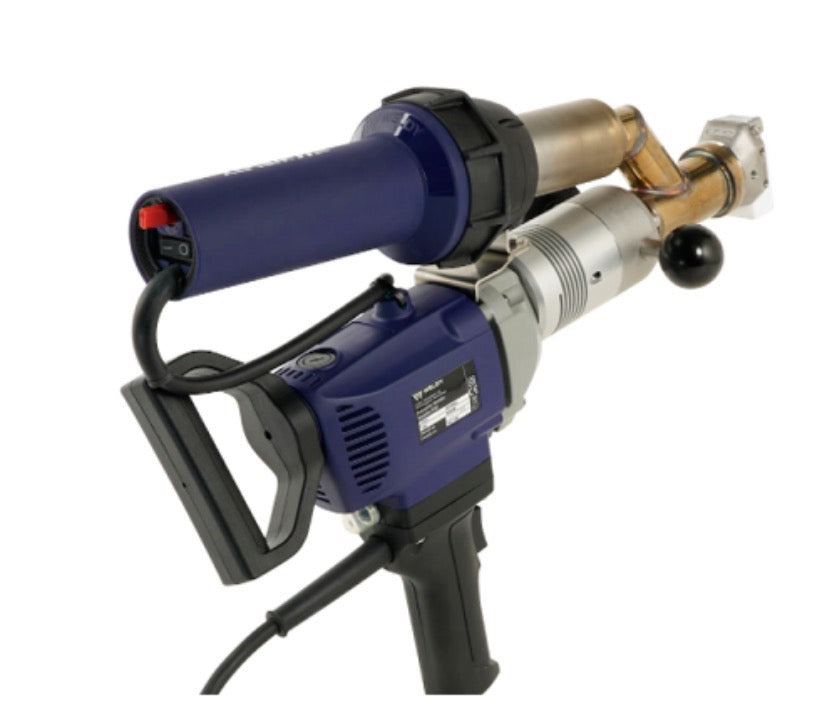
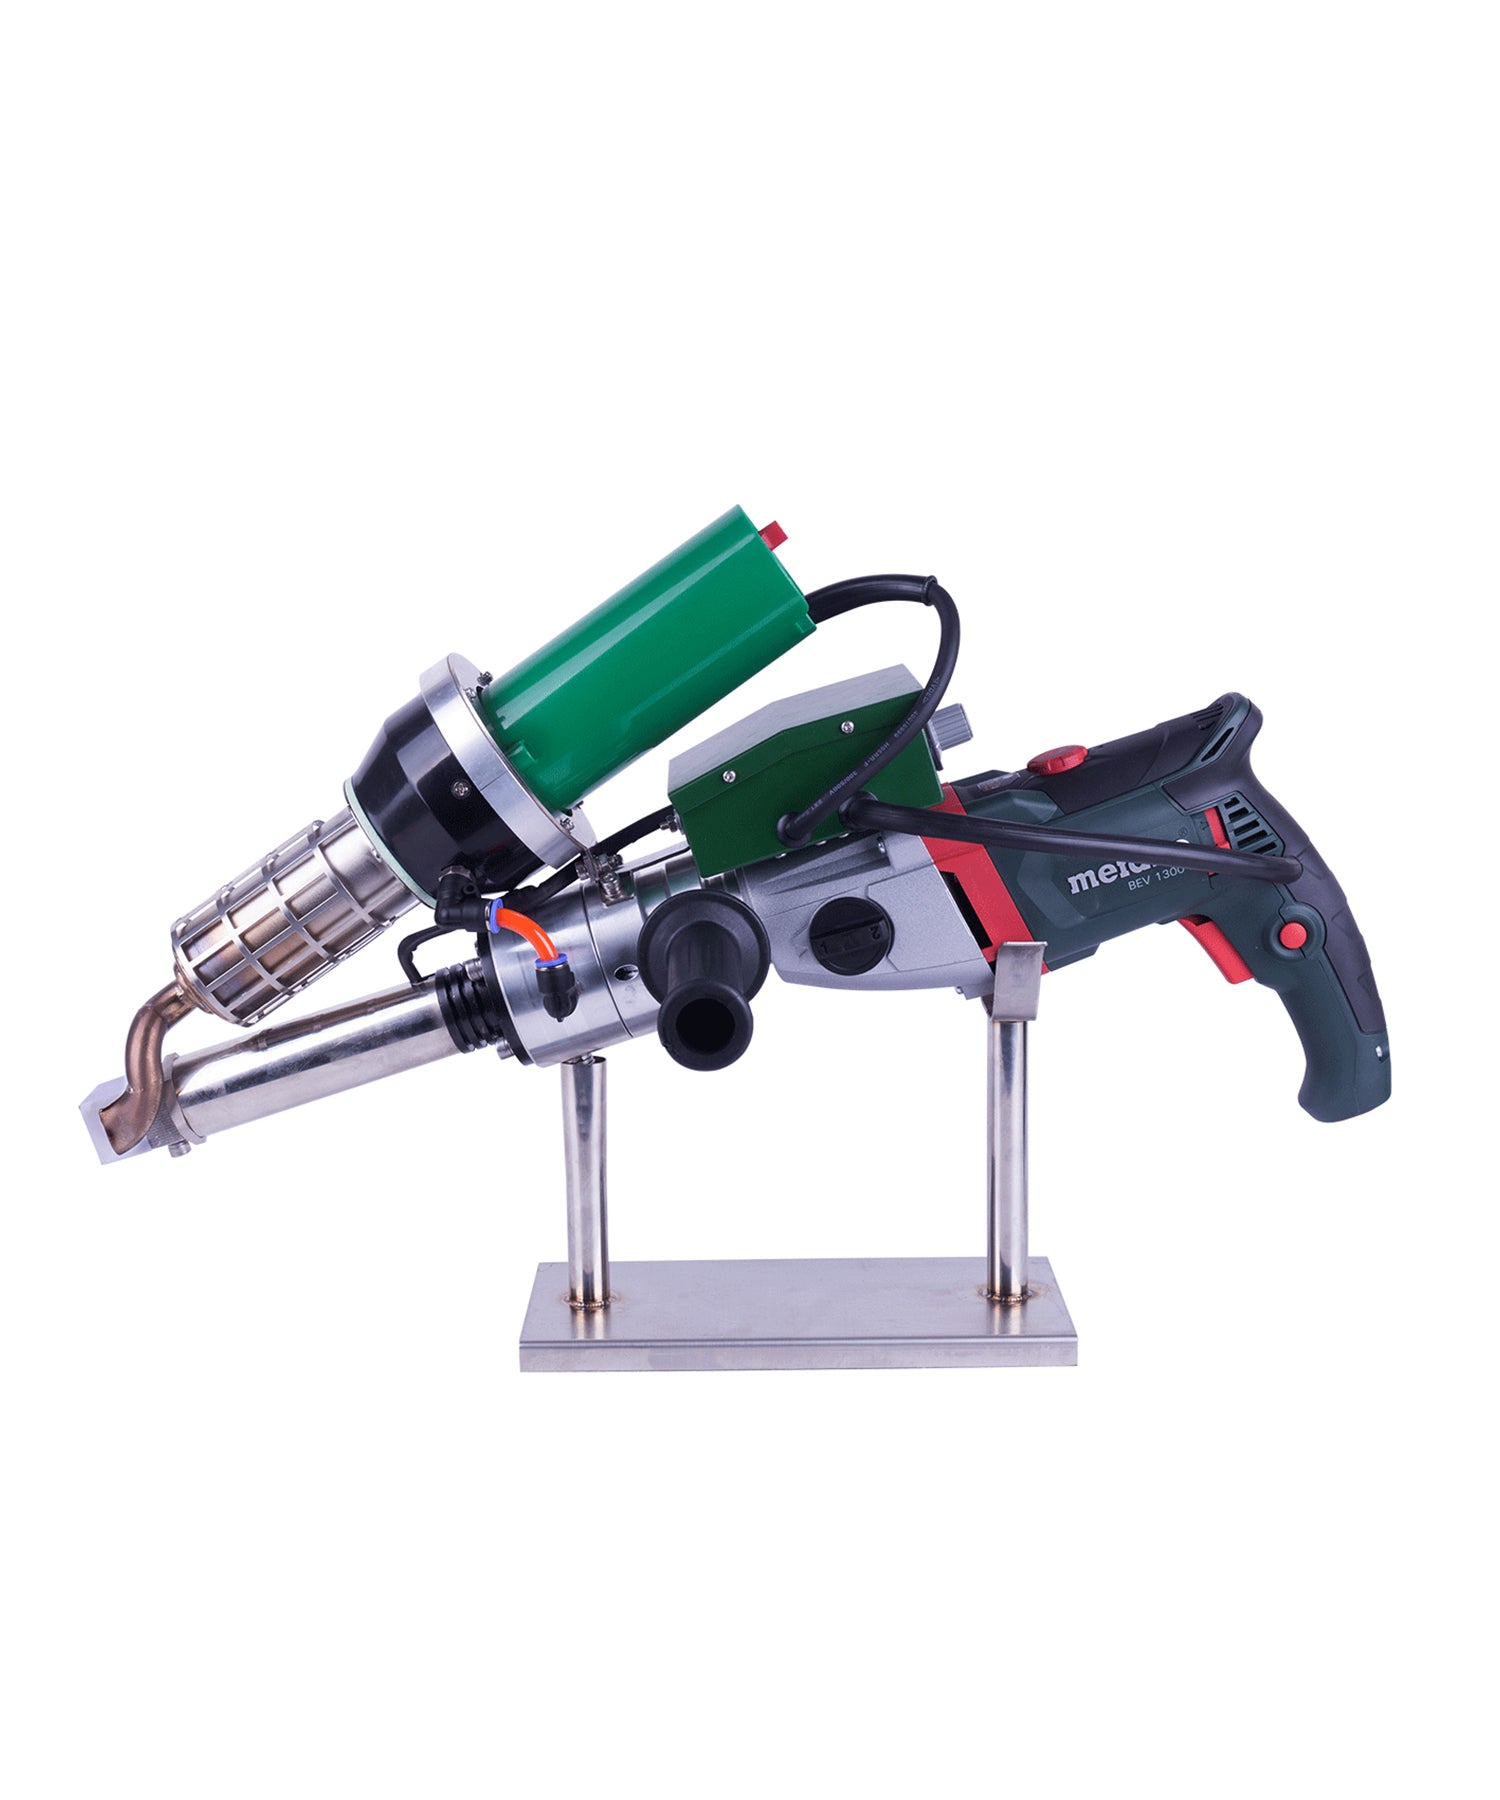
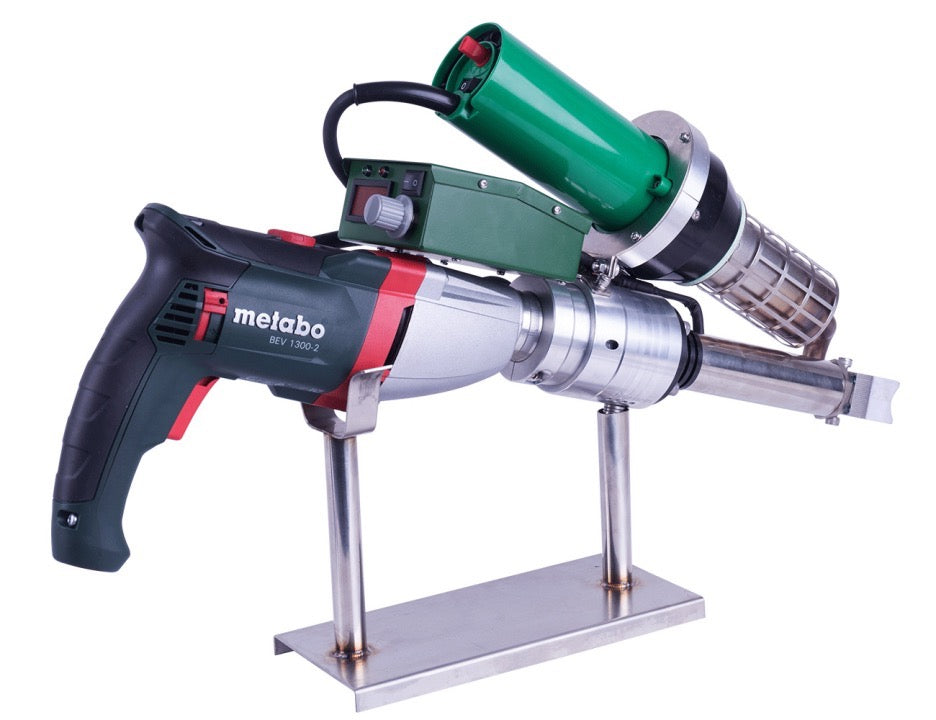
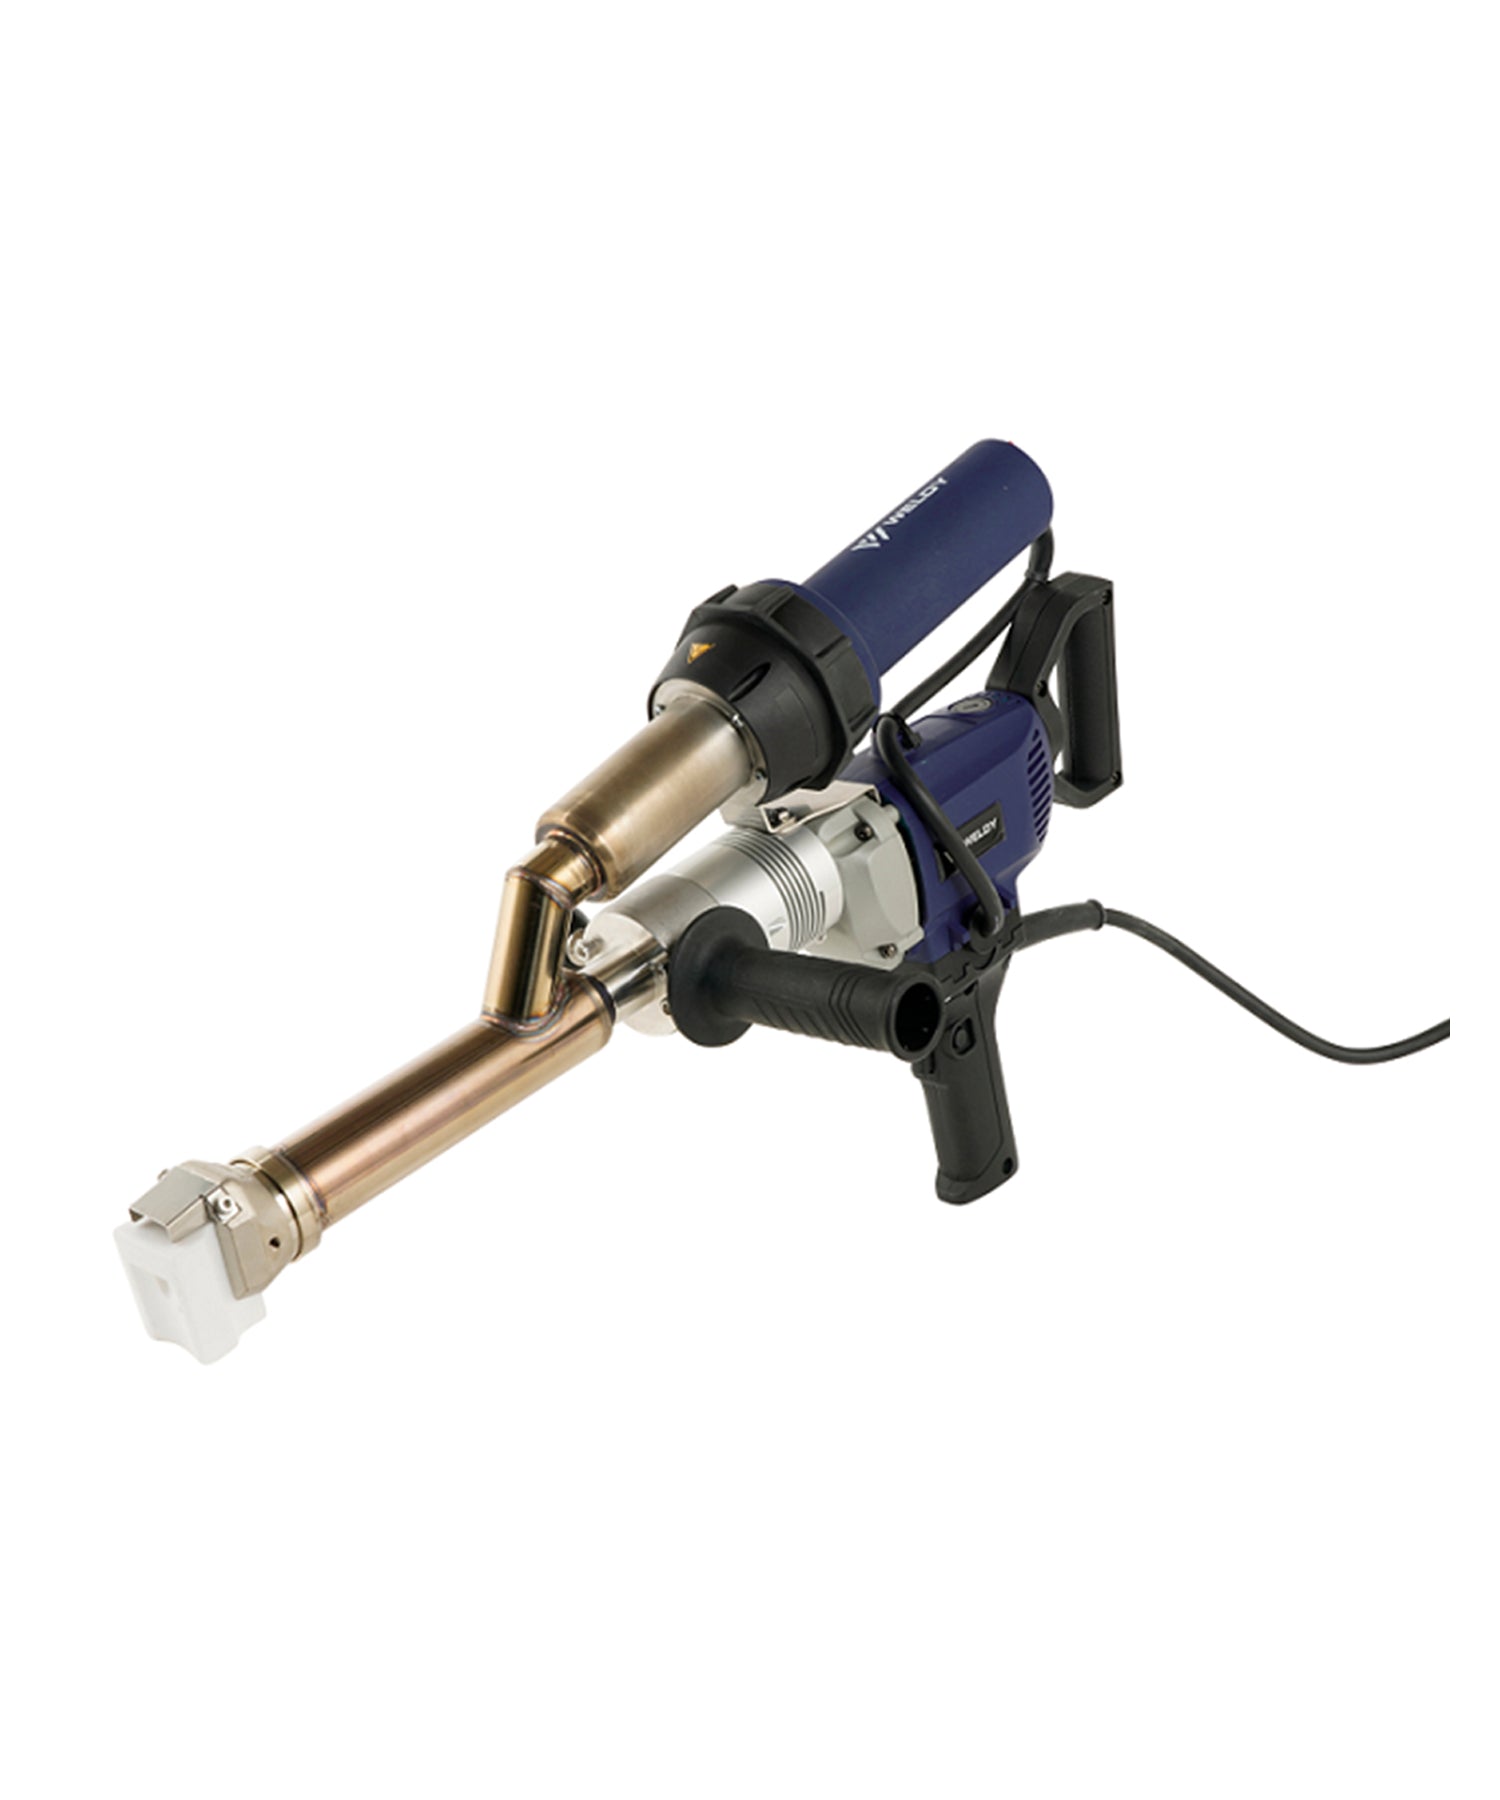
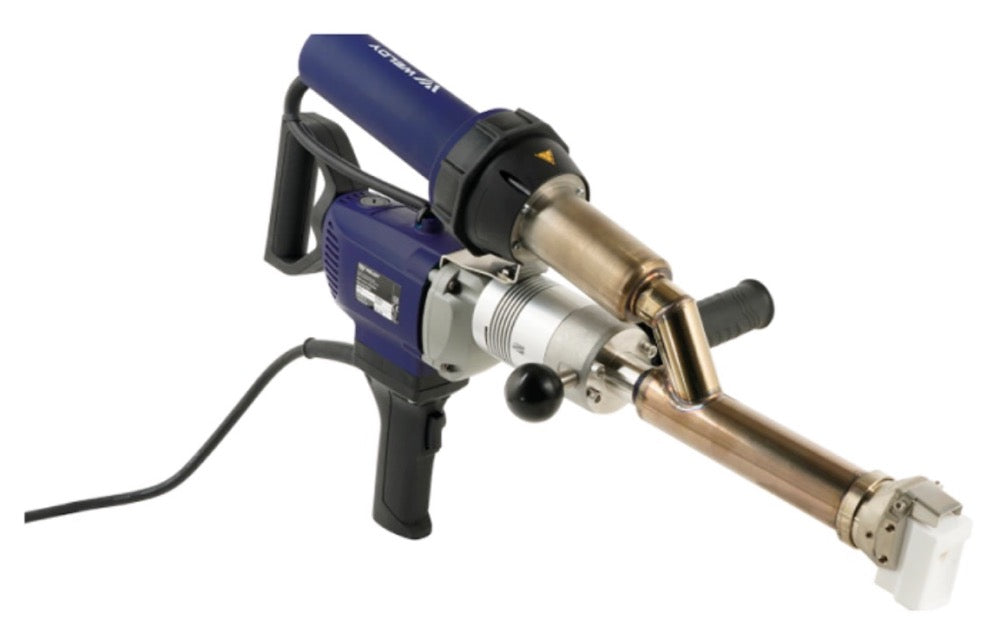
When a Weldy BOOSTER EX2 or EX3 hand extruder starts feeding unevenly or losing output, it is worth checking the replaceable parts before concluding that the machine itself is at fault. The challenge is ordering the right one: the two machines are close cousins, many of their EX2 EX3 spare parts look similar, and only some article numbers are printed where you can see them. This page groups the common service parts — drive brushes, heating element, feeding screw, handle and drill — and shows how to confirm the correct item before you order.
Quick answer: The BOOSTER EX2 and EX3 share several working-end components and both accept ø 3–4 mm welding rod, which can make their spare parts easy to confuse. The common service parts are the drive carbon brushes (article 115.069, listed for both machines), the heating element (article 170.652) and the feeding screw. Confirm your machine model first, then match the part by article number or product page — not by appearance alone.
The Main EX2 and EX3 Spare-Part Groups
A hand extruder turns electrical power into three things: rotation, heat and melt flow. Each area has its own parts, and grouping them the same way makes ordering easier.
| Part group | What it covers | Why it is replaced |
|---|---|---|
| Drive | Carbon brushes in the drive motor; the electric drill listed for both machines | Brushes wear gradually during service and are replaced when their condition requires it |
| Heat | Heating element for the air-heated screw system | Heating-side output can fall short of the setting |
| Feed | Feeding screw that carries the rod through the melt chamber | Surface condition affects output smoothness |
| Working end | Welding shoes, selected by seam geometry | Abrasion and residue buildup on contact surfaces |
| Body | Handle and grip parts | Damage from drops and jobsite handling rather than running hours |
Drive Brushes 115.069: The Wear Item Behind the Rod Feed
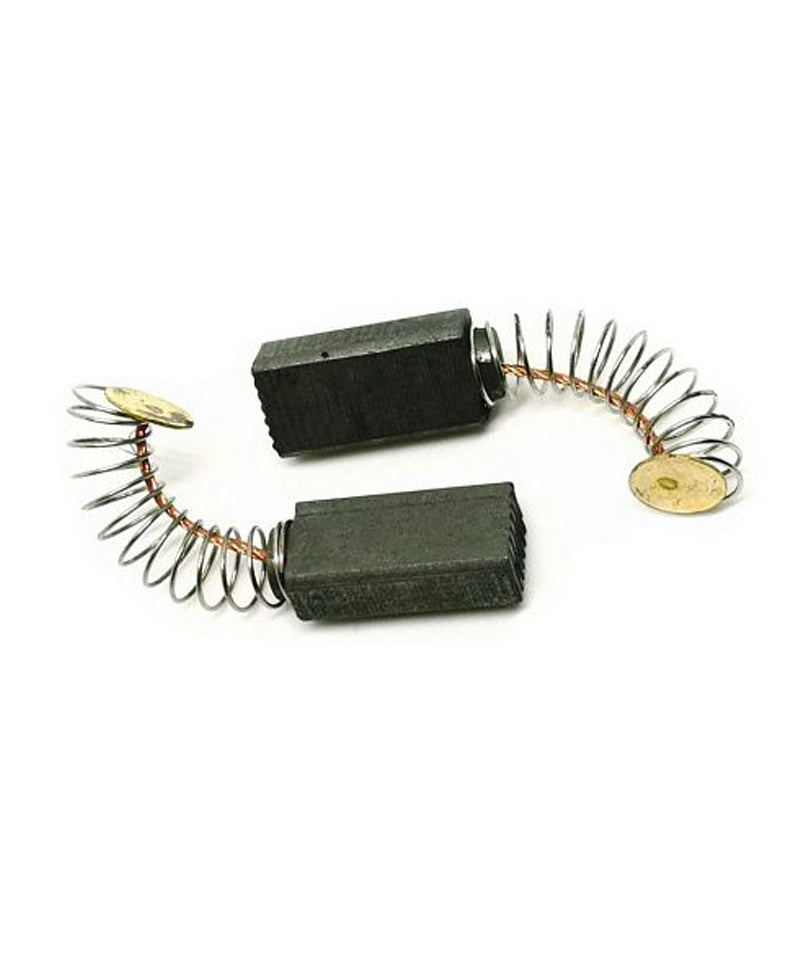
The drive motor turns the feeding screw, and its carbon brushes wear gradually during service. As they wear, the motor can lose torque or run intermittently, and rod feed may slip or surge before the machine stops altogether. If your extruder has been feeding unevenly, brushes are one of the first items to check alongside the screw and rod condition.
Weldy lists article 115.069 as the drive brush set for the BOOSTER EX2 and EX3. It is a separate part from the feeding screw and the drive unit, so confirm the article number rather than ordering by appearance. We cover the wear signs in detail on our Booster drive brushes 115.069 page, and the brushes themselves are listed here: Drive brushes for Booster 115.069.
⚠️ Article 115.069 is the drive brush for the BOOSTER EX2 and EX3. It is not the carbon brush used in Weldy ENERGY hot air guns (article 125.810). The two are listed as separate parts and are not listed as interchangeable between tools.
Heating Element: When the Heating Side Output Drops
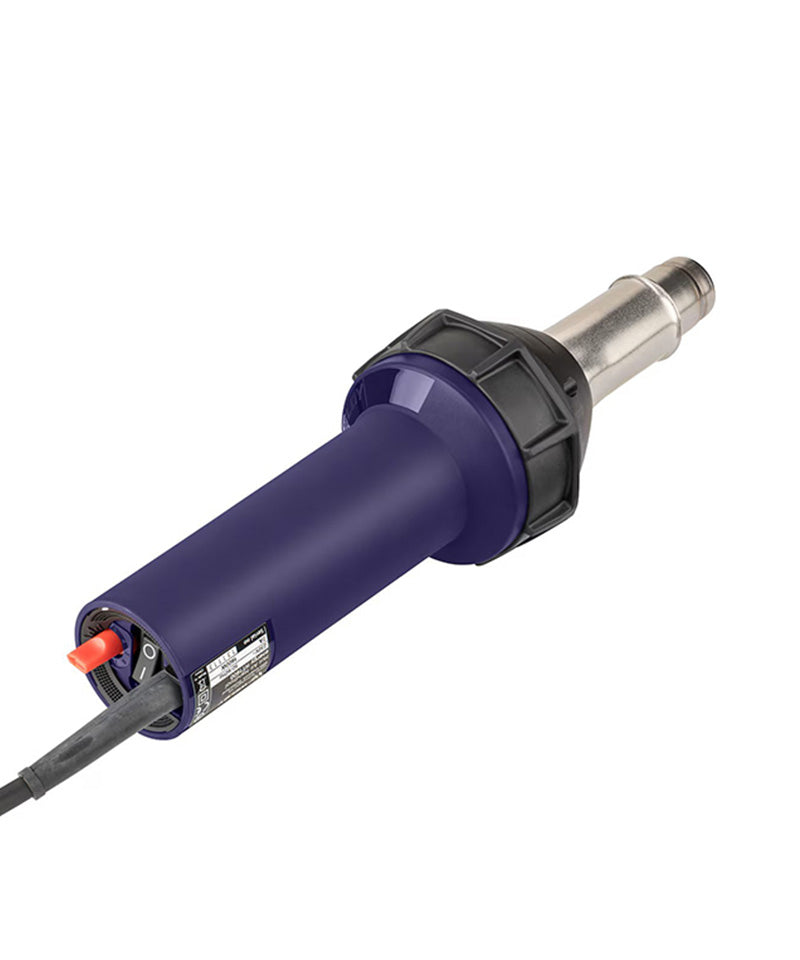
Both machines use an air-heated screw system with open-loop air temperature control. Because the control is open loop, the machine does not automatically correct the air temperature against measured output. If the heating side is no longer producing the expected output, the extrudate can become cool or inconsistent even though the operator has not changed the control setting. Before replacing an element, rule out simpler causes such as low supply voltage at the socket, which can also affect heat output.
The part we list for the EX2 and EX3 is Heating Element 220V for EX2/EX3, article 170.652. As with any internal part, replacement follows the Weldy service documentation for your model, and the same article number discipline applies: match the part to your machine model, not to how a listing photo looks.
Feeding Screw and Material Output
The feeding screw carries the welding rod through the heated zone and out as melt. Wear on the screw shows up in the work first: output drops, the melt stream becomes uneven, or the rod stops feeding smoothly. Because feed problems can come from more than one part, check the screw together with rod condition and drive performance before you order.
We have a dedicated guide to this part on our EX2/EX3 feeding screw page, and the screw itself is listed here: Feeding Screw. The listing carries store item number 0105910219 rather than a Weldy article number, so confirm the part against your machine model before ordering. If the symptom is feed-related, our rod feed problems page walks through slipping, surging and no-output causes in order.
Handles and the Electric Drill for EX2/EX3
Not every spare part is a wear item. Weldy also lists body and service parts for both machines:
- Handle, article 144.051 — the handle assembly in our current listing for the EX2 and EX3. Handle parts are damaged by drops and jobsite handling rather than by running hours, and the handle listings sit close together, so check the machine version on your rating plate against the current listing before ordering.
- Electric drill, article 114.753 — listed for the EX2 and EX3 as Electric Drill for EX2 EX3. It is a separate drive-unit item from the carbon brushes above, so treat the article number as the check.
Welding shoes belong to the working end rather than the machine body. They are selected by seam geometry — round, right-angle and overlapping profiles serve different joint shapes — so choose the profile that matches the seam, and confirm fit for your machine with us before ordering. The shoes and the rest of the range sit in our accessories collection, linked at the end of this page.
EX2 vs EX3 Spare Parts: What Is Shared and What Is Model-Specific
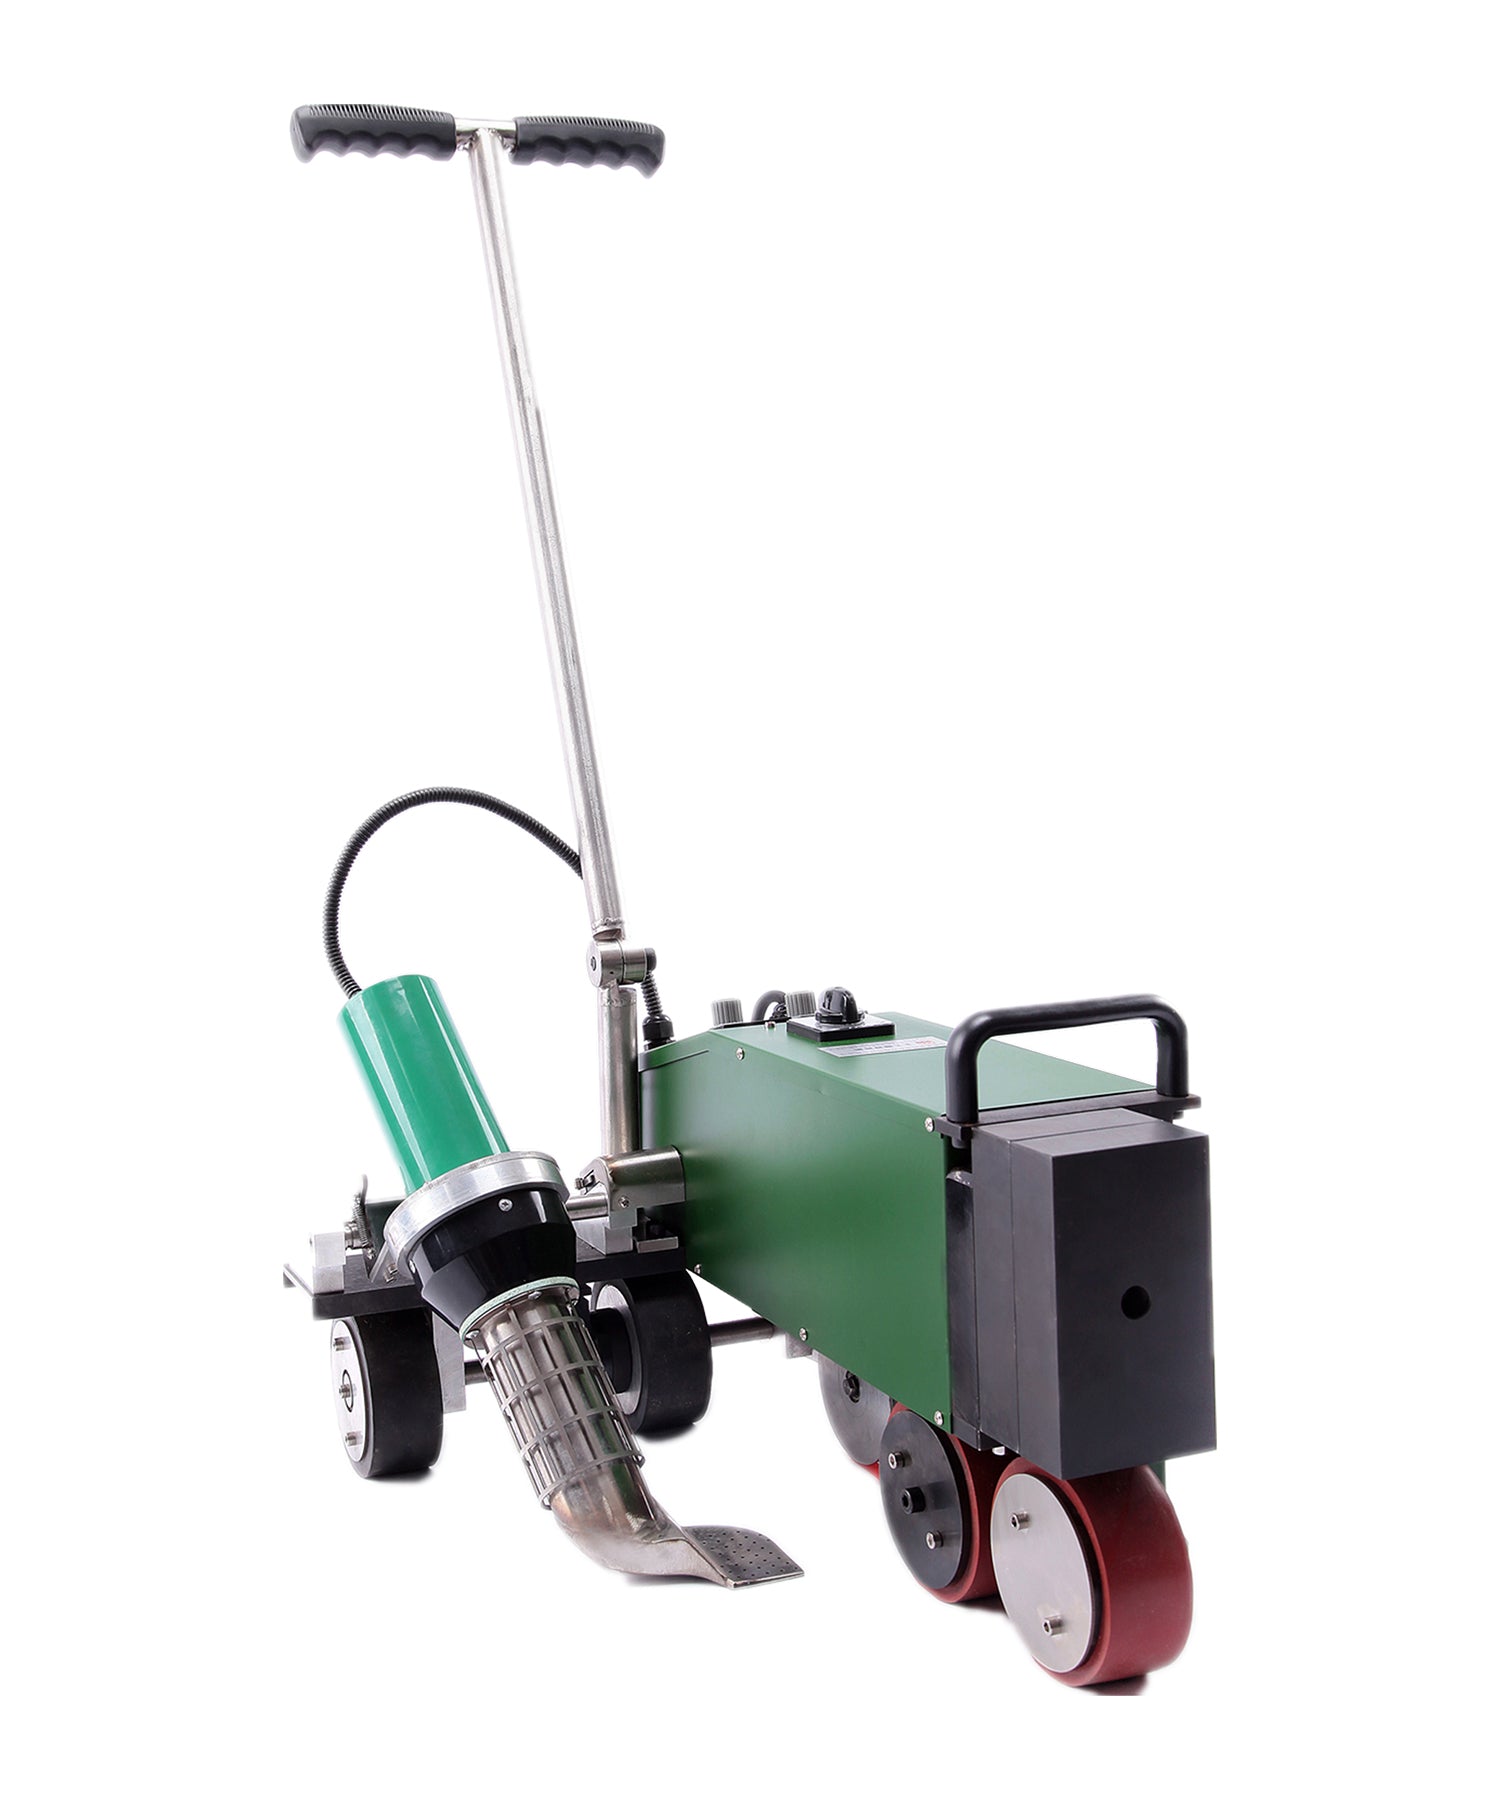
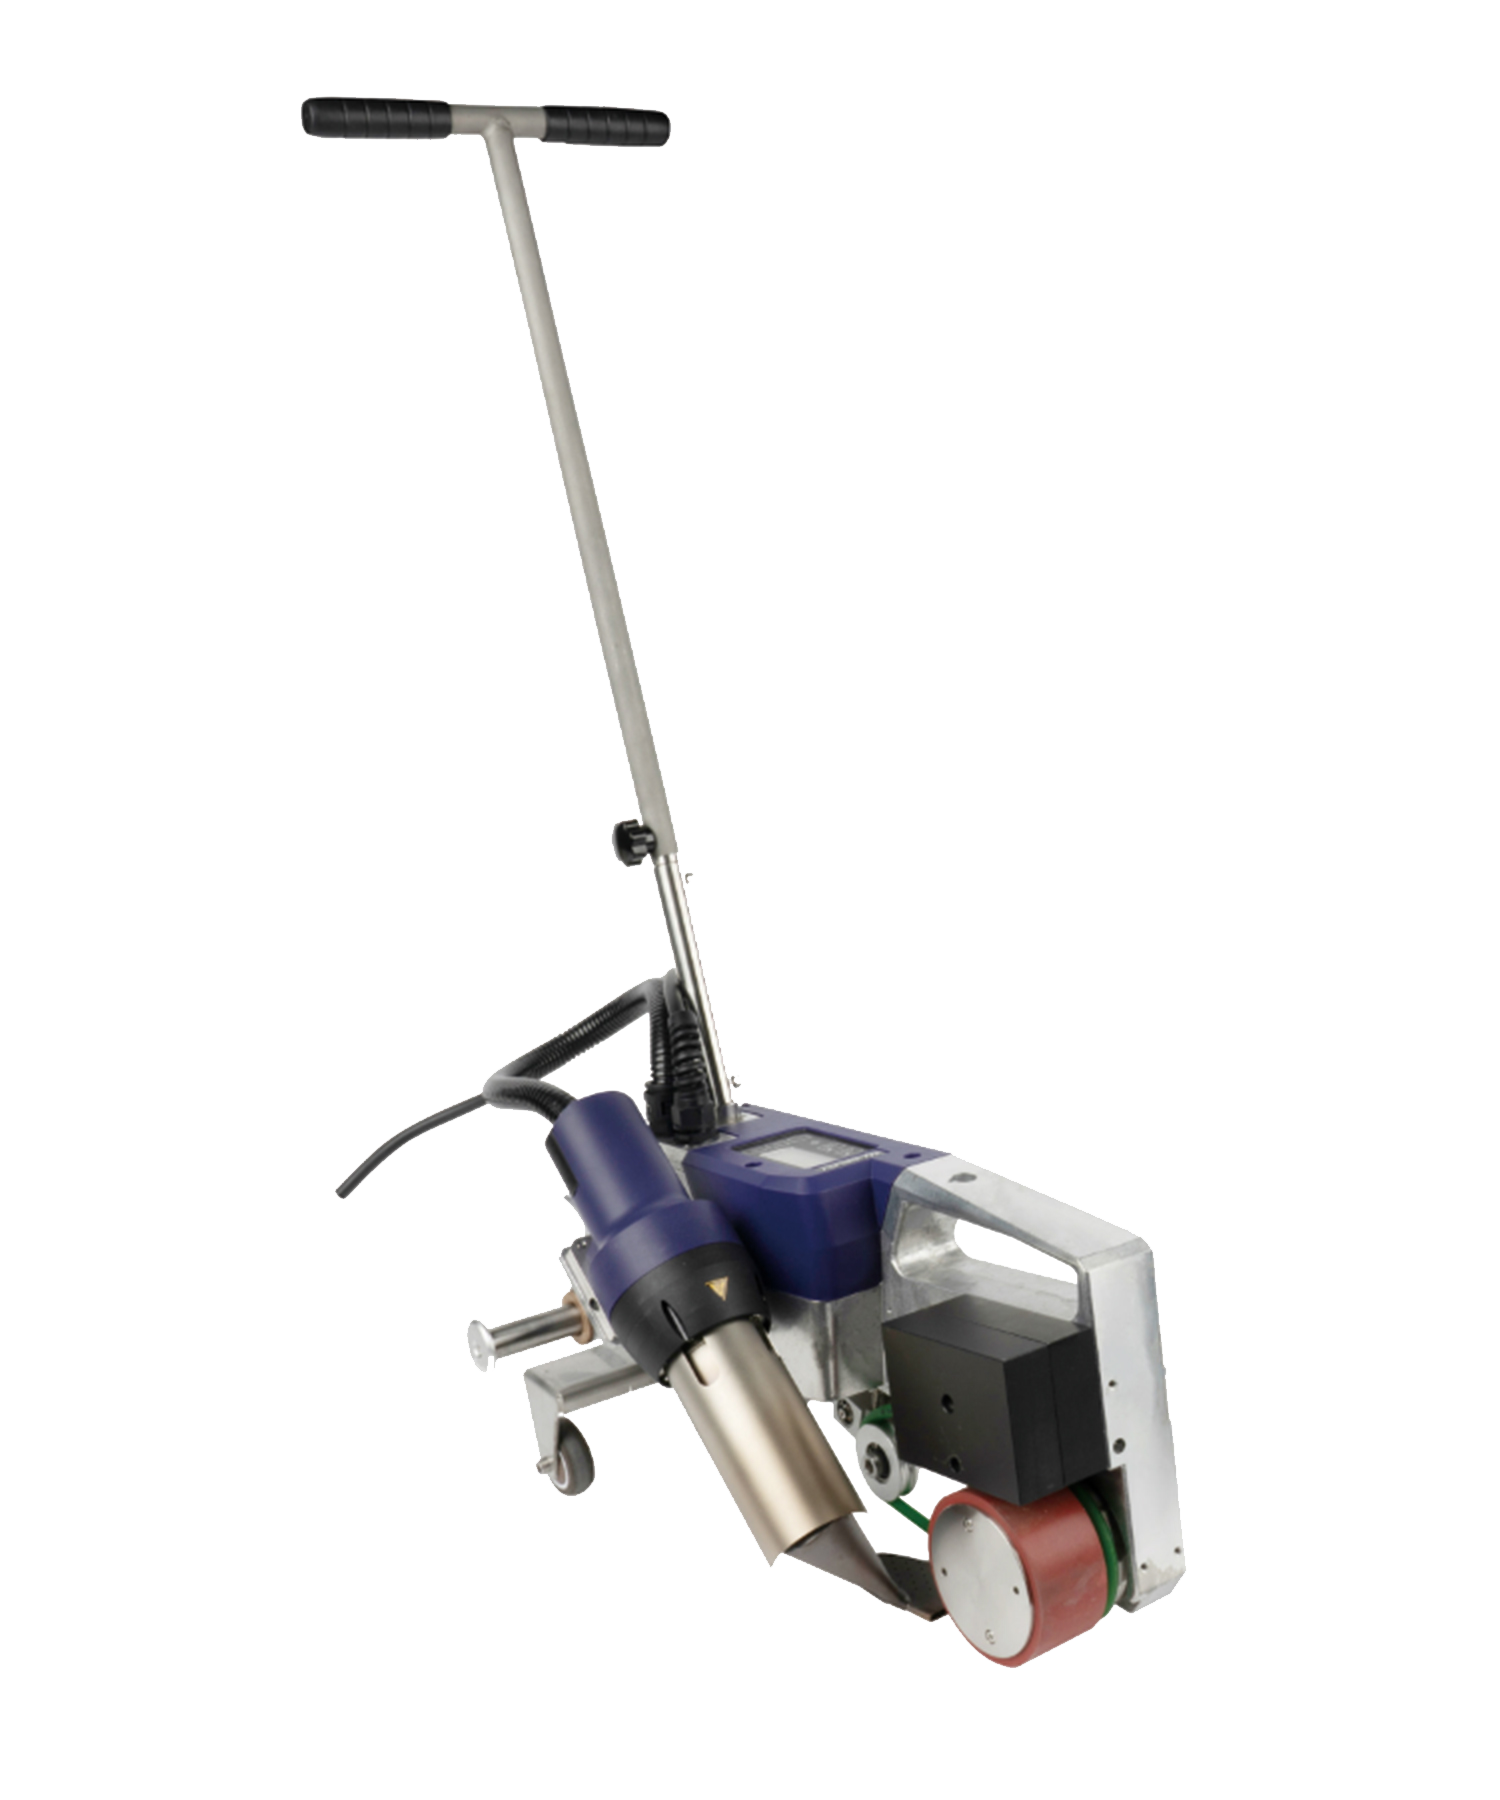
The two machines do share several working-end components and both accept ø 3–4 mm welding rod, which can make their spare parts easy to confuse — so treat the model as the deciding factor when you order. Where the published figures differ is in output rating and machine weight, not in the materials they are listed for.
| Specification | BOOSTER EX2 | BOOSTER EX3 |
|---|---|---|
| Rated power | 3,000 W | 3,000 W |
| Voltage | 230 V | 230 V |
| Material output, ø 3 mm rod | ≤ 1.5 kg/h | ≤ 2.5 kg/h |
| Material output, ø 4 mm rod | ≤ 2.2 kg/h | ≤ 3.6 kg/h |
| Screw heating | Air heated | Air heated |
| Air temperature control | Open loop | Open loop |
| Weight | 6.4 kg | 6.9 kg |
| Welding rod | ø 3–4 mm | ø 3–4 mm |
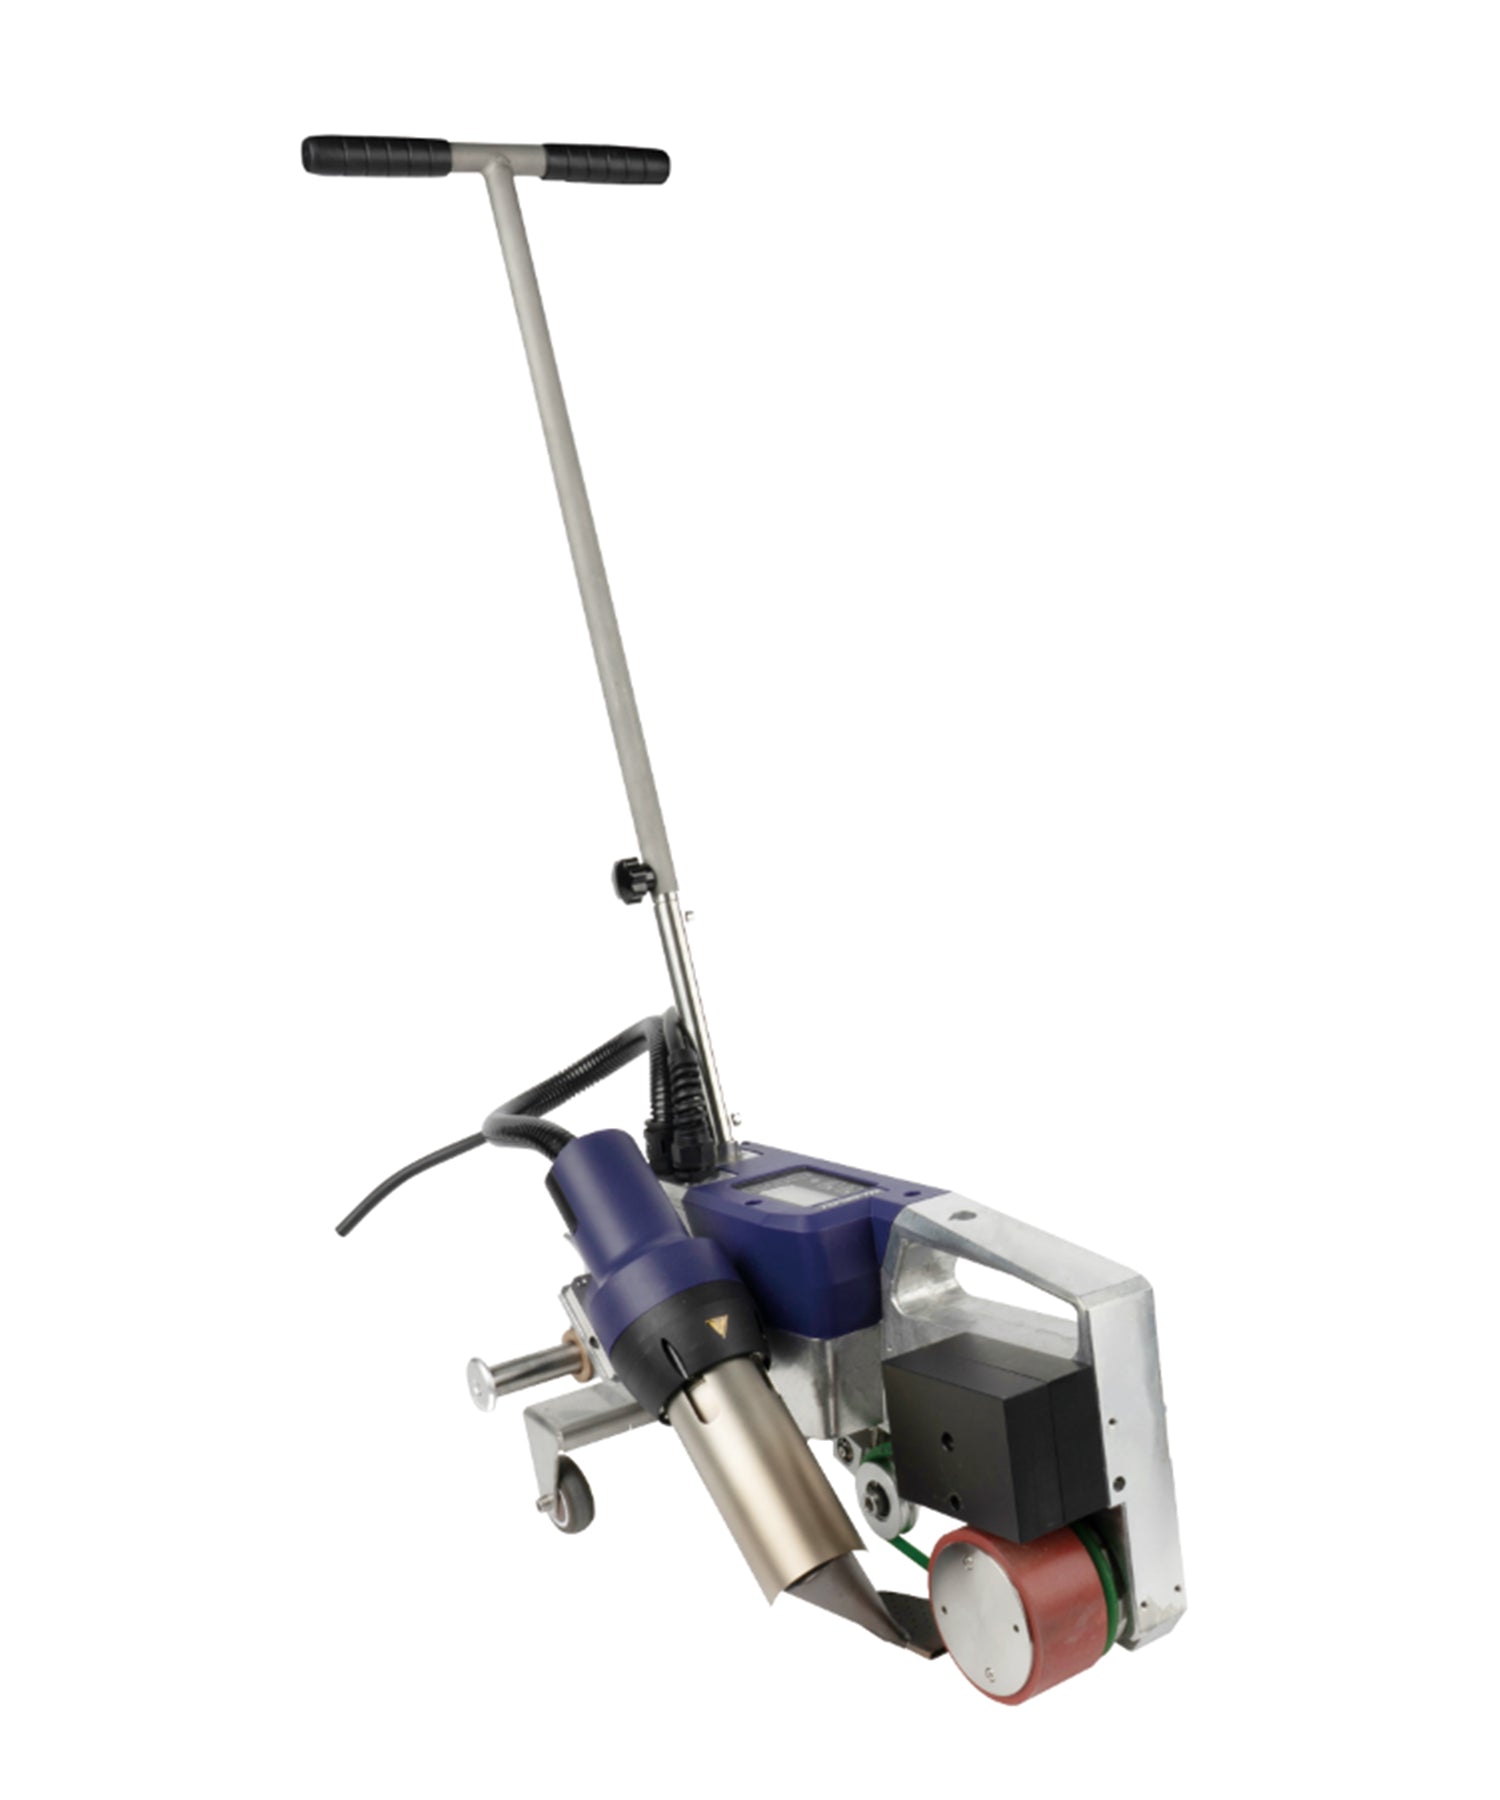
The machines themselves are listed in our extrusion welder collection, and the full specification pages are here: BOOSTER EX2 and BOOSTER EX3.
How to Confirm and Order the Right Spare Part
The step that decides whether an order is right is confirming the model before matching the part. Run this sequence each time.
Confirm-then-order sequence for EX2/EX3 spare parts.
Where a Weldy article number is listed below, use it to confirm the part rather than ordering by appearance alone. The feeding screw is listed under a store item number instead, so confirm that one against your machine model and the current product listing.
| Part | Fits | Article number |
|---|---|---|
| Drive carbon brushes — linked above | BOOSTER EX2 / EX3 | 115.069 |
| Heating element — linked above | EX2 / EX3 | 170.652 |
| Electric drill — linked above | EX2 / EX3 | 114.753 |
| Feeding screw — linked above | EX2 / EX3 | 0105910219 (store item) |
| Handle | EX2 / EX3 | 144.051 |
Safety: Do not inspect, disassemble or touch internal components while the tool is connected to the power supply. Internal part replacement follows the Weldy service documentation for your model or is carried out by a qualified service technician. After reassembly, reconnect the tool and carry out a test weld according to the manufacturer's operating instructions.
Ordering a spare part should end the problem, not start a return. If you send us your machine model and a photo of the part you are replacing, our technical team will confirm the correct item before it ships — the same support we have given welders since 2006. You can read more about our technical team on the about us page.




Leave a comment
This site is protected by hCaptcha and the hCaptcha Privacy Policy and Terms of Service apply.