
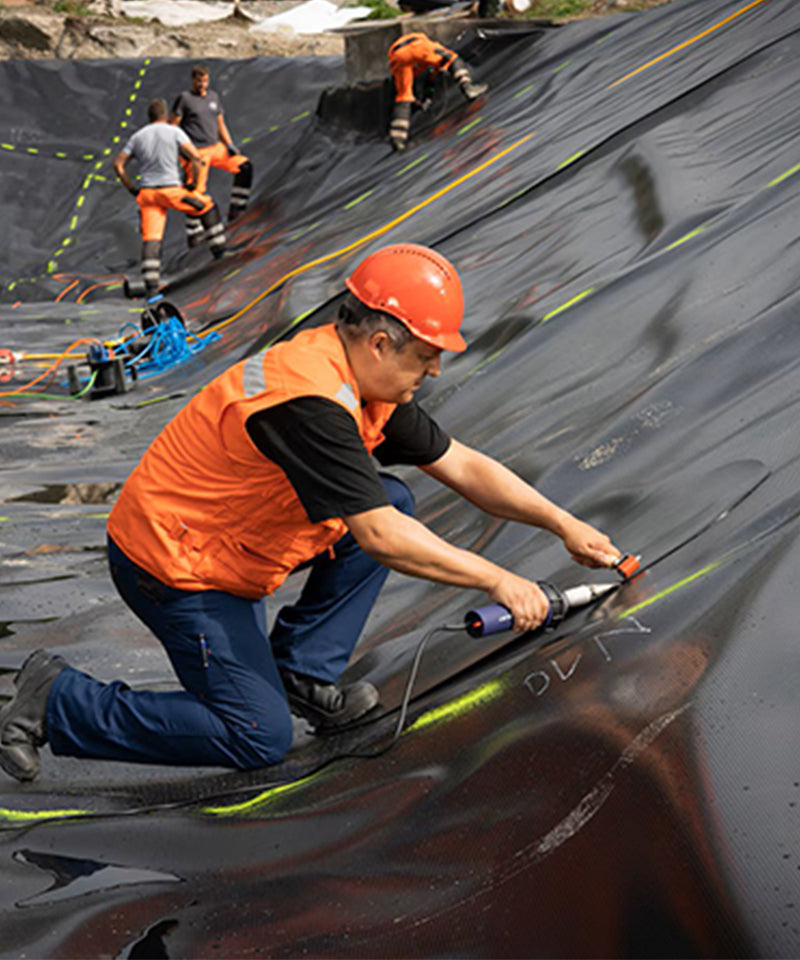
Weldy Plastic Welding Equipment Maintenance: A Complete Care Guide for Long-Term Performance
By Weissenberg Technical Team — 20+ Years of Industry Experience
Investing in Weldy plastic welding equipment means choosing Swiss-engineered reliability. But even the best tools require proper care to deliver consistent weld quality over years of service. This guide covers essential maintenance practices — from daily cleaning routines to periodic calibration — for every Weldy product line. Whether you operate hot air guns, extrusion welders, roofing welders, or geomembrane welders at a landfill site, these procedures will extend equipment life and maintain seam integrity per industry standards including ASTM D6392, DVS 2207-1, and ISO 9001.
1. Weissenberg as an Official Weldy Distributor — Supporting Your Equipment Lifecycle
Weissenberg is an authorized official distributor of Weldy products by Leister Group (Switzerland). With over 19 years in the thermoplastic welding industry, we provide not only genuine Weldy equipment but also comprehensive maintenance support, spare parts supply, and technical guidance. Our customers in over 50 countries rely on us for genuine replacement parts — from heating elements and carbon brushes to welding shoes and pressure rollers — ensuring their Weldy tools stay operational for years. All equipment we supply meets CE certification and ISO 9001 quality management standards.
2. Hot Air Guns — Daily Maintenance for Consistent Heat Output
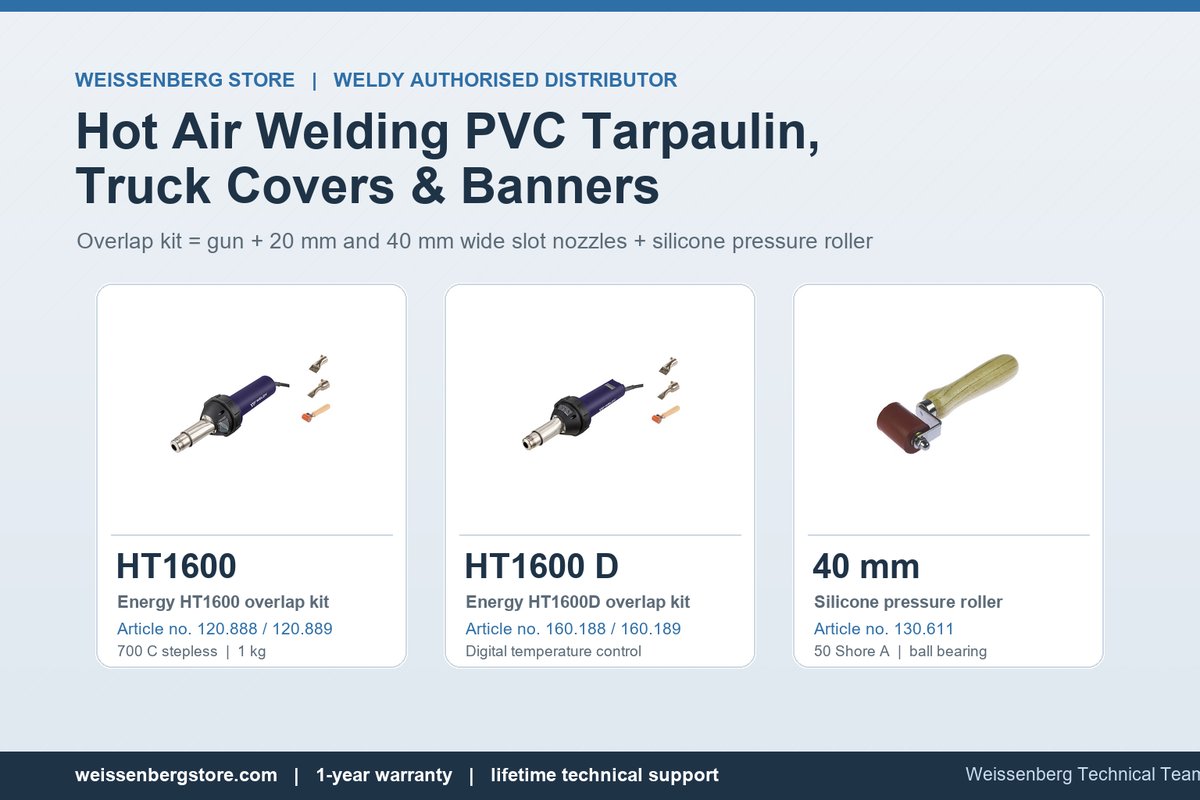
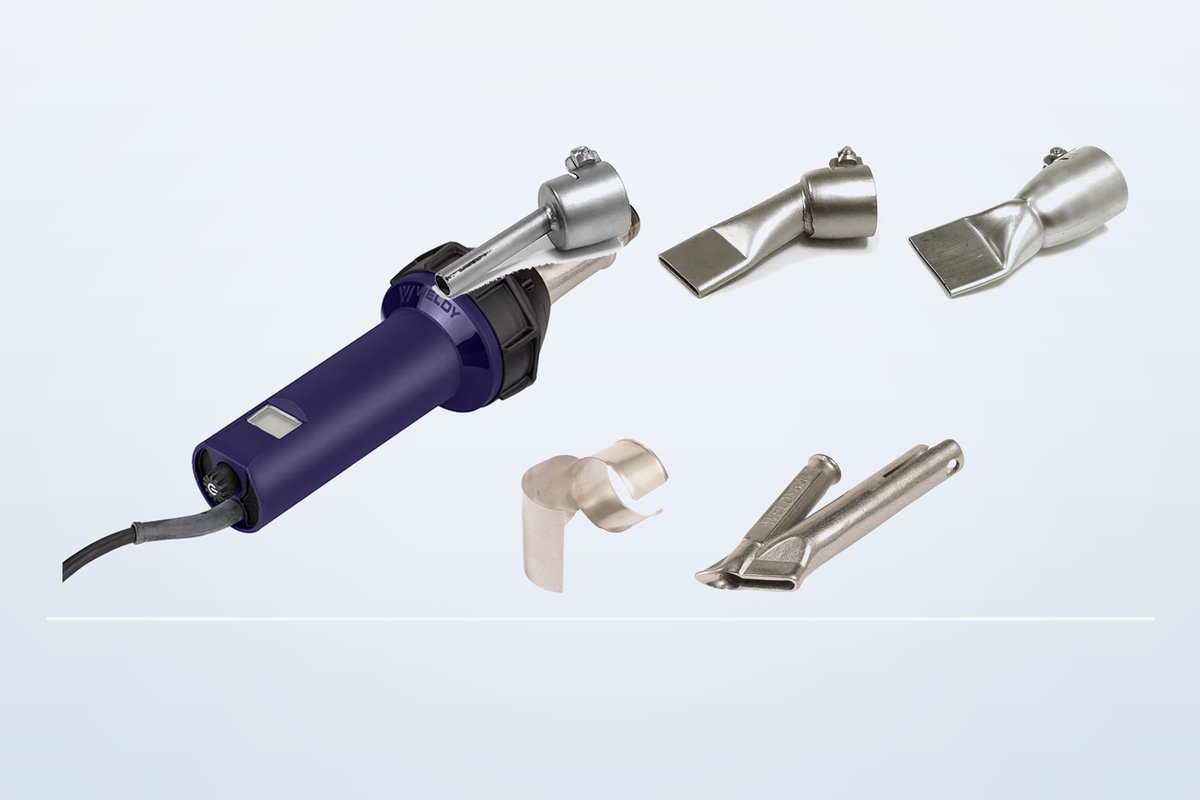
Weldy's Energy HT1600 (1600 W) and Energy HT3400 (3400 W) hot air guns are the workhorses of portable plastic welding. These tools operate at temperatures up to 700°C, making proper cooling and cleaning essential.

Critical Maintenance Tasks for Hot Air Guns:
After each use:
- Allow the tool to cool with the motor running (auto-cooling feature on all Weldy models) — this extends heating element life by preventing thermal shock.
- Clean the air intake filter. A clogged filter reduces airflow by up to 30%, causing overheating and premature element failure.
- Inspect the nozzle for carbon deposits. Clean with a brass brush when cool.
Monthly checks:
- Inspect carbon brushes. On brushed motor models (HT1600, HT3400), replace brushes when worn to 1/3 of original length. Typical brush life is approximately 800 operating hours per DVS 2207 guidelines.
- Check the power cable for cuts or heat damage near the handle strain relief.
| Parameter | Energy HT1600 | Energy HT3400 |
|---|---|---|
| Power | 1600 W | 3400 W |
| Temperature Range | 40–700°C | 40–700°C |
| Airflow | 240 l/min | 500 l/min |
| Carbon Brush Life | ~800 hrs | ~800 hrs |
| Filter Cleaning Interval | Daily | Daily |
3. Extrusion Welders — Preventing Screw Buildup and Maintaining Output
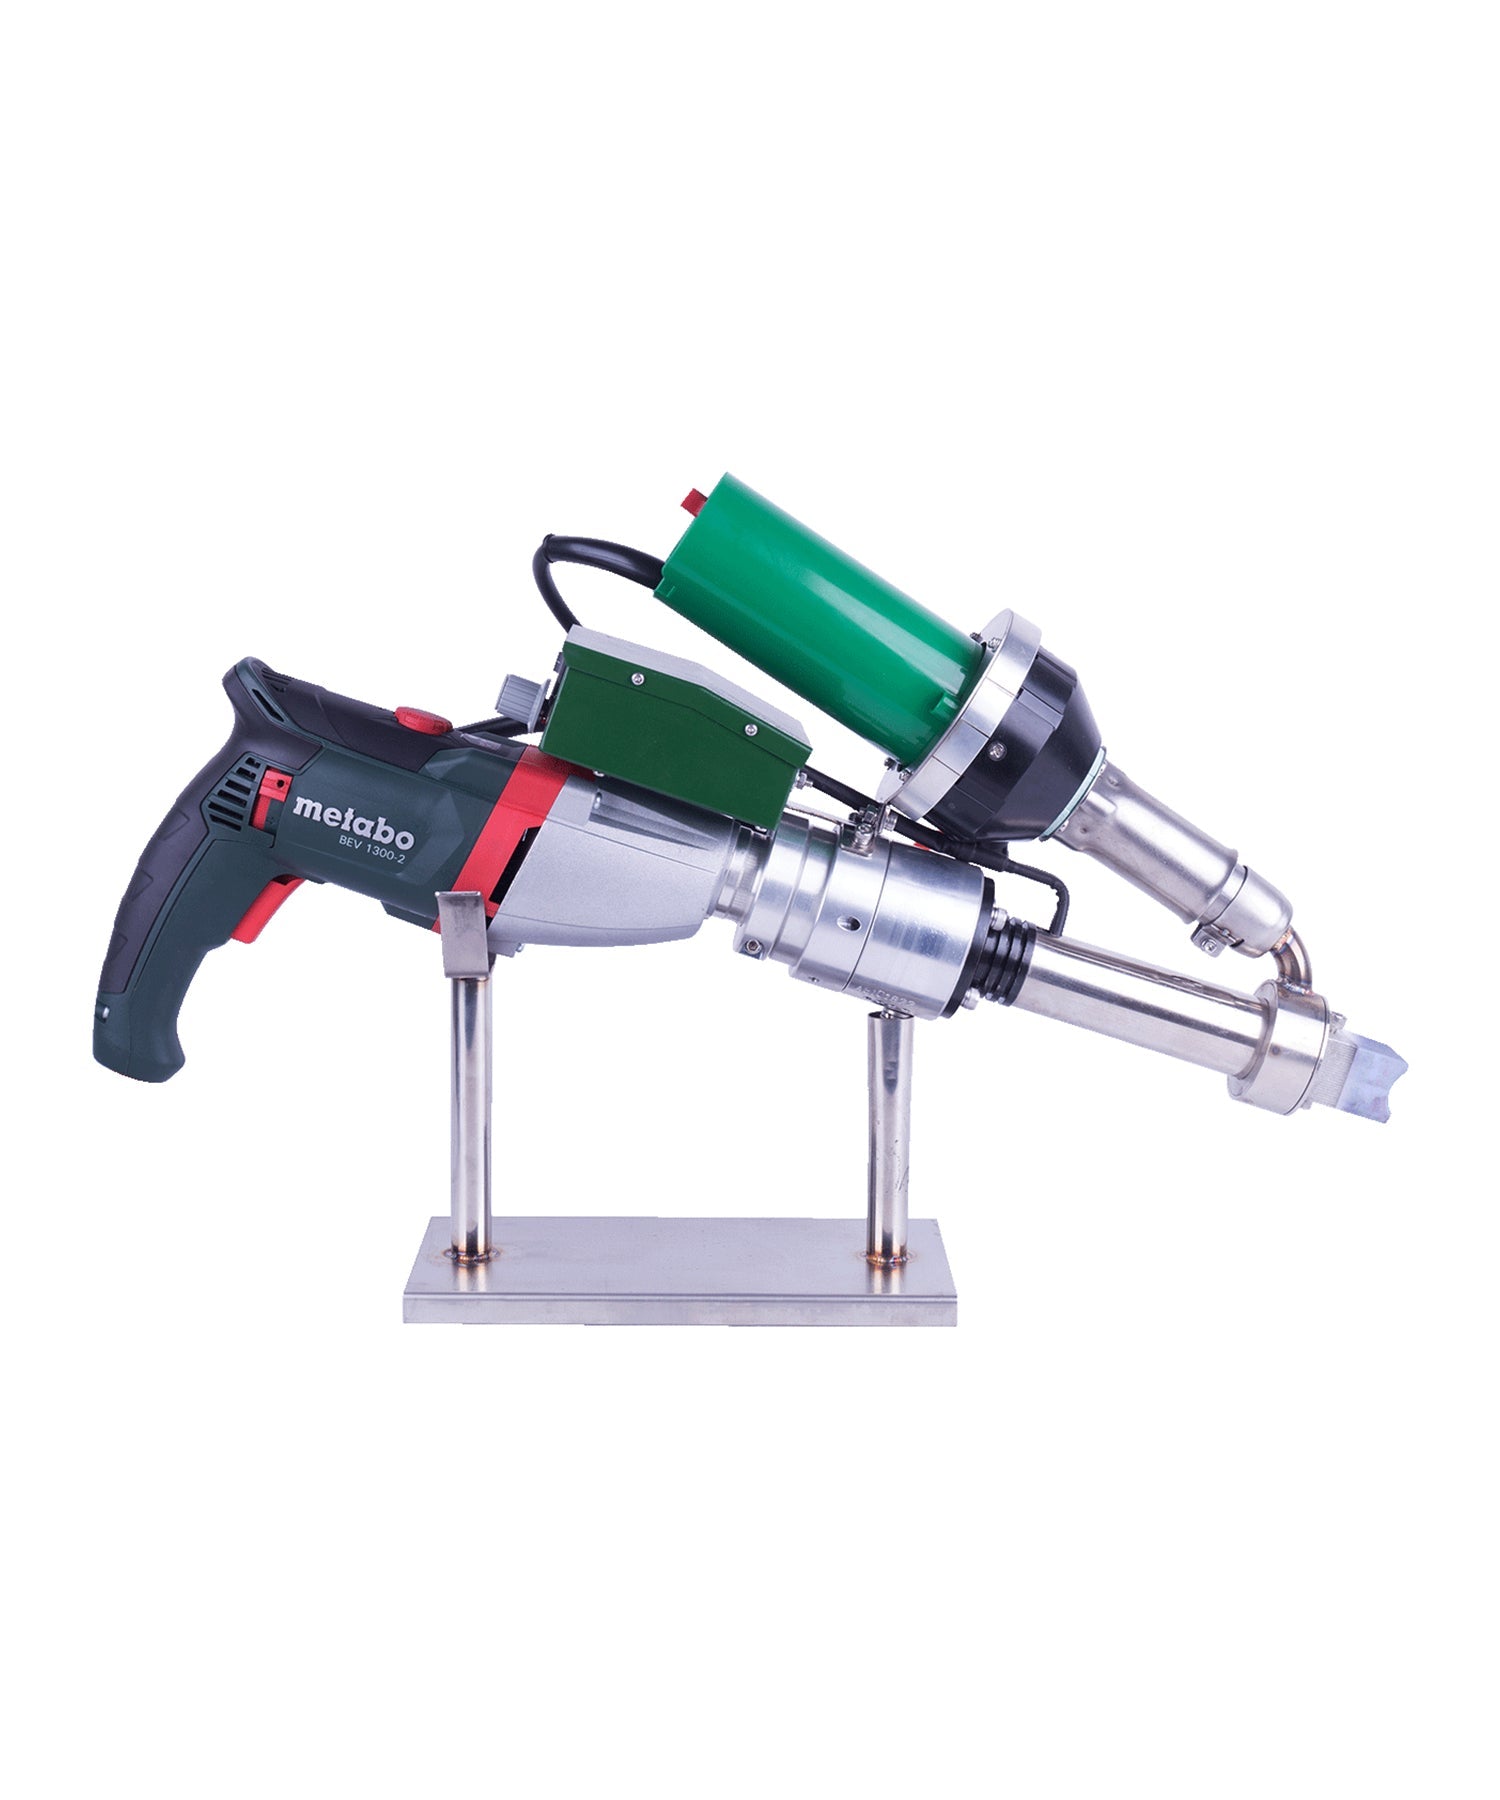
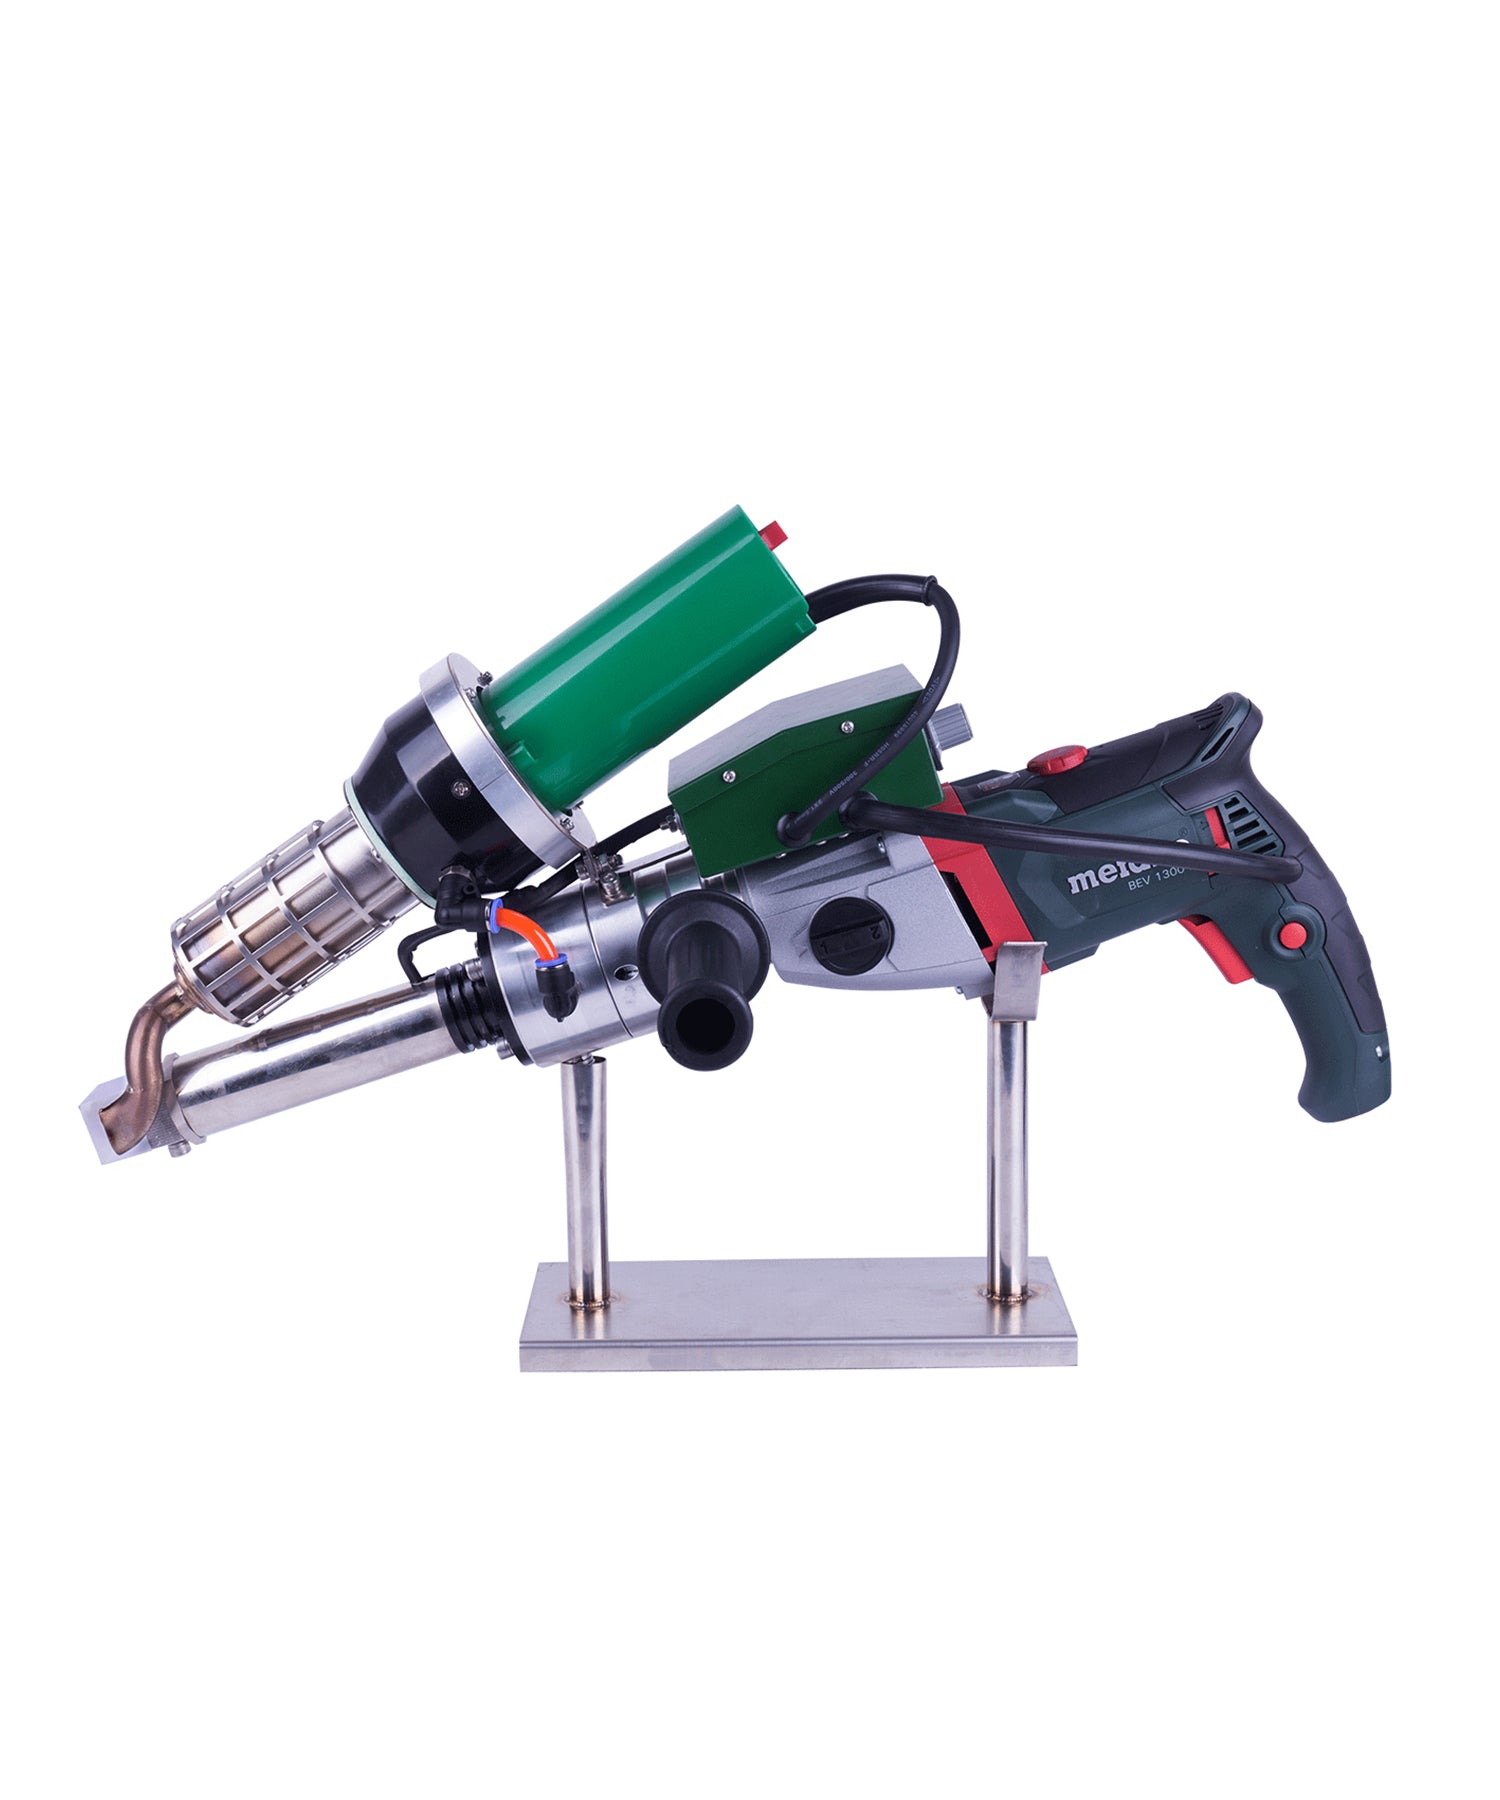
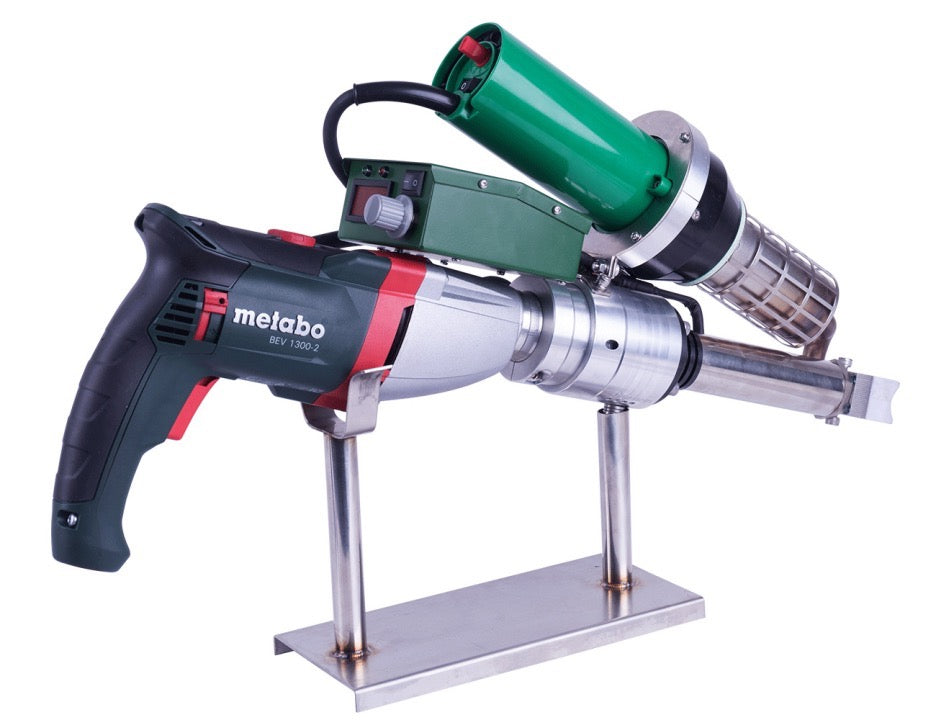
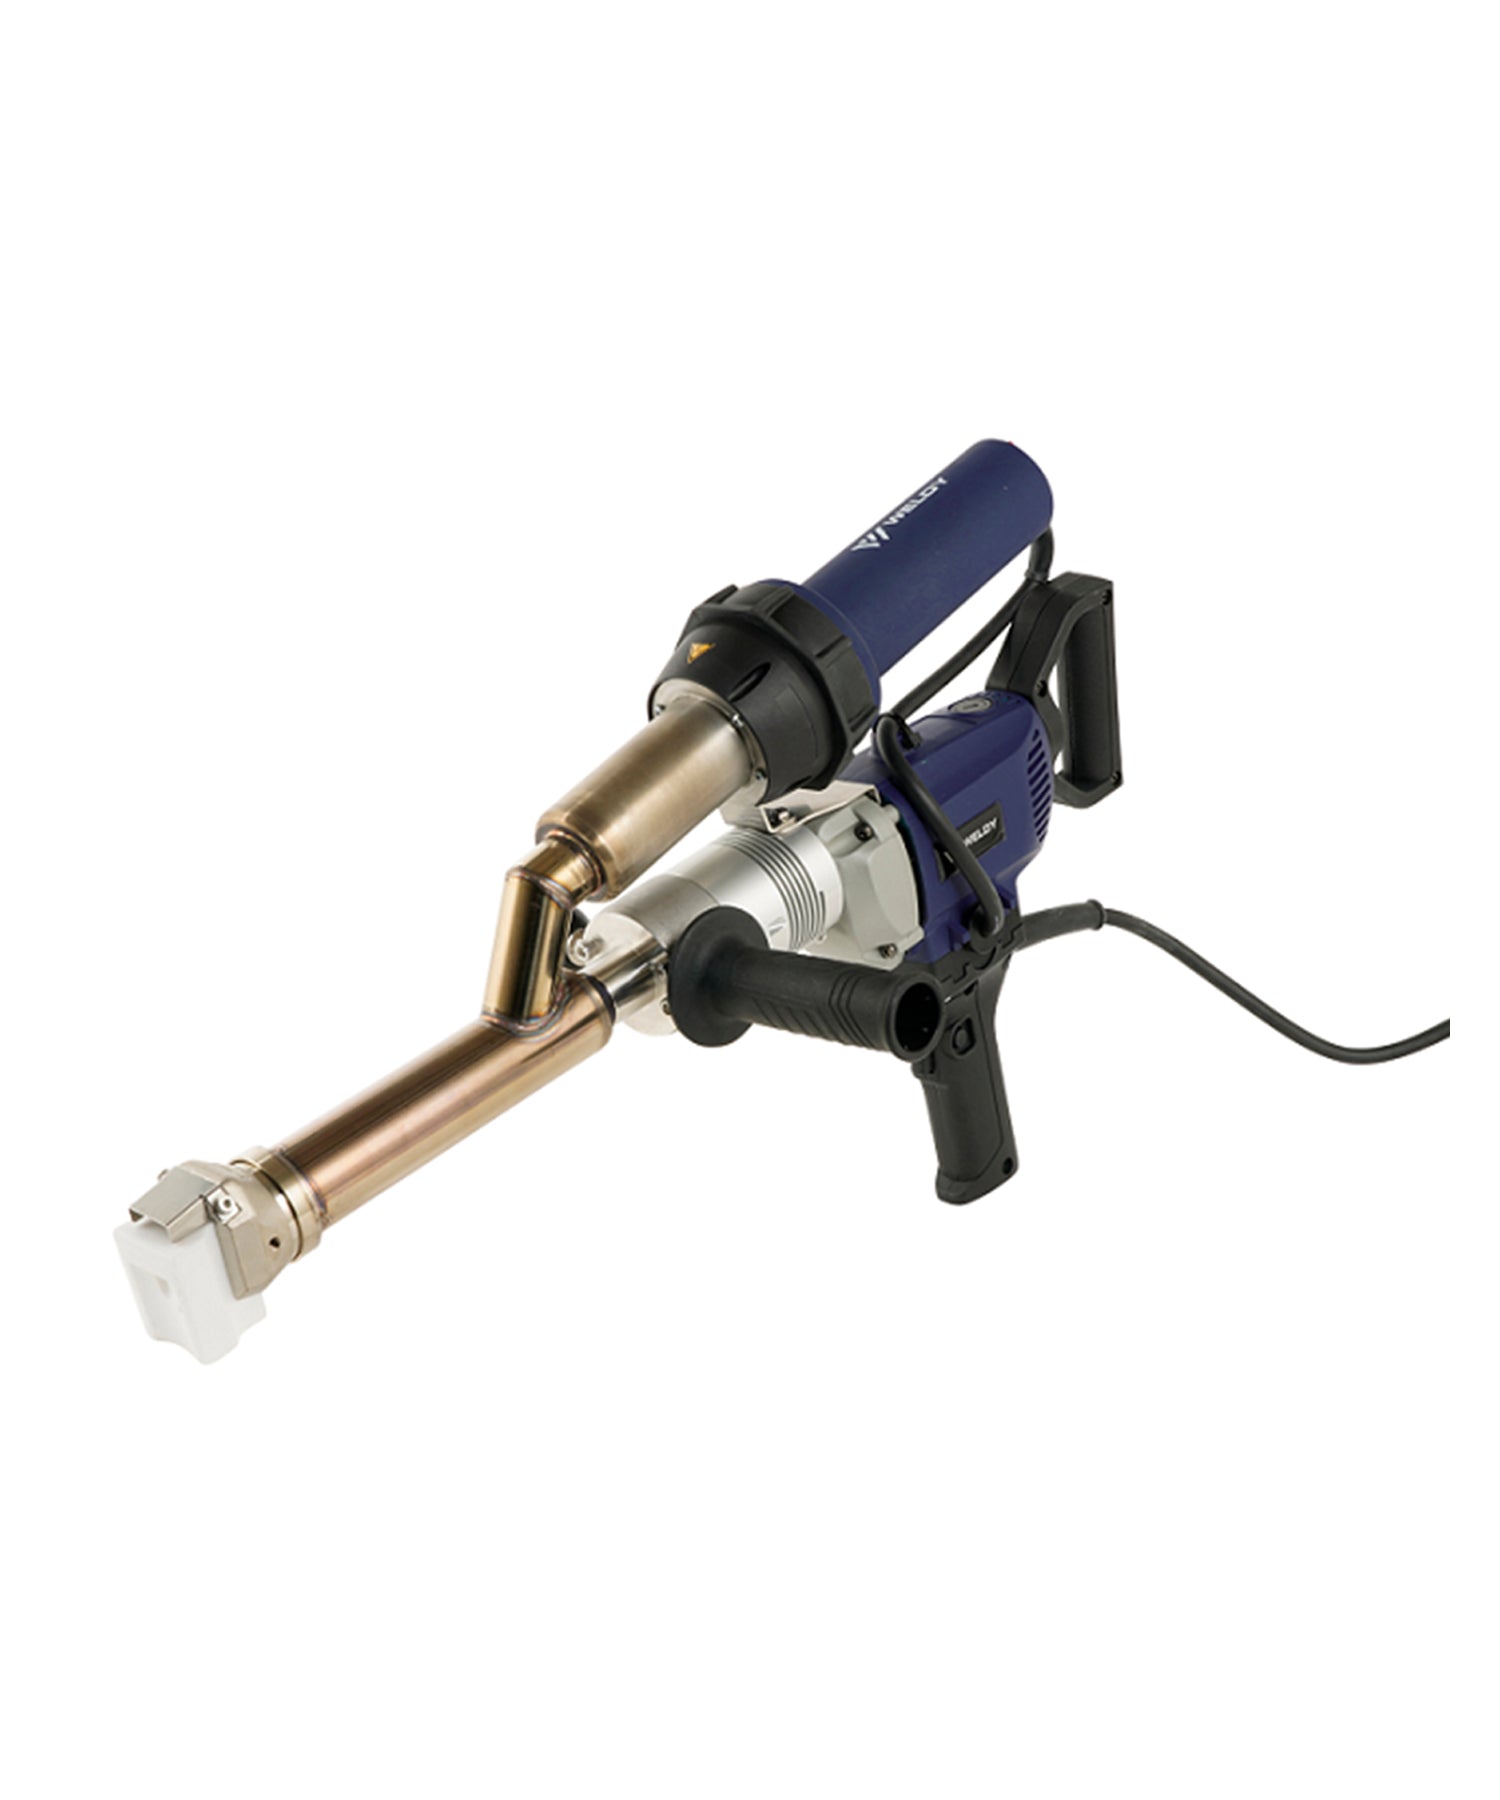
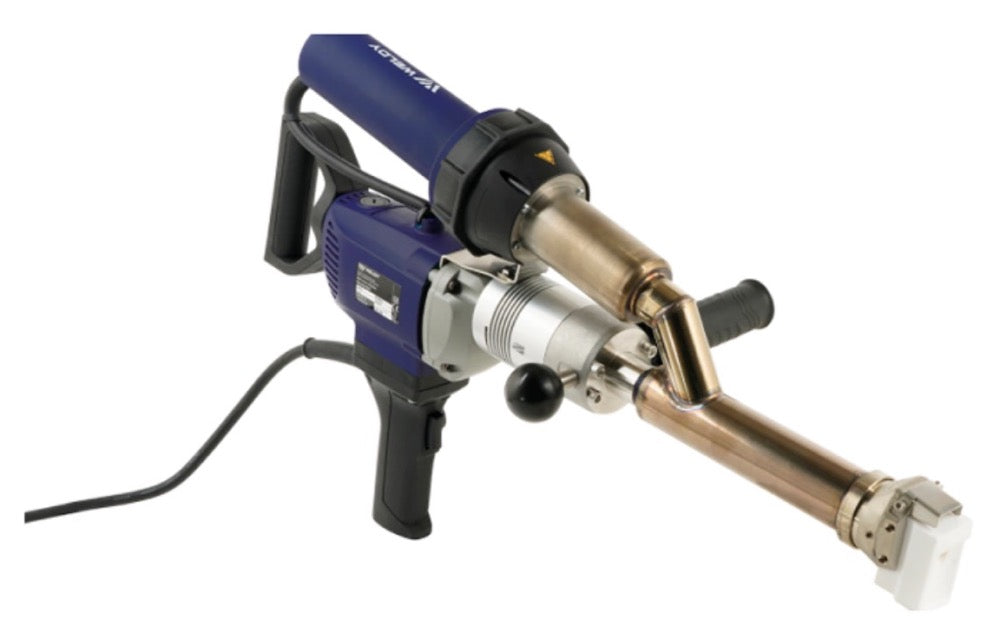
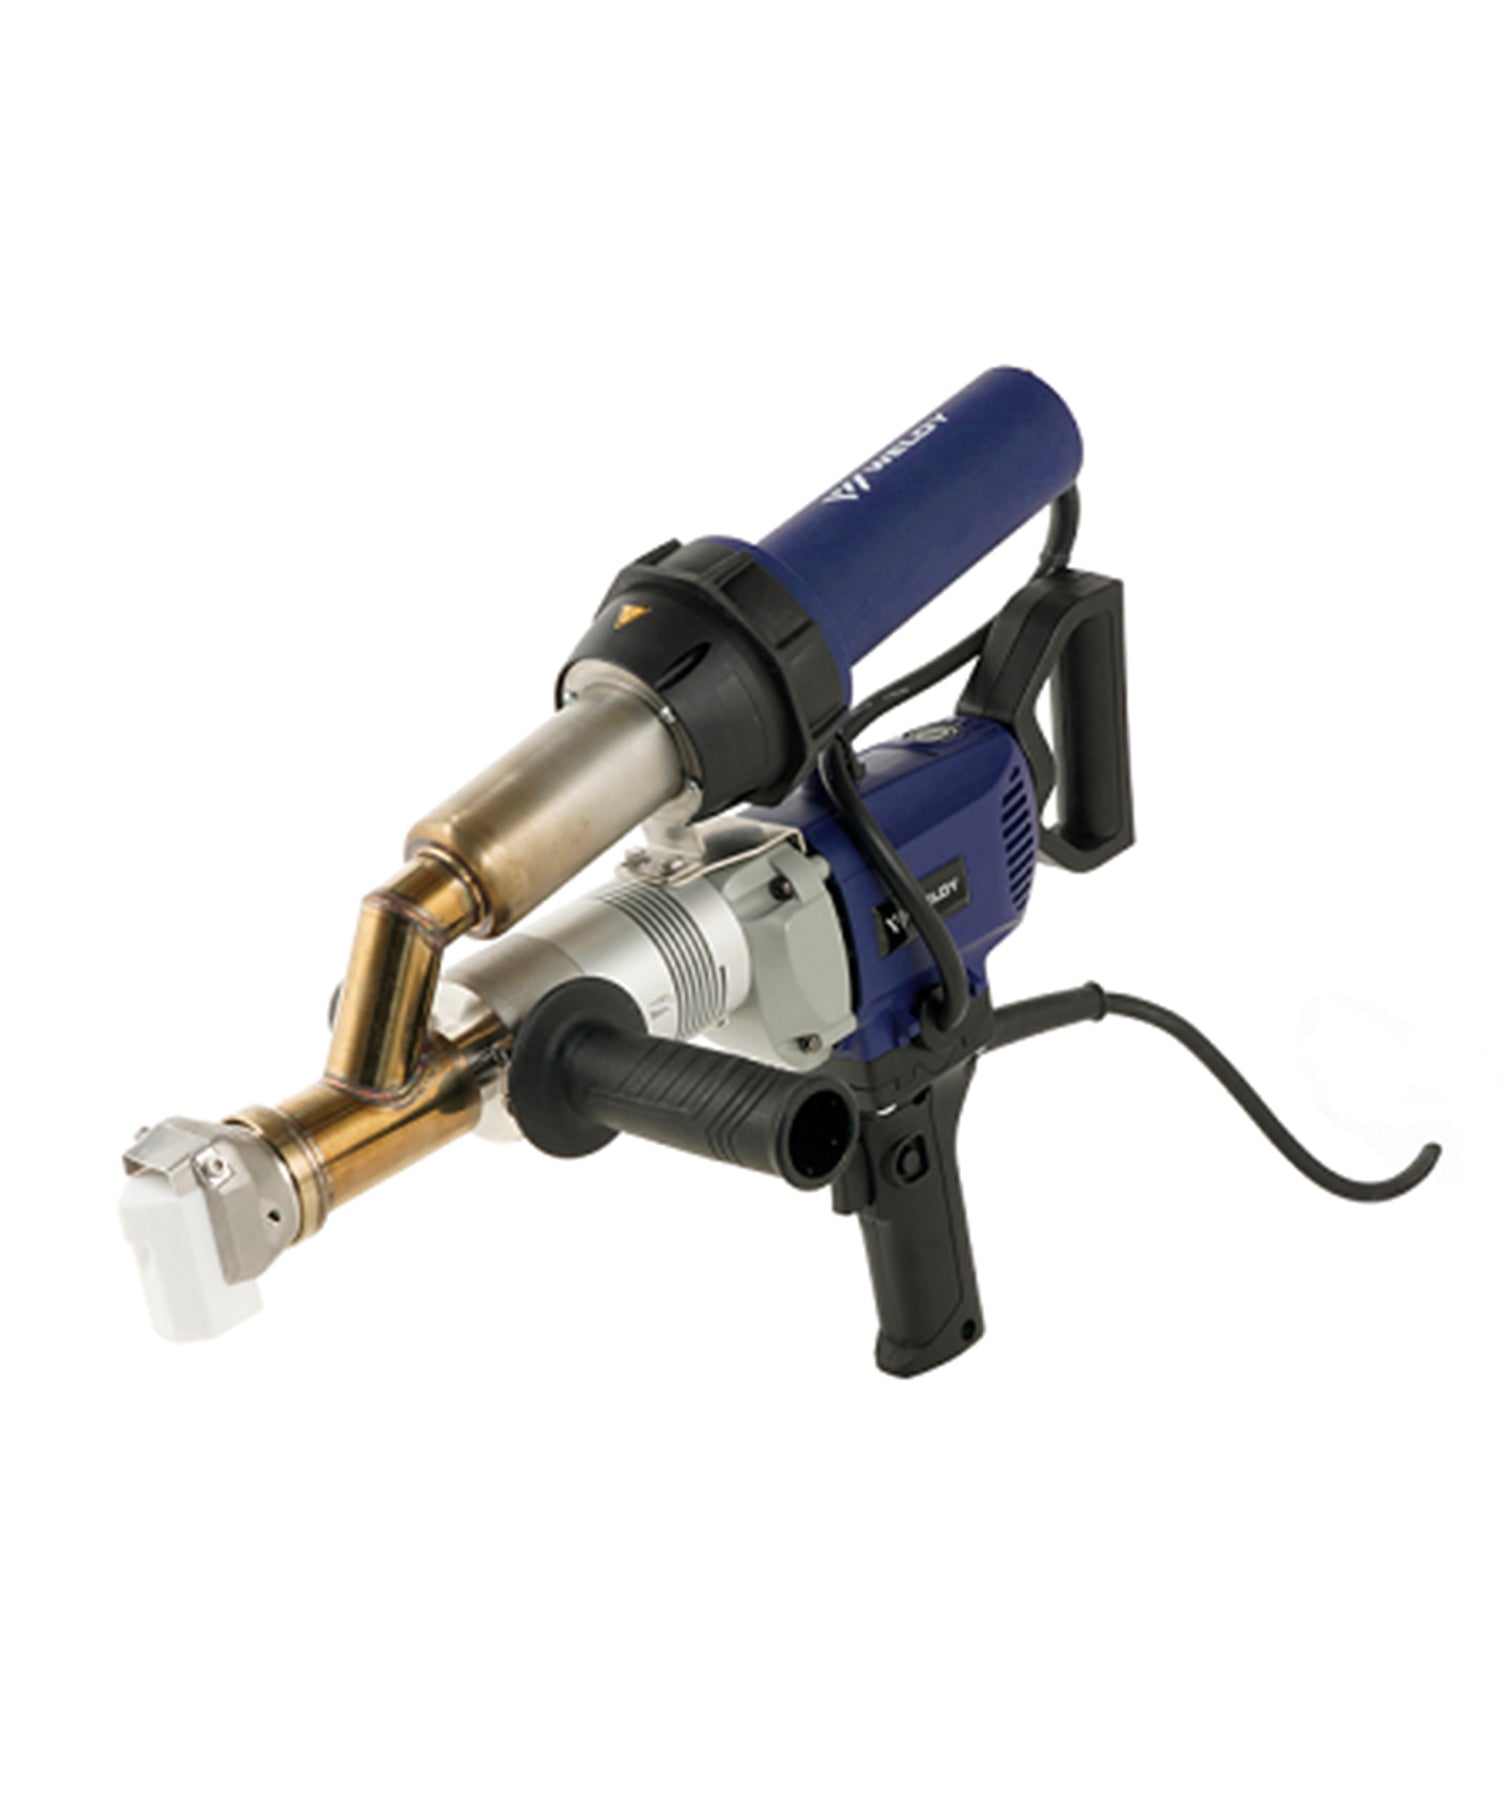
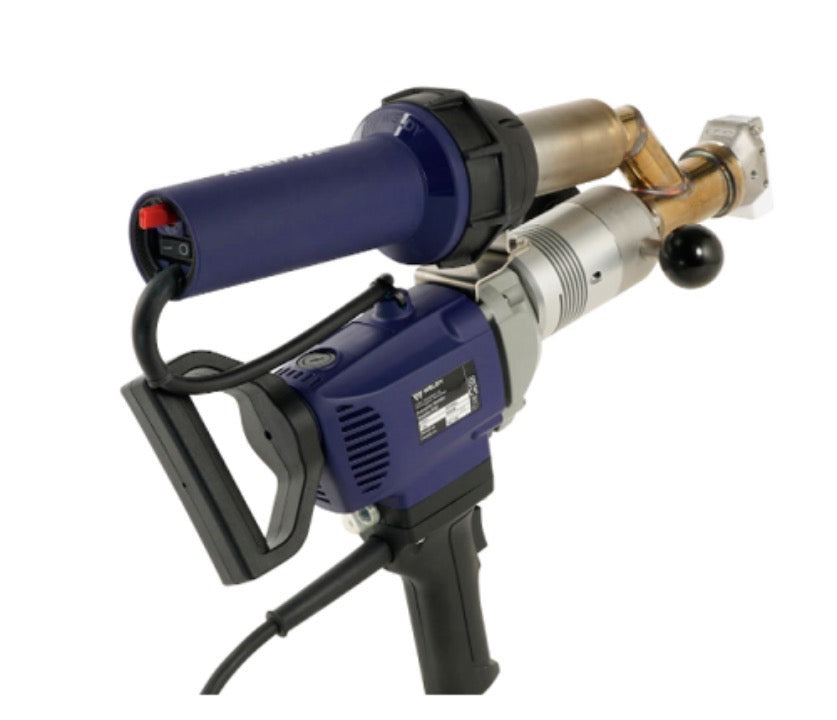
Weldy's Booster EX2 (2.2 kg/h output) and Booster EX3 (3.6 kg/h output) extrusion welders are designed for structural joints in HDPE and PP fabrication. The heated screw system is the most maintenance-critical component.

Essential Extrusion Welder Maintenance:
End-of-shift purge: Run a purge cycle with virgin PE material through the screw after each shift. This prevents carbonized polymer buildup inside the barrel — the #1 cause of uneven extrusion and eventual screw seizure.
Weekly checks:
- Inspect the welding shoe for wear. Replace when the groove depth exceeds 10% of original dimensions — worn shoes cause inconsistent bead profiles.
- Check the hot air preheater nozzle for obstruction. A blocked nozzle leads to insufficient base material preheating, resulting in cold welds that fail DVS 2207 peel tests.
- Verify temperature accuracy using an external thermocouple. DVS 2207-1 requires ±5°C accuracy at operating temperature.
Every 500 operating hours: Replace the heating element and inspect the drive motor brushes. Weldy's automatic cooling system activates on shutdown — never disconnect power before the cooling cycle completes.
| Parameter | Booster EX2 | Booster EX3 |
|---|---|---|
| Material Output (ø4mm rod) | 2.2 kg/h | 3.6 kg/h |
| Screw Heating | Air heated | Air heated |
| Weight | 6.4 kg | 6.9 kg |
| Membrane Thickness | 10–15 mm | 15–25 mm |
| Weld Standard | DVS 2207 | DVS 2207 |
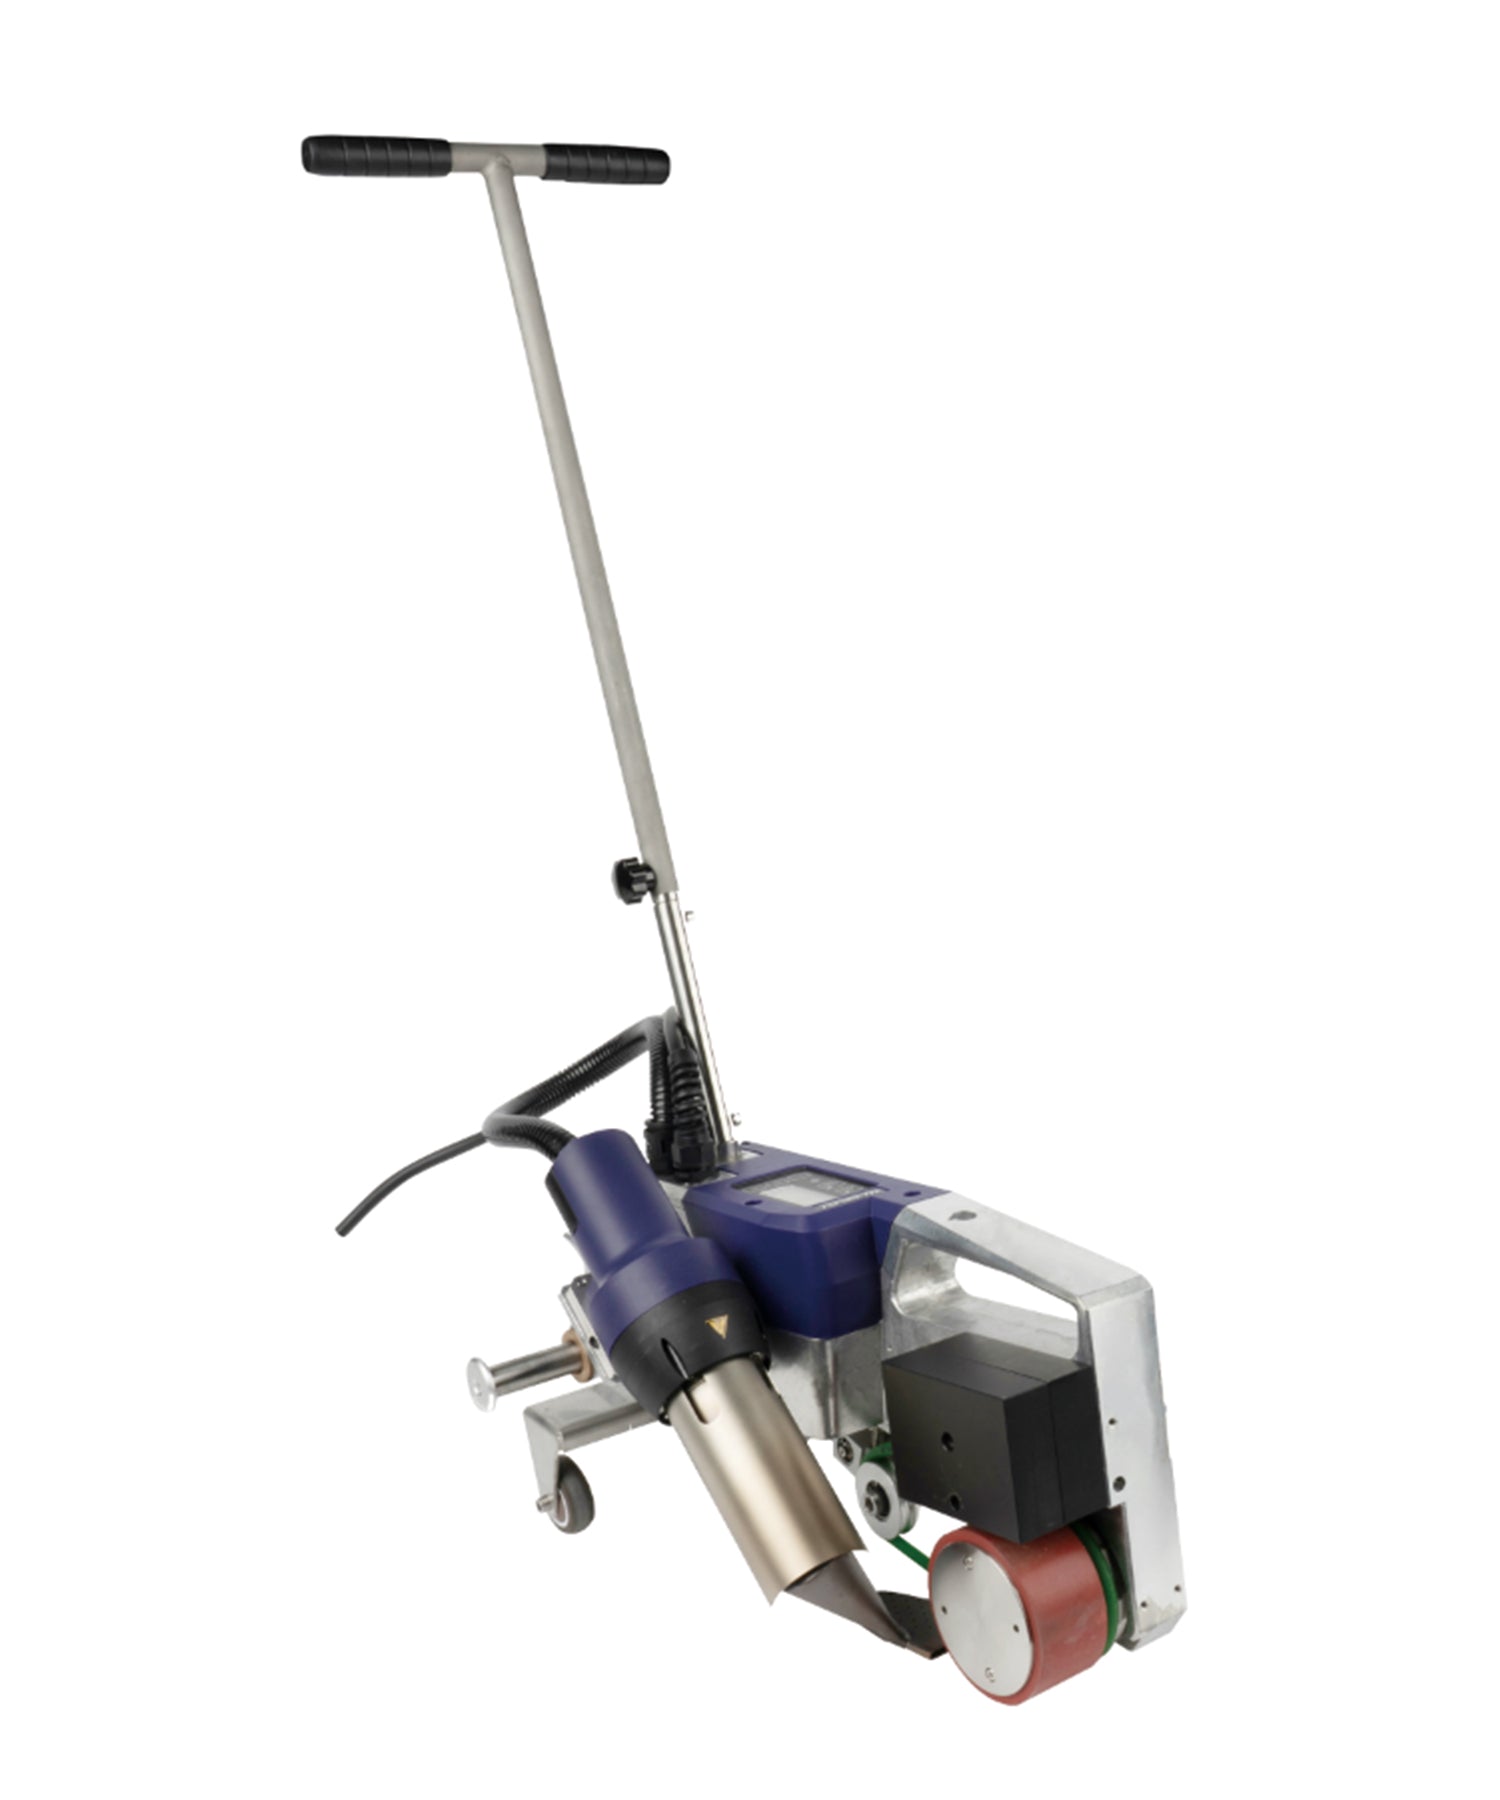
4. Roofing Welders — Cleaning Wedge Surfaces and Calibrating Speed
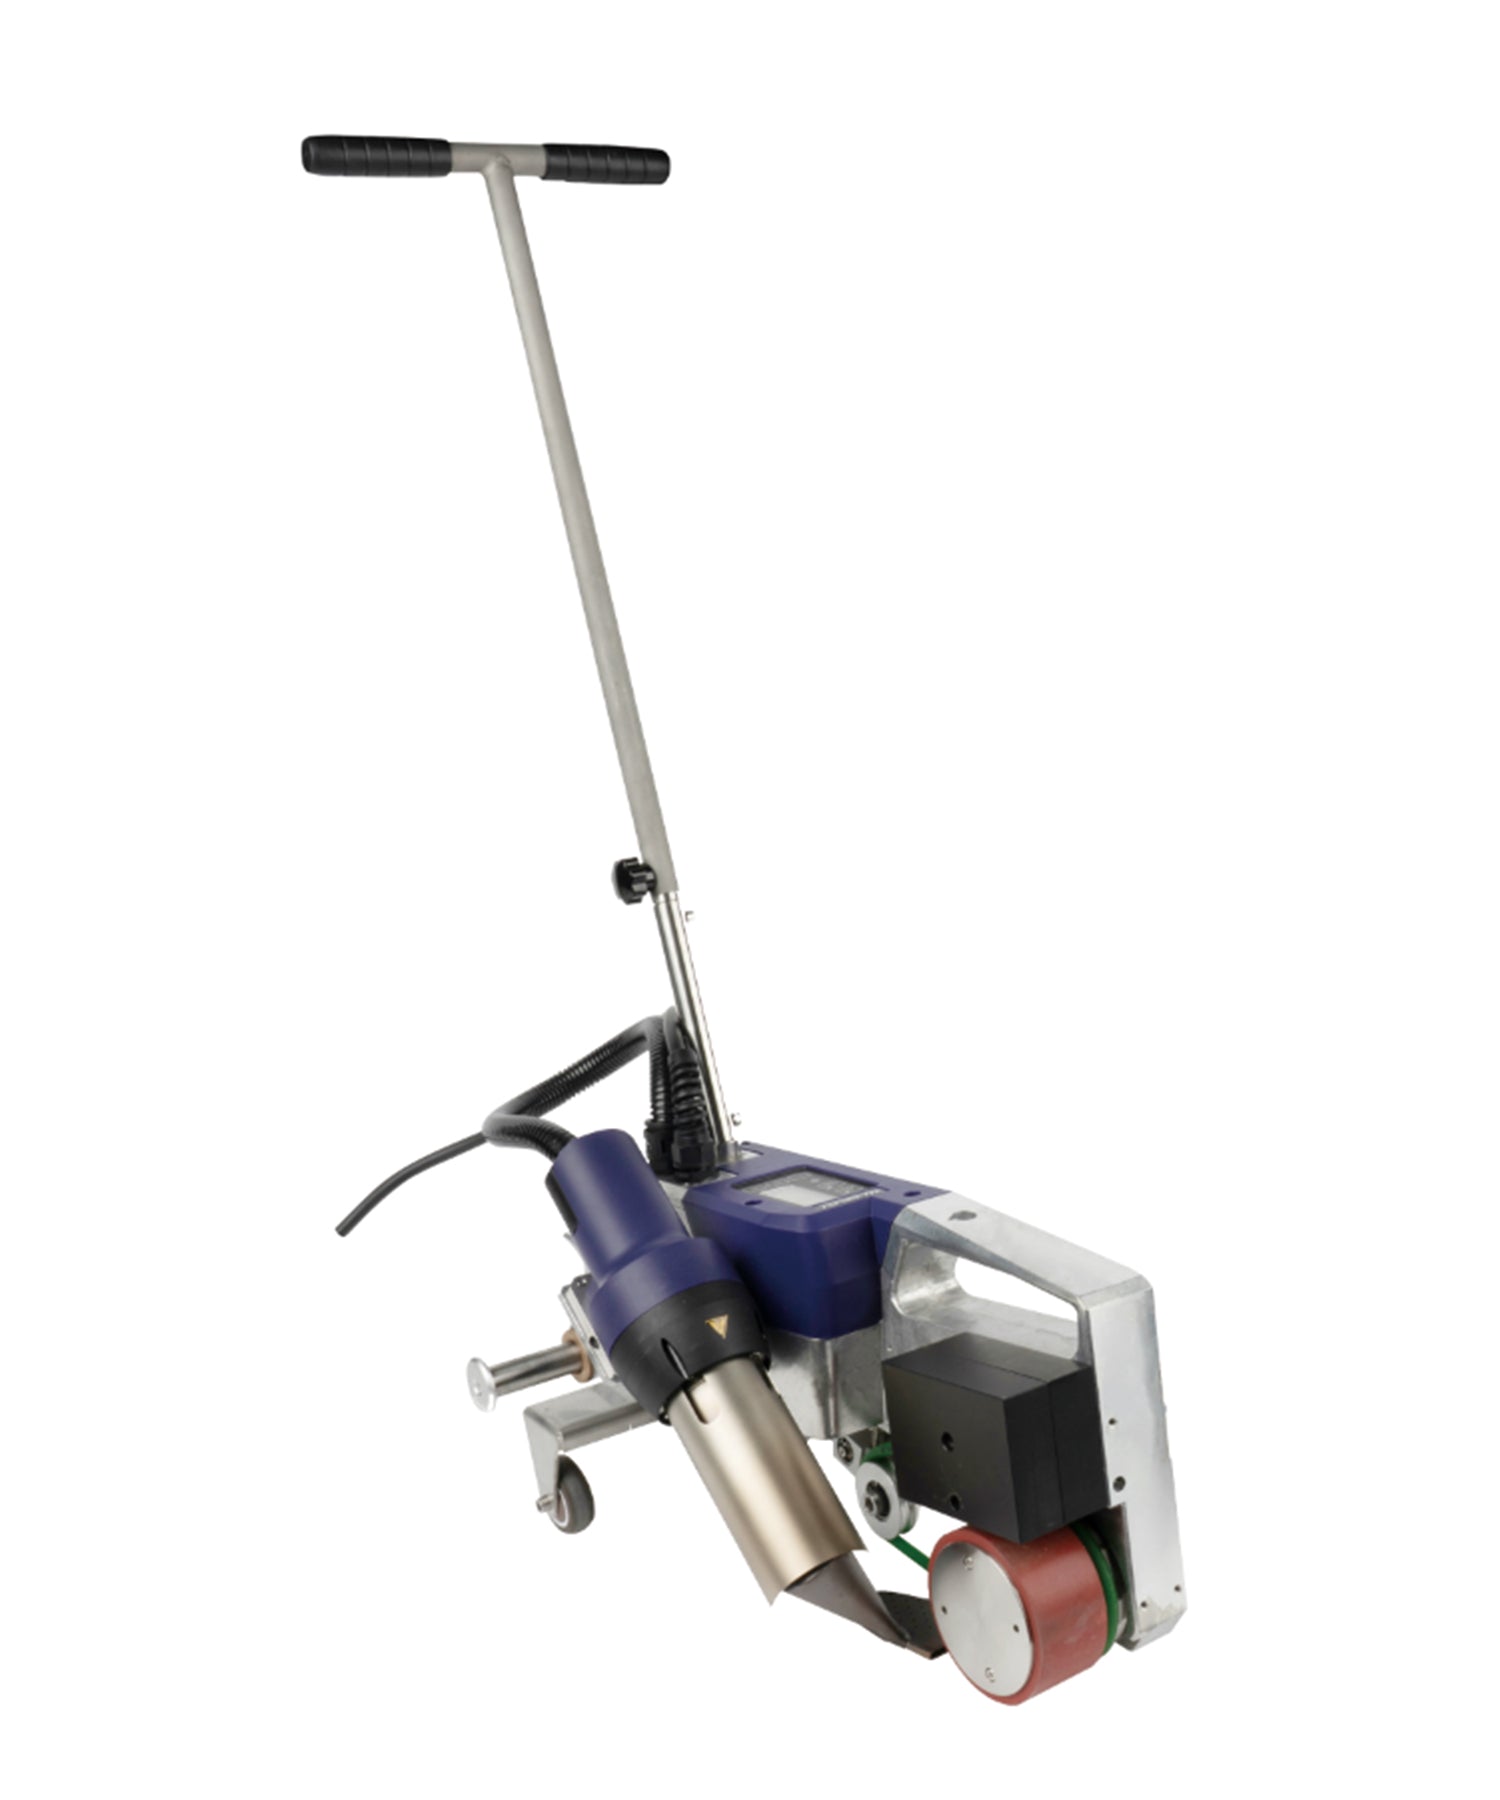
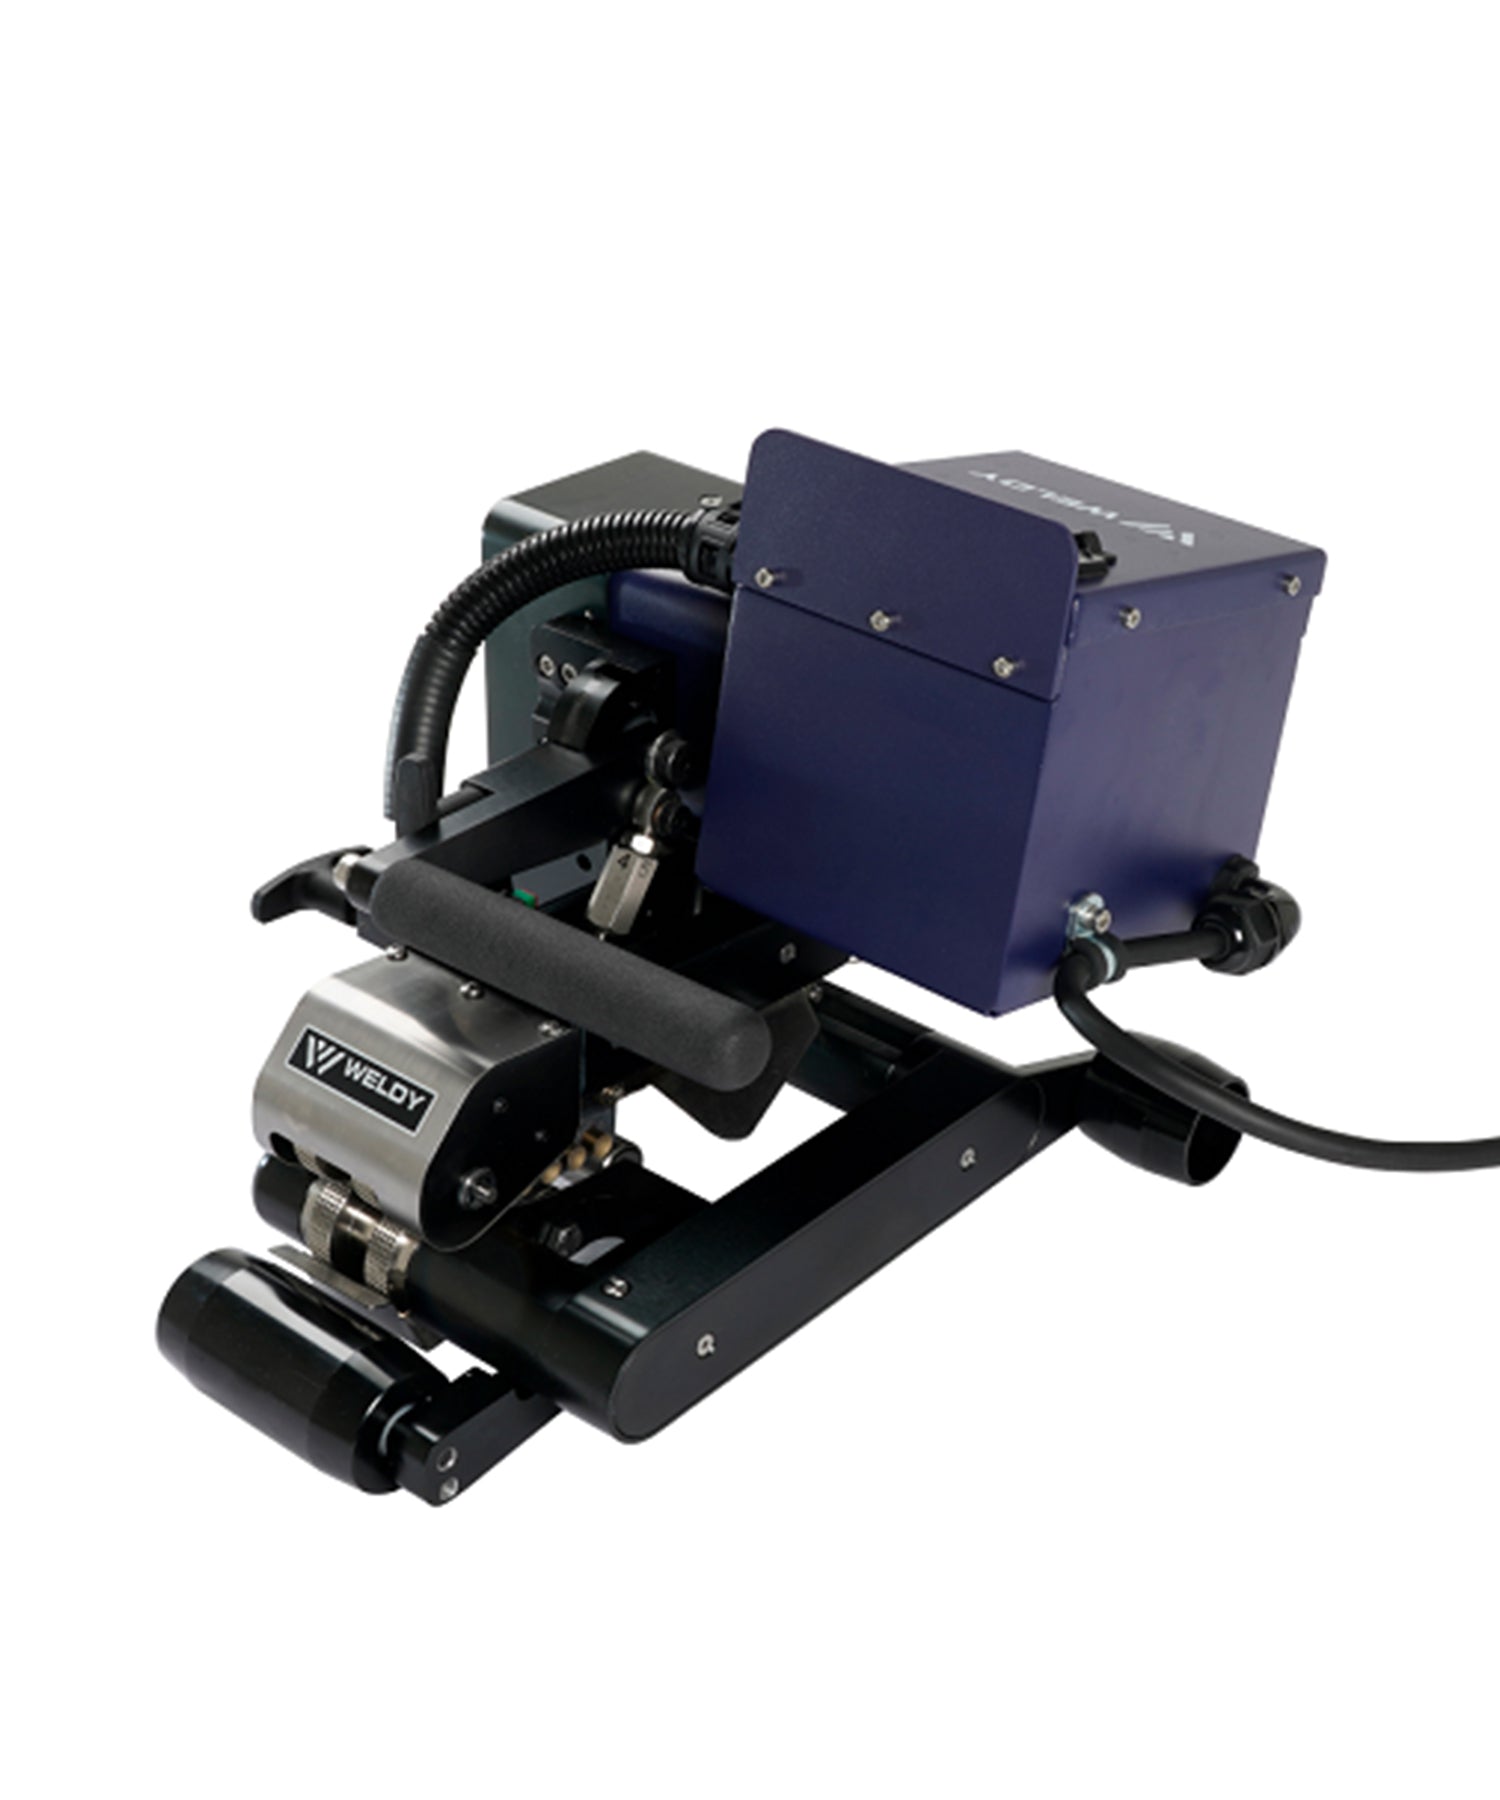
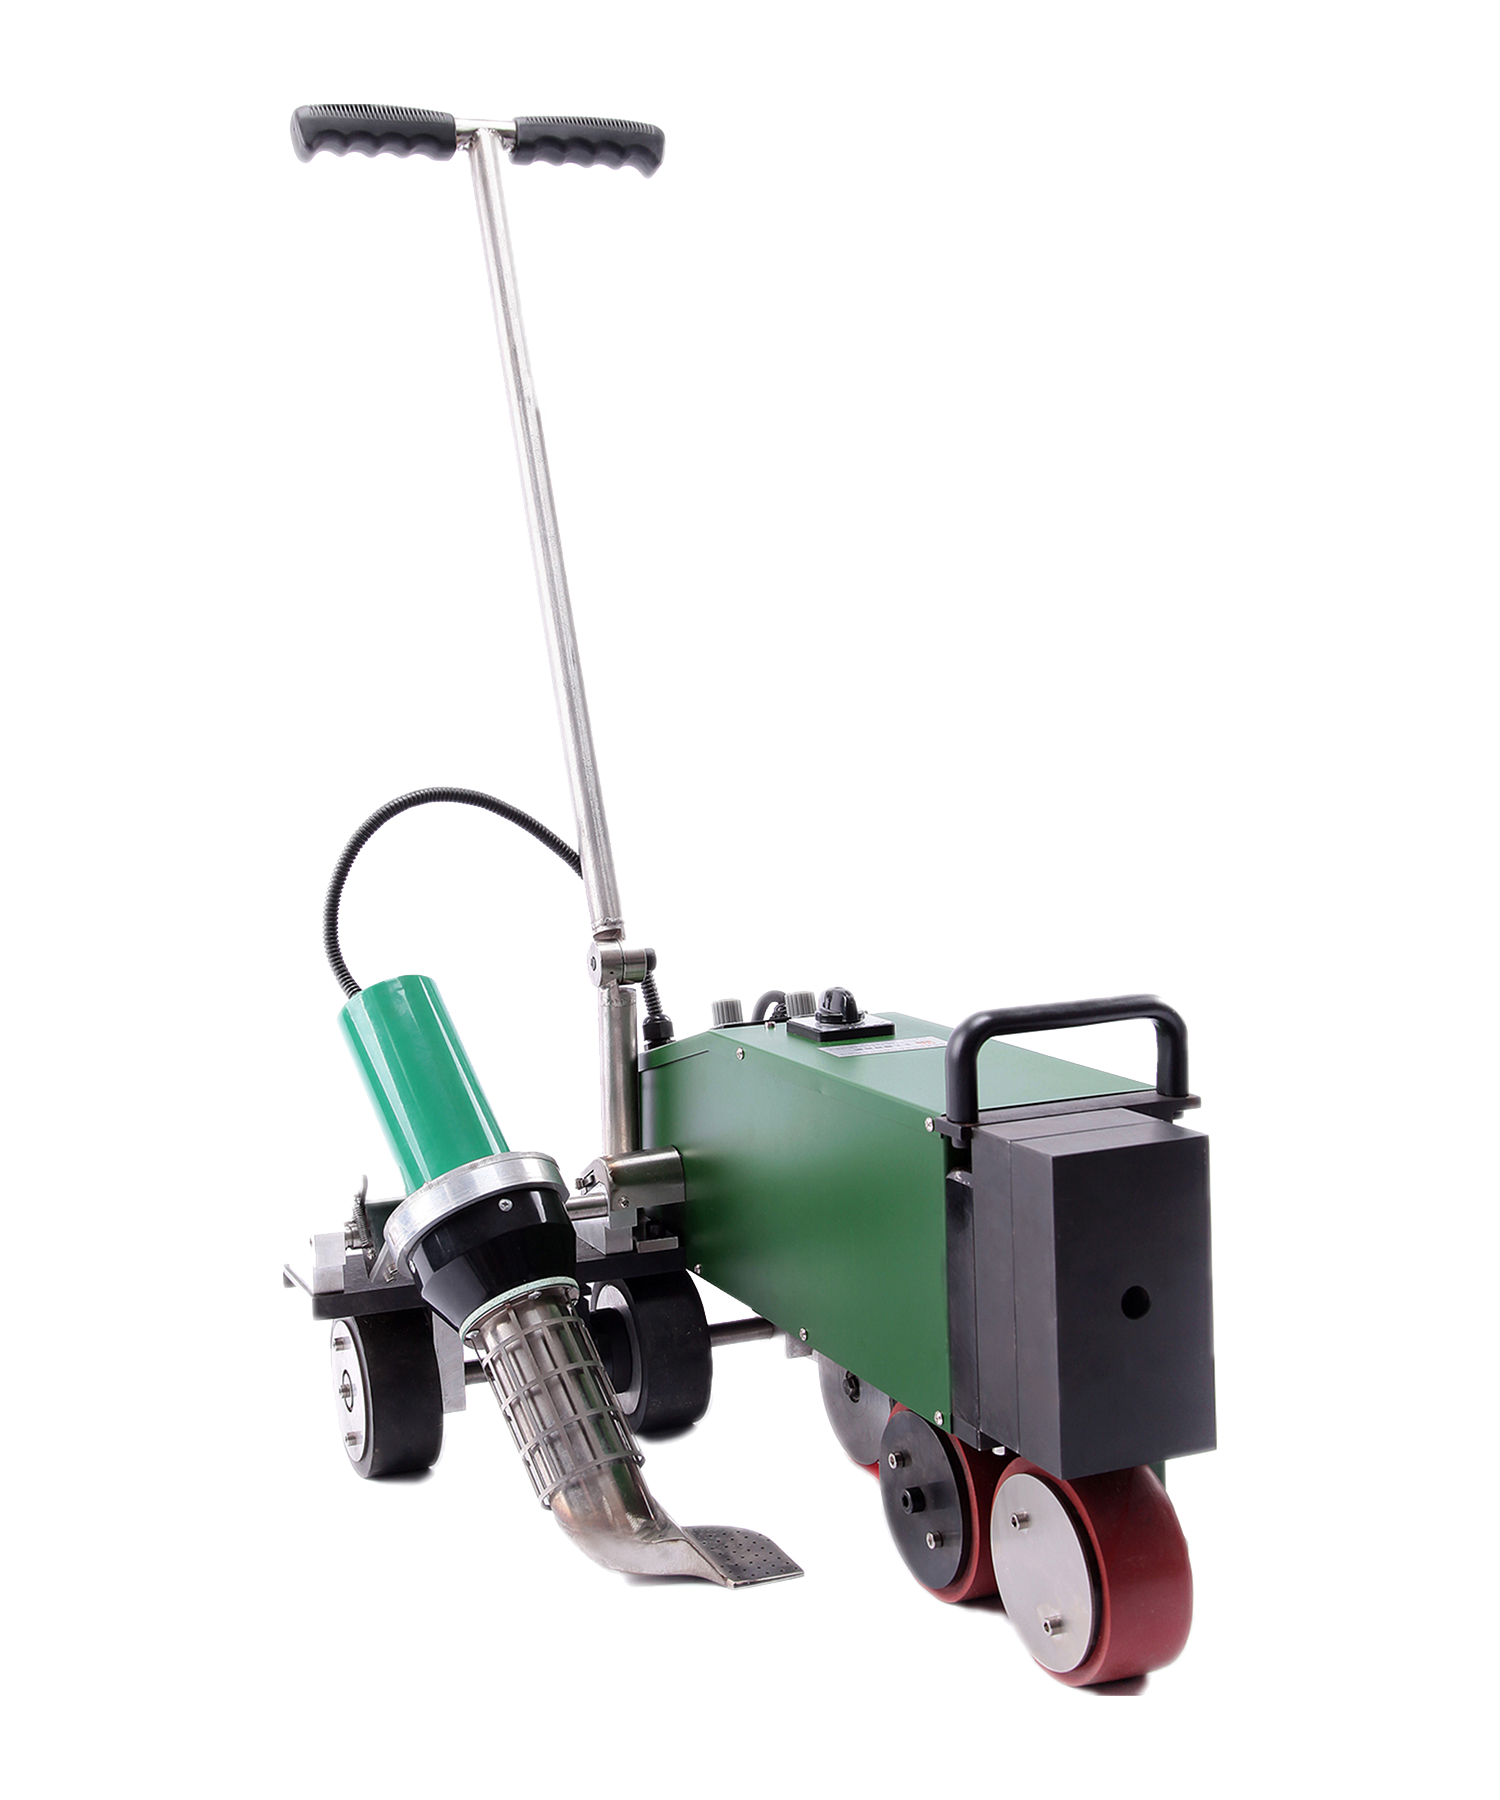
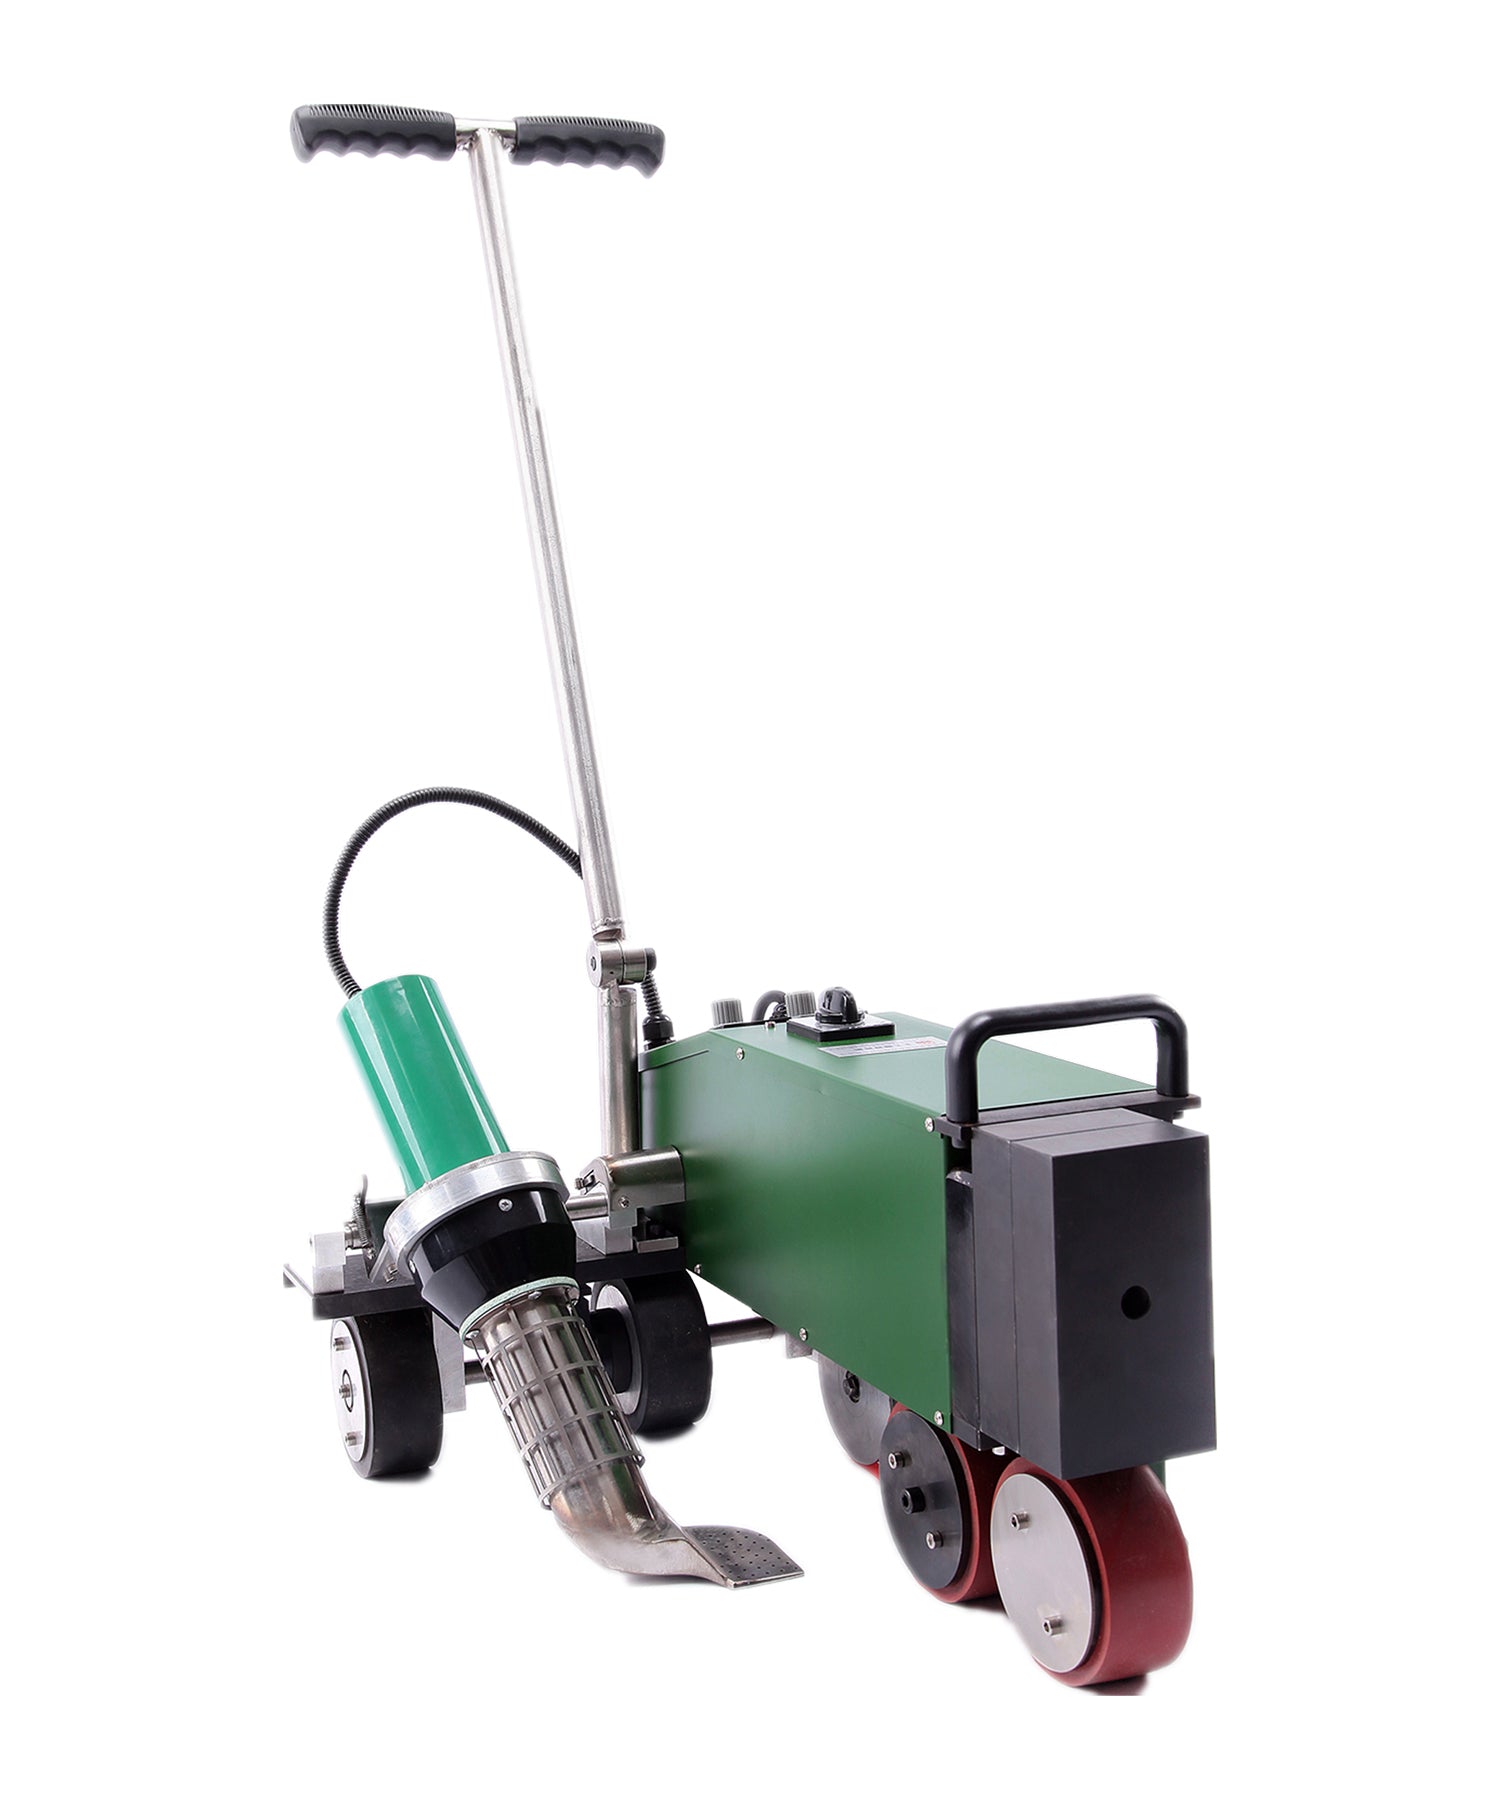
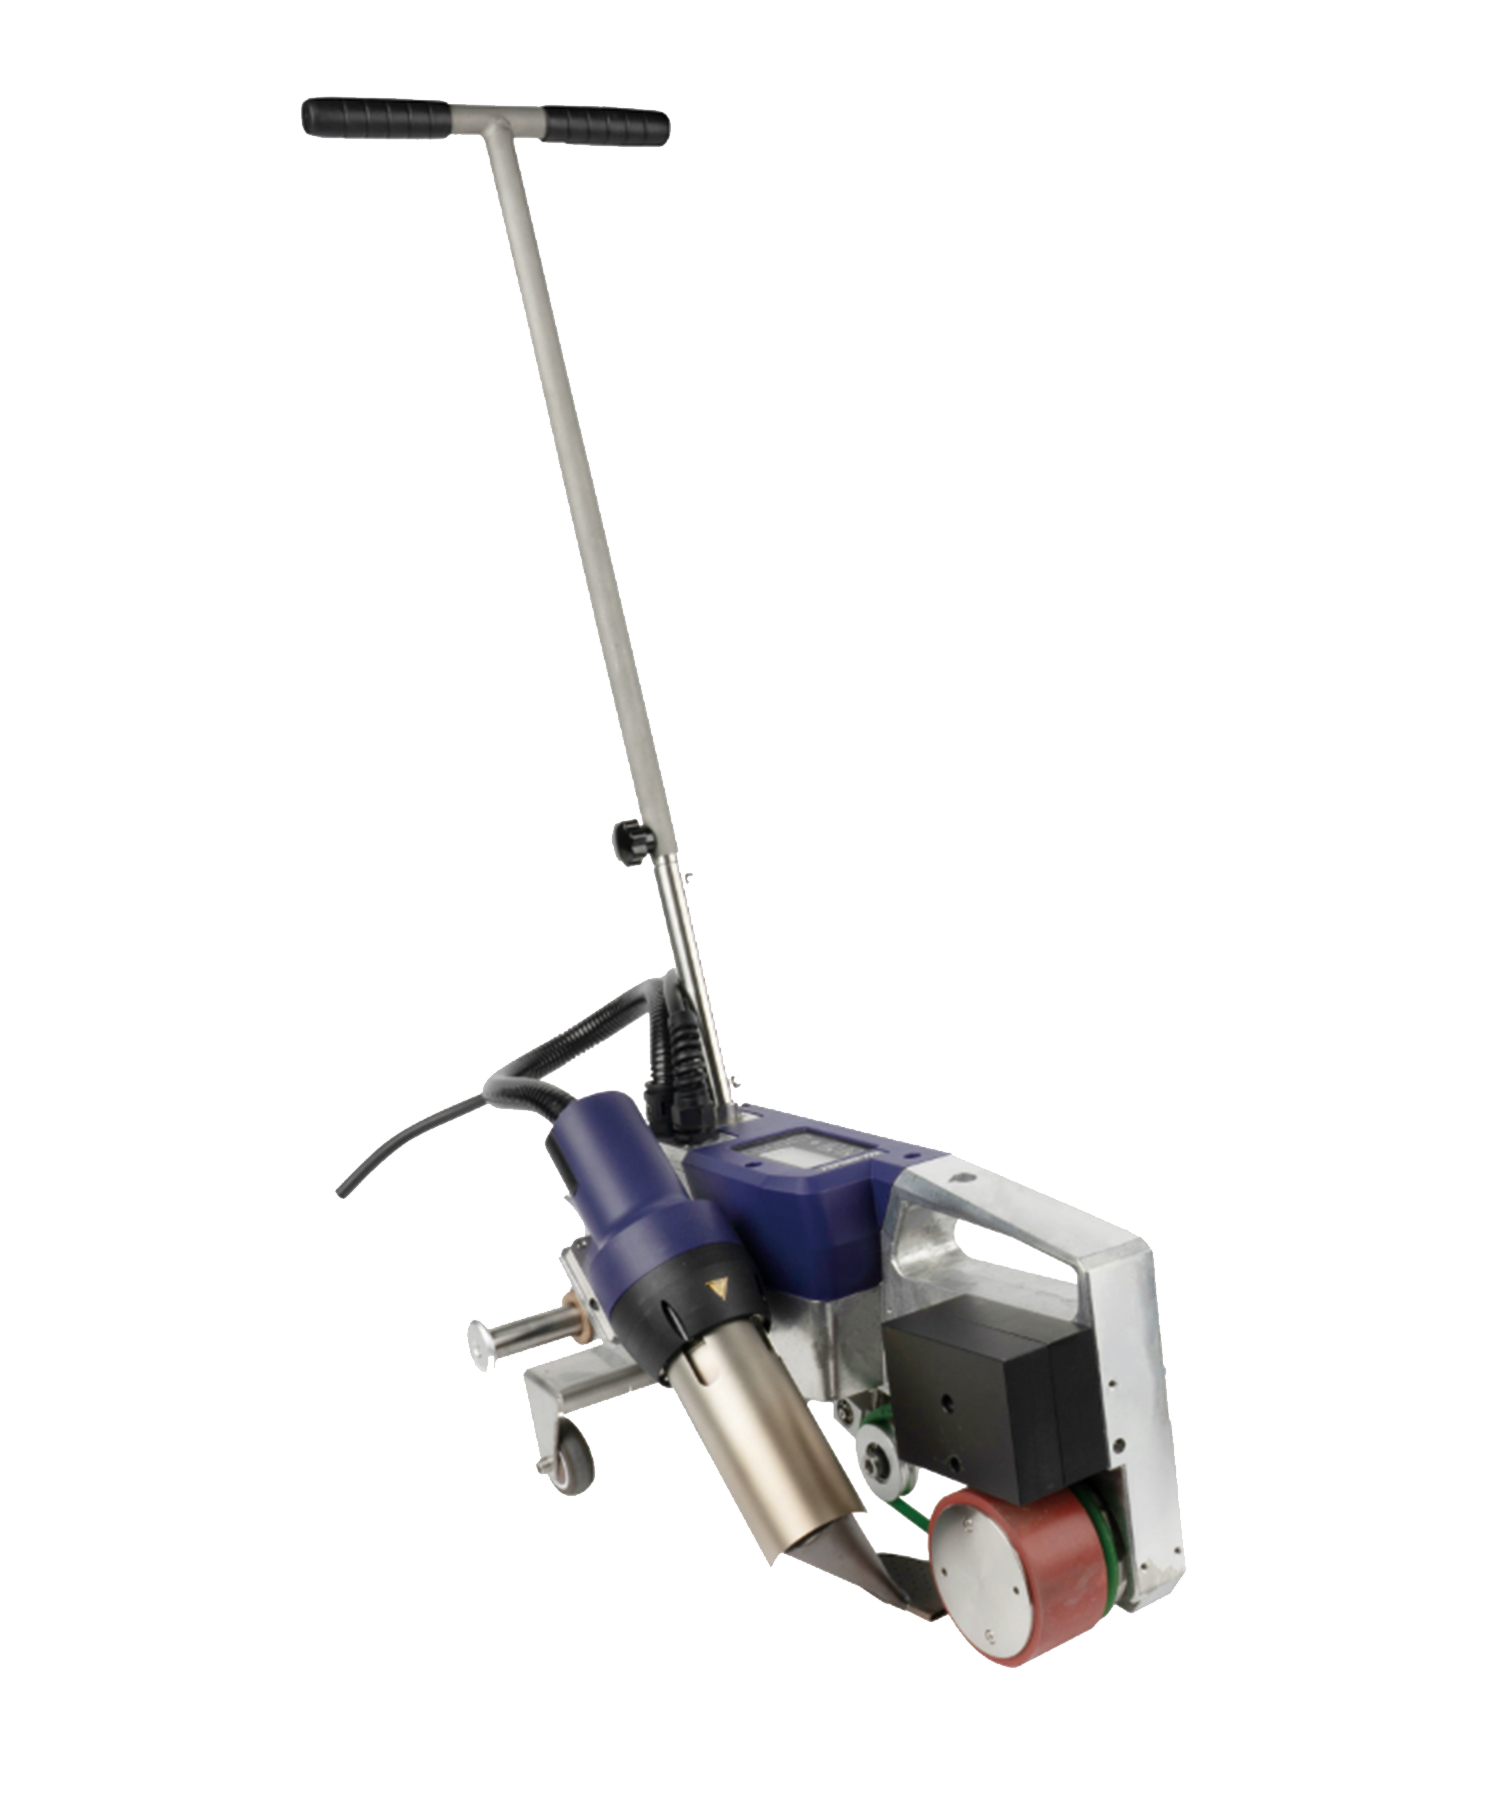
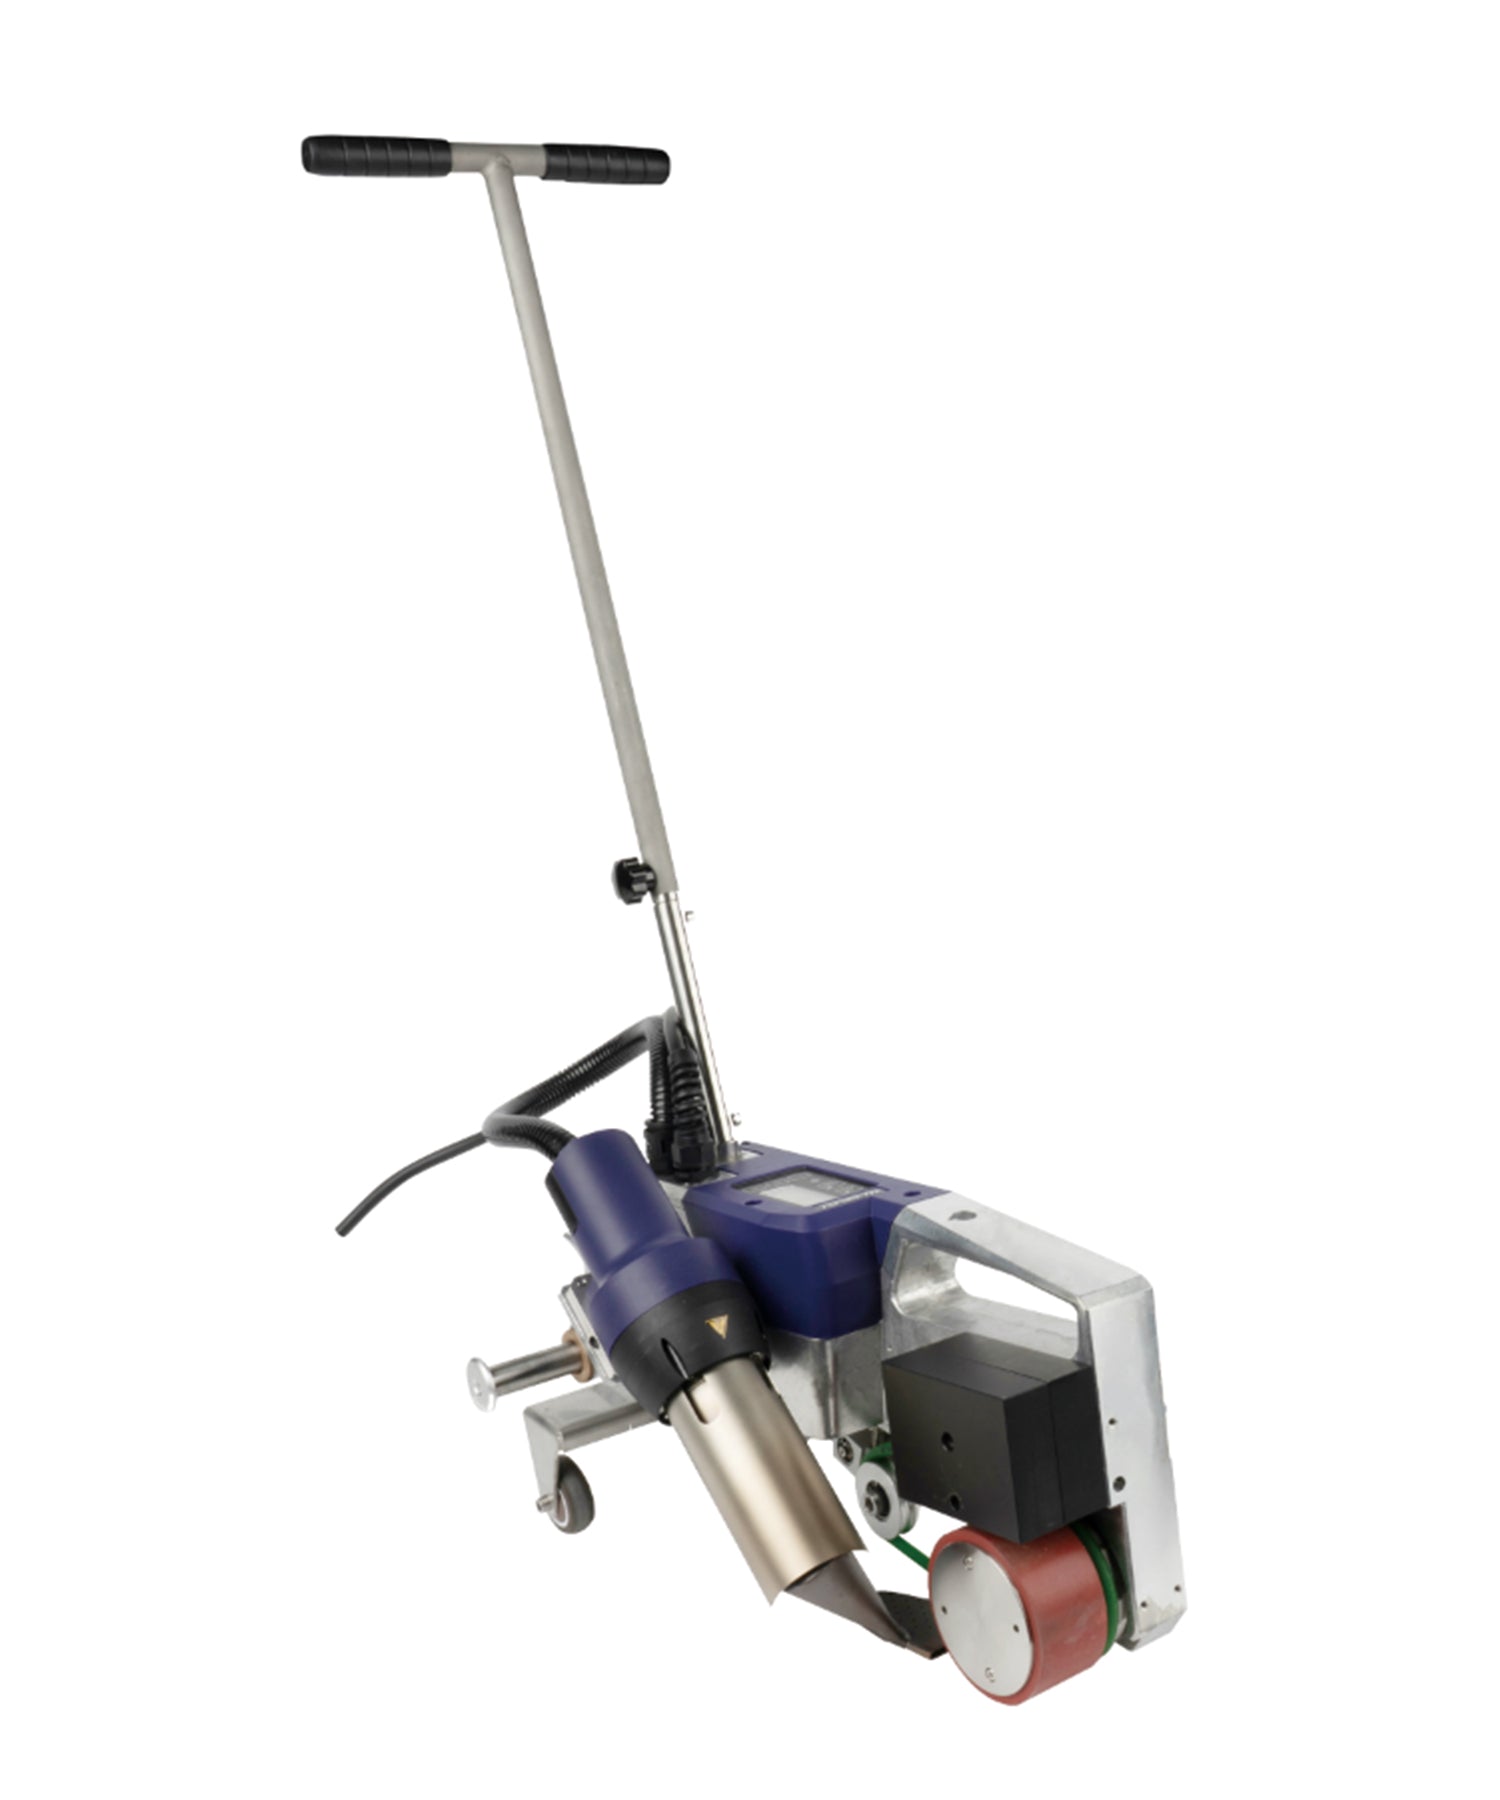
Weldy's Roof40 automatic roofing welder (3450 W, 1–10 m/min) and the lightweight miniwelder roof2 (4 kg) are purpose-built for TPO and PVC membrane installation. The hot wedge and pressure rollers are the key components requiring maintenance.

Roofing Welder Maintenance Plan:
Daily: Clean the wedge surface with a brass brush after cooling. Polymer residue on the wedge creates inconsistent heat transfer, leading to cold welds. Inspect pressure rollers for flat spots or embedded debris.
Weekly: Test the speed calibration by running the welder over a measured 5-meter line. Speed drift of more than 5% from the set value indicates drive motor wear or belt slippage. Perform a test weld on membrane scrap and peel-test per ASTM D6392 procedures — minimum peel strength of 250 N/50mm for 1.5 mm membrane.
Storage: Always store the Roof40 in its transport case with the wedge guard installed. Moisture exposure can corrode the copper wedge surface and damage the electronics.
5. Geomembrane Welders — Field Maintenance for Heavy-Duty Applications
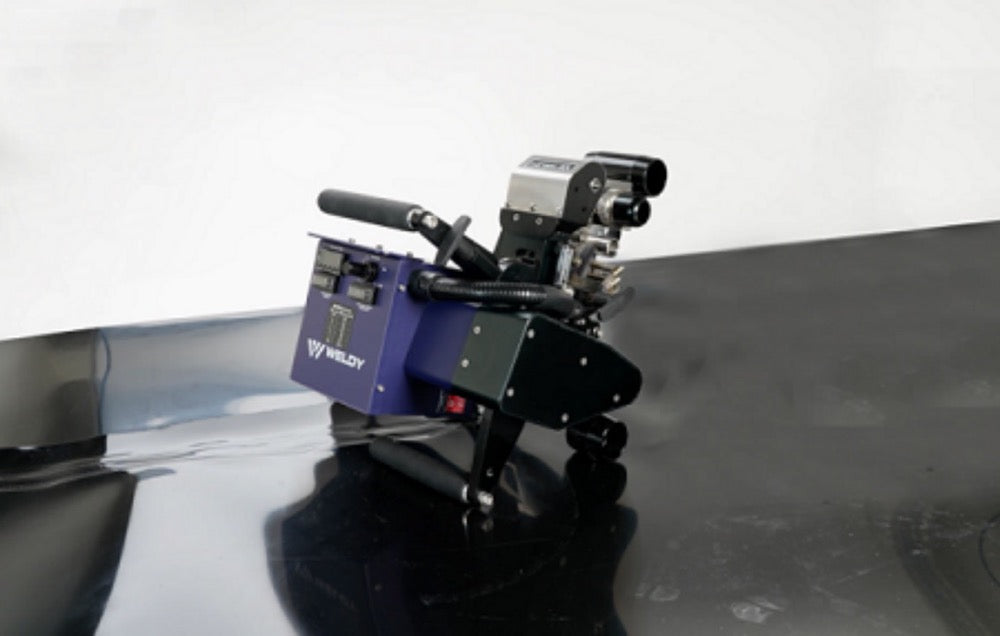
Weldy's WGW300 hot-wedge geomembrane welder and Miniwelder geo2 are deployed in demanding landfill, mining, and reservoir projects. These machines operate under harsh conditions — dirt, moisture, and extreme temperatures.

Critical Field Maintenance:
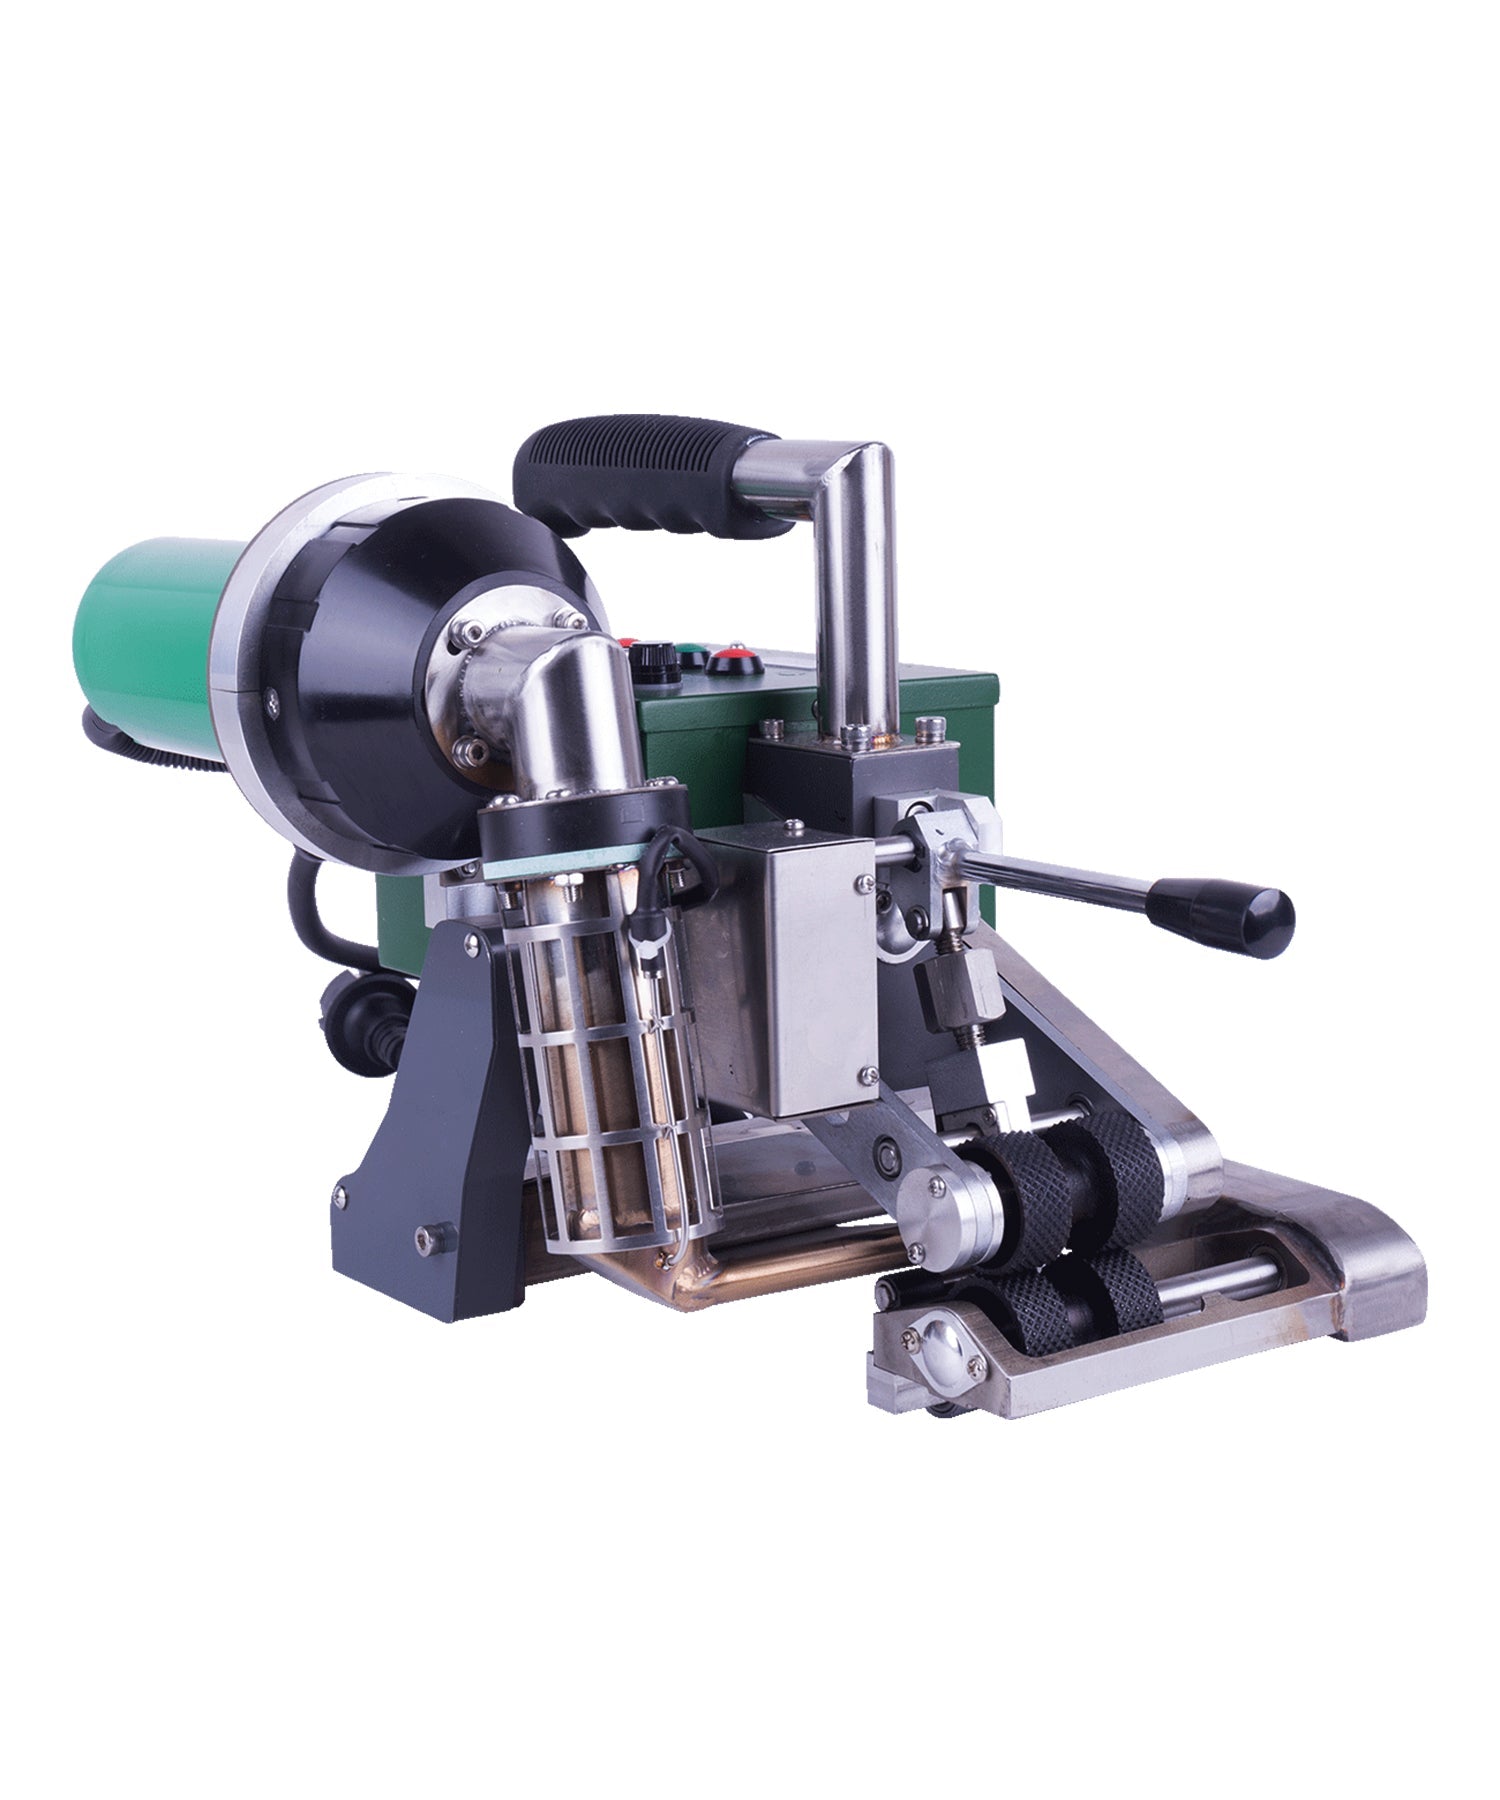
WGW300 wedge care: The copper wedge operates at up to 450°C. After every 1000 meters of weld, remove the wedge and clean it with a fine abrasive pad. Check for pitting — surface defects transfer to the weld seam and can cause leak paths.
Drive system: The WGW300's drive motor and gearbox are sealed units. Check the drive belt tension weekly; a loose belt causes speed fluctuations that compromise seam quality per ASTM D6392 and GRI GM19 standards.
Miniwelder geo2 (3.7 kg, 0.4–7.5 m/min): This lightweight machine uses chainless drive technology. Lubricate the guide rails monthly with food-grade silicone spray. Clean the wedge positioning mechanism after each job to prevent geomembrane adhesive from gumming the auto-positioning function.
| Parameter | WGW300 | Miniwelder geo2 |
|---|---|---|
| Power | 1750 W | 800 W |
| Speed Range | 0–8.5 m/min | 0.4–7.5 m/min |
| Wedge Temperature | Up to 450°C | Up to 350°C |
| Material Thickness | 0.8–2.5 mm | 0.5–1.5 mm |
| Weight | 15.0 kg | 3.7 kg |
| Standard Compliance | ASTM D6392, GRI GM13 | ASTM D6392, GRI GM13 |
6. Welding Accessories — Nozzles, Rollers, Consumables and Their Care
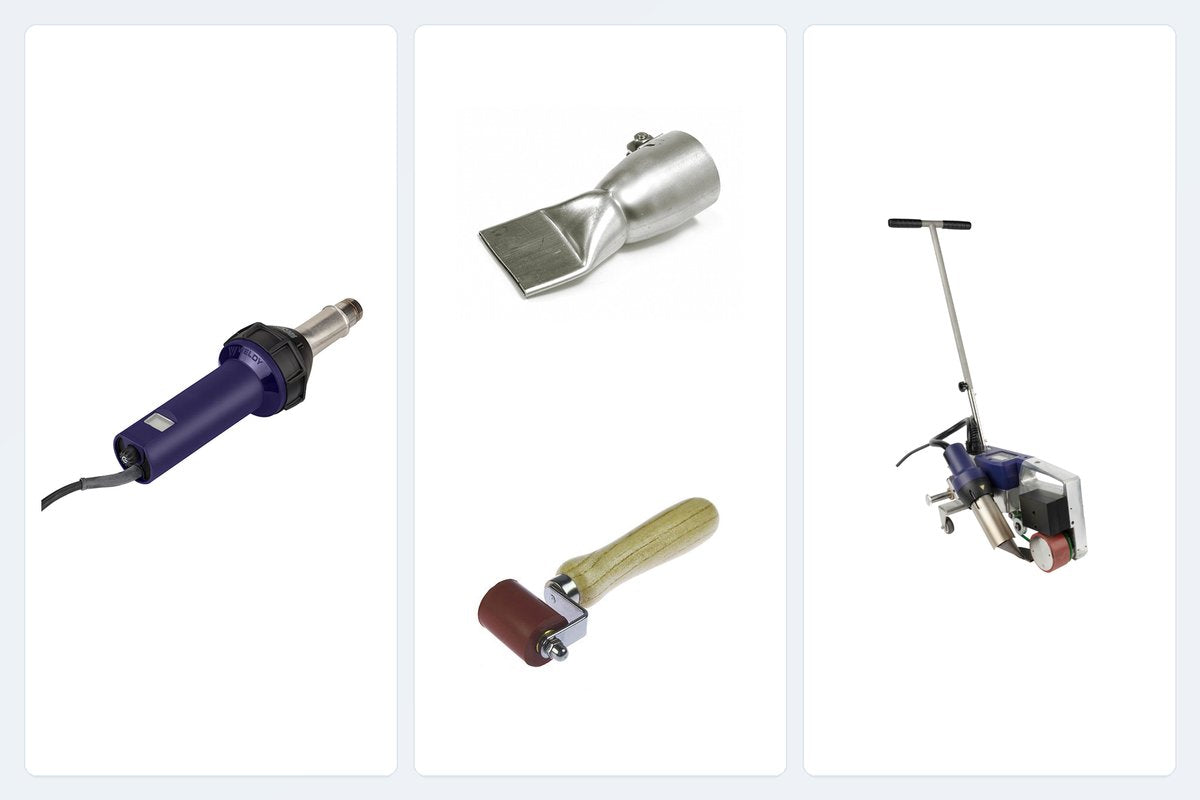
Accessories directly impact weld quality as much as the main tool does. Weldy offers a full range of nozzles, pressure rollers, welding rods, and replacement parts. Proper storage and inspection of these components prevents the most common weld defects.

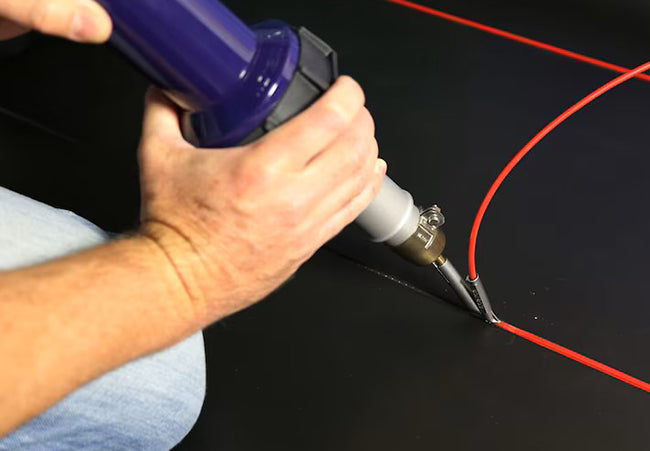
Nozzles — The Most Frequently Replaced Accessory:
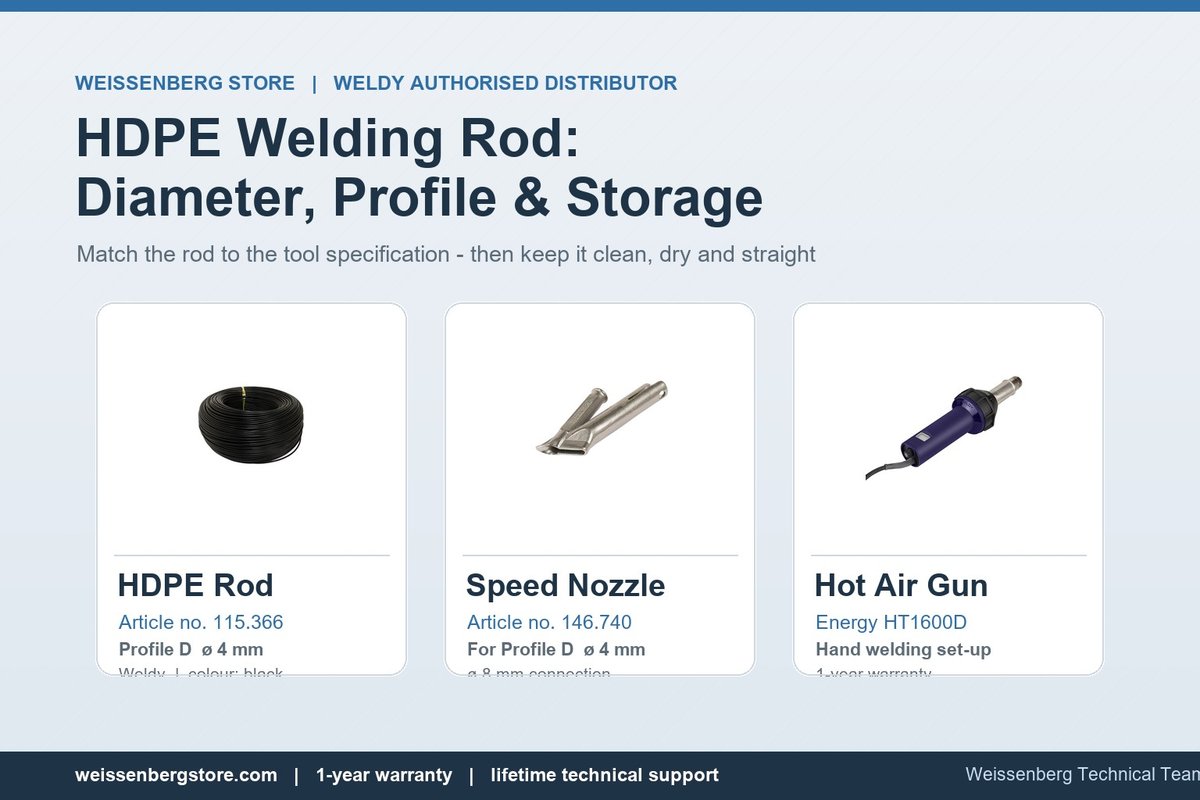
- Speed welding nozzles (3 mm, 4 mm, 5 mm, 7 mm): Inspect the rod guide channel for wear after every 200 meters of welding. Enlarged channels cause inconsistent rod feeding and poor bead geometry.
- Wide slot nozzles (20 mm, 40 mm): Clean with a brass wire brush when cool. Never use steel tools — they damage the precision slot profile.
- Tubular and tacking nozzles: Clear blockages with a drill bit by hand — never power-drill, which damages the internal diameter tolerance.

Pressure Rollers:
- Silicone rollers (30 mm, 40 mm, 80 mm): Replace when the surface becomes glazed or cracked. A glazed silicone roller reduces seam pressure by up to 40%, causing weak peel strength.
- PTFE rollers: Inspect for delamination. PTFE-coated rollers should be replaced if the coating peels at the edges.
- Clean rollers with isopropyl alcohol after each use — never use acetone or MEK, which degrade silicone.

Welding Rods (Consumables):
- Store HDPE, PP, and PVC welding rods in a dry environment below 40°C. Moisture absorption causes porosity in the weld seam — a common defect detected during ASTM D6392 destructive testing.
- Only use rods that match the base material resin grade. Mixing material types creates weak molecular bonds and weld failure.
- Discard rods that have been exposed to direct sunlight for more than 6 months — UV degradation reduces weld strength by up to 30%.
7. Temperature Calibration — The Most Overlooked Maintenance Task
Temperature drift is the most common cause of weld failure that goes undetected until a DVS 2207-11 test reveals it. Weldy tools are factory-calibrated, but field conditions shift accuracy over time.
Calibration Protocol (per ISO 9001):
- Every 6 months: Verify temperature at the nozzle/wedge using an independent K-type thermocouple.
- Acceptable tolerance: ±5°C at operating temperature for hot air tools; ±3°C for hot wedge welders.
- Documentation: Record all calibration results. ISO 9001 auditors require a traceable calibration history for quality management systems.
- Field test: Before each new job, perform a 1-meter test weld on project material and peel-test it. If the weld separates cleanly from the base material (adhesive failure), recalibrate immediately.
8. Best Practices & Seasonal Maintenance Tips
Winter operation (below 0°C): Preheat the welding zone with a hot air gun to 15°C before extruding or wedge welding. Cold base material absorbs heat too quickly, leaving the weld interface below fusion temperature. Use heated enclosures for automatic welders in sub-zero conditions.
Summer operation (above 35°C): Reduce set temperature by 10–15°C and increase travel speed by 10%. Ambient heat preheats the membrane surface, and the same settings that work at 20°C will overheat and burn the material at 40°C.
Storage:
- Store all Weldy tools in their original transport cases in a dry, dust-free environment.
- Remove welding rods from the extruder hopper before storage — rods left in the hopper absorb moisture and cause porosity on the next start.
- For long-term storage (over 30 days), run a complete purge cycle on extrusion welders and lubricate all moving parts with silicone spray.
9. Spare Parts Planning — What to Stock for Minimum Downtime
Having the right spare parts on hand prevents costly project delays. Based on our 20+ years supporting Weldy equipment, we recommend maintaining this minimum stock:
| Component | Recommended Stock | Replacement Interval |
|---|---|---|
| Carbon brushes (HT1600/HT3400) | 2 pairs per tool | ~800 hrs |
| Heating elements (all models) | 1 per tool | 1000–2000 hrs |
| Speed welding nozzles (4 mm) | 2 per operator | Every 200 m of weld |
| Silicone pressure rollers (40 mm) | 2 per crew | Every 500 m of weld |
| Welding shoes (EX2/EX3) | 1 set per welder | Every 1000 m of weld |
| Hot wedge (WGW300/Roof40) | 1 spare per machine | Every 5000 m of weld |
10. Why Partner with an Official Weldy Distributor for Maintenance
Purchasing Weldy equipment through an authorized distributor like Weissenberg provides advantages beyond the initial sale:
- 100% genuine spare parts — counterfeit or third-party replacements can damage the tool and void the warranty.
- Technical support from a team with 20+ years of plastic welding experience, available to troubleshoot performance issues remotely.
- Genuine Weldy replacement parts shipped globally — heating elements, carbon brushes, welding shoes, nozzles, and rollers kept in stock year-round.
- Application guidance on welding parameters and maintenance procedures tailored to your specific project materials and conditions.
- Competitive pricing through our long-term partnership with Weldy/Leister.
Explore the complete Weldy product range and genuine spare parts at www.weissenbergstore.com. Our team is ready to help you build a maintenance plan that keeps your equipment running at peak performance.
Author: Weissenberg Technical Team | 20+ Years in Plastic Welding Equipment
Standards Referenced: ASTM D6392 (Geomembrane Seam Testing), DVS 2207-1 (Thermoplastic Welding), DVS 2207-11 (Testing), ISO 9001 (Quality Management), GRI GM13/GM19 (HDPE Geomembrane Specifications), CE (European Conformity)
Tags: plastic welding, Weldy, hot air gun, extrusion welder, roofing welder, geomembrane welder, welding accessories, Weissenberg, equipment maintenance, welding best practices
This article is for informational purposes. Product specifications may vary by model and region. Always refer to the official Weldy product manual for exact maintenance procedures and safety instructions.





Leave a comment
This site is protected by hCaptcha and the hCaptcha Privacy Policy and Terms of Service apply.