
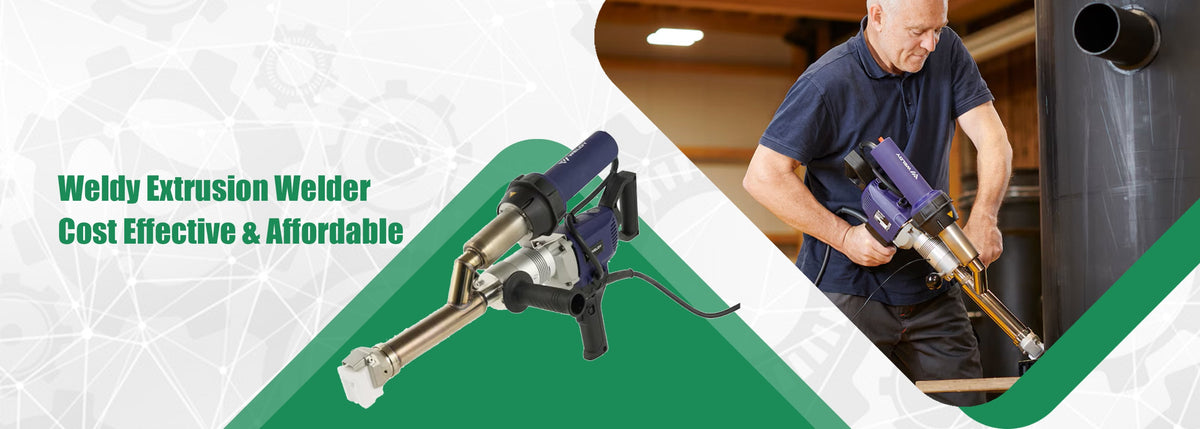
Hand extrusion welding seals the details that are difficult or impractical to complete with an automatic wedge welder.
Automatic wedge welders produce fast, consistent seams on long straight runs — but every liner project has details: repairs, patches, pipe penetrations, T-joints, and short or curved segments that are difficult or impractical to complete with an automatic wedge welder. That is where a hand-held extrusion welder earns its place on the crew. This guide from the Weissenberg Technical Team (20+ years in thermoplastic fabrication) covers when and how to use a hand extruder for geomembrane detail welding: the process, material parameters, working procedure, quality control, and maintenance.
Why Detail Welds Require a Hand Extruder
Wedge welders are designed for continuous, straight or gently curved seams with a minimum run length and radius. For the following details, a hand extruder is usually the practical choice:
- T-joints and cross joints where two or more wedge seams meet;
- Patches and repairs over punctures, tears, or defective sections of the liner;
- Pipe and structure penetrations — boots, sumps, and details around appurtenances;
- Short runs and tight geometries — corner details, cut-outs, and transitions.
For these details, an extrusion welder feeds a welding rod (typically 3–4 mm diameter) into a heated screw barrel, melts it, and deposits molten polymer over a pre-heated joint area. The screw and the hot-air pre-heating system work together so the weld zone and the deposited material reach a compatible melt state before fusion. Executed correctly, the result is a homogeneous connection that provides a leak-resistant seal for the detail.
Material Parameters: DVS 2207-4 Supplement 1
Weld quality for hand extrusion work is governed by the material temperature, the hot-gas temperature, and the travel speed. For geomembrane work, guidance for extrusion welding of thermoplastics is provided in DVS 2207-4 Supplement 1. The table below gives the baseline ranges for PE-HD and PP, the two materials covered by the guideline that are most relevant to liner fabrication:
| Material | Material temp (°C) | Hot-gas temp (°C) | Welding speed (mm/min) |
|---|---|---|---|
| PE-HD (HDPE) | 210–230 | 210–300 | 200–350 |
| PP (types 1, 2, 3) | 210–240 | 210–300 | 200–350 |
Typical starting ranges for extrusion welding. Always confirm settings through test welds and the applicable material or project procedure.
Working Procedure for Detail Welds
Consistent detail welds follow a disciplined sequence. The exact preparation steps — including any solvent cleaning, grinding, and pre-heat checks — should follow the manufacturer’s instructions and the project’s welding procedure specification (WPS):
- Surface preparation: remove contamination from the weld zone as specified in the manufacturer/project procedure. Dirt, moisture, and oxidation are the most common causes of defective welds.
- Pre-heat the joint: bring the base material to the required surface condition before depositing the extrudate, per the procedure.
- Test weld: weld a sample on scrap, let it cool, and check the bond before starting production welds.
- Weld steadily: keep a uniform travel speed and rod feed. Too slow risks overheating the material; too fast can trap voids in the deposit.
- Cool naturally: allow the weld to cool without forced quenching, then inspect the full length of the bead.

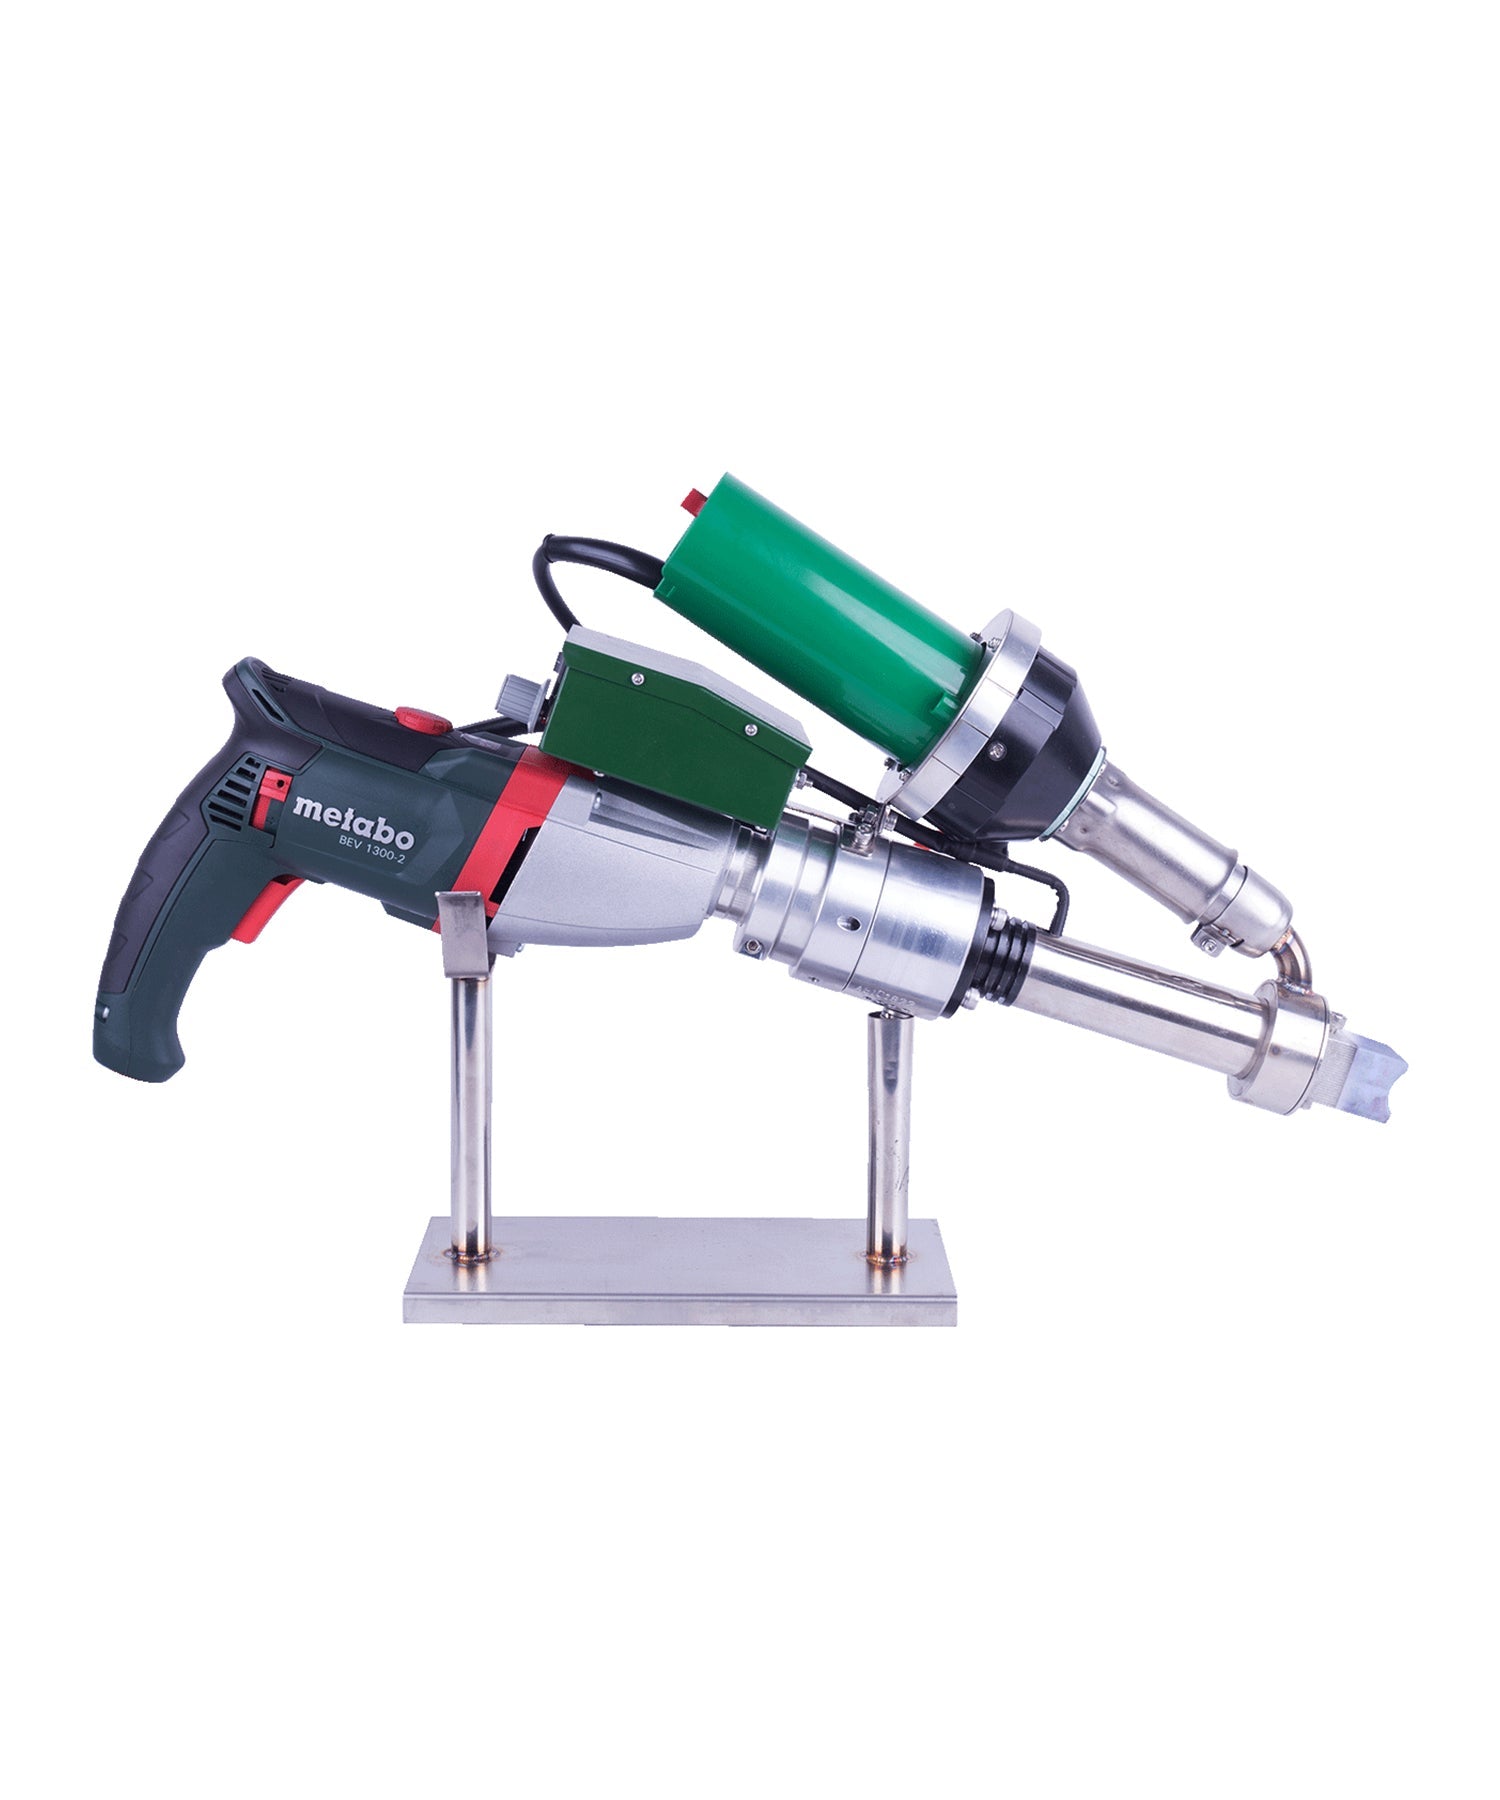
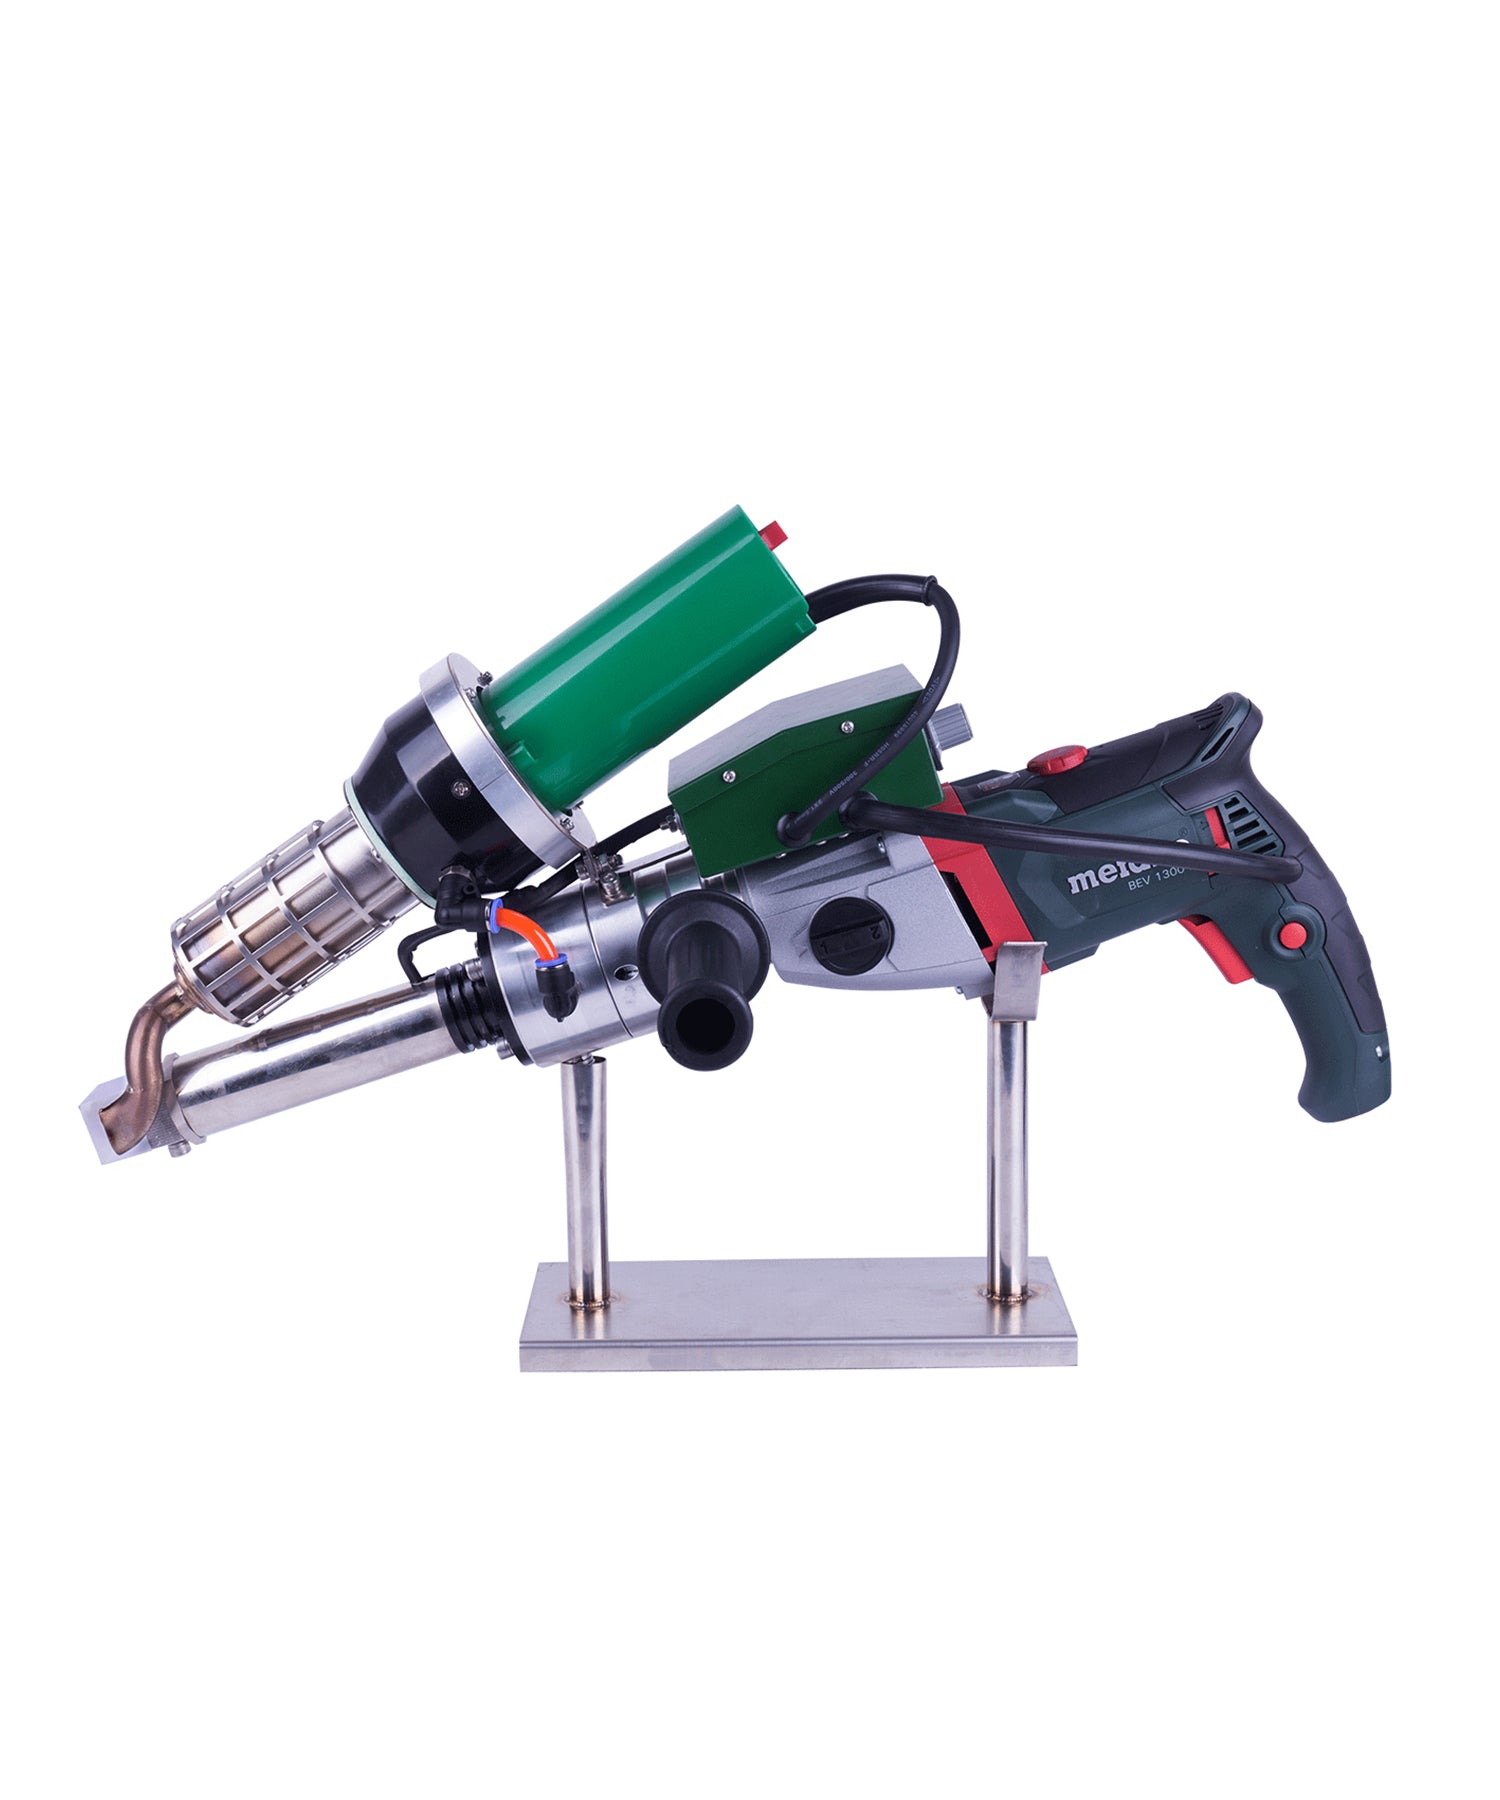
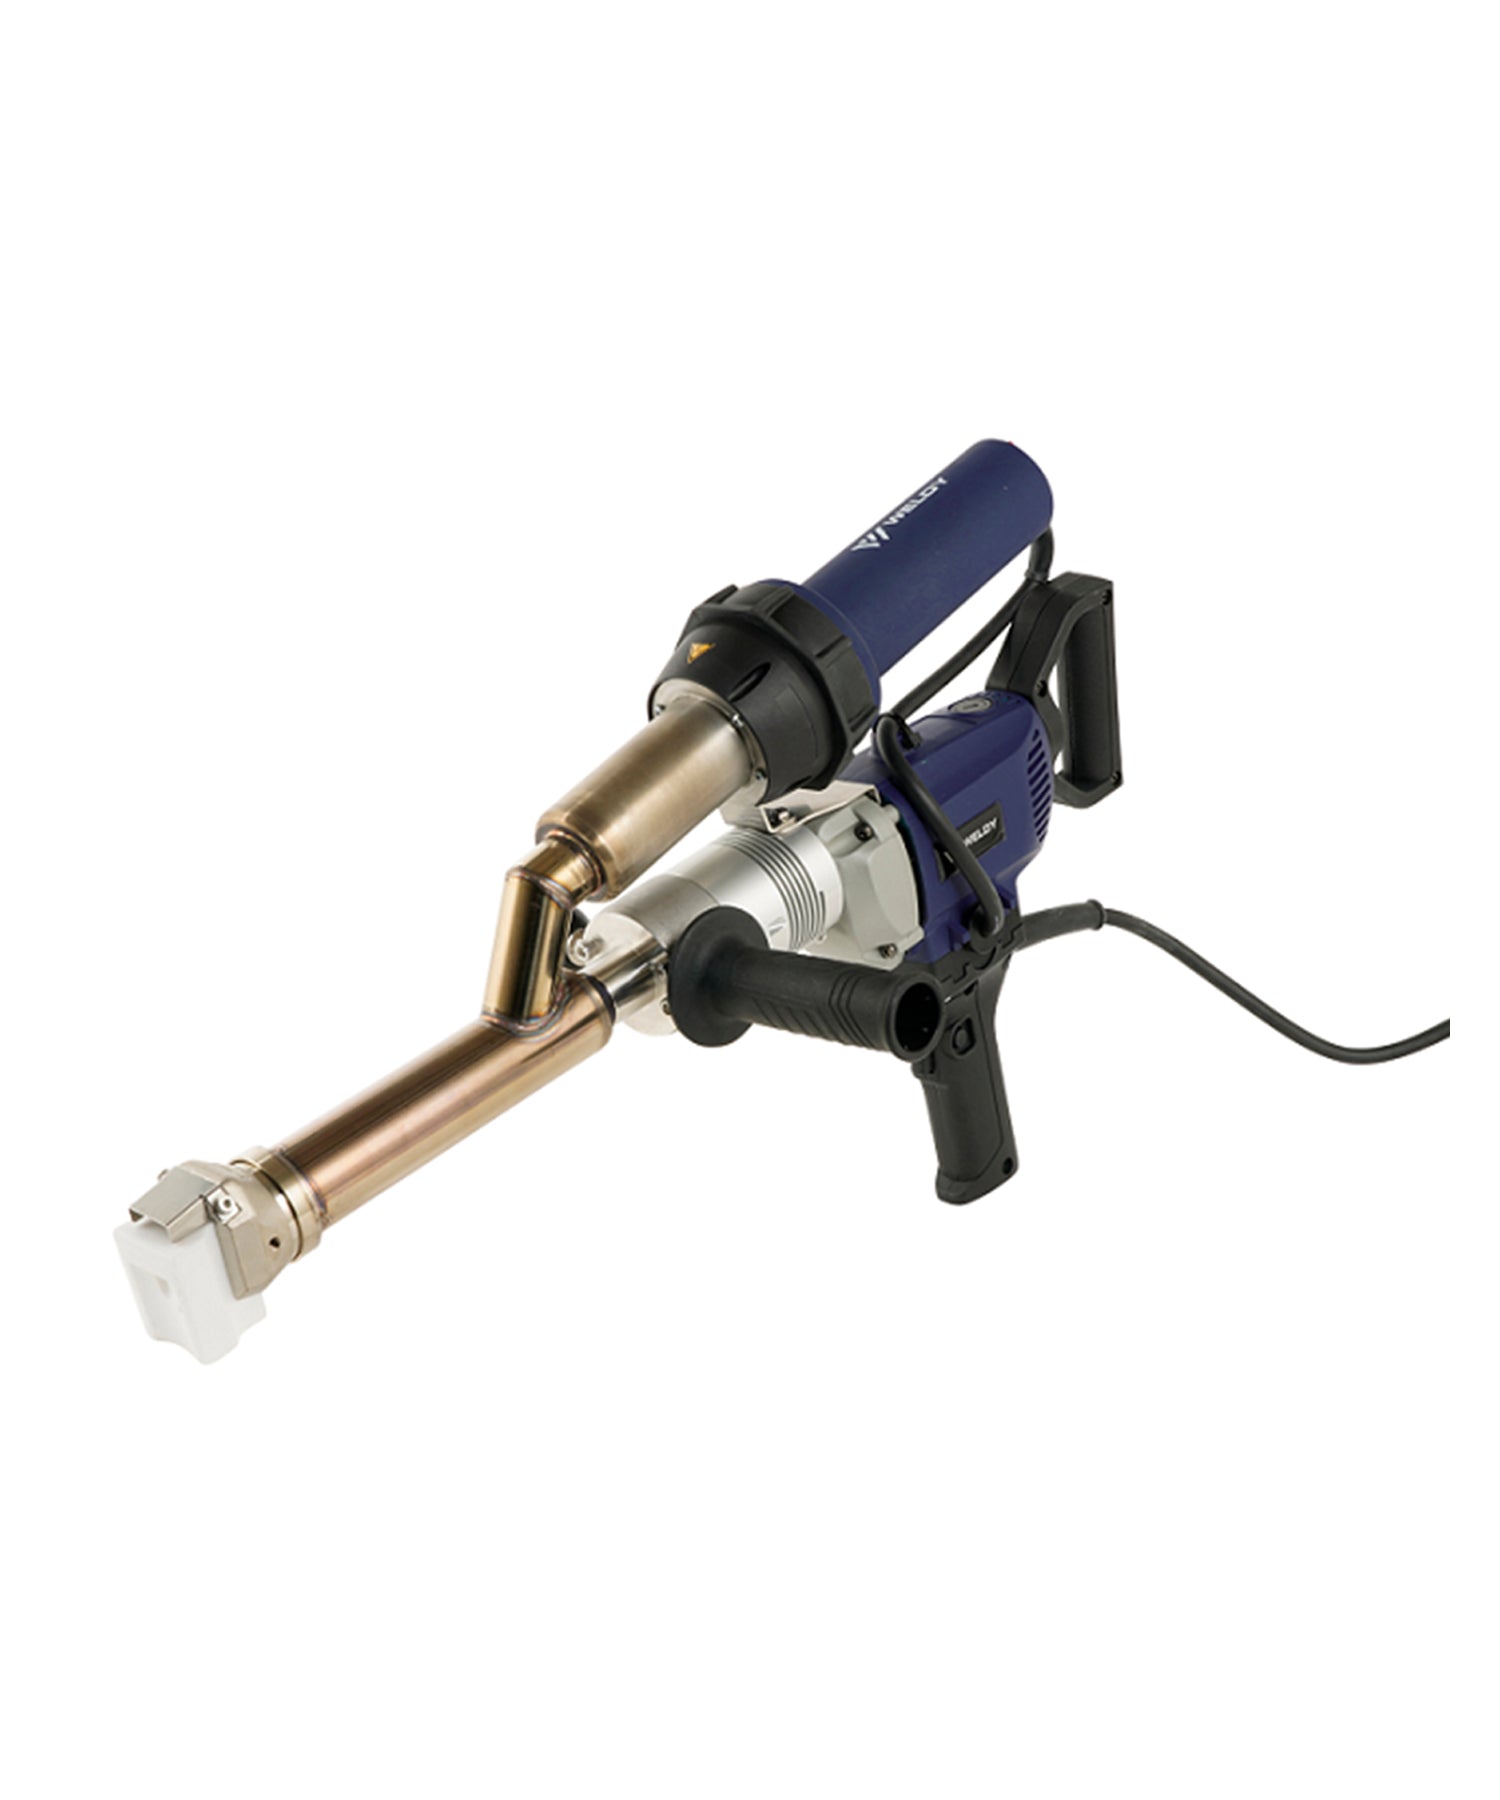
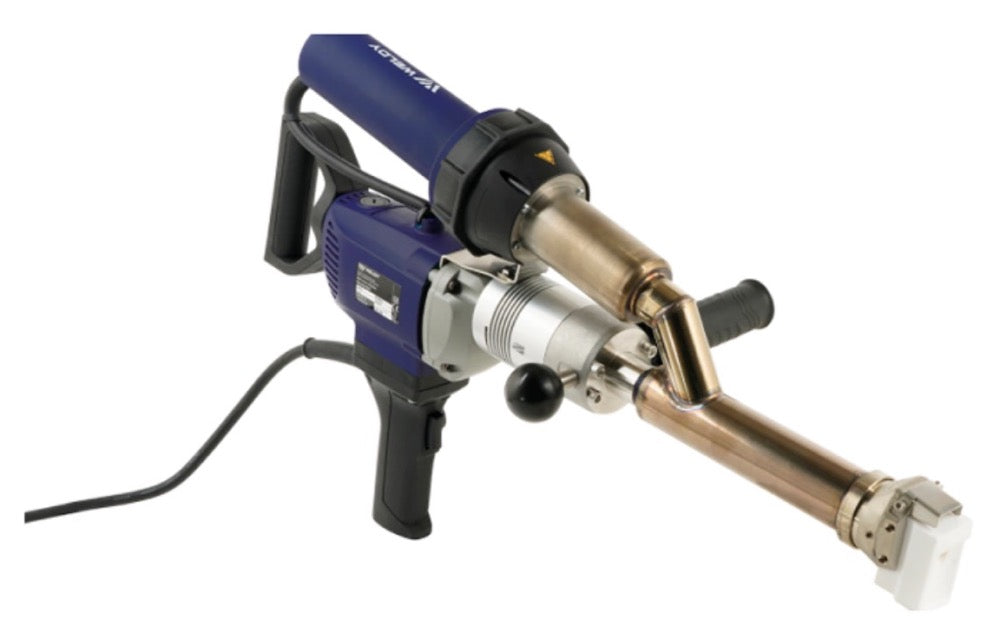
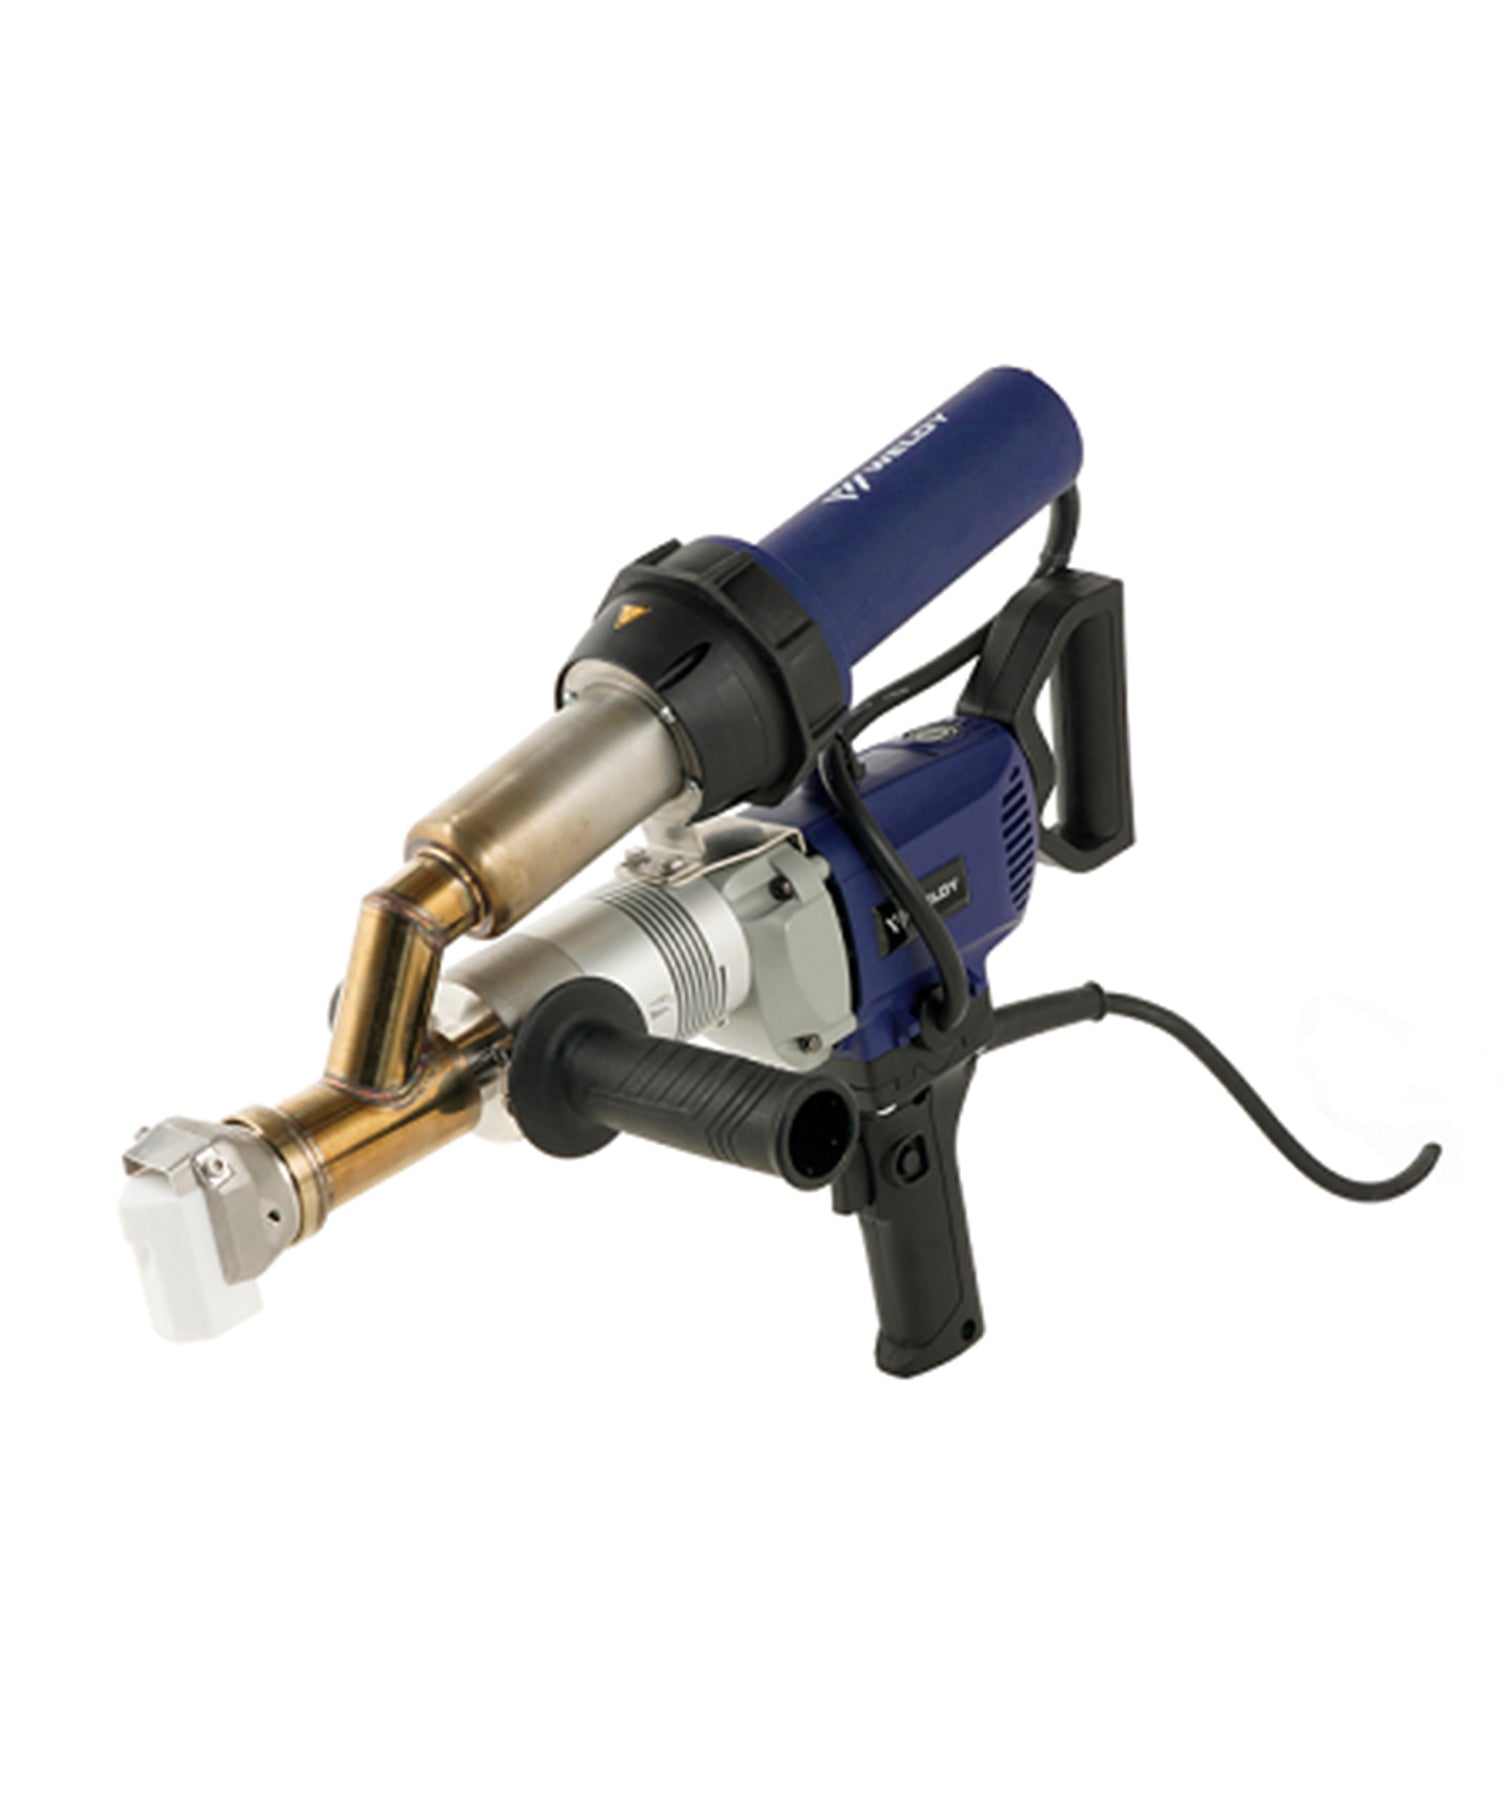
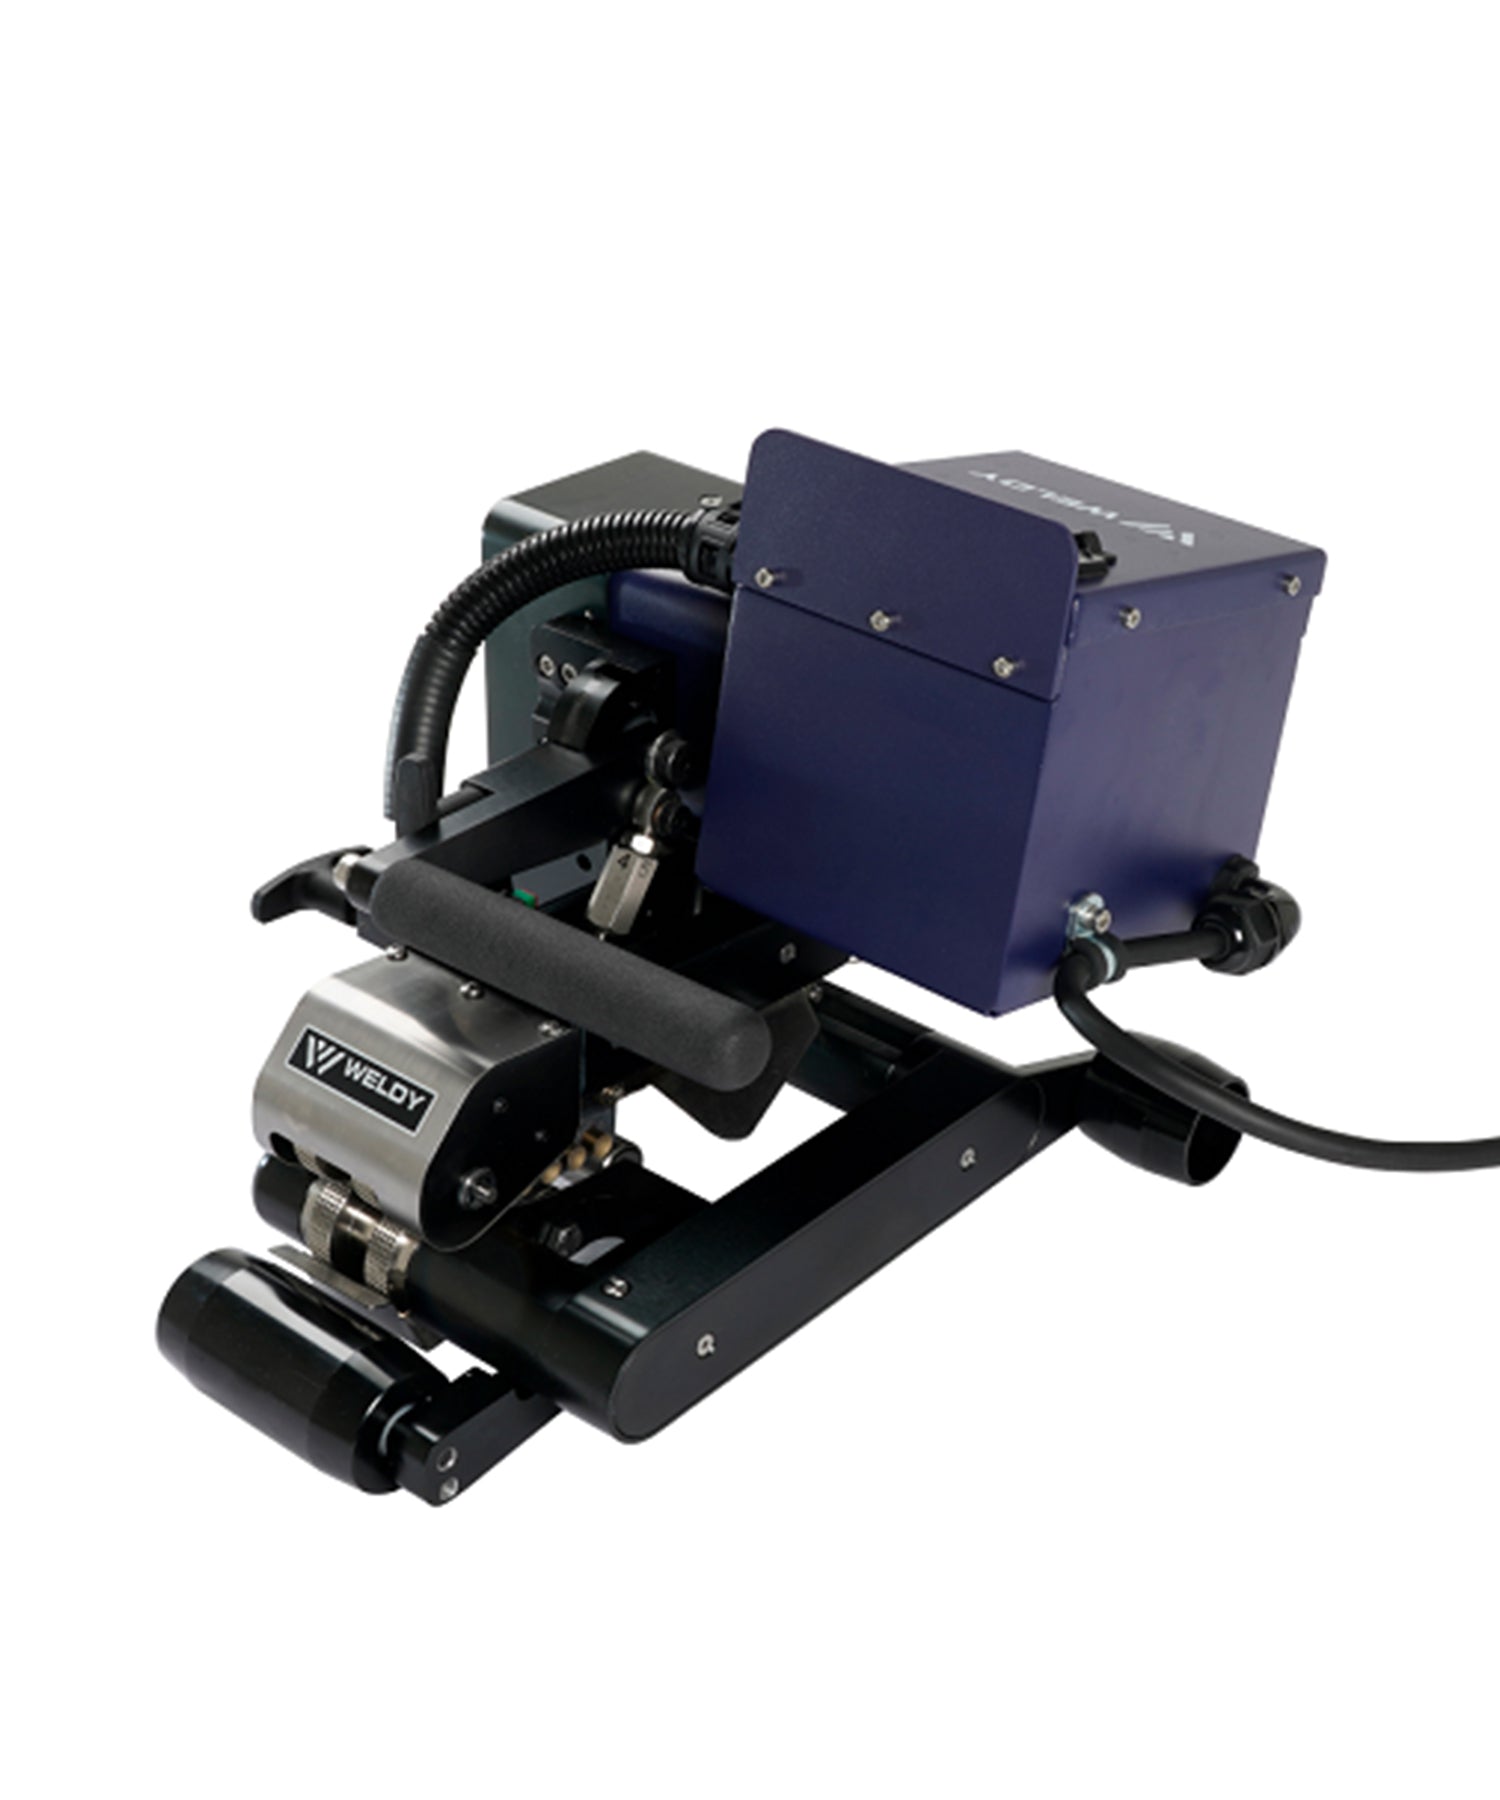
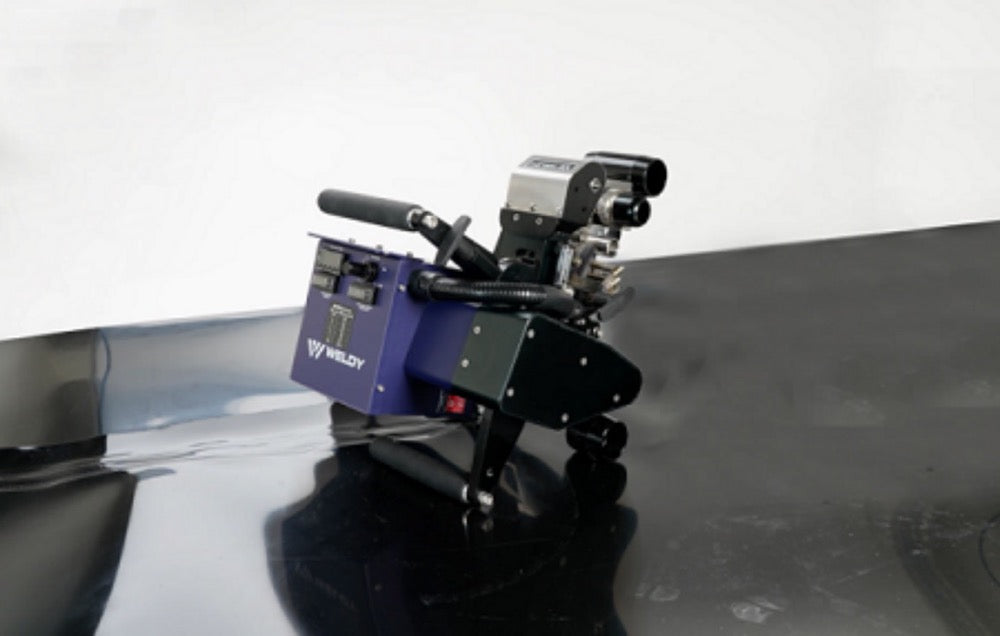
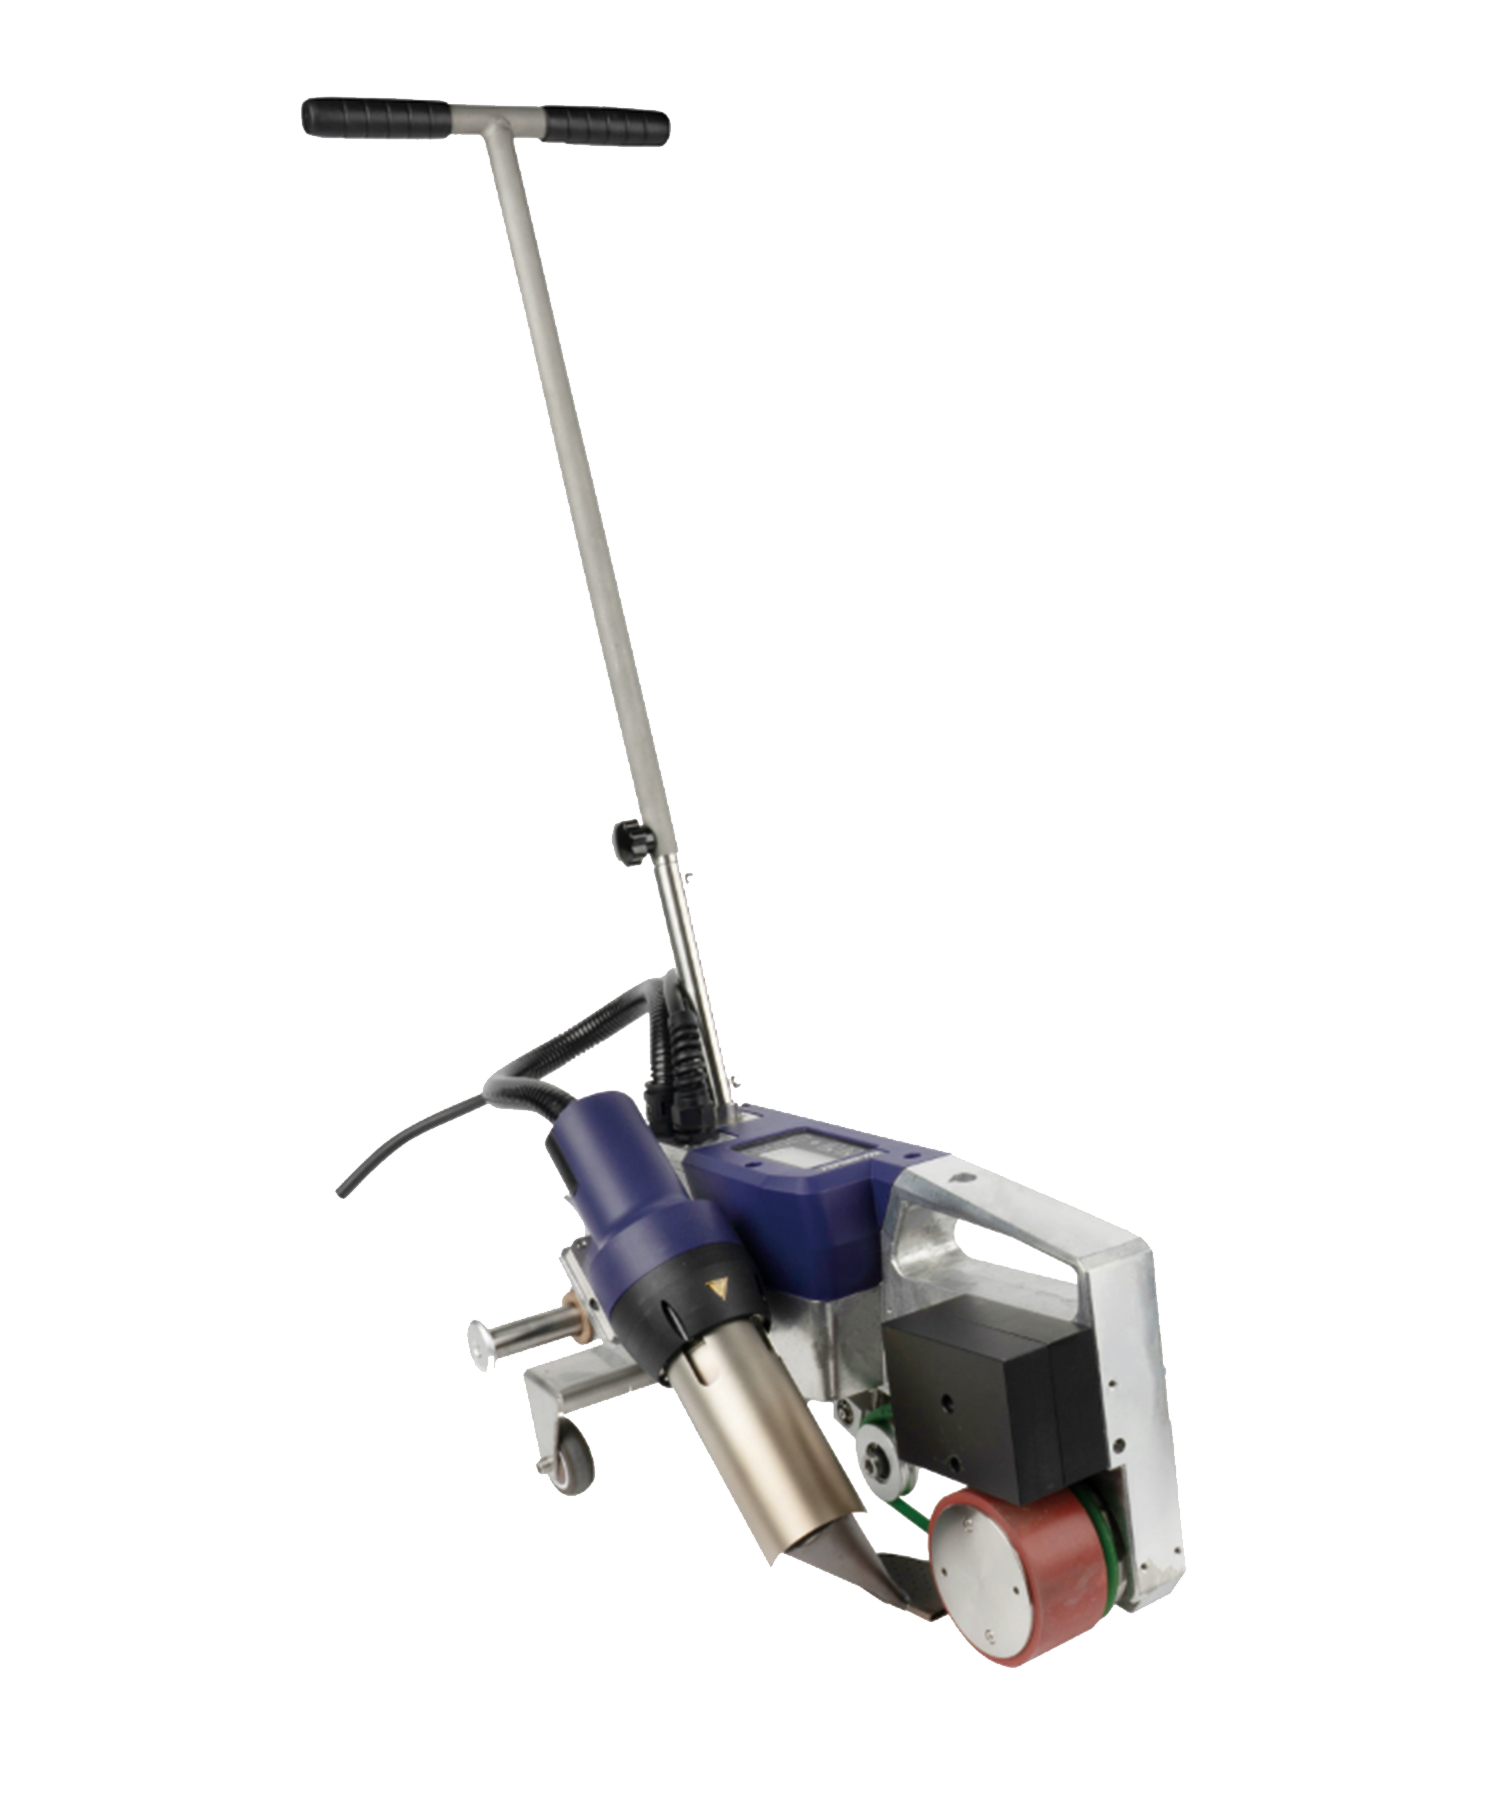
A hand extrusion welder such as the Weldy Booster EX2 is sized for the short runs and tight access of detail work (available at weissenbergstore.com).
Common Detail Welding Applications
- Liner repair and patching: sealing punctures, tears, and defective welds on HDPE and LLDPE geomembranes in ponds, canals, and landfill caps.
- T-joints and seam crossings: finishing the junctions between wedge-welded runs, where three or more membrane sections meet.
- Pipe penetrations and boots: welding flexible boots, pipe seals, and sump details to the liner at penetrations.
- Geotechnical and civil works: tunnel waterproofing, canal lining, and containment details.
Quality Control & Seam Testing
Detail welds must meet the same acceptance standard as production seams. Common verification methods include:
- Destructive peel and shear testing per ASTM D6392 for non-reinforced geomembrane seams, with results judged against the project’s acceptance criteria.
- Vacuum-box testing where the weld geometry is accessible and the project specification calls for it (e.g., per ASTM D5641), to detect leaks along the weld path.
- Documentation: record weld parameters, ambient conditions, and test results as required by the project quality plan and any ISO 9001-aligned management system.
Test frequency and acceptance limits are set by the project specification — confirm them with the engineer of record before work starts.
Maintenance That Keeps the Screw Running
A hand extruder is a precision tool, and following the manufacturer’s maintenance guidance helps keep it performing reliably on site:
- Clean after use: clear residual polymer from the barrel and welding shoe while warm, per the manufacturer’s instructions.
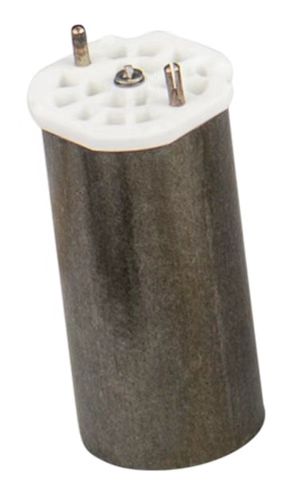
- Inspect consumables: periodically check heating elements and drive brushes and replace worn parts according to the manufacturer’s operating instructions.
- Protect from dust and moisture: store the tool in its case in a dry environment to help protect electrical contacts and the screw.
- Service as needed: follow the inspection and service procedures in the manufacturer’s operating documentation.
Choosing a Hand Extruder for Your Crew
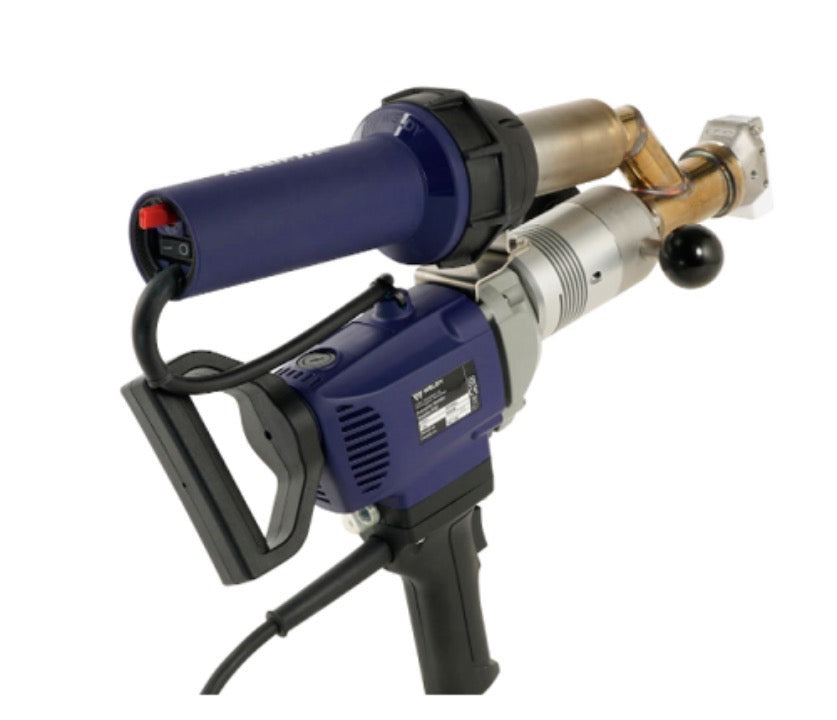
For geomembrane detail work, output rate and weight are the practical differentiators. The Weldy Booster EX2 offers a lighter 6.4 kg body and a material output of 1.5–2.2 kg/h — a good fit for tank work, bench-top fabrication, and tight-access joints. The Weldy Booster EX3 delivers a higher output of 2.5–3.6 kg/h at 6.9 kg for crews running longer detail sequences on large liner projects. Both weld HDPE, LDPE, LLDPE, and PP with 3–4 mm rods and share the same 3000 W class, 230 V, air-heated screw design. Choose based on the output you need for your typical project mix; Weissenberg’s team can help you match a model to your application.

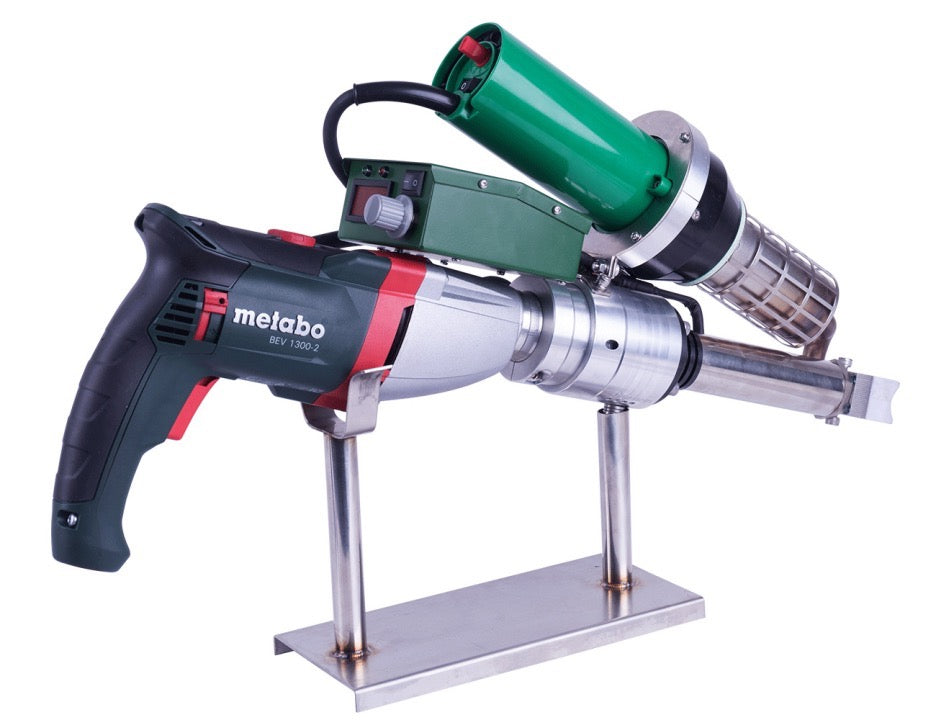
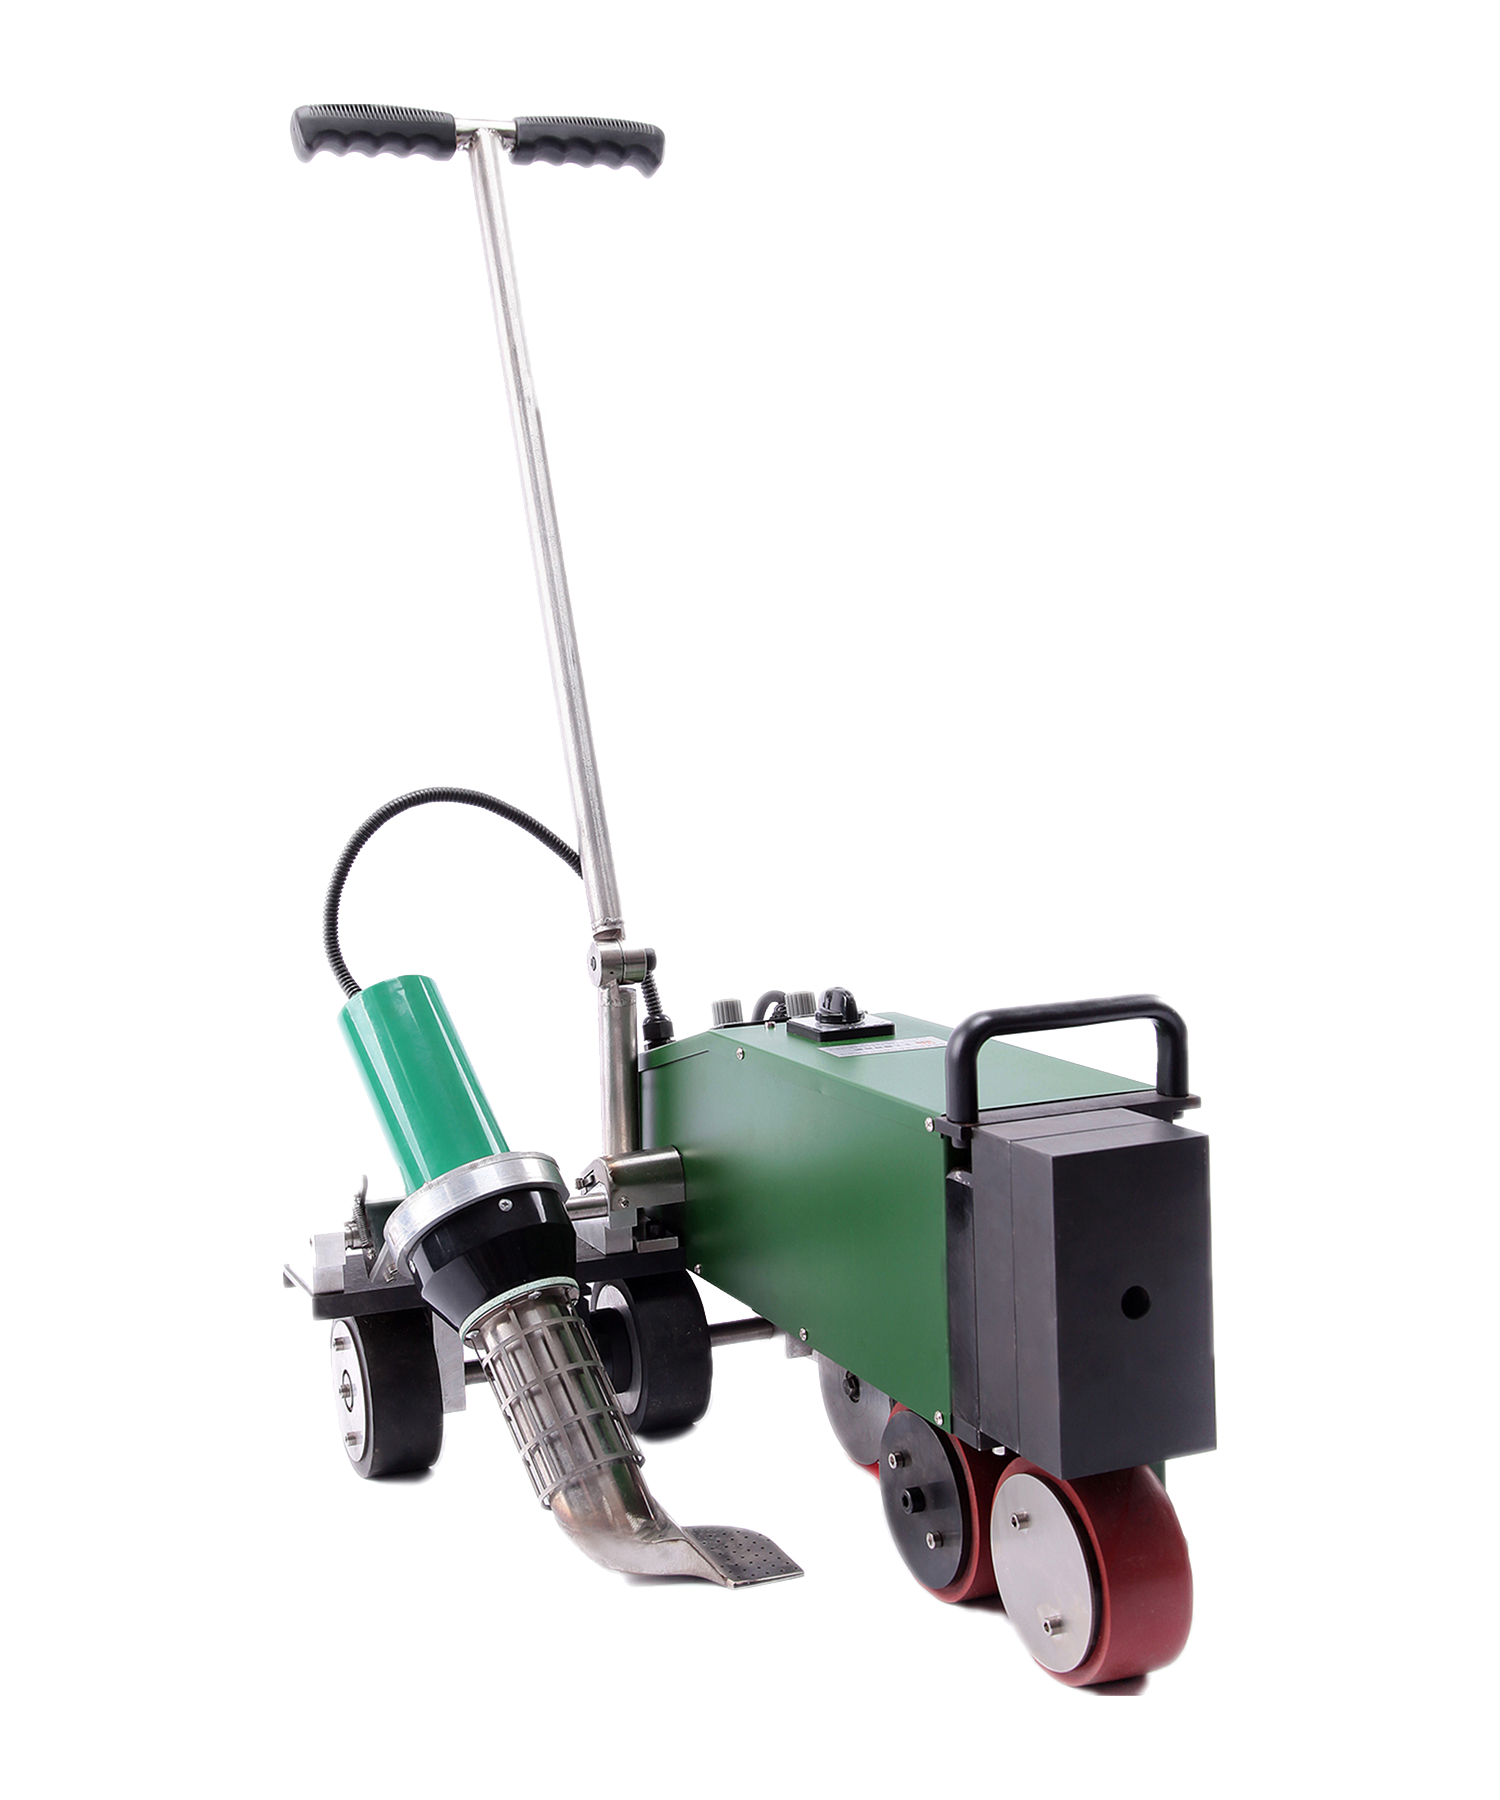
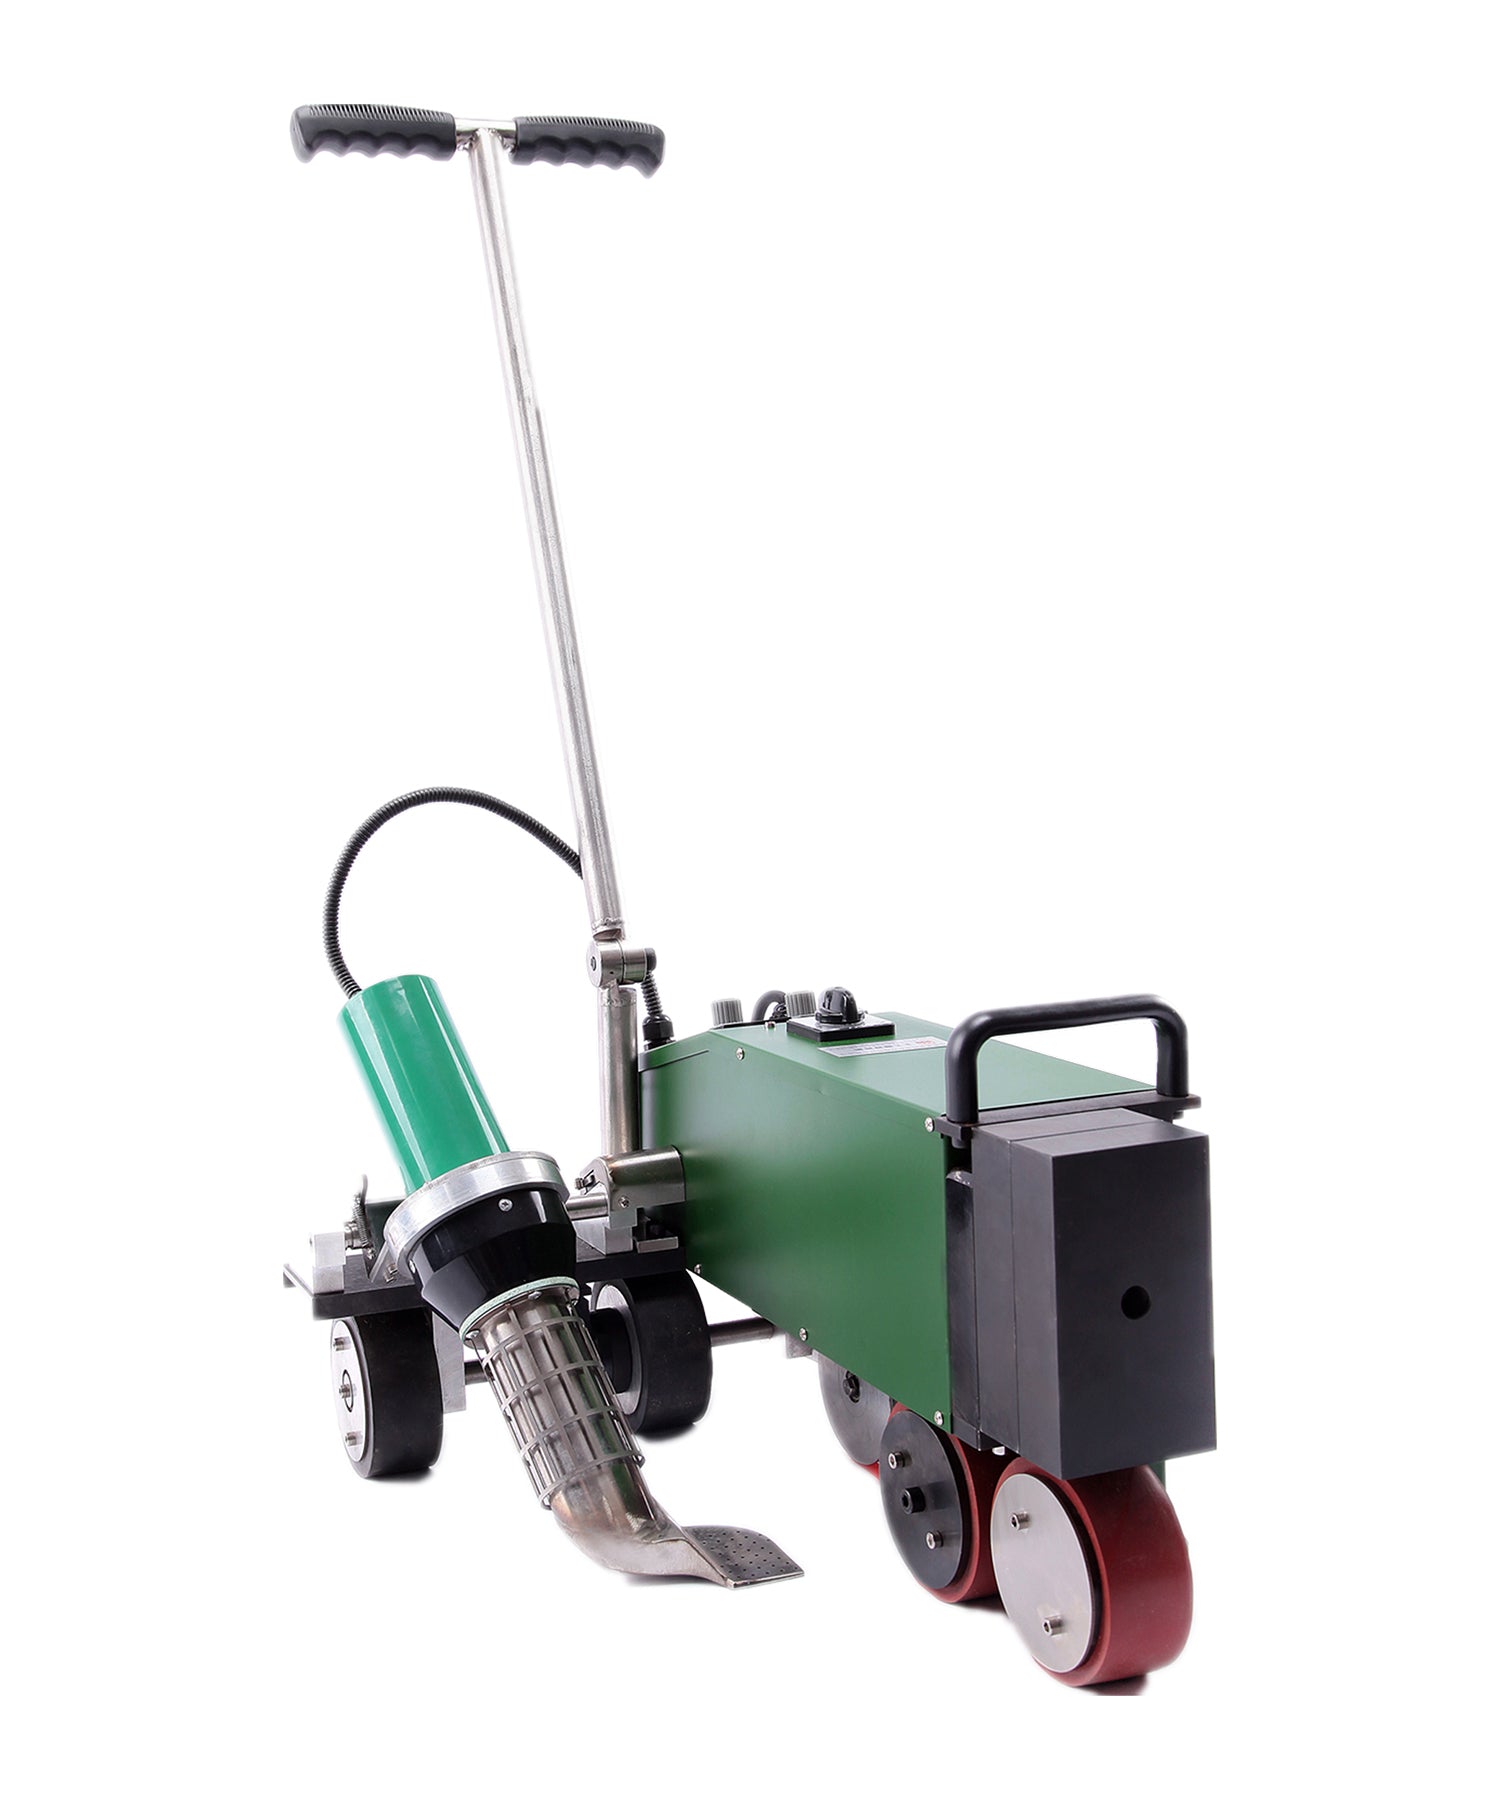
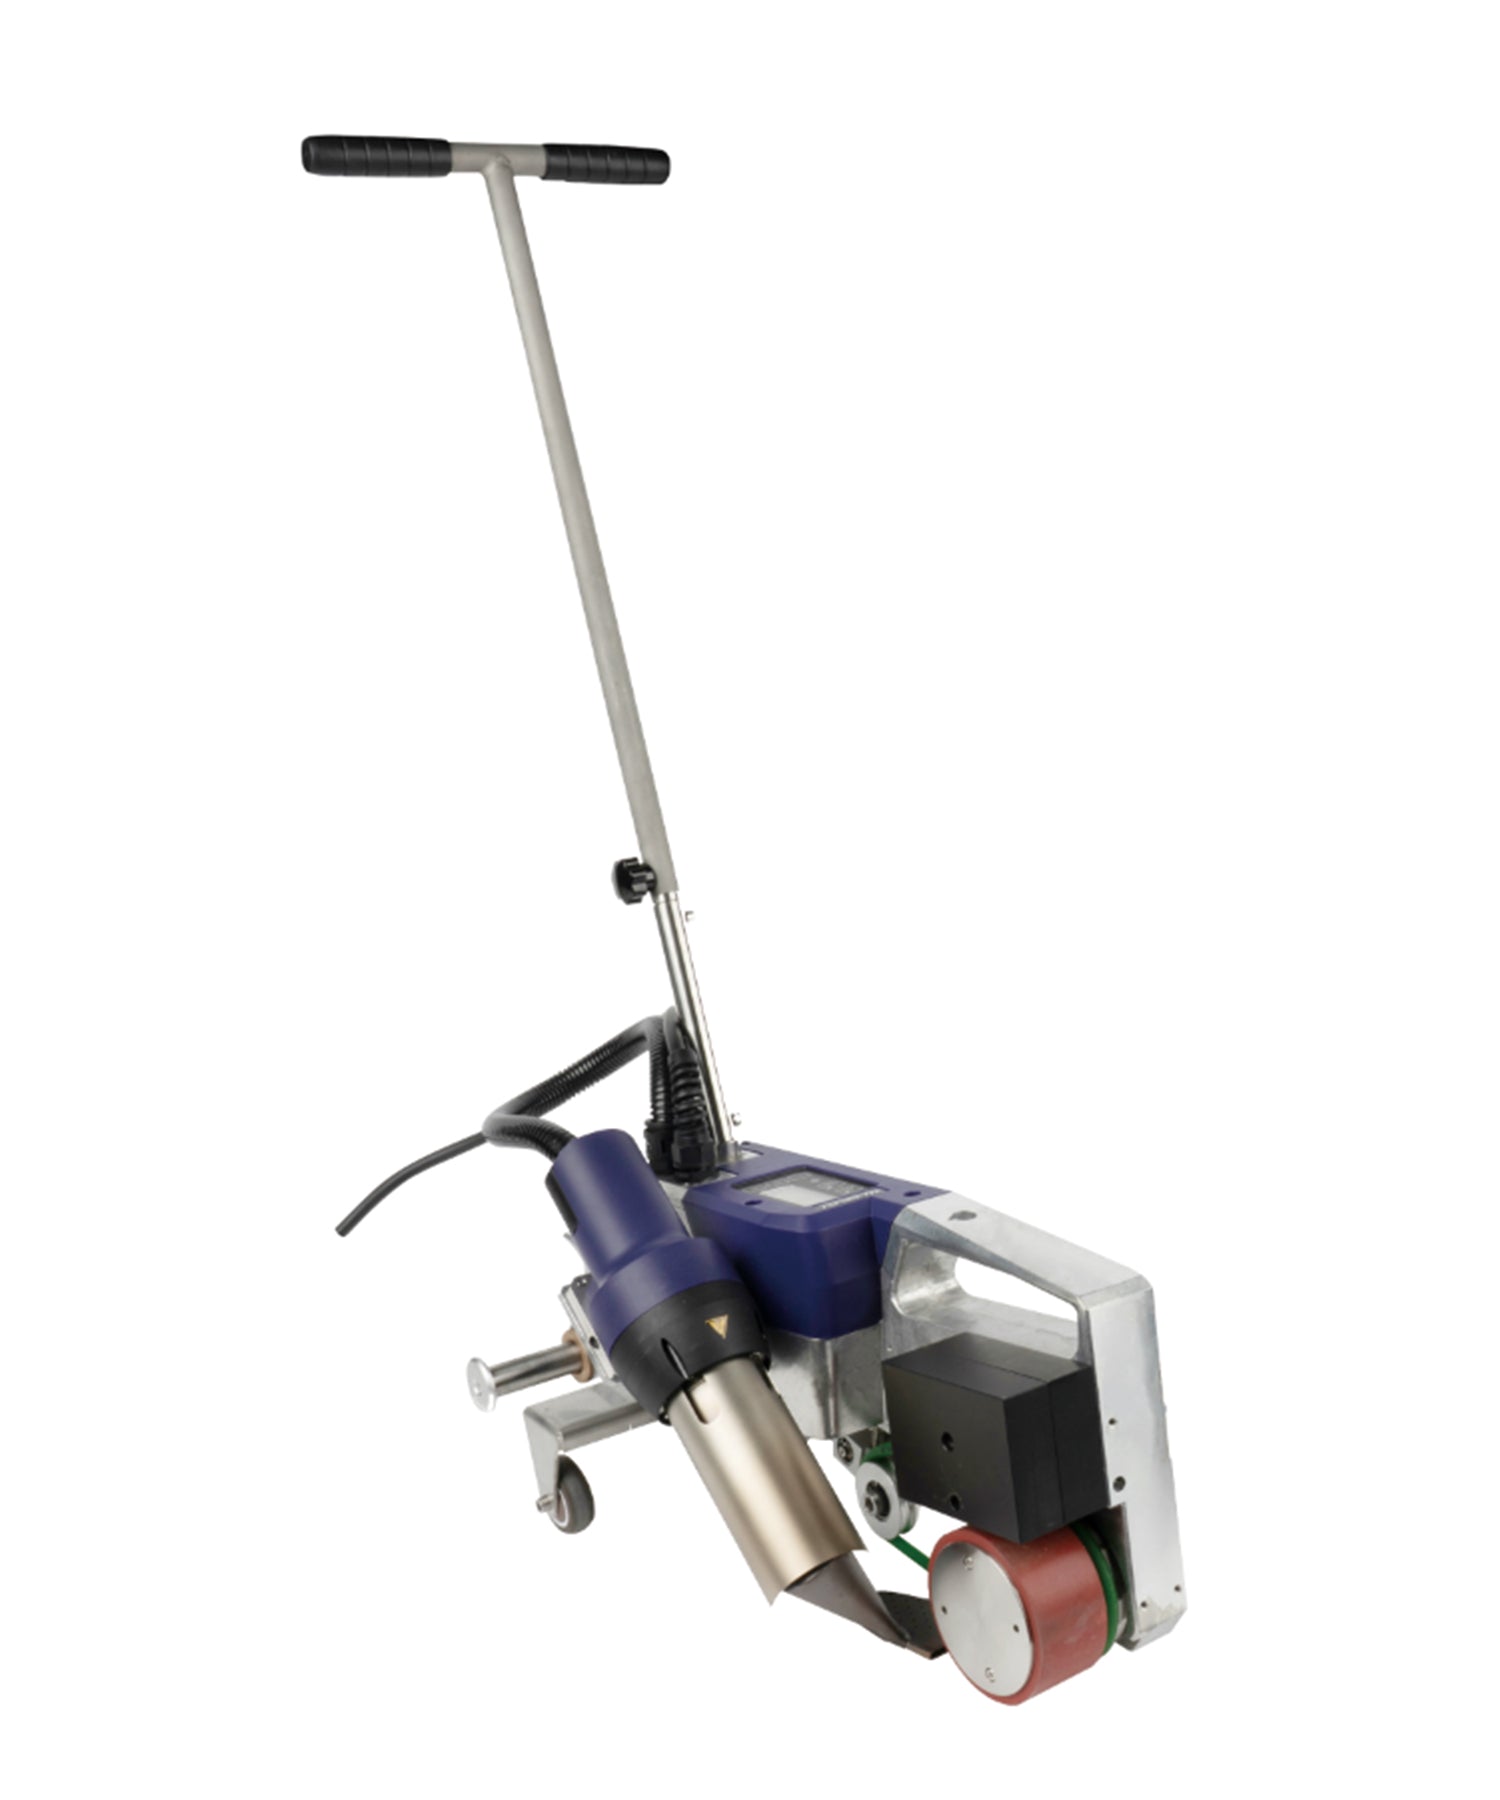
The Weldy Booster EX3 provides higher material output for larger detail sequences (available at weissenbergstore.com).
Frequently Asked Questions
Do I need a hand extruder if my crew already has a wedge welder?
Most geomembrane crews keep both. The wedge welder handles long production runs; the hand extruder covers the details — patches, T-joints, penetrations, and short segments — that are difficult or impractical to complete with an automatic wedge welder. If your projects involve liner repairs or appurtenance details, a hand extruder is a practical complement rather than a replacement.
Can one hand extruder handle both repair work and production seams?
Yes. A hand extruder with an output in the 1.5–3.6 kg/h range welds both detail repairs and short production seams. The difference is productivity, not capability: for large volumes of long, straight seams, an automatic wedge welder remains faster.
Which welding rod should I use for HDPE geomembrane details?
Use a round welding rod of the same polymer family as the liner — typically PE rod for HDPE geomembranes, in a diameter compatible with your extruder (commonly 3–4 mm). Confirm the rod material and diameter with the liner manufacturer's specification and the project WPS.
How should detail welds be tested before acceptance?
Detail welds are normally verified per the project specification, commonly by destructive peel and shear testing (e.g., ASTM D6392 for non-reinforced seams) and, where geometry allows, vacuum-box testing. Test frequency and acceptance limits should be agreed with the engineer of record before work starts.
Need a hand extruder for your geomembrane crew?
Browse extrusion welders at weissenbergstore.com
1-year warranty · Lifetime technical support · Genuine Weldy equipment




Leave a comment
This site is protected by hCaptcha and the hCaptcha Privacy Policy and Terms of Service apply.