
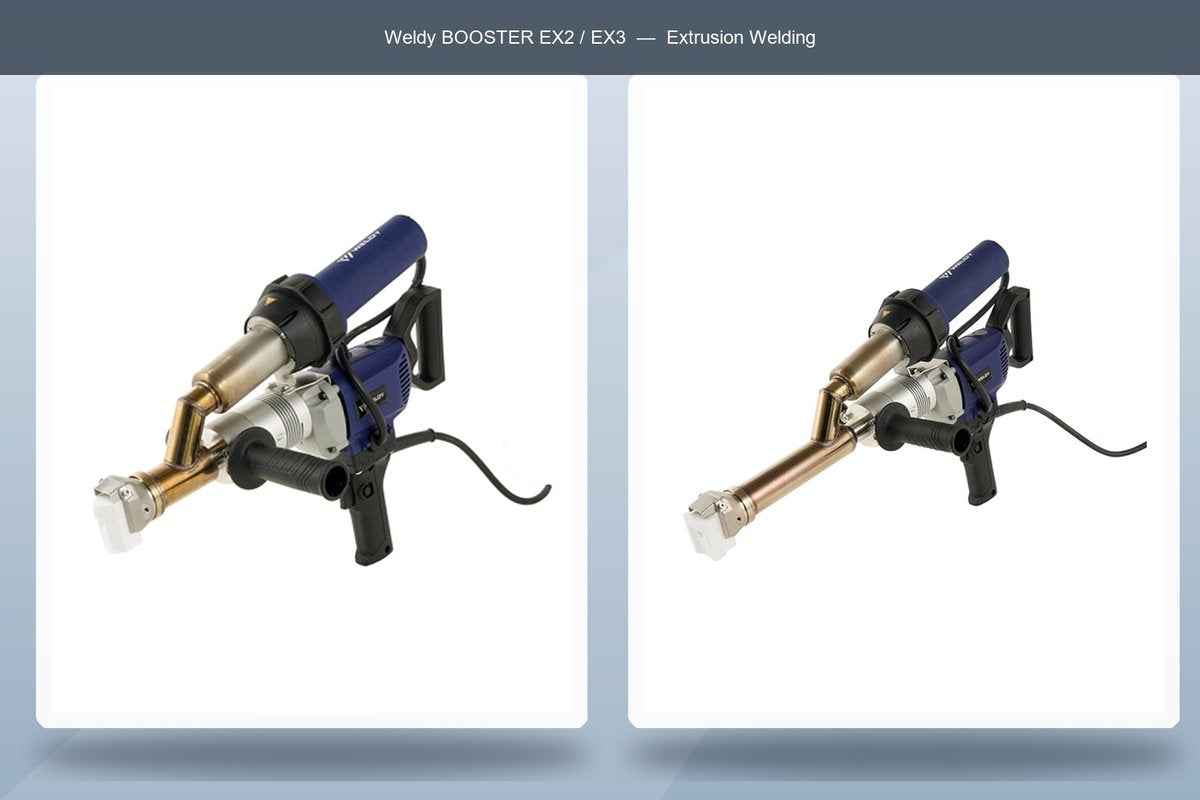
When fabricators weld thick HDPE or PP sheet, one of the first questions is whether the joint needs one pass or several. The common assumption is that heavy sections always demand multiple layers. In practice, a single pass is the default target for most V-groove joints — multi-layer welding should only be used when the joint geometry, weld volume or machine output actually requires it. This guide explains how to decide, using the Weldy BOOSTER EX2 and EX3 as the reference machines.
Why Single-Pass Is the Default for Thick HDPE & PP
An extrusion weld is strongest when the deposited rod and the pre-heated base material fuse in one continuous operation. A correctly sized single pass completes the joint in one thermal cycle, which means:
- Less heat history — one heat-up and cool-down instead of repeated cycles that can stress the polymer.
- No inter-pass contamination risk — every extra layer introduces a surface that must be perfectly cleaned or it becomes an invisible cold weld.
- Higher productivity — one steady run replaces a stop-start sequence of root, fill and cap passes.
The practical target for most work is therefore: prepare the groove so it can be filled in one pass, and choose a machine whose output matches that volume.
When a Single Pass Stops Being Enough
Multi-layer welding is justified in three situations:
- Joint geometry — wide or deep grooves (for example repair gouges, fillet details or highly angled preparations) whose cross-section a single bead cannot fill evenly.
- Weld volume — joints whose fill volume is large enough that a single bead cannot fill the groove evenly in one steady run.
- Machine output — when the extruder’s kg/h output is too low to fill the groove before the leading edge cools; the deposit would lack interlayer fusion.
If none of these apply, a single pass is normally the simpler and faster option.
Single-Pass vs Multi-Layer at a Glance
| Consideration | Single-pass | Multi-layer |
|---|---|---|
| Default approach for V-groove joints? | Yes | Only if geometry/volume demands it |
| Thermal cycles | One | Multiple — more polymer stress |
| Inter-pass cleaning | Not needed | Critical — dirt = cold weld |
| Speed per metre of seam | Fastest | Slower, more labour |
| Typical use | Tanks, ducting, liners | Complex repairs, heavy fabrication |
Match the Machine to the Weld Volume: EX2 vs EX3
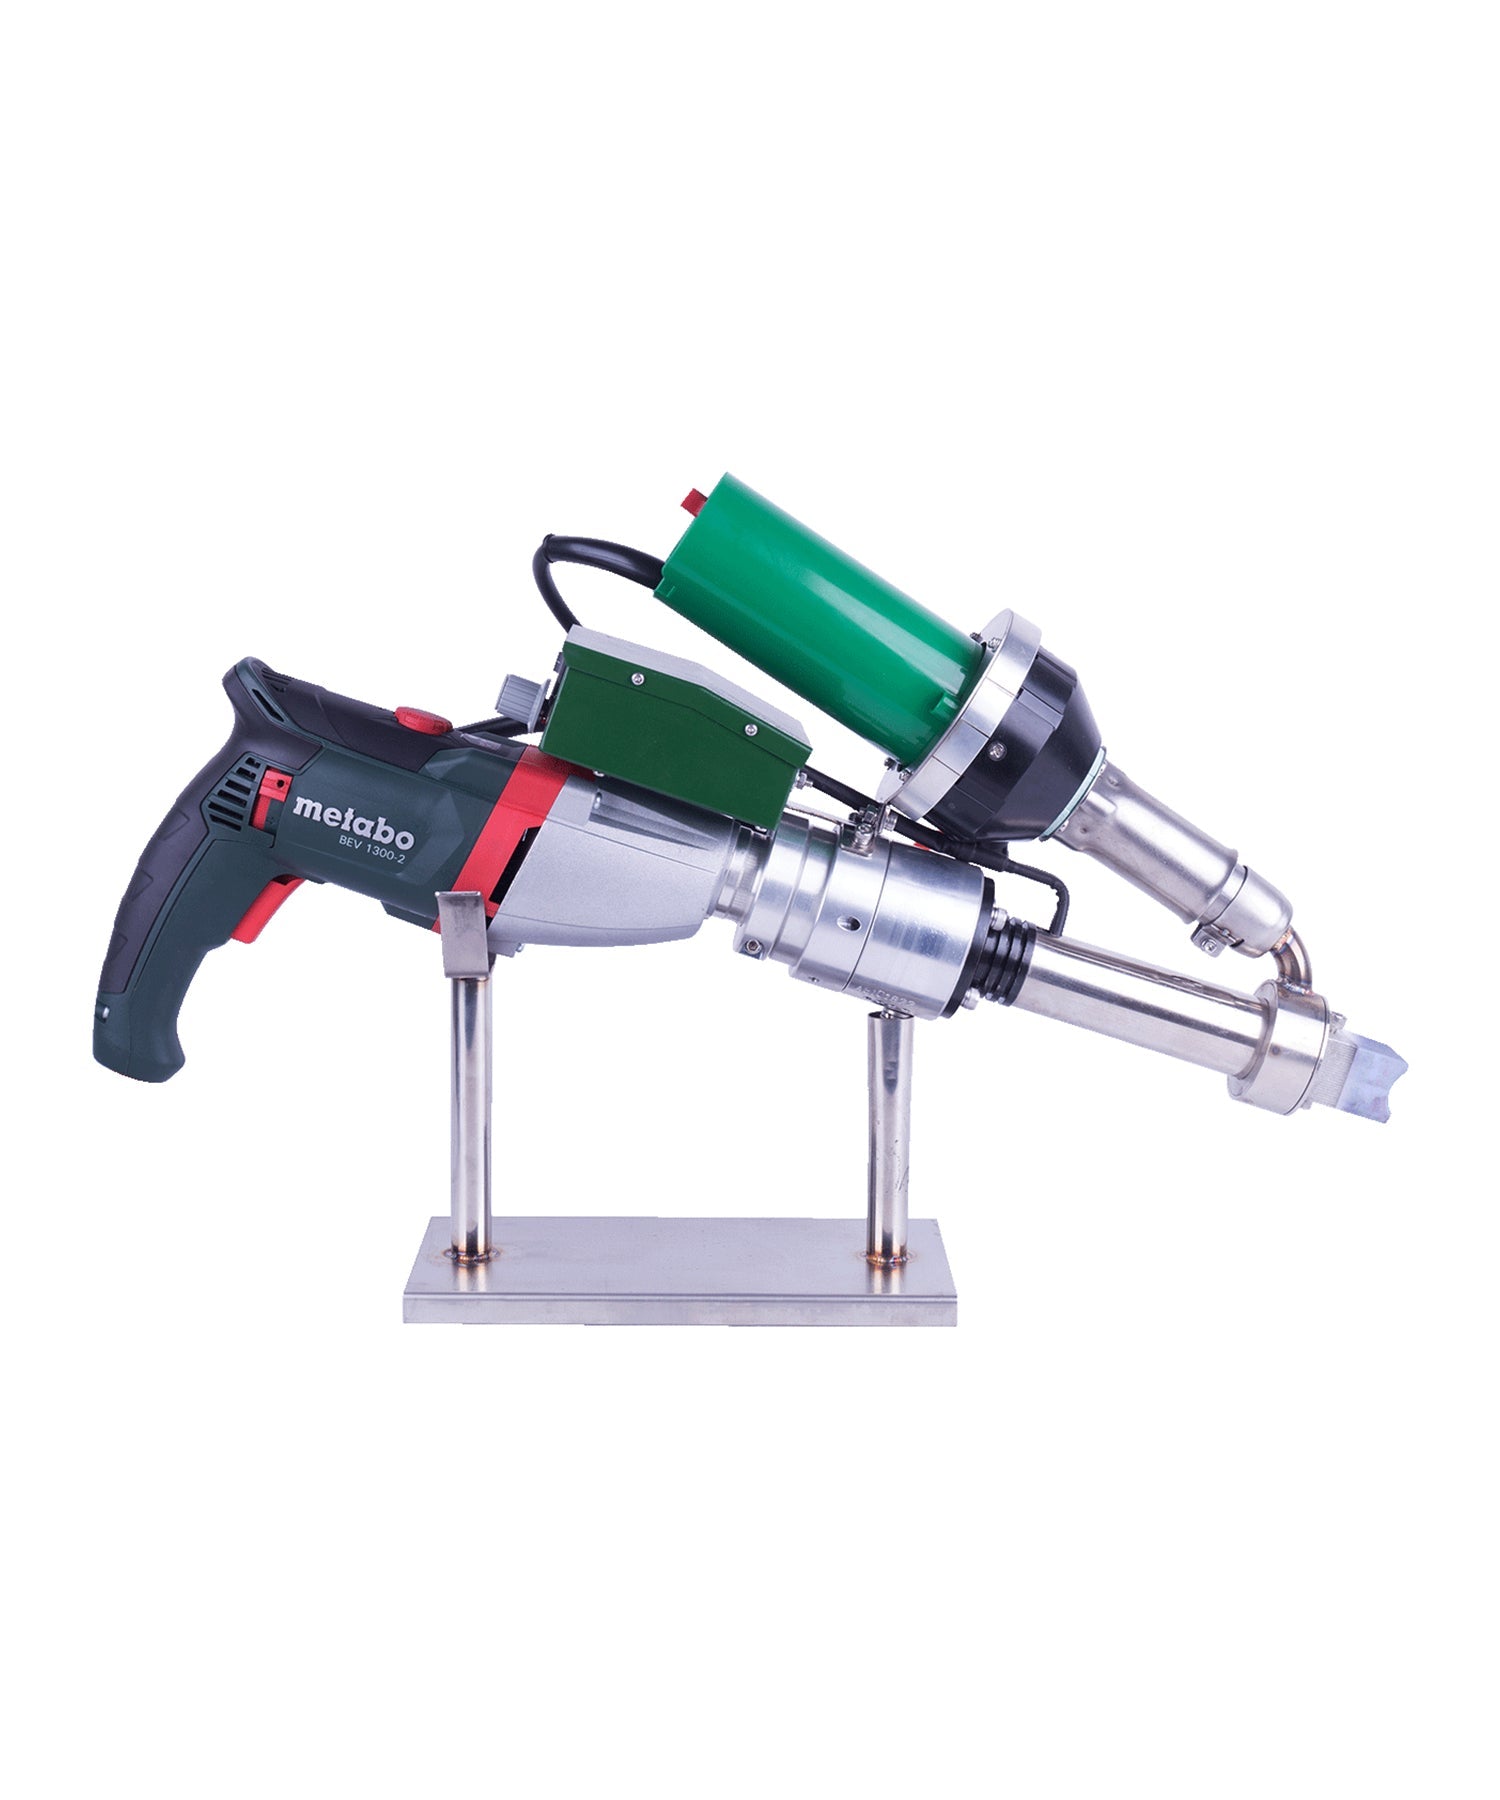
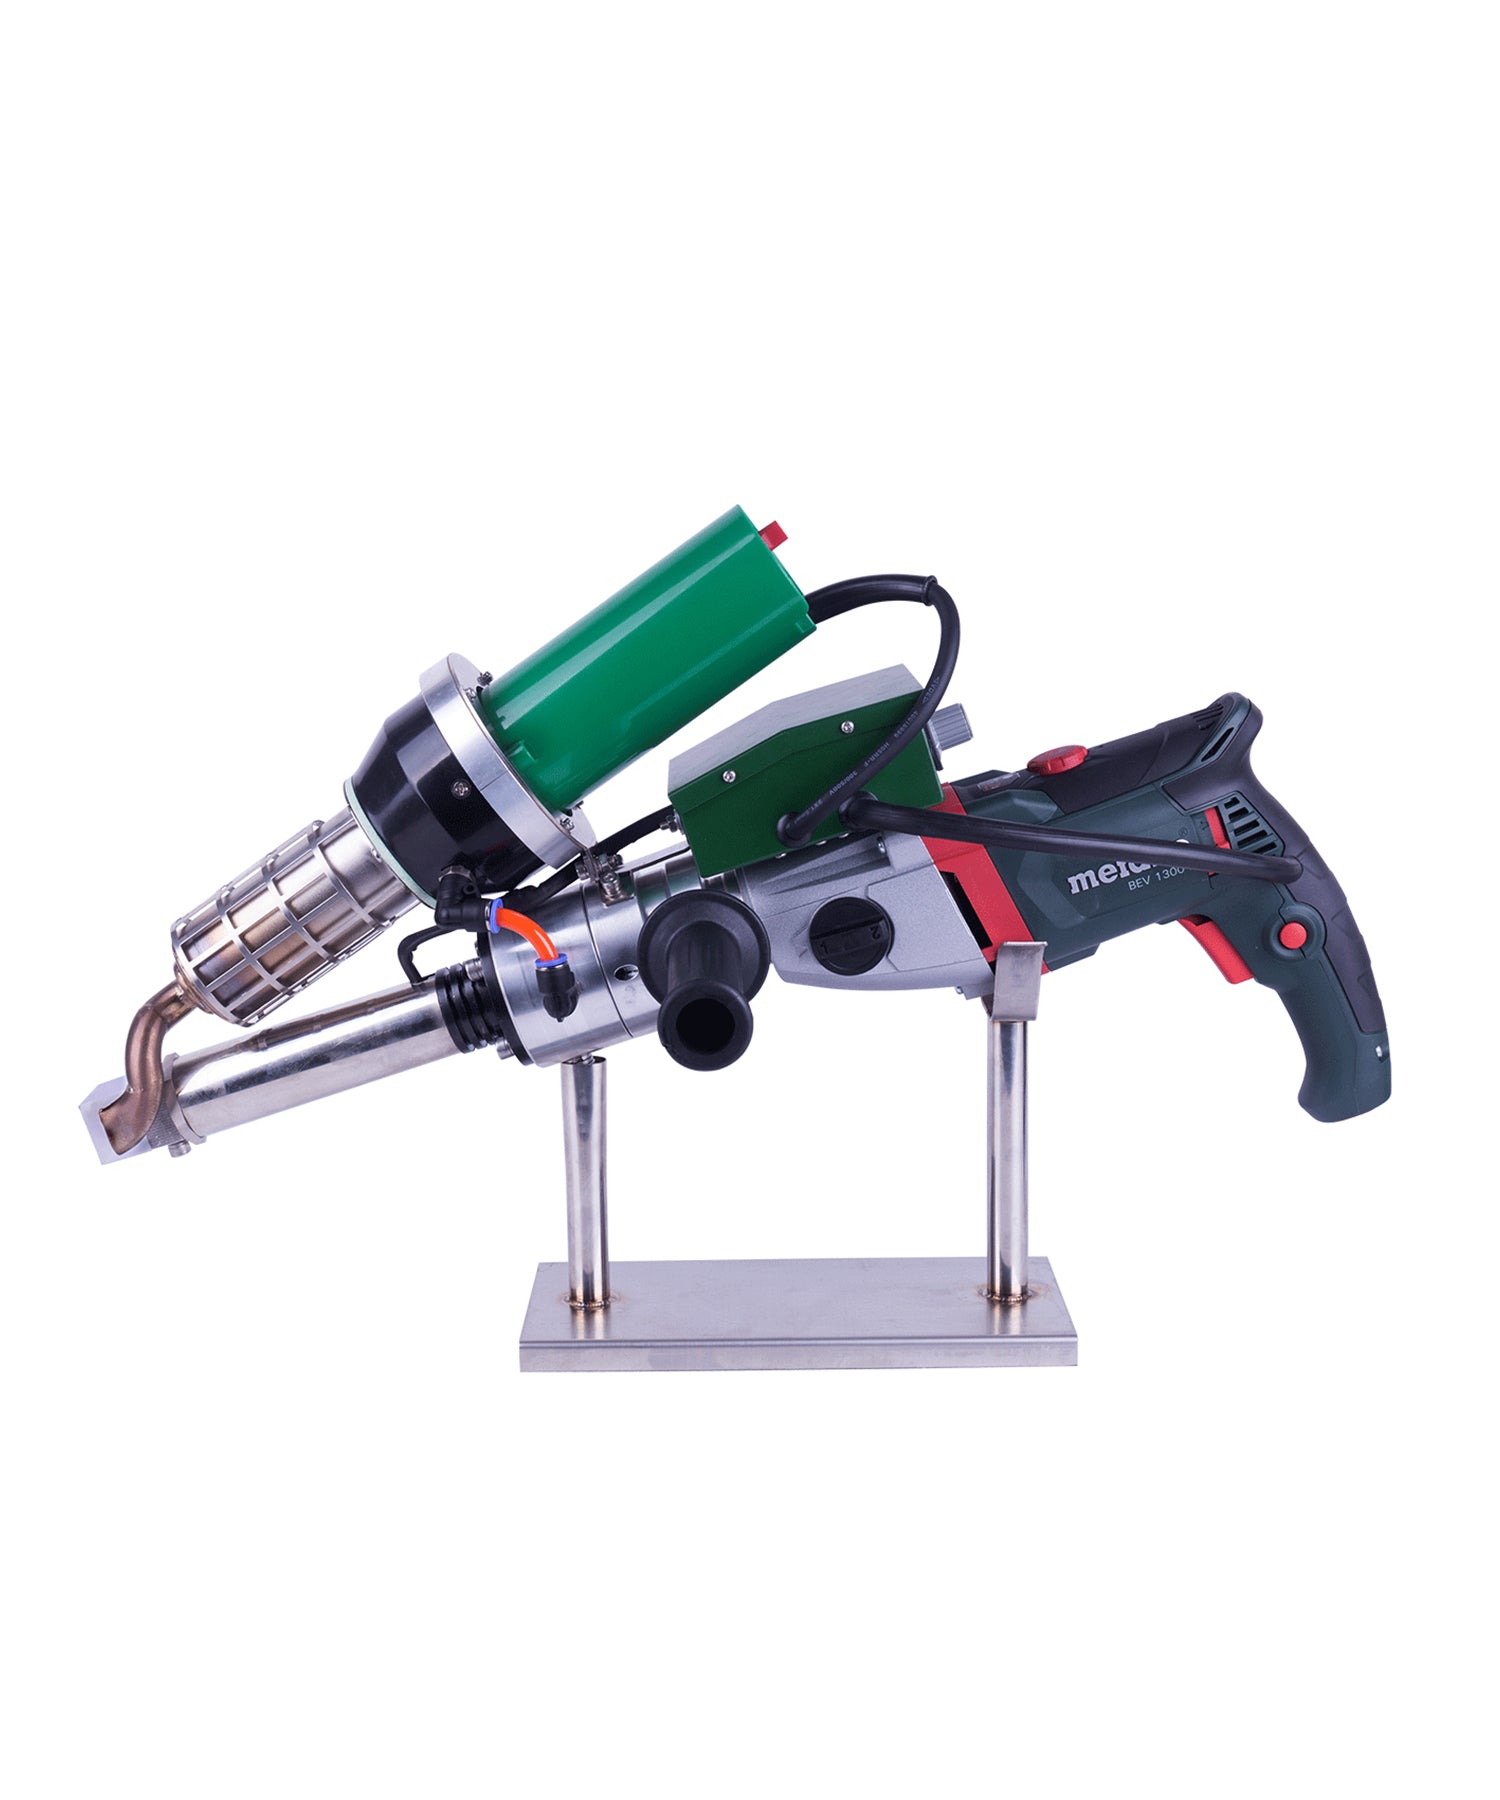
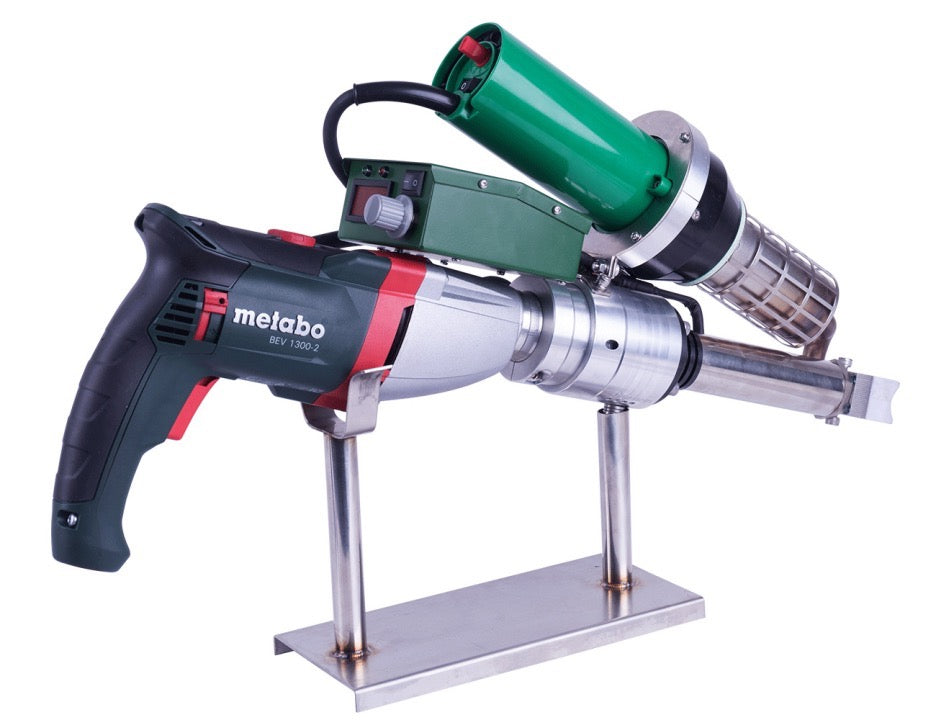
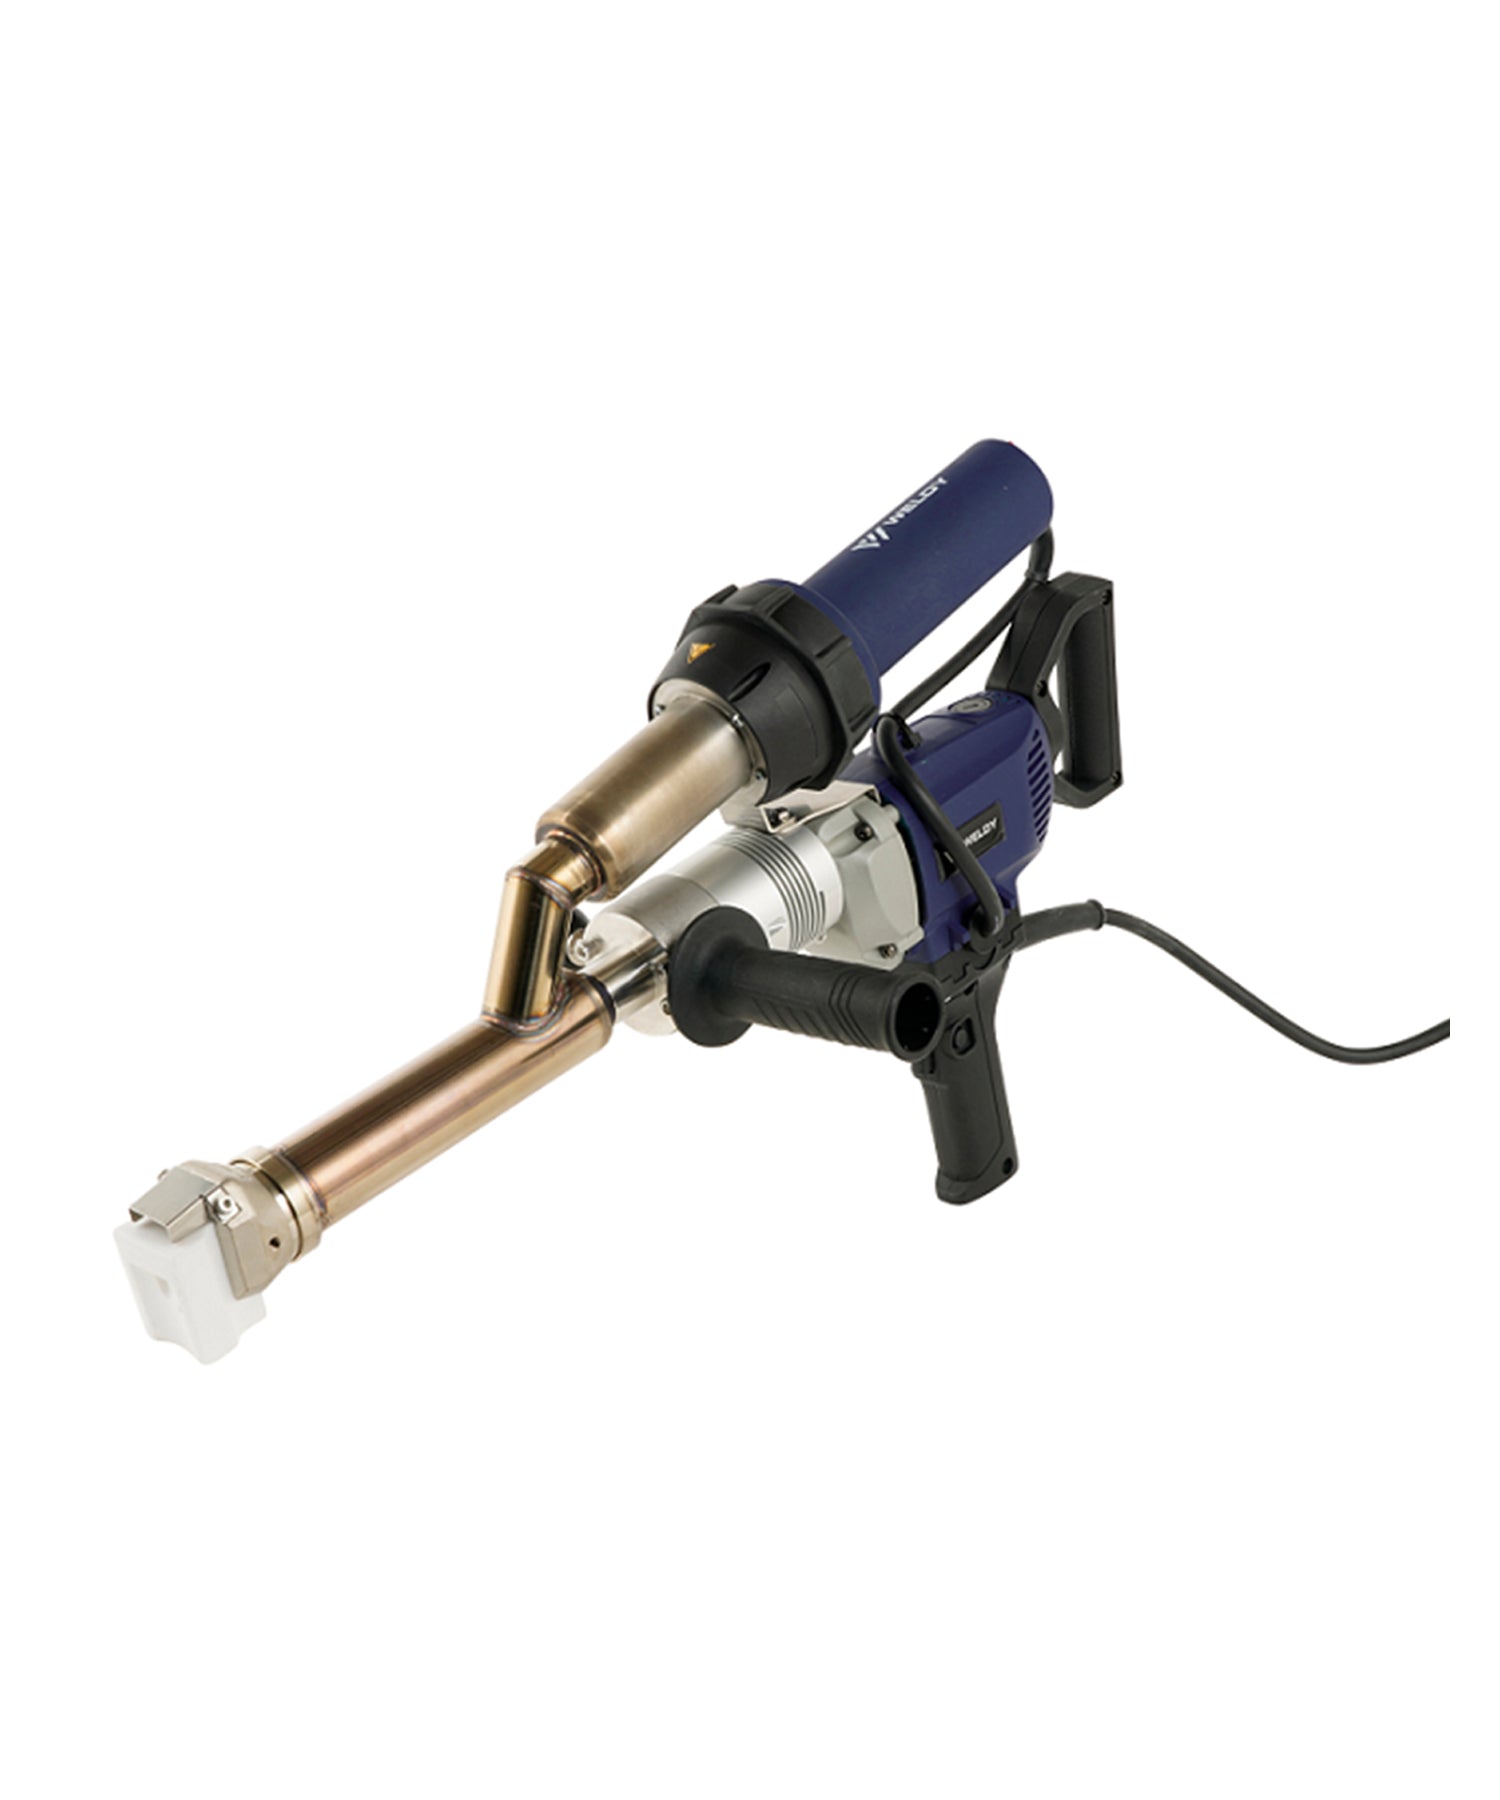
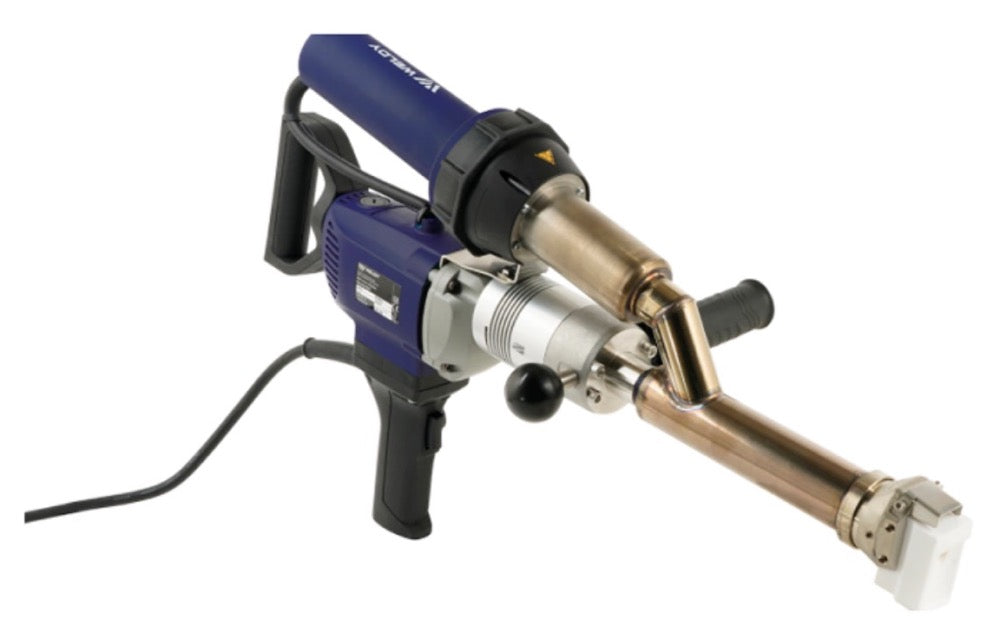
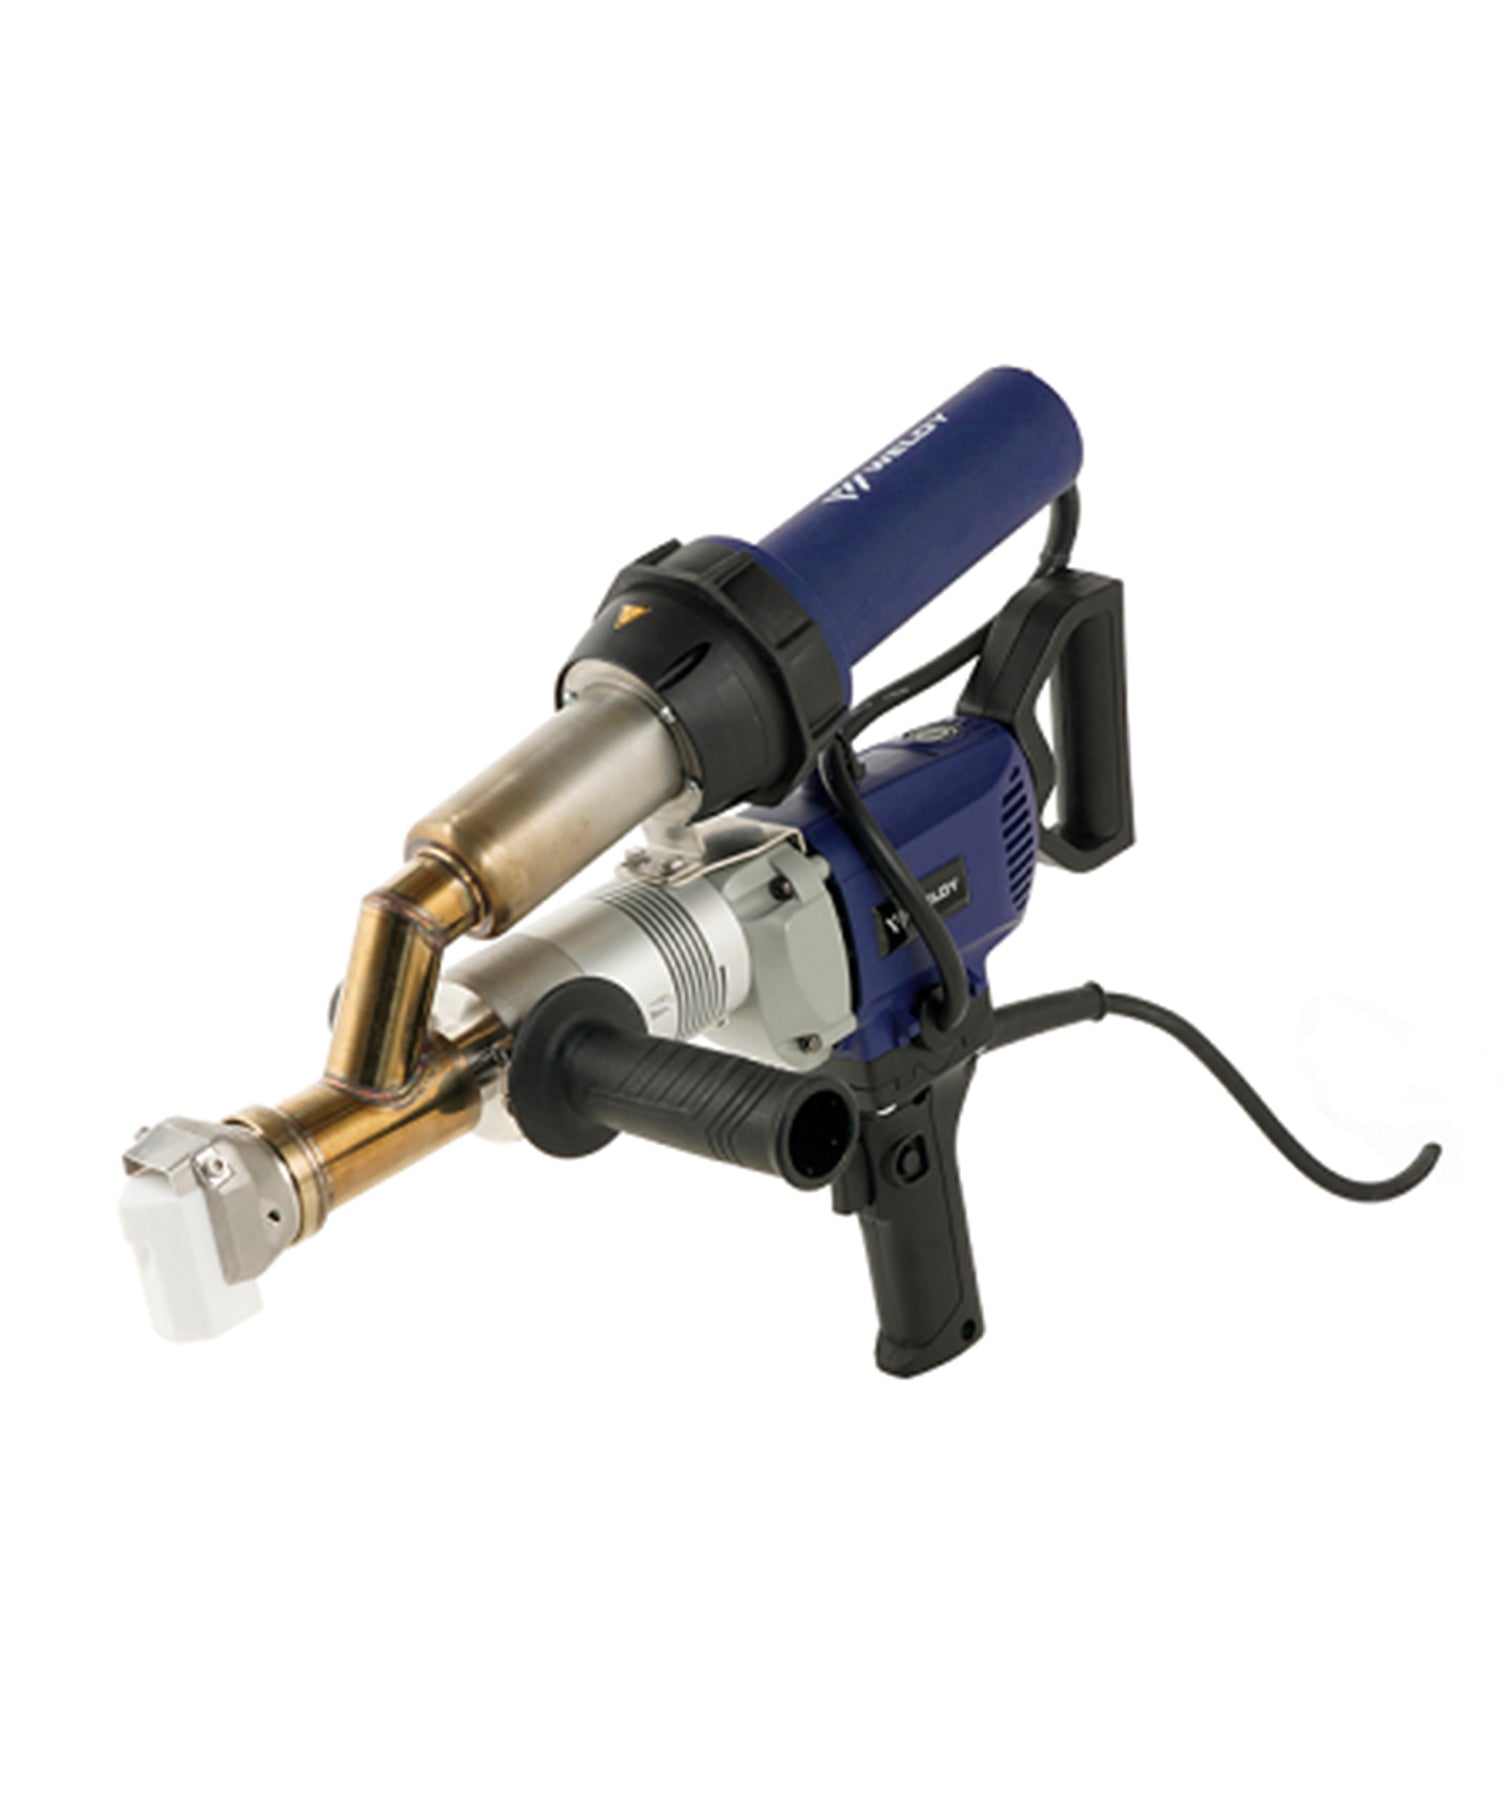
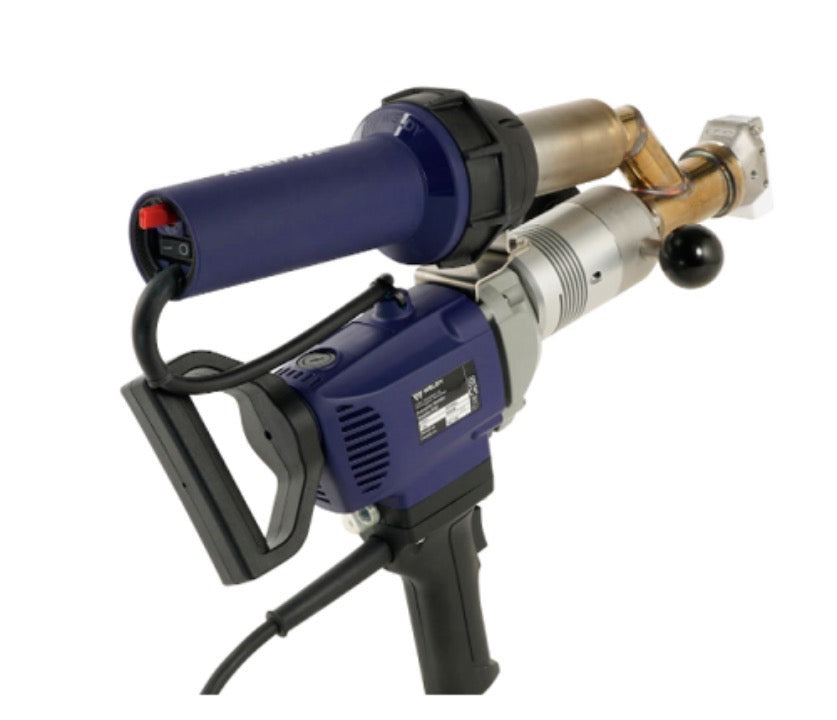
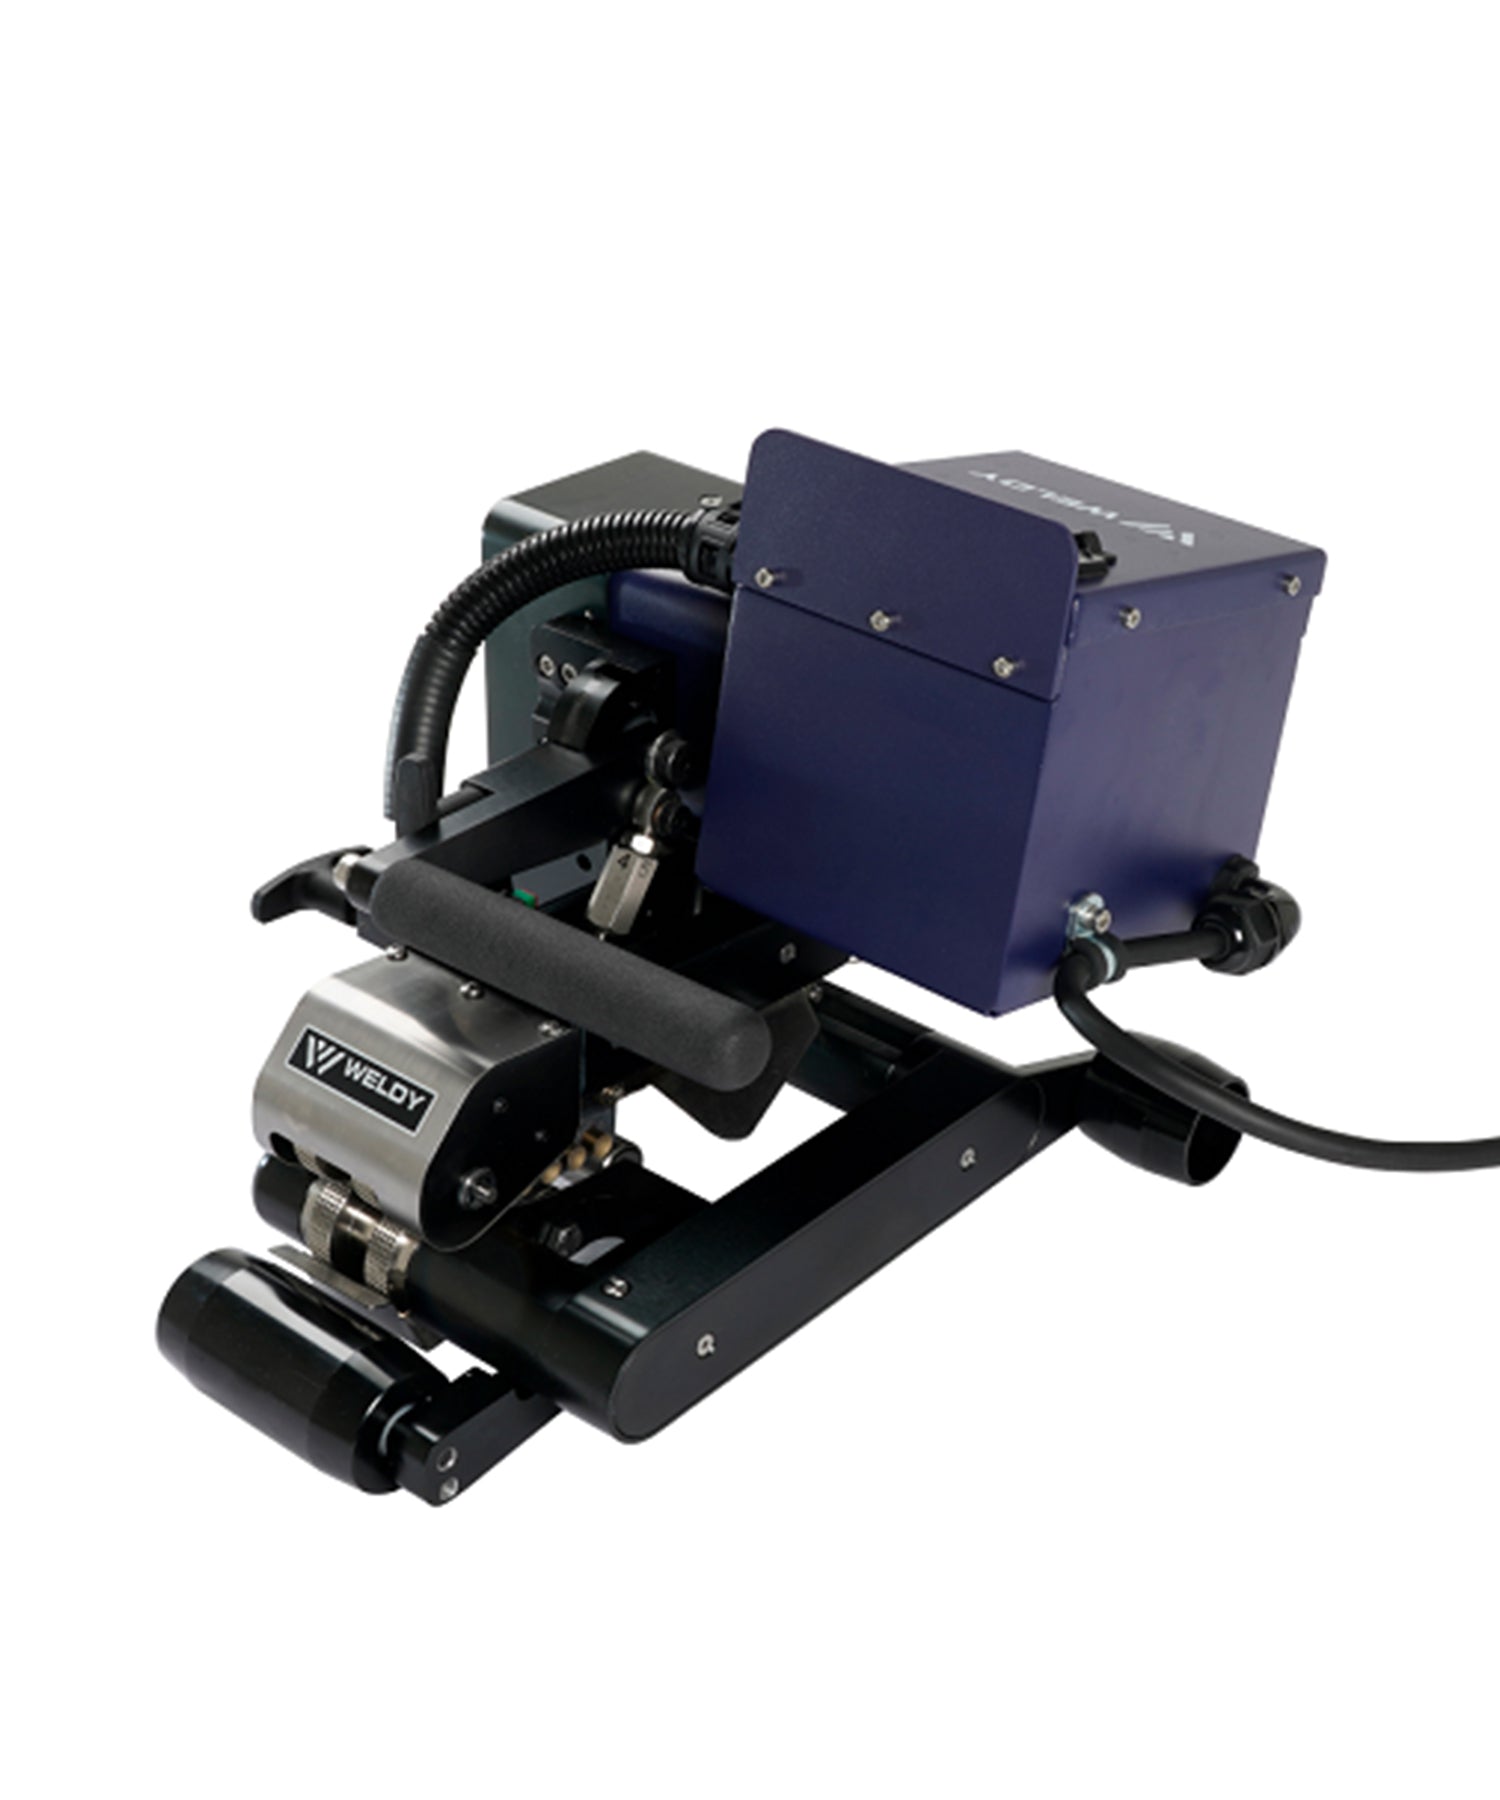
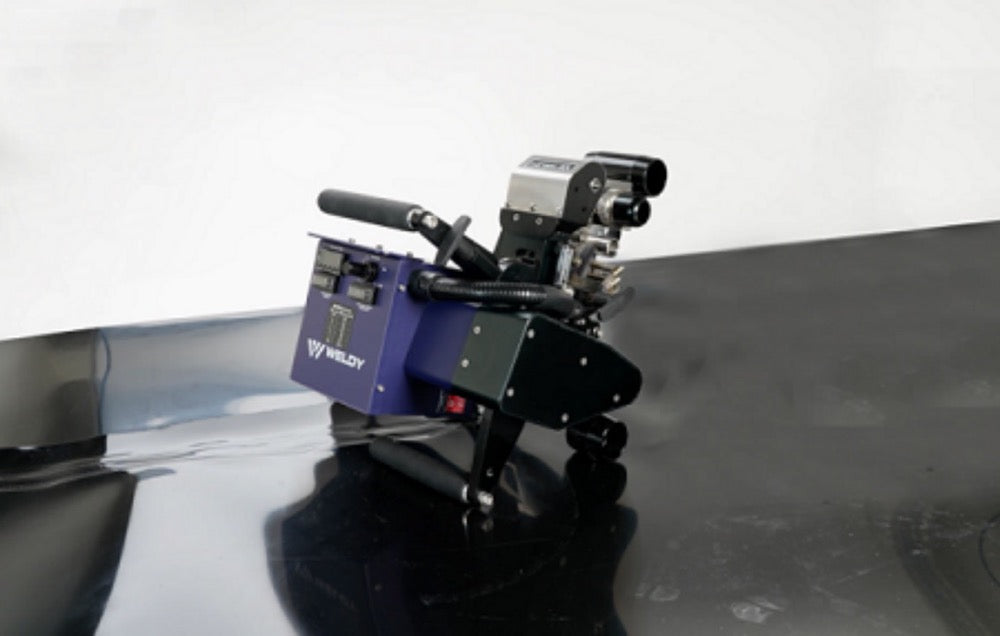
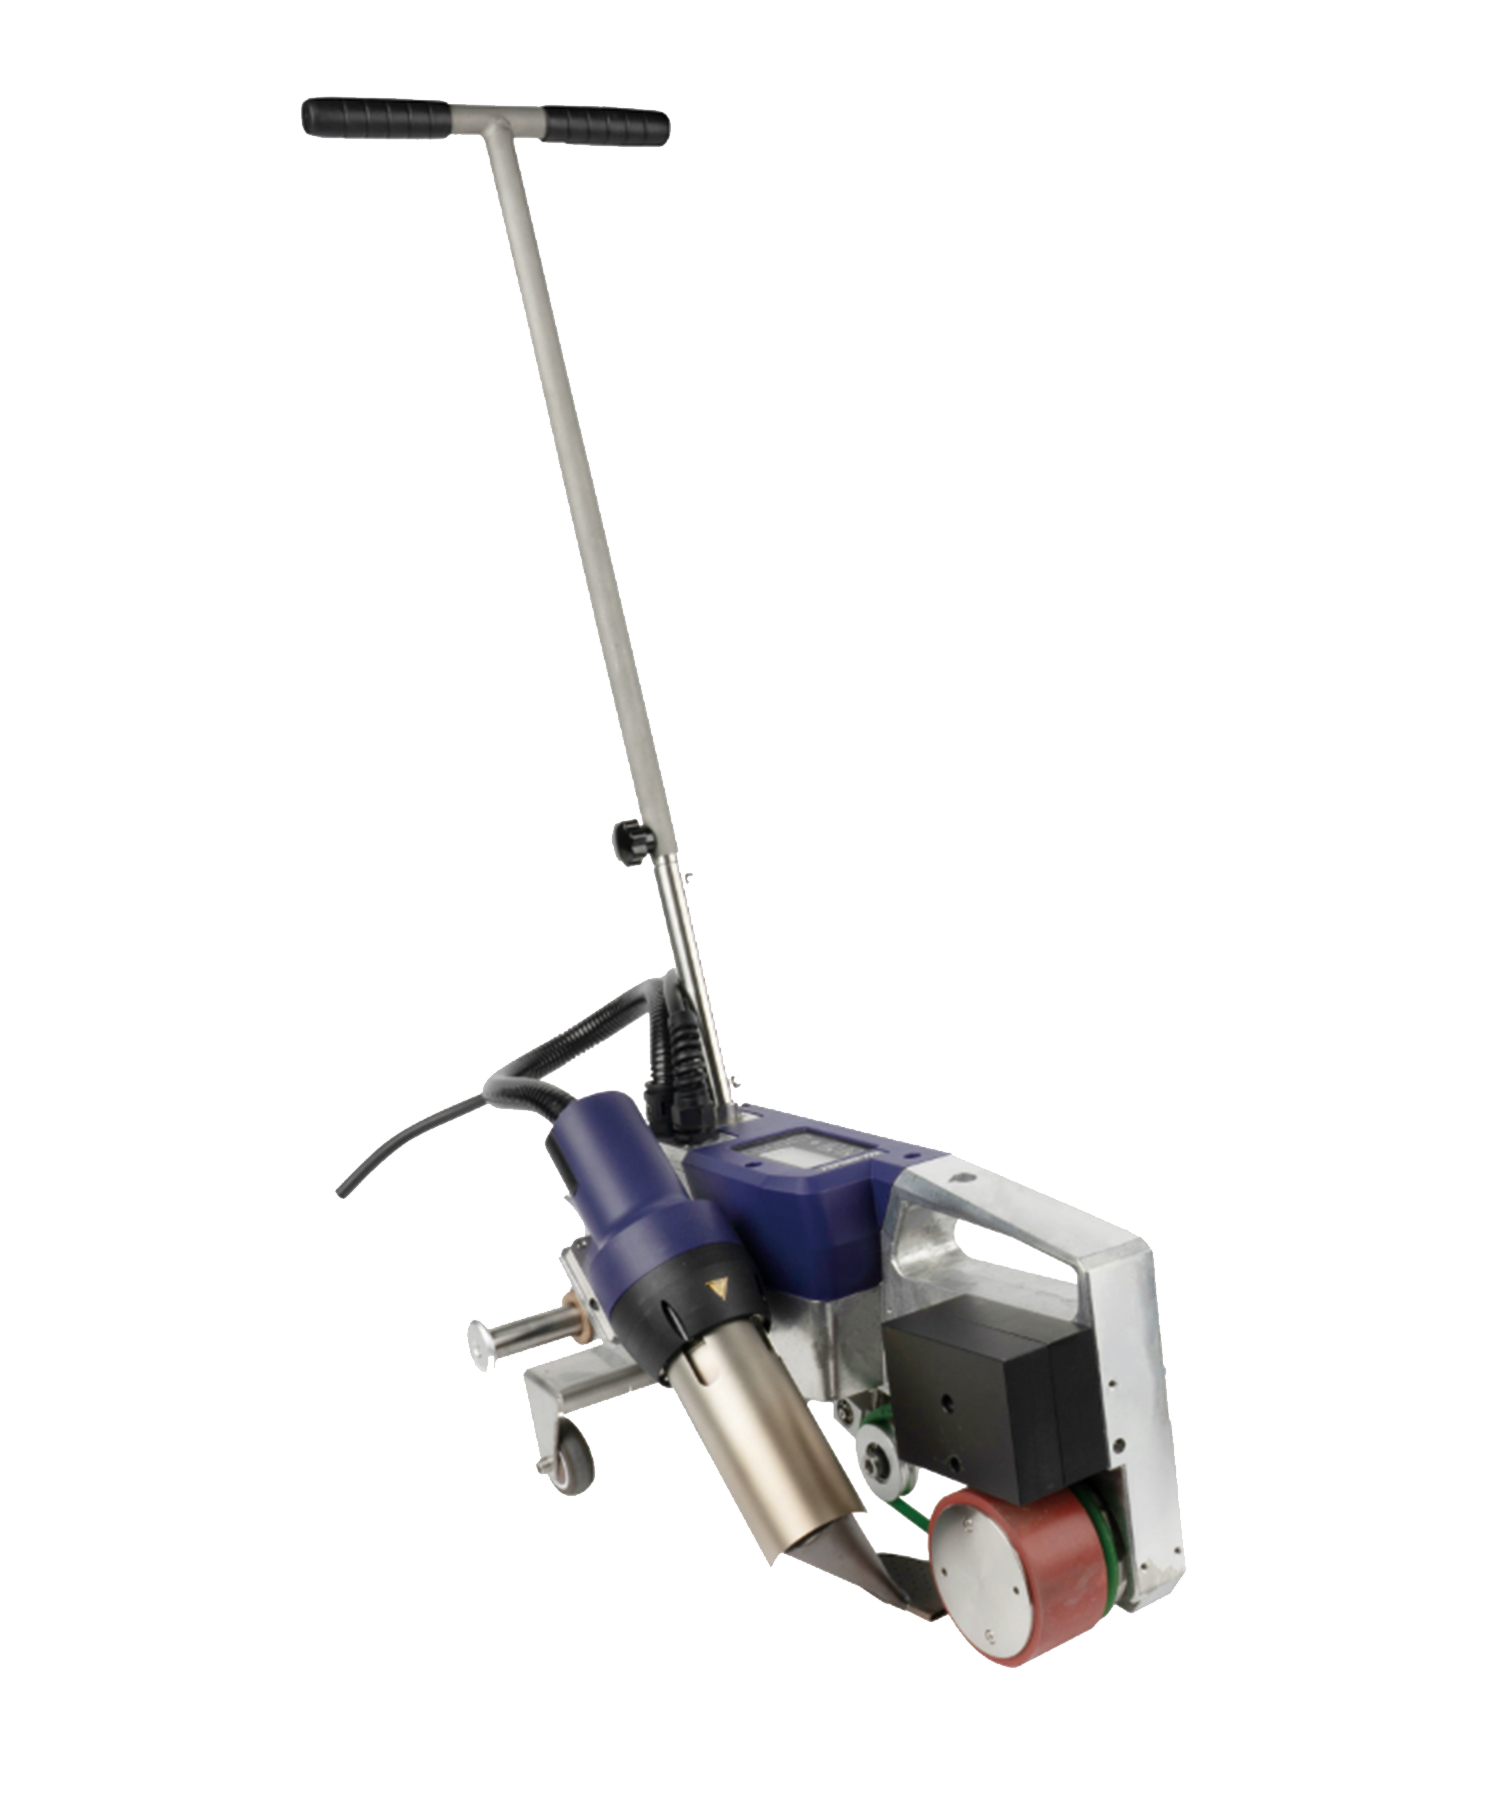
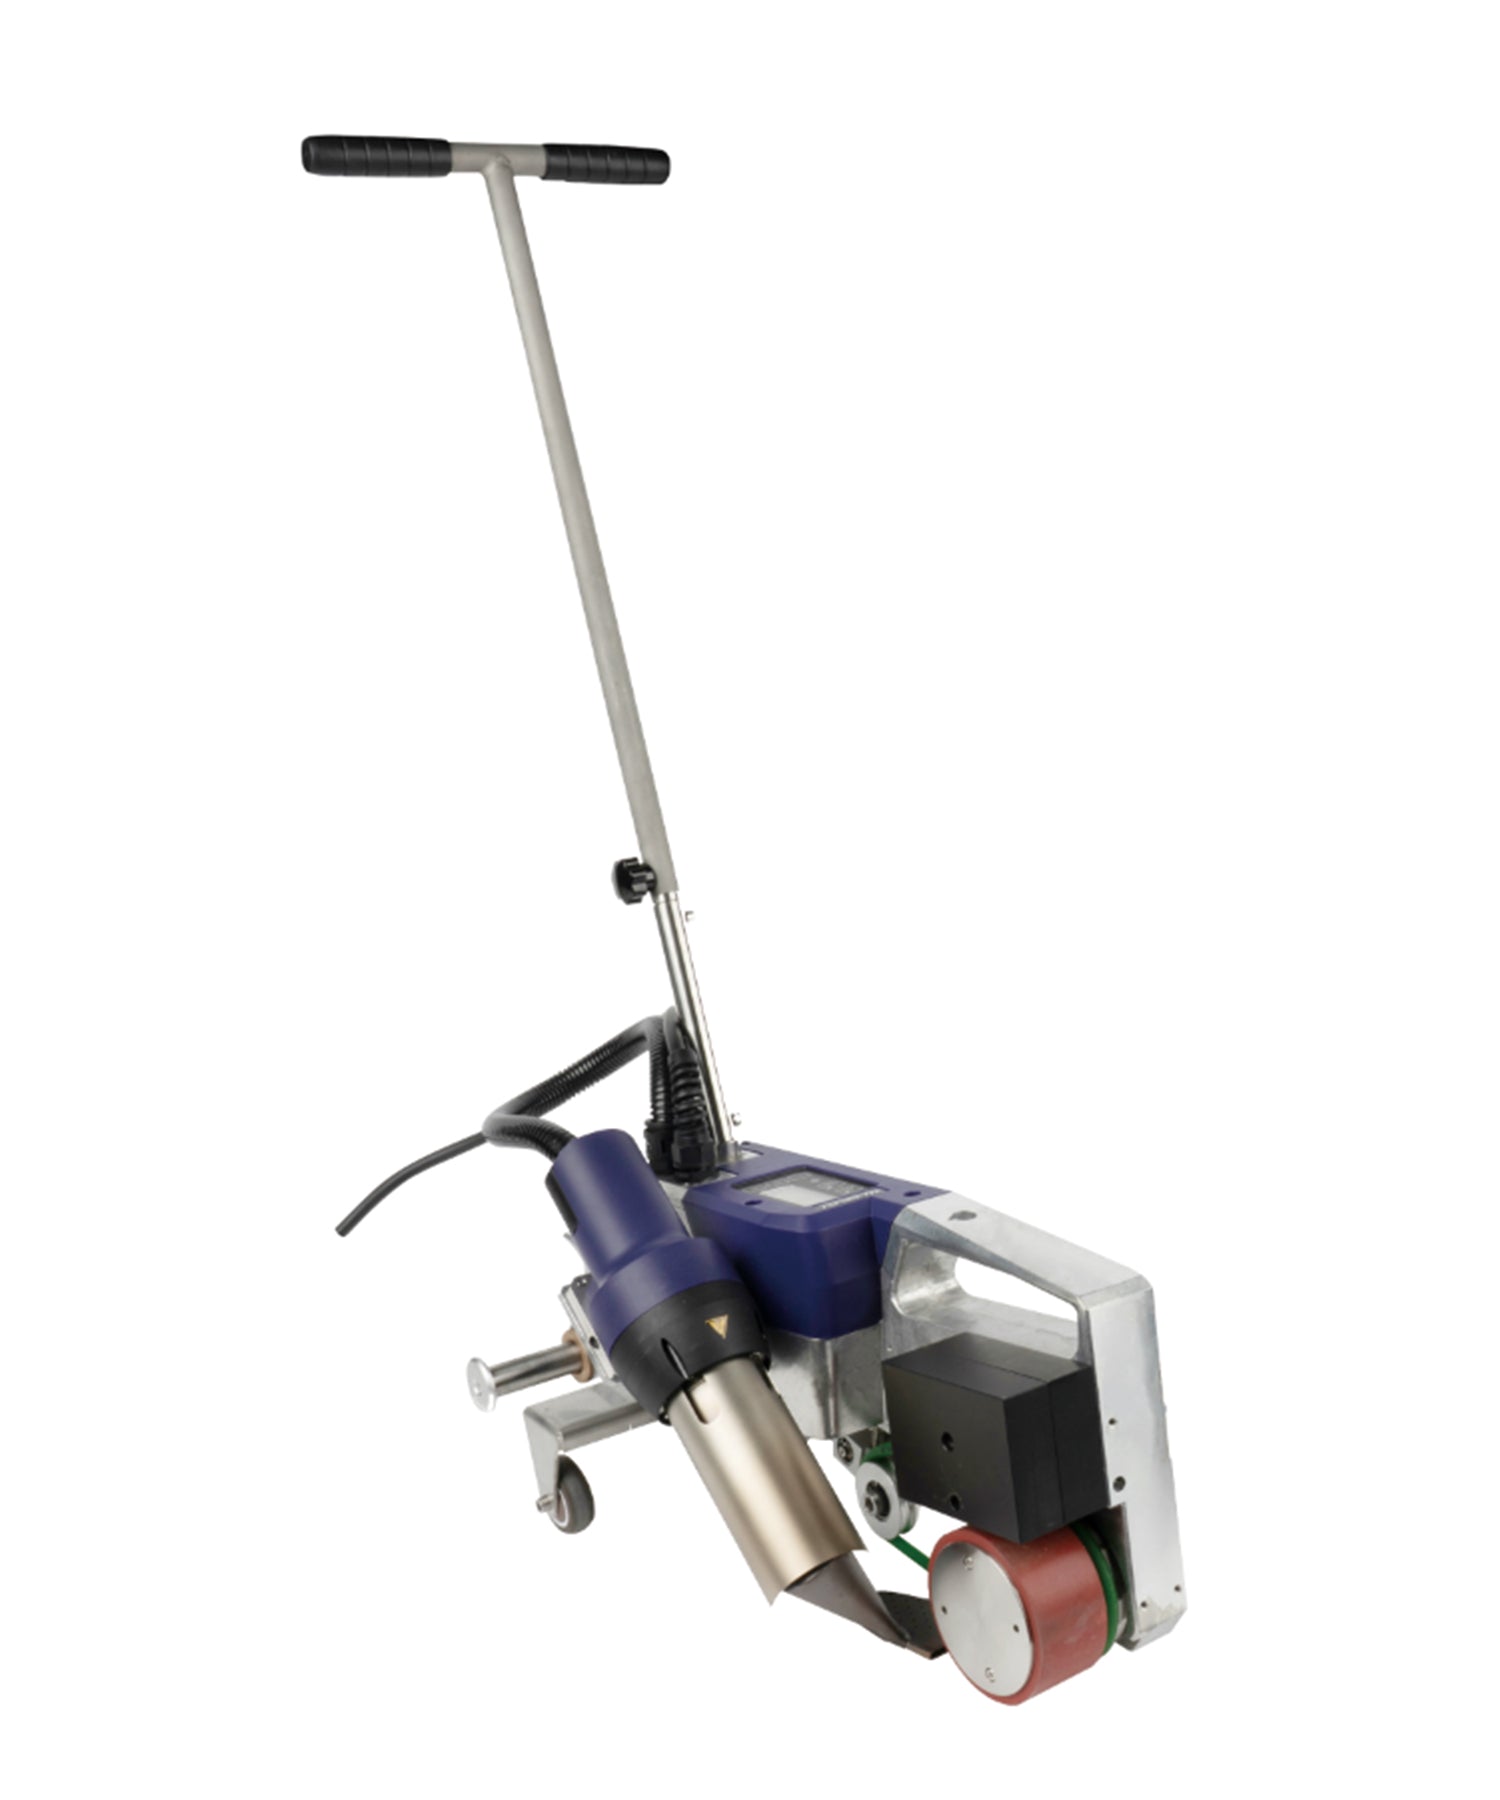
Both Weldy BOOSTER models weld HDPE, LDPE, LLDPE and PP with Ø3–4 mm rods and share the same 230 V / 3,000 W air-heated screw platform. They differ in output, which is exactly what decides whether a joint is a comfortable single pass:
| Parameter | BOOSTER EX2 | BOOSTER EX3 |
|---|---|---|
| Output, Ø3 mm rod | ~1.5 kg/h | ~2.5 kg/h |
| Output, Ø4 mm rod | ~2.2 kg/h | ~3.6 kg/h |
| Typical sheet range | 10–15 mm | 15–25 mm |
| Length / weight | 500 mm / 6.4 kg | 630 mm / 6.9 kg |
| Best single-pass fit | Confined positions, moderate seams | Long straight seams, higher fill rates |
Rule of thumb: if much of your work sits in confined positions, the compact BOOSTER EX2 keeps single-pass quality with easier handling. If you run long straight seams at high fill rates, the BOOSTER EX3 sustains the output those seams need.
Setting Up a Reliable Single-Pass Weld
Follow the DVS 2207-4 baseline parameters, then confirm on a test weld before production:
| Material | Extrudate temp. | Hot-gas temp. | Speed |
|---|---|---|---|
| PE-HD (HDPE) | 210–230 °C | 250–300 °C | 200–350 mm/min |
| PP-H / PP-B / PP-R | 210–240 °C | 250–300 °C | 200–350 mm/min |
Preparation matters more than the number of passes: prepare the joint to the groove geometry and surface condition defined by the applicable WPS or joint design — remove oxidation, wipe with isopropyl alcohol, and keep the rod dry. Preheat the groove so the first deposit wets both flanks, then move at a steady speed — too slow overheats the polymer, too fast traps voids.
If You Must Go Multi-Layer
When a multi-layer sequence is genuinely required, treat every interpass as a new weld surface: let each layer cool naturally, clean it thoroughly, and re-establish the pre-heat before the next deposit. Never water-quench between layers — rapid cooling creates internal stress and cracks in thick seams.
Verify the Weld & Protect the Machine
Inspect the full seam length visually, and carry out any destructive or mechanical testing required by the applicable fabrication standard, qualified WPS and project acceptance criteria. After the job, clear residual polymer from the barrel and welding shoe while warm, check the heating element and drive brushes, and store the extruder dry.
See the full Weldy extrusion welder range at the Weissenberg Store — both BOOSTER models carry CE certification, a 1-year warranty and lifetime technical support.




Leave a comment
This site is protected by hCaptcha and the hCaptcha Privacy Policy and Terms of Service apply.